L3 Mobile-Vision BWX-100 User manual

U
Us
se
er
r’
’s
s
G
Gu
ui
id
de
e
1
1.
.7
7.
.2
28
8

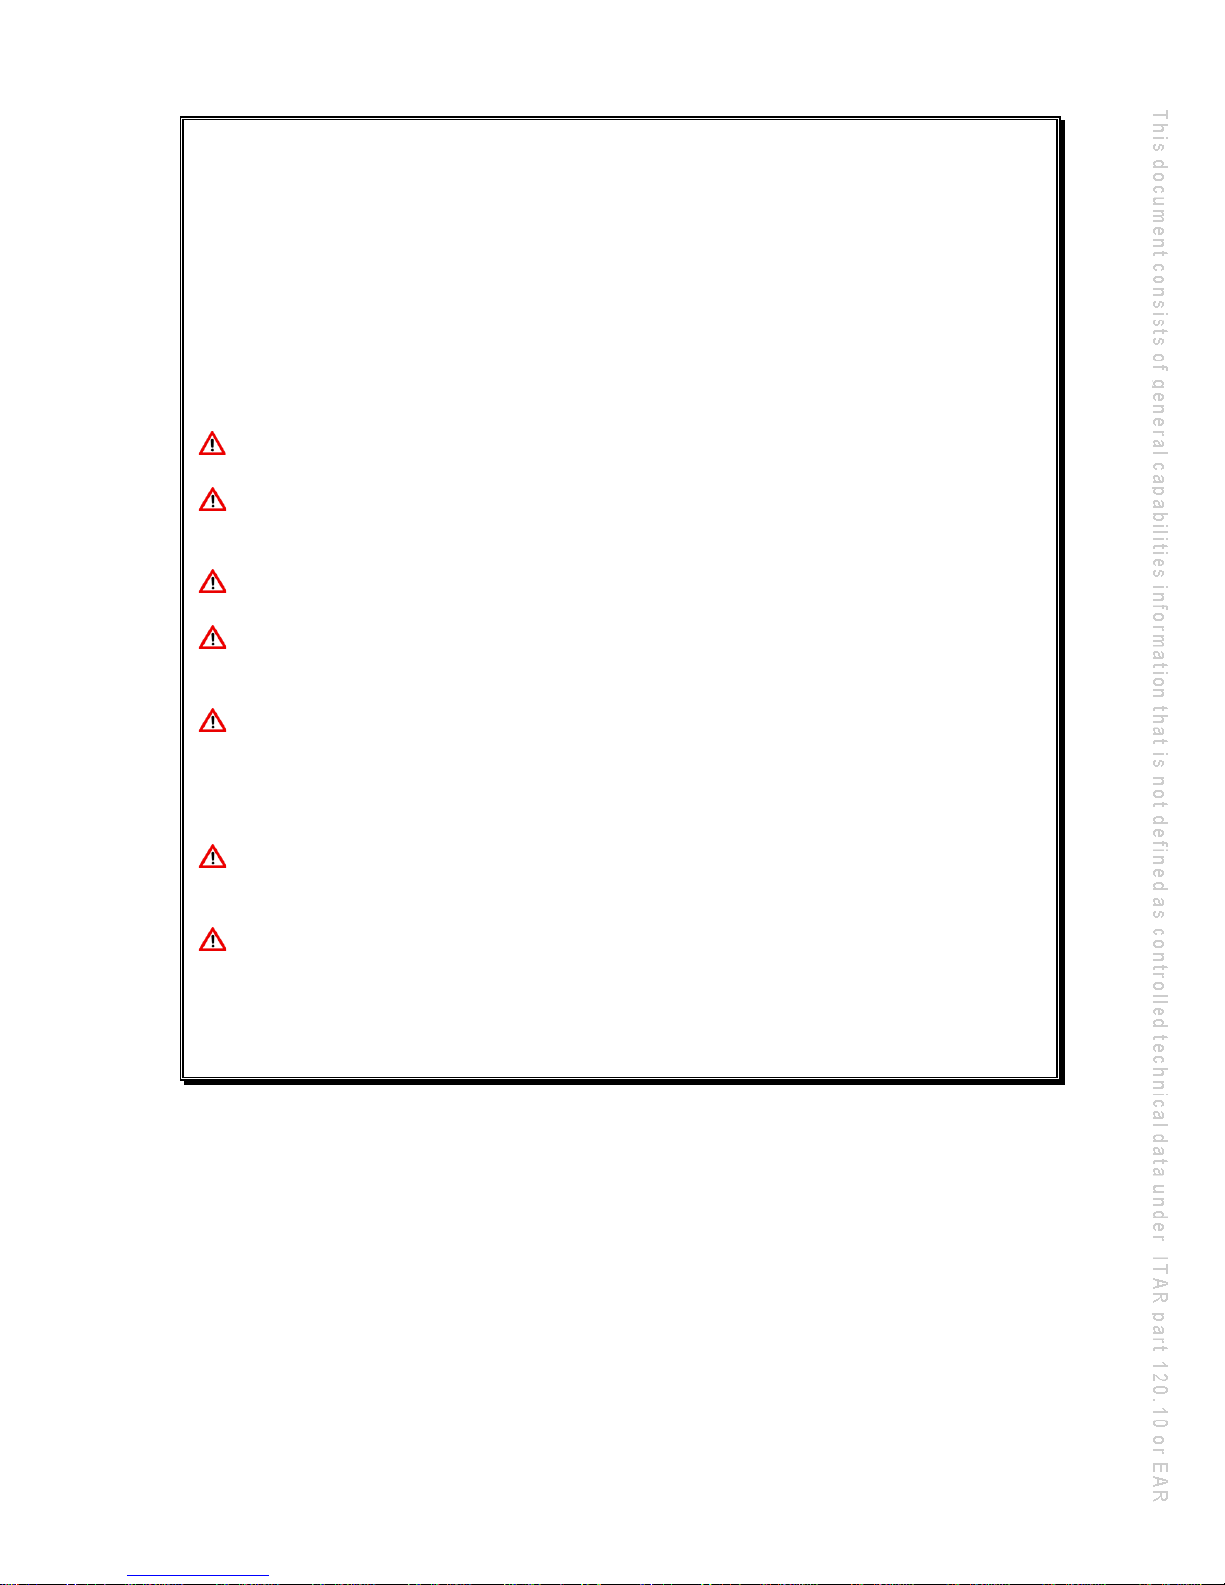
Important Safety & Product Information
Take proper precautions when handling Lithium Polymer batteries. Damage from misuse or
modifications will void the warranty and could lead to serious injury.
Before charging your BWX-100, always inspect the device to ensure that there are no signs of
damage, deformity, or battery expansion/swelling. If you observe one of these conditions, do
not attempt to charge the device. Instead, follow the proper procedures to dispose of the bat-
tery, then contact L3 Mobile-Vision Service for assistance (800-336-8475). Charging a battery
that has begun to expand could cause serious personal injury, or result in smoke or fire!
DO NOT mishandle or drop the BWX-100, as this could damage the device and/or its
battery, cause serious personal injury, or result in smoke or fire.
DO NOT charge the BWX-100 with a device other than the factory supplied chargers.
Failure to follow these instructions could result in severe or permanent damage to the device
or its battery, cause serious personal injury, or result in smoke or fire.
DO NOT allow liquids to enter the BWX-100 or its charging station. This could cause
electrical shorts, fire, or other damage.
DO NOT expose the BWX-100 to extreme temperatures for an extended period of time.
Prolonged exposure to heat or cold (such as in a closed vehicle) may damage the device’s
battery and/or decrease its lifetime.
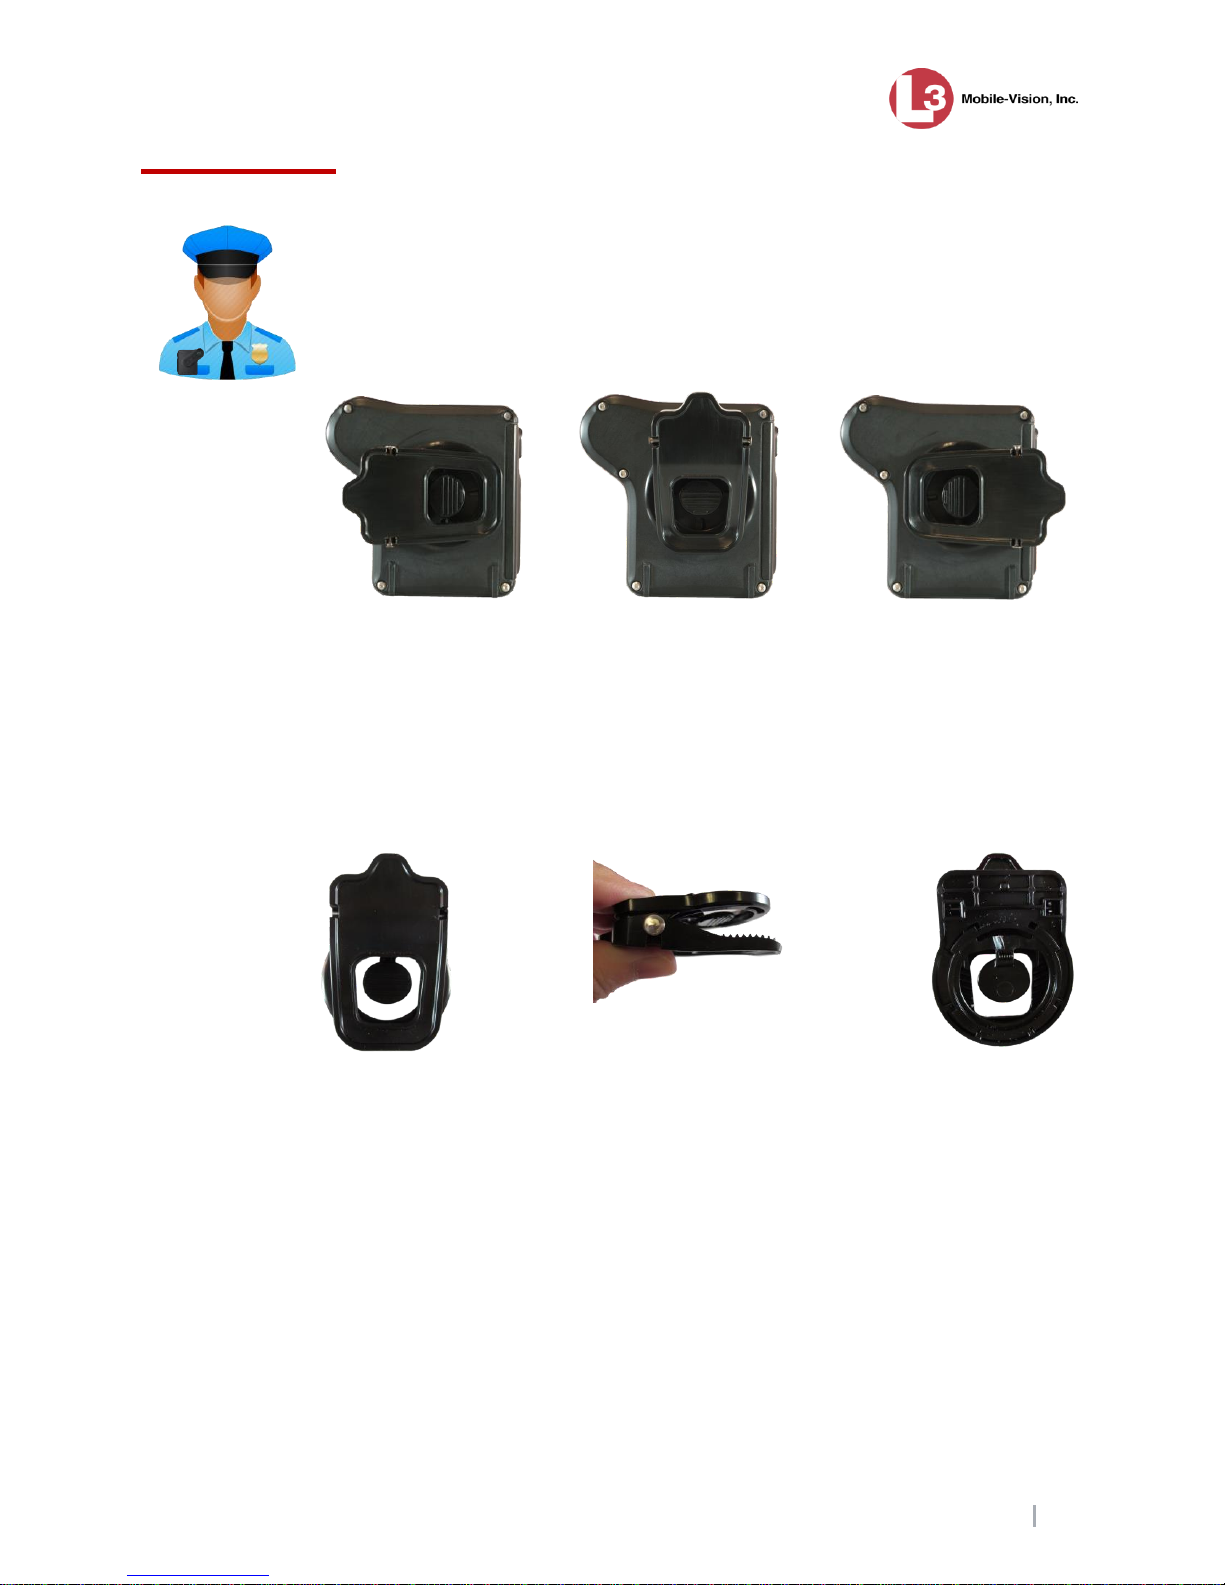
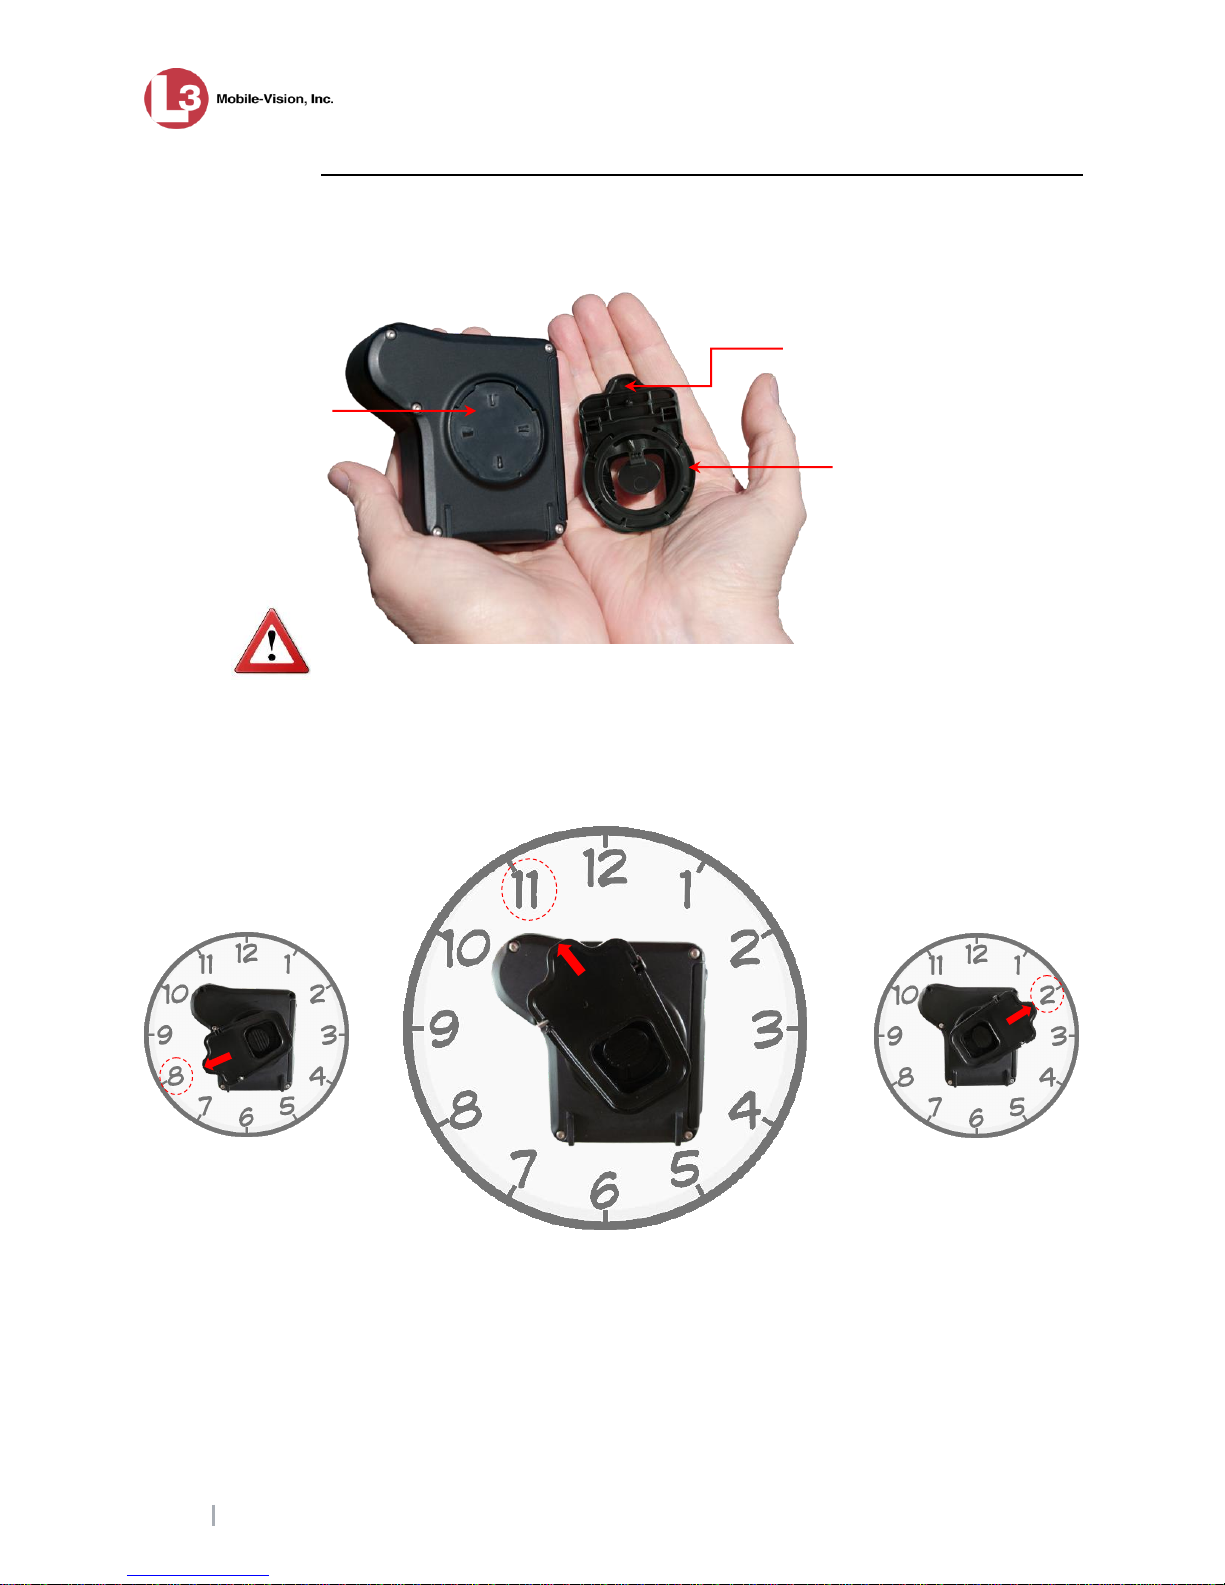
WARNING: Our magnetic mount option utilizes rare-earth magnets that have a strong
magnetic field. Please exercise caution when connecting the two plates. Keep your fingers out
of the way or you could pinch or even injure them! Also, keep magnets away from electronic
equipment, computer discs, credit cards, video tapes, and other magnetic media, as the
magnets can damage such items.
WARNING: Persons with pacemakers or medical implants should not use the magnetic
mount; its strong magnetic field could potentially interfere with the operation of your medical
device.
If the device becomes hot, visibly swells, or sustains damage to the case, discontinue use
and refrain from charging the device.
Any of the above conditions could cause serious personal injury or result in smoke or fire.
If you have any reason to be concerned about the safety of the product, cease using the BWX-
100 camera and contact L3 Mobile-Vision Customer Support at 800-336-8475.
© Copyright 2018 by L3 Mobile-Vision, 400 Commons Way, Suite F, Rockaway, NJ 07866

BWX-100 User’s Guide
L3 Mobile-Vision 5.8.2018 P a g e i
Table of Contents
Introduction................................................................................................................1
In the Box....................................................................................................................1
BWX-100 Components & Controls ..........................................................................2
Docking Station...........................................................................................................3
LCD Menu ..................................................................................................................3
Mount Options............................................................................................................5
Alligator Clip........................................................................................................5
Attaching the Alligator Clip to Your Camera...............................................6
Detaching the Alligator Clip from Your Camera .........................................7
Magnetic Mount ...................................................................................................8
Components..................................................................................................8
Attaching the Magnet Mount to Your Camera.............................................8
Part 1: Detach the Two Magnets..........................................................8
Part 2: Connect the B Plate to the Back of the BWX-100...................9
Attaching the Camera to Your Clothing via the Magnet Mount ................10
Detaching the Magnet Mount from the Camera.........................................11
Operating Procedures..............................................................................................11
Turning the Device On.......................................................................................12
Starting a Recording...........................................................................................12
Stopping a Recording .........................................................................................13
Capturing a Snapshot and/or Inserting a Tracepoint ..........................................14
Turning ‘Covert’ Mode On/Off..........................................................................15
Checking Remaining Record Time ....................................................................16
Checking Remaining Battery Power ..................................................................16
Turning Audio Mute On/Off ..............................................................................17
Uploading Videos to DES ..................................................................................18
Charging the BWX-100......................................................................................22
Charging via the Uplink Station .................................................................22
Charging via a Stand-Alone Docking Station.............................................23
Battery Safety & Usage Guidelines............................................................23
Viewing Officer Information..............................................................................24

Introduction
BWX-100 User’s Guide
P a g e ii L3 Mobile-Vision 5.8.2018
Operating Procedures (cont’d)
Viewing Device Information..............................................................................24
Viewing Your BWX-100’s IP Address ..............................................................27
Remotely Triggering a Recording......................................................................28
Performing a Self-Test........................................................................................29
Turning the Device Off.......................................................................................30
Getting Started .........................................................................................................30
Assigning IP Addresses to Your BWX-100 Devices.........................................31
Existing DEP, DEA Precinct, or DEF Customers..............................................31
DEV Customers..................................................................................................32
Configuring the LAN port on your BWX-100 PC for DHCP............................32
Configuring BWX-100 to Work with DES.............................................................34
Configuring a New BWX-100 DVR in DES......................................................37
Selecting the BWX-100 Download Options...............................................37
Changing a BWX-100 DVR Record ..........................................................39
Changing a BWX-100 DVR When Fleet
Management is On.............................................................................40
Changing a BWX-100 DVR When Fleet
Management is Off ............................................................................46
Replacing a BWX-100..............................................................................................50
BWX-100 Dimensions ..............................................................................................52
FCC Compliance ......................................................................................................52
Contact Information.................................................................................................53
Audio/Visual Indicators...........................................................................................54
Contact Information.................................................................................................54
Index..........................................................................................................................55

Introduction
BWX-100 User’s Guide
L3 Mobile-Vision 5.8.2018 P a g e 1
Introduction
BWX-100 is a body worn digital video recorder that can be used to capture high
definition video with audio. After recording video, you upload it to DES by placing
the device in a docking station connected to your DES server.
BWX-100 features include:
10.5 hours of video recording in full high definition (1080p) or 12 hours in high
definition (720p)
129° horizontal field of view at 720p and 1080p
Bi-directional record triggering between BWX-100 devices
Built-in WiFi and Bluetooth
Coming Soon: Mobile App for iOS and Android devices.
With BWX-100, you can:
Tag video in the field
Review video in the field
Check device status in the field, such as remaining record time and battery power.
Capture a still photo “snapshot” while a recording is in progress
Insert a “tracepoint” place marker while a recording is in progress
Record in “Covert Mode”, which deactivates all electronic audio/visual indicators
Mute audio
Upload video to DES via a docking station connected to the DES server
Capture up to 90 seconds of pre-record video.
For more information, see:
In the Box, below
BWX-100 Components & Controls, next page
Docking Station, page 3
LCD Menu, page 3
Mount Options, page 5
Operating Procedures, page 11
Getting Started, page 30
Configuring BWX-100 to Work with DES, page 34
Replacing a BWX-100, page 50
BWX-100 Dimensions, page 52
Audio-Visual Indicators, page 54
Contact Information, page 52.
In the Box
BWX-100 digital video recorder with built-in battery
Docking station
Two mount hardware options: alligator clip or magnetic mount.

BWX-100 Components & Controls
BWX-100 User’s Guide
P a g e 2 L3 Mobile-Vision 5.8.2018
BWX-100 Components & Controls
Record button
Camera lens
Speaker
FRONT
BOTTOM
Docking Station port
Recording-in-progress LED
Microphone 1
Microphone 2
BACK
SIDE
Covert Mode
Button
Snap/Trace
button
Mute button
Connection
point for
camera
mount
Docking Station
Lock tab; used
to link multiple
docking stations
together
Micro USB port
(for power cable)
Amber: 100 megabit network
connection; also displays when
docked BWX-100 is off
Green: Gigabit
network connection
Blue: Power ON
Select button for LCD menu
Navigation buttons for LCD menu
BWX-100 connector
BACK
LCD menu
Ethernet cable port
Power/Record LED
?
TOP

Docking Station
BWX-100 User’s Guide
L3 Mobile-Vision 5.8.2018 P a g e 3
Docking Station
The Docking Station has three purposes:
Upload videos from the BWX-100 to your DES
storage server
Download configuration/device data from DES to your
BWX-100
Recharge the BWX-100’s battery.
On the front of the Docking Station, there are three LEDs:
The blue light indicates that there is a power
connection to the Docking Station
The green light indicates that the BWX-100 has a gigabit
connection to the network
The amber light indicates that the BWX-100 has a 100 megabit connection to the
network. Also displays when a docked BWX-100 is turned off, so when you see
this light, check to make sure your BWX-100 is powered on.
The Docking Station includes a clip on its side that is used to link multiple devices
together to form an “Uplink Station”. For more information, see “Uploading Videos
to DES” on page 18.
LCD Menu
The LCD menu on the top of your device is used to view device indicators, assign
categories to newly recorded videos, and perform a self-test on your BWX-100.
To navigate this menu, use the buttons located on the side of the BWX-100.
Navigation arrows, used to scroll through menu options.
Select button, used to select the displayed menu option.
To exit a menu, use the navigation arrows to display the BACK option, then press
the Select button.
The BACK option
returns you to the
previous menu

LCD Menu
BWX-100 User’s Guide
P a g e 4 L3 Mobile-Vision 5.8.2018
This table describes the icons used to represent various camera settings and statuses.
These icons display on the device’s LCD menu.
LCD Icons
Icon
Description
Battery charge indicator. Displays in the upper left corner of the
LCD screen when the device is on. The more diagonal lines there
are, the higher the battery charge.
To determine the exact percentage of battery power that remains on
your device, see “Checking Remaining Battery Power” on page 16.
Mute indicator. Displays when the mute function is activated (i.e.,
audio is off).
Record indicator. Displays when a recording is in progress.
Wi-Fi indicator. Displays when device is connected to a Wi-Fi
network.
Bluetooth search indicator. Displays when device is searching for a
Bluetooth signal.
Bluetooth connection indicator. Displays when device is connected
to an iOS or Android device via Bluetooth.
Network indicator. Displays when device is connected to the net-
work on which your storage server resides.
Micro SD card storage indicator. Displays in the upper right cor-
ner of the LCD screen when the device is on. This icon shows
how much recording time you have left on your device. The fuller
the icon, the less recording time you have left.
To determine the exact percentage of storage space that remains on
your device, see “Checking Remaining Record Time” on page 16.
HINT: After 45 seconds of inactivity, the LCD menu will automatically return to the
READY screen. Therefore, try not to pause for too long between menu selections, or
you might have to start over from the beginning!
High charge
Low charge
Little or no
space left
90 -100 %
space left

Mount Options
BWX-100 User’s Guide
L3 Mobile-Vision 5.8.2018 P a g e 5
Mount Options
To attach a BWX-100 to your clothing, first determine which type of mount will
work best for you: alligator clip or magnetic mount. If you are using the alligator
clip, examine the clip on the back of the device to make sure it’s facing in the
direction you want: left, right, or down. For example, if you plan to clip the device to
the pocket of your shirt, you would position the clip in the down position.
For further instructions, proceed to the appropriate section:
Alligator Clip, below
Magnetic Mount, page 8.
Alligator Clip
The alligator clip includes pointy “teeth” that firmly grip your clothing.
(Continued)
SIDE
FRONT
BACK
Left facing clip
Downward
facing clip
Right facing clip

Mount Options
BWX-100 User’s Guide
P a g e 6 L3 Mobile-Vision 5.8.2018
Attaching the Alligator Clip to Your Camera
1Hold the BWX-100 in one hand and the alligator clip in the other hand. The clip’s tab
should be facing up.
WARNING: Do not subject tab to excessive use of pressure.
2Place the mount plate in the round slot on the back of the BWX-100 with the tab in
the 11:00 position for a downward facing clip, 8:00 position for a left facing clip, or
2:00 position for a right facing clip.
This side clicks into the
BWX-100 mount slot
Tab faces up
Mount slot

Mount Options
BWX-100 User’s Guide
L3 Mobile-Vision 5.8.2018 P a g e 7
3Rotate the base mount clockwise until it snaps into place.
Detaching the Alligator Clip from Your Camera
1Press the release button down with one thumb while you rotate the alligator clip
counter clockwise with another finger.
2Pull the clip up and off the camera.

Mount Options
BWX-100 User’s Guide
P a g e 8 L3 Mobile-Vision 5.8.2018
Magnetic Mount
This mount is comprised of two magnetic plates that snap together, referred to in this
guide as the Aand Bplates (see illustration below). The Bplate goes in front of your
clothing and the Aplate goes behind your clothing.
WARNING: The magnetic clip utilizes rare-earth magnets that have a strong magnetic
field. Please exercise caution when connecting the two plates. Keep your fingers out
of the way or you could pinch or even injure them! Also, keep magnets away from
electronic equipment, computer discs, credit cards, video tapes, and other magnetic
media, as the magnets can damage such items.
Components
Attaching the Magnet Mount to Your Camera
Part 1: Detach the Two Magnets
1Using your thumbs, slide the Aplate to
the right or left so that it is half on/half
off the Bplate. This requires firm
pressure.
Bplate
Base mount hardware
(reverse side of Bplate)
Aplate
Mount slot
B
B
A
B
A

Mount Options
BWX-100 User’s Guide
L3 Mobile-Vision 5.8.2018 P a g e 9
2Twist the Aplate to the right or left.
3Slide the Aplate off the Bplate.
Part 2: Connect the B Plate to the Back of the BWX-100
1Hold the BWX-100 in one hand and the Bplate in the other hand. The arrow on the
release tab should face up.
2Place the Bplate in the round slot on the back of the device. Position it so that it’s
tilted approximately 30ocounter-clockwise, as pictured here.
A
B
B
B

Mount Options
BWX-100 User’s Guide
P a g e 10 L3 Mobile-Vision 5.8.2018
3Rotate the Bplate clockwise until it snaps into place and the up arrow points up.
Attaching the Camera to Your Clothing via the Magnet Mount
Position the Bplate (now with camera attached) in front of your clothing. Next,
position the Aplate behind your clothing so that the two plates snap together and line
up properly. You may have to slide the Aplate to the right or left to achieve a proper
connection.
When you’re ready to remove the camera, simply hold the camera with one hand
while you use the other hand to reach behind your clothing and slide the Aplate to
the right or left.
Removing
the Camera
B
A

Operating Procedures
BWX-100 User’s Guide
L3 Mobile-Vision 5.8.2018 P a g e 11
Detaching the Magnet Mount from the Camera
1Place the BWX-100 in one hand while you stabilize the Bplate with your thumb.
2Press the release button down with one thumb while you rotate the Bplate counter-
clockwise with another finger.
3Pull the magnet mount up and off the camera.
Operating Procedures
Proceed to the desired topic:
Turning the Device On, next page
Starting a Recording, next page
Stopping a Recording, page 13
Capturing a Snapshot and/or Inserting a Tracepoint, page 14
Turning ‘Covert’ Mode On/Off, page 15
Checking Remaining Record Time, page 16
Checking Remaining Battery Power, page 16
Turning Audio Mute On/Off, page 17
Uploading Videos to DES, page 18
Charging the BWX-100, page 22
Viewing Officer Information, page 24
Viewing Device Information, page 24
Viewing Your BWX-100’s IP Address, page 27
Remotely Triggering a Recording, page 28
Performing a Self-Test, page 29
Turning the Device Off, page 30.
B

Operating Procedures
BWX-100 User’s Guide
P a g e 12 L3 Mobile-Vision 5.8.2018
Turning the Device On
To turn your BWX-100 on, simultaneously press the Snap/Trace
and Mute buttons until the device vibrates. Next, release the
buttons and wait for the device to boot. This will take approximate-
ly 30 seconds. During this time, the LCD screen may be blank for
several seconds. Don’t worry—the device is still booting.
When the boot is complete,
the device vibrates/chirps, the
Power/Record LED turns
green, and the word READY
displays on the LCD screen.
Starting a Recording
1To start a recording, first make sure the device is powered on and the word READY
displays on the LCD screen. (If necessary, review “Turning the Device On” above.)
2Press the Record button for two seconds. The following indicators confirm that you
have successfully initiated a recording:
The Power/Record LED on the top of the device changes from green to red
The Recording-in-Progress LED on the front of the device turns red
The device vibrates twice and chirps once
The icon and the word RECORDING
display on the LCD screen.
As long as a video is in progress, the LEDs will remain solid red. (Exception: When
Covert mode is on, audio-visual indicators will be suppressed.)
If you activated the Recording Alert feature in DES, the device will also vibrate
every X*minutes as long as a video is in progress.
*Where X = the Recording-in-Progress time interval entered in DES
Success!
To start or stop
a recording, press
here for two seconds
LEDs
Recording-in-Progress icon
To turn the BWX-100
on, simultaneously
press the Snap/Trace
and Mute buttons

Operating Procedures
BWX-100 User’s Guide
L3 Mobile-Vision 5.8.2018 P a g e 13
If you attempt to start a recording and the device chirps three times, it means that
your device is either low on battery power or storage space. When this occurs, look at
the LCD screen:
If the words STORAGE FULL display and the Battery icon is blinking, you need
to upload your videos right away. To do so, place the device in your agency’s
Uplink Station. After the videos upload, try recording again.
If the words BATTERY LOW display and the Battery icon is blinking, place the
device in a docking station that’s connected to a power source. Once the word
CHARGED displays on the LCD screen, try recording again.
Stopping a Recording
1To stop a recording in progress, press the Record button for two seconds. The
following indicators confirm that you have successfully ended your recording:
The Power/Record LED on the top of the device turns green
The Recording-in-Progress LED on the front of the device turns off
The device vibrates once and chirps twice*
The LCD screen displays the words STOPPING RECORDING, followed by
either SELECT CATEGORY or READY.
If SELECT CATEGORY displays, proceed to the next step.
If READY displays, it means that your BWX does not currently have any video
categories on it. End of Procedure.
2Press the button. Your first video category displays.
To assign the first category to your video, press again. End of Procedure.
–OR –
To assign a different category to your video, proceed to the next step.
3Continue pressing theorbutton until the desired category displays.
4Press the button. The device assigns the displayed category to your new video.
NOTE: If you’re interrupted while performing this procedure and the READY screen
displays, it means you’ve missed your chance to tag the video in the field. In that
case, you’ll have to make the category assignment from within DES.
*If the device chirps three times, it indicates that your device is either low on battery power or storage space.
Problems?

Operating Procedures
BWX-100 User’s Guide
P a g e 14 L3 Mobile-Vision 5.8.2018
Capturing a Snapshot and/or Inserting a Tracepoint
If desired, your Agency Administrator can configure the Snap/Trace button to
perform one of the following actions while a recording is in progress:
Capture a video still image or “snapshot”
Insert a “tracepoint” place marker in the video. By marking a video with a
tracepoint, it will allow you to quickly advance to an important segment in that
video later during playback.
Capture a still image and insert a tracepoint place marker (default).
1If your BWX-100 is already programmed to perform the desired Snap/Trace
action(s), skip to step 3. Otherwise proceed to the next step.
2Login to your DEP, DEA Precinct, DEV, or DEF server application as an Admin
user. Next, display the BWX-100’s Edit DVR screen. (For detailed instructions, see
“Changing a BWX-100 DVR Record” on page 39.) Finally, select a value from the
Snapshot/Tracepoint drop-down list and click Save.
Once you’ve finished configuring your BWX-100, proceed to the next step.
3Press the Snap/Trace button while a recording is in progress.
The BWX-100 vibrates and either TRACEPOINT MARKED or SNAPSHOT
TAKEN displays on the LCD screen.
TRACEPOINT MARKED displays if the device is programmed to insert a tracepoint
only. SNAPSHOT TAKEN displays if the device is programmed to take a snapshot
only or perform both actions.
To capture a snapshot image
and/or insert a tracepoint,
press this button while a
recording is in progress

Operating Procedures
BWX-100 User’s Guide
L3 Mobile-Vision 5.8.2018 P a g e 15
Turning ‘Covert’Mode On/Off
Your BWX-100 includes a feature called “covert” mode. In this mode, the device’s
lights and audible sounds are disabled, allowing you to record discreetly when
necessary. You can activate this feature any time the device is on, whether you’re
recording or not.
Before you use this feature, make sure you are familiar with your agency’s policies
regarding the use of covert mode.
1To turn convert mode on, press the Covert Mode button for two seconds.
The device vibrates twice and the words COVERT MODE ON display.
As long as Covert mode is on, the word COVERT will display in the lower right cor-
ner of the LCD screen.
2To turn covert mode off, press the Covert Mode button again for two seconds. The
device vibrates/chirps twice and the words COVERT MODE OFF display.
To turn Covert mode
on/off, press this
button for 2 seconds

Operating Procedures
BWX-100 User’s Guide
P a g e 16 L3 Mobile-Vision 5.8.2018
Checking Remaining Record Time
To determine how much recording time you have left on your BWX-100, first
examine the Micro SD Card icon located in the upper right corner of the LCD screen.
The more black fill on this icon, the less storage space there is.
If you want to know the exact percentage of recording time that remains your device,
follow this procedure.
1Press theorbutton until DEVICE INFO displays.
2Press the button.
3Press theorbutton until STORAGE SPACE displays
4Press the button. The percentage of recording space remaining on your device
displays.
Checking Remaining Battery Power
To determine how much battery power you have left on your BWX-100, first
examine the Battery icon located in the upper left corner of the LCD screen.
The more diagonal lines there are, the higher the battery charge.
If you want to know the exact percentage of battery charge remaining on your device,
follow this procedure.
1Press theorbutton until DEVICE INFO displays.
Remaining space on internal
micro SD card. In this example,
the storage card is FULL
This example depicts
a fully charged
battery
Table of contents