manuals.online logo
Brands
  1. Home
  2. •
  3. Brands
  4. •
  5. Labelmate
  6. •
  7. Dispenser
  8. •
  9. Labelmate LD-100-U User manual

Labelmate LD-100-U User manual

12A Sunset Way, Henderson, NV 89014 USA
(702) 435-8535 FAX (702) 435-8536
Toll-Free (877) 833-7149 in USA!
[email protected]
w w w . l a b e l m a t e u s a . c o m
LABELMATE USA LLC
Product Limited Warranty
Labelmate USA warrants to the original end-user customer that Labelmate USA products will be free from
defects in materials and workmanship for the duration described herein below. Labelmate USA’s Limited
Warranty covers only those defects that arise as a result of normal use of the products and does not cover
any other problems, including those that arise as a result of: (i) improper maintenance or modification; (ii)
parts or supplies not provided or supported by Labelmate USA; (iii) operation outside the products’
specifications; or (iv) unauthorized repair, modification or misuse. Use of any unauthorized accessory or
attachment will void coverage.
The Warranty period for all products commences the date of shipment from Labelmate USA and accrues to
the original end-user customer. Warranty coverage is non-transferable and terminates immediately upon
rental, resale or any other change in ownership. Original purchase documentation should be retained for
Warranty coverage verification.
In the event Labelmate USA substantiates, during the applicable Warranty period, a defect in any product
which is covered by Labelmate USA’s Warranty, Labelmate USA shall repair or replace the product, at
Labelmate USA’s option. Labelmate USA retains sole discretion to determine whether or not a product is
defective. In no event shall Labelmate USA have any obligation to repair or replace until the customer
returns the defective product to Labelmate USA. The customer assumes any and all responsibility and
liability associated with transportation of products for service under this Warranty.
In the event your product requires service or you have questions regarding Warranty coverage, please call
toll-free (877) 833-7149 inside the United States, or +1 (702) 435-8535 outside the United States.
LABELMATE MAKES NO OTHER WARRANTY OF ANY KIND, WHETHER EXPRESS OR IMPLIED
WARRANTIES OR CONDITIONS OF MERCHANTABILITY, SATISFACTORY QUALITY, AND/OR
FITNESS FOR A PARTICULAR PURPOSE. NO OTHER PERSON, AGENT, DEALER OR RESELLER IS
AUTHORIZED TO GIVE ANY WARRANTIES ON BEHALF OF LABELMATE. ANY OBLIGATION TO
WARRANTY OTHER THAN THAT SPECIFICALLY ADDRESSED HEREIN IS EXPRESSLY DISCLAIMED.
WARRANTY PERIOD PRODUCTS COVERED
5-Years “CAT” and “Mini CAT” Label Rewinders
“UCAT” Label Unwinders
3-Years
Label Counters (Excluding Counter Displays and Encoders)
Label Dispensers (Excluding Counter Displays)
Label Slitters (Mechanical Parts Only - excluding Counter Displays)
Reel-to-Reel Machines (Excluding Counter Displays and Encoders)
Print Mechanisms (Excluding Counter Displays and Encoders)
Bottle Label Applicators (Excluding Polyurethane Rollers)
Quick-Chucks
1-Year
Power Supplies, AC/DC Adaptors and Transformers
Counter Displays
Encoders
Any other products or parts not specified herein
180-Days Out-of-Warranty Repairs
MADE IN USA
IMPORTANT NOTES:
Not for transparent labels. Keep the Stripper Bar and Web Guide Bars
clean. Use isopropyl alcohol or “Goo-Gone”™ to clean adhesive residue
from parts. Adhesive buildup can cause malfunction and damage to your
Unit. Do not use any chemicals on the Sensor or the Sensor Eye. Use only
a cloth or paper towel moistened with water.
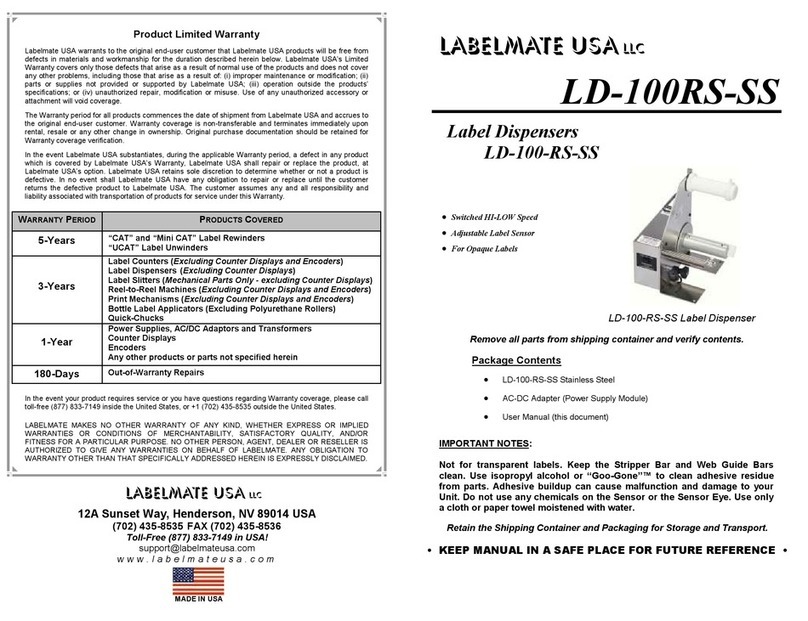
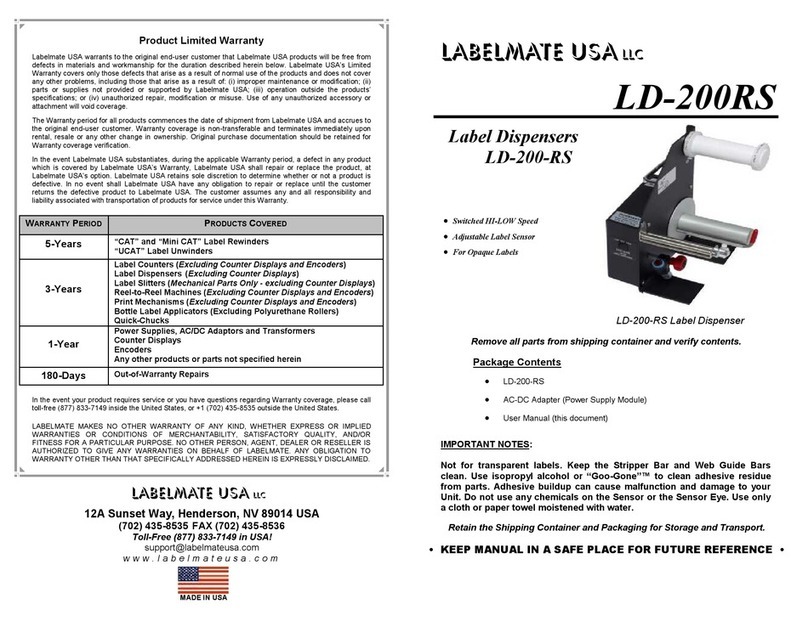
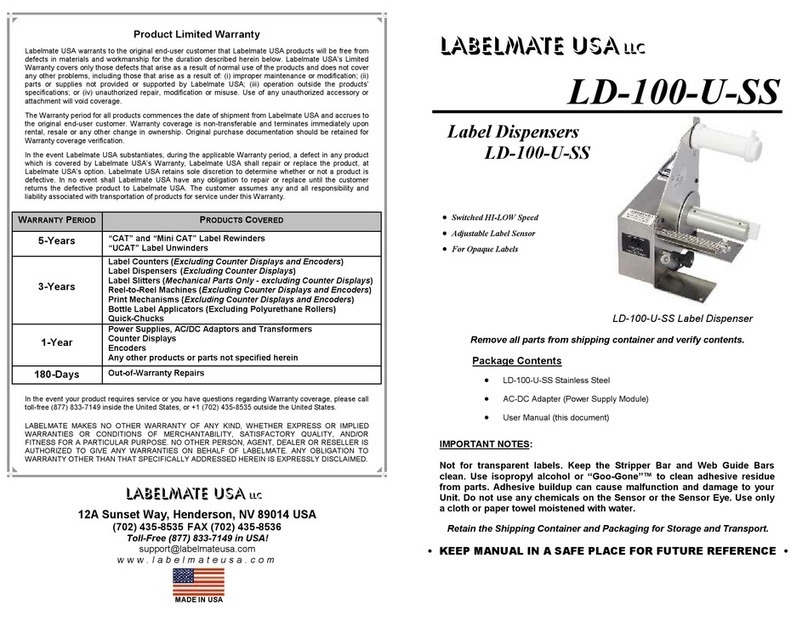
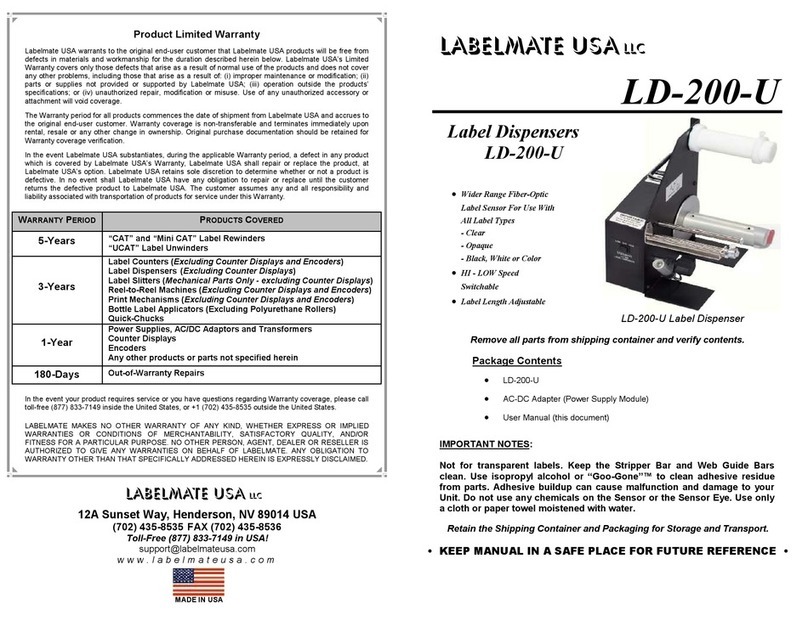
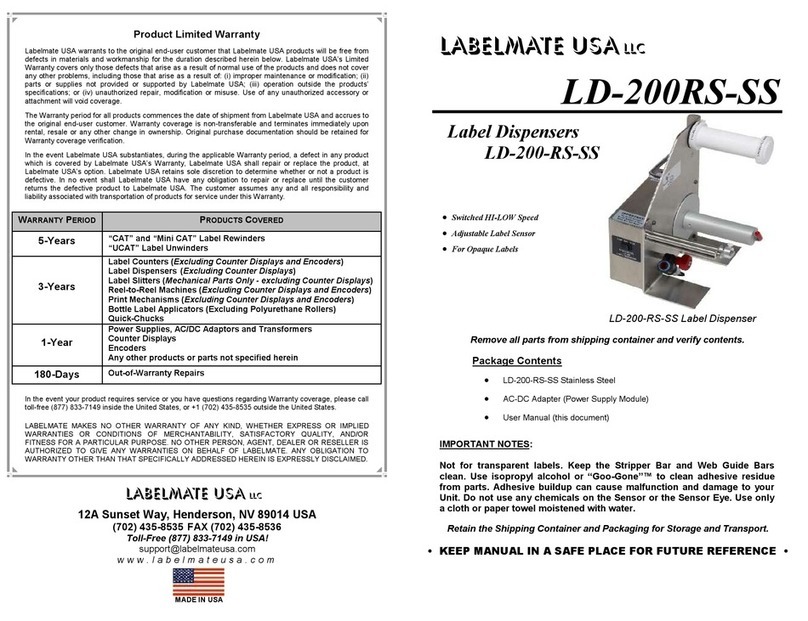
LD-100-U
Label Dispensers
LD-100-U
Retain the Shipping Container and Packaging for Storage and Transport.
• KEEP MANUAL IN A SAFE PLACE FOR FUTURE REFERENCE •
Switched HI-LOW Speed
Adjustable Label Sensor
For Opaque Labels
Remove all parts from shipping container and verify contents.
Package Contents
LD-100-U
AC-DC Adapter (Power Supply Module)
User Manual (this document)
LD-100-U
LABELMATE USA LLC
SET-UP AND USE
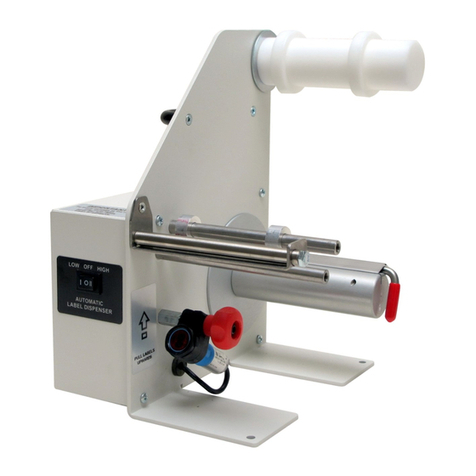
1. Make sure the Power Switch is in the center “OFF” position.
2. Set your Label Dispenser in place and plug the cord from the Power
Supply Module into the Power Input Jack on the rear of the Unit.
3. Connect the Power Supply Module to a suitable AC power source.
4. Place your roll of labels on the Label Roll Holder & slide the Roll
Edge Guide(s) to the width of your label web. The Label Web can
be positioned from side to side as required to ensure that the label
lines up with the reflective Sensor.
5. Thread the label web between the Stripper Bar and the round
Guide Rod directly above it. See the Label Threading Path
illustration.
6. Pull the label web UNDER the round Web Guide and slide the width
adjusters to the width of the web.
7. Loop the web on the Take-Up Shaft as shown in the illustration.
8. Slightly loosen the Label Sensor Lock Knob, until you can just
rotate the Sensor. Point the sensor up so it is pointing at the bottom
of the Stripper Bar. Place the Power Switch in the “LOW” position.
Slowly rotate the Sensor down until the label begins to advance.
Continue to rotate the Sensor slowly until the desired label length is
protruding. Retighten the Lock Knob securely.
9. Use the “HIGH” or “LOW” Switch setting to select the desired
speed.
10. IMPORTANT – Pull labels UP when removing them not to the
side.
11. If excess dust or dirt accumulates on the Label Sensor Eye the
Dispenser may not sense labels correctly. Use a cloth or paper
towel dampened with water to gently clean the Label Sensor. Do
not use any chemicals on the sensor.
12. Optional Flanges for the inside and outside of the label roll are
available. These Flanges are recommended for narrow or loosely
wound labels that may have a tendency to fall off the roll. Order
FLANGES-LD. Set of two Flanges.
WARNING
This product is for indoor use only.
Not for use in wet locations.
Unplug unit before removing waste
material or performing any cleaning or
maintenance services.
Label Threading Path
OPTIONAL LABEL COUNTER: The optional Label Counter will add
one count to the displayed number for each label that is dispensed. This
Option is available only factory installed in new Units.
When the Label Dispenser is first turned on, it may display a count of “1”
or the number from the previous count. You can reset the Label Counter
to zero (“0”) by pressing the “R”Reset Button.

Other Labelmate Dispenser manuals

Labelmate LD-100-RS User manual

Labelmate

Labelmate LD-100-RS User manual

Labelmate LD-200-RS-SS User manual

Labelmate

Labelmate LD-200-RS-SS User manual

Labelmate LD-200-U User manual

Labelmate

Labelmate LD-200-U User manual

Labelmate LD-200-RS User manual

Labelmate

Labelmate LD-200-RS User manual

Labelmate LD-100RS-SS User manual

Labelmate

Labelmate LD-100RS-SS User manual

Labelmate LD-200-RS User manual

Labelmate

Labelmate LD-200-RS User manual

Labelmate LD-100-U-SS User manual

Labelmate

Labelmate LD-100-U-SS User manual

Labelmate LD-100-RS User manual

Labelmate

Labelmate LD-100-RS User manual

Popular Dispenser manuals by other brands

Tork Elevation H2 Xpress Service and parts manual

Tork Elevation

Tork Elevation H2 Xpress Service and parts manual

XpressFill XF460 manual

XpressFill

XpressFill XF460 manual

Moen S3947 installation guide

Moen

Moen S3947 installation guide

Bartscher 850006 Original instruction manual

Bartscher

Bartscher 850006 Original instruction manual

Graco PrecisionSwirl 243402 Instructions-parts list

Graco

Graco PrecisionSwirl 243402 Instructions-parts list

Cornelius JT20D Operator's manual

Cornelius

Cornelius JT20D Operator's manual

tatsuno ULTRA FN-1025 Series Instruction and maintenance manual

tatsuno

tatsuno ULTRA FN-1025 Series Instruction and maintenance manual

AQUABEVE Aqua Lavit manual

AQUABEVE

AQUABEVE Aqua Lavit manual

Adast Systems AdBlue V-line 47 Series user manual

Adast Systems

Adast Systems AdBlue V-line 47 Series user manual

dymax SD-100 user guide

dymax

dymax SD-100 user guide

Vollrath Stoelting CBD127-37 Operator's manual

Vollrath

Vollrath Stoelting CBD127-37 Operator's manual

PolyKeg PRO instruction manual

PolyKeg

PolyKeg PRO instruction manual

APW Wyott Lowerator HMCTR-1020 Specifications

APW Wyott

APW Wyott Lowerator HMCTR-1020 Specifications

amspa Mobile Fuel Dispenser owner's manual

amspa

amspa Mobile Fuel Dispenser owner's manual

Bristan IRSD1-CP Installation instructions and user guide

Bristan

Bristan IRSD1-CP Installation instructions and user guide

Promek VL 112 Installation and manintenance instructions

Promek

Promek VL 112 Installation and manintenance instructions

Breville hotcup vkj476 user manual

Breville

Breville hotcup vkj476 user manual

Prince Castle McDONALD'S 398-B quick start guide

Prince Castle

Prince Castle McDONALD'S 398-B quick start guide

manuals.online logo
manuals.online logoBrands
  • About & Mission
  • Contact us
  • Privacy Policy
  • Terms and Conditions

Copyright 2025 Manuals.Online. All Rights Reserved.