laguna PL 12/20 User manual

LAGUNA TOOLS
2072 Alton Parkway
Irvine, California 92606
Ph: 800.234.1976
www.lagunatools.com © 2017, Laguna Tools, Inc. LAGUNA® and the LAGUNA Logo® are the registered trademarks of Laguna Tools, Inc. All rights reserved.

Thank you for choosing our products. We will provide you with comprehensive
after-sales service and solutions, please keep this instruction booklet and other
attachments for your use later.
The Manual is going to show you the work principle, methods of installation, operation,
troubleshooting, transport, storage and maintenance. If it’s your first time using
this product, please read this information carefully before installation and use.
The operator requires a certain amount of computer experience to edit the graphics and program
your machine. RDWorks that comes with your machine is a fully functional CAD/CAM
program for your Laser.

Safety knowledge:
1. Make sure that the operator is trained before operating the machine. You can always
check us out @ https://lagunatools.com/videos/laser-video-page for training and tech
videos.
2. It is recommended that you never operate your laser with the protective cover open or
bypassed.
3. Never expose yourself or anyone else to the invisible laser beam.
4. Do not touch the laser power supply or laser tube when it’s working
because of its lethal voltage, the danger still exists even with power off.
5. For safety purposes, equipment modification is strictly prohibited without the
manufacturer agreement.
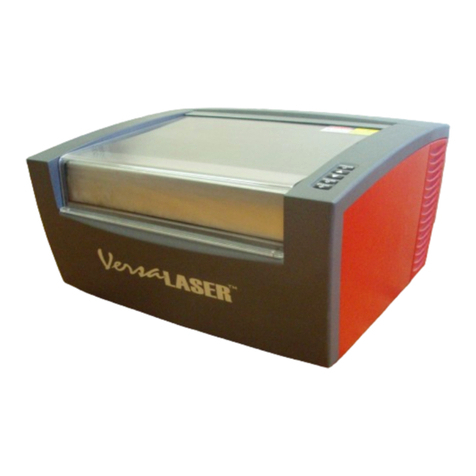
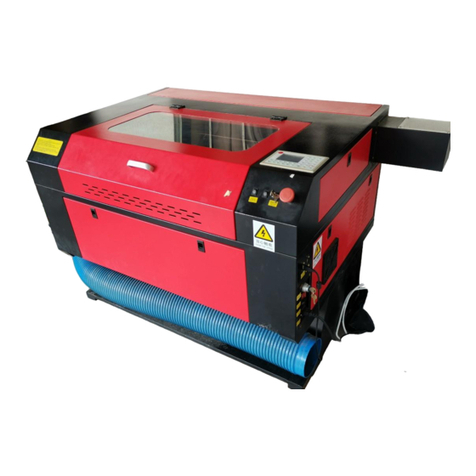
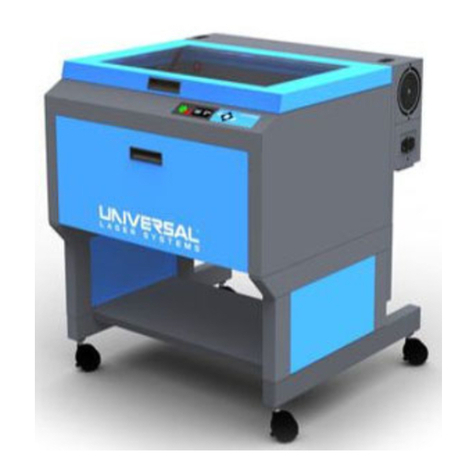
PL 12/20:
The machine comes with the laser cabinet, a chiller, fan, air compressor and accessories box.
The accessories box will contain any extra parts needed for installation of your machine.
Please watch the unpacking and set up videos on line @ lagunatools.com
Equipment should be set in a dry environment without electromagnetism or
high-strength electricity. There should be no pollution disturbance and temperature of the
working environment should be 50° –100° F, humidity is 10-90%, AC 110V±10%,
60HZ, resistance to ground should be smaller than 5Ώ.
Once the machine is unpackaged it is important to go through the cabinet of the laser and
remove any of the protective plastics and zip ties.

INSTALLATION: CHILLER C-W 3000
The chiller has four components that need to be attached: 2 water Tubes, an alarm cable and
power cable.
1. On the back of the chiller you will find 4 ports, the farthest port to the right will be for the
power cable. You will connect the power cable here.
2. There is an “Alarm Output” port to the left of the power port. You will connect the black
alarm cord here. Once connected to the chiller you will run the cable to the back of the
laser cabinet and connect it to the “Alarm Input” port.
3. In your accessories box, you will find two clear water tubes. These will be connected to
the “Inlet” and “Outlet” ports on the back of the chiller. Once connected to the chiller
you will run the tubes to the back of the laser cabinet where you will find two matching
ports. When connecting ensure you run the “Outlet” tube from the chiller to the “Inlet”
port on the laser. You will then run the “Inlet” tube to the “Outlet” port on the laser.

INSTALLATION: AIR COMPRESSOR
The air compressor comes with one attachment, an air hose with a connector.
1. Attach the air hose to the compressor by screwing the connector into the compressor.
2. Run the air hose to the back of the laser cabinet and insert it to the “Air” valve.
*note: it is recommended that you use a power strip with an on and
off switch to connect your chiller and exhaust fan

INSTALLATION: EXHAUST FAN
The fan comes with two air tubes and an attachment for the back of the laser cabinet.
1. You will have a round black attachment with three screw holes. You will connect this to
the back of the laser cabinet. Directly in the middle of the laser cabinet will be an
exhaust port. Simply unscrew the screws that are in the adjoining location and attach the
connector here.

2. On the fan, you will see two ports, an inlet and exhaust. The inlet is the port on the front
of the fan and the exhaust runs out of the side. You will connect one of the air tubes to
the inlet port and connect it to the back of the laser cabinet. The tubes come with clamps
that simply screw to tighten and hold the tubes in place.
3. You will attach the second tube to the exhaust port on the fan using the clamps to hold it
in place. Route the exhaust tube to a suitable outdoors location to remove fumes from
your shop. Connect to additional tubing or piping if necessary.
At this point you can connect the laser power cord to the back of the laser cabinet. Look over all
of your connections and ensure everything is tight and in the right positions. You can now turn
on your chiller. You will hear an alarm for a few seconds, but will shut off once the water begins
to flow.
Power up the laser by flipping the main power switch on the back of the laser. You will see a
light come on inside of the laser cabinet.
POWERING UP THE LASER:
At the front of the laser you will find an “Emergency Stop”, a “Power Button” and a control
panel.
1. Once the main power switch is on, you can now power the laser up by pressing the
“Power” button on the front of the machine. At this point the laser will come on and
home itself. You will see the laser head move to the far top right of the laser cabinet.
2. On the control panel, you will find 4 buttons, up, down, left and right. Toggle the buttons
to ensure the laser head is moving properly.

BEAM ALIGNMENT:
After getting your machine up and running you may need to do a beam alignment. This will
ensure you are getting a good cut and that you are utilizing the full power of your laser. There
are five parts to the laser path. Laser to rear mirror, rear mirror to gantry mirror, gantry to head
mirror, head mirror to focus lens and focus lens to the piece you are working on. We will be
focusing on the rear mirror to gantry mirror and the gantry to head mirror. Please watch the beam
alignment video @ https://lagunatools.com/videos/laser-video-page
1. Remove the side panel, the panel to the right of the laser cabinet when looking from the
front. You will find the laser to rear mirror and the rear mirror to gantry mirror. In your
accessories box you will find 1x1in square acrylic blocks. These will be used to align
your beam.
2. Take one of the acrylic blocks and apply double sided tape to one side. You will attach
this block to the rear mirror to gantry mirror. Go to the front of the machine and press the
pulse button on the control panel for one second. You will see a small circle etched into
the acrylic block. The circle should be in the center of the mirror, if it is not you will
adjust the laser to rear mirror. The mirror will have three knobs for adjustment, turn them
according to the position you need the laser to strike.
3. Once the laser to rear mirror is properly adjusted you will then move to the gantry mirror
to head mirror. You will remove the first acrylic block and reposition a new one to the
gantry to head mirror and repeat the process until satisfied with the adjustments.
4. At this point you can use paper tape and apply it to the tip of the laser head. If the beam
does not create a circular hole directly in the middle of the tape you will need to adjust
the focal lens using the screws on the top of the focal lens.

In the accessories box, you will find a USB data stick. This will have The RDWorks software
and user manuals. Click on the RDWorks software file and install it on the computer you will be
working with. If you have any difficulties with this install. Go to https://lagunatools.com/design-
software-resources and download current version of RDWorks. Once the software is installed
Double Click the Software“RDWorksV8” – Device settings on the lower right hand corner of
your screen make sure this is set to USB:Auto. Connect the cable from Laser USB to computer
USB. Click the “Vendor Setting” in the “File” menu. Insert the Password“rd8888.” Click read
then save to your computer or thumb drive in case you ever need these parameter settings. Close
this out and return to main screen. Now you are ready to create files.
BASIC FUNCTIONS OF THE LASER:
At this point you can begin to create and import files with your software. Choose your method
of transferring files: PC to Laser or USB. On the back of the laser you will find two USB ports.
The PC – USB is for connecting your computer directly to the machine and the USB is for using
a data stick to make transfers.
For PC-USB transfers, you will connect the cable to the PC -USB port and when ready to make
the transfer you will select the “download” button in your software. On the laser, you will push
the file button and anything you have downloaded will show up in the laser’s memory.
When making a transfer with USB, you will select “SaveToUFile”. Once the file is saved on the
USB you can connect the data stick to the back of the machine in the “USB” port. Click File on
the control panel of the laser cabinet. A screen will pop up, you will select Udisk+, Read Udisk
file. You will see the files you have saved to the USB, choose the file you want and select
“Copy to mem”. The file will now be saved to the Laser’s memory and can be selected at any
time.
At this time you will be able to use your laser. We will also provide videos on our website,
https://lagunatools.com/videos/laser-video-page that will help with your installation process. If
you need further assistance you can contact Laguna Customer Service at 1(800) 332-4094. You
can also email any questions you have to [email protected].
SOFTWARE INSTALLATION:
Laguna Tools is not responsible for errors or omissions.
Specifications subject to change. Machines may be shown with optional accessories.
© 2017, Laguna Tools, Inc. LAGUNA® and the LAGUNA Logo® are the
registered trademarks of Laguna Tools, Inc. All rights reserved.
2072 Alton Parkway. Irvine, CA 92606
Ph: 800.234.1976 | www.lagunatools.com
Table of contents