Functions
1. Switch On
The camera will be switched on by pressing the power
button for 3 seconds when the camera is off, the
indicator light will be turned on, and the start-up screen
will be shown on the internal ocular.
2. Switch Off
The camera will be switched off by pressing the power
button for 3 seconds when the camera is on. The
camera will be switched off automatically if there is no
operation for an amount of time when in standby-mode.
3. Standby-mode
Short Press the power button when the camera is
on, it will enter into standby mode with indicator light
flickering. The camera switches off automatically when
there is no operation for approximately 30 minutes.
Short press again to resume from standby mode to
normal mode.
4. LED flashlight
The camera can be used as a flashlight (LED) when it
is switched off. Hold down the image mode button and
the lamp turns on. Release the button and the lamp
switches off.
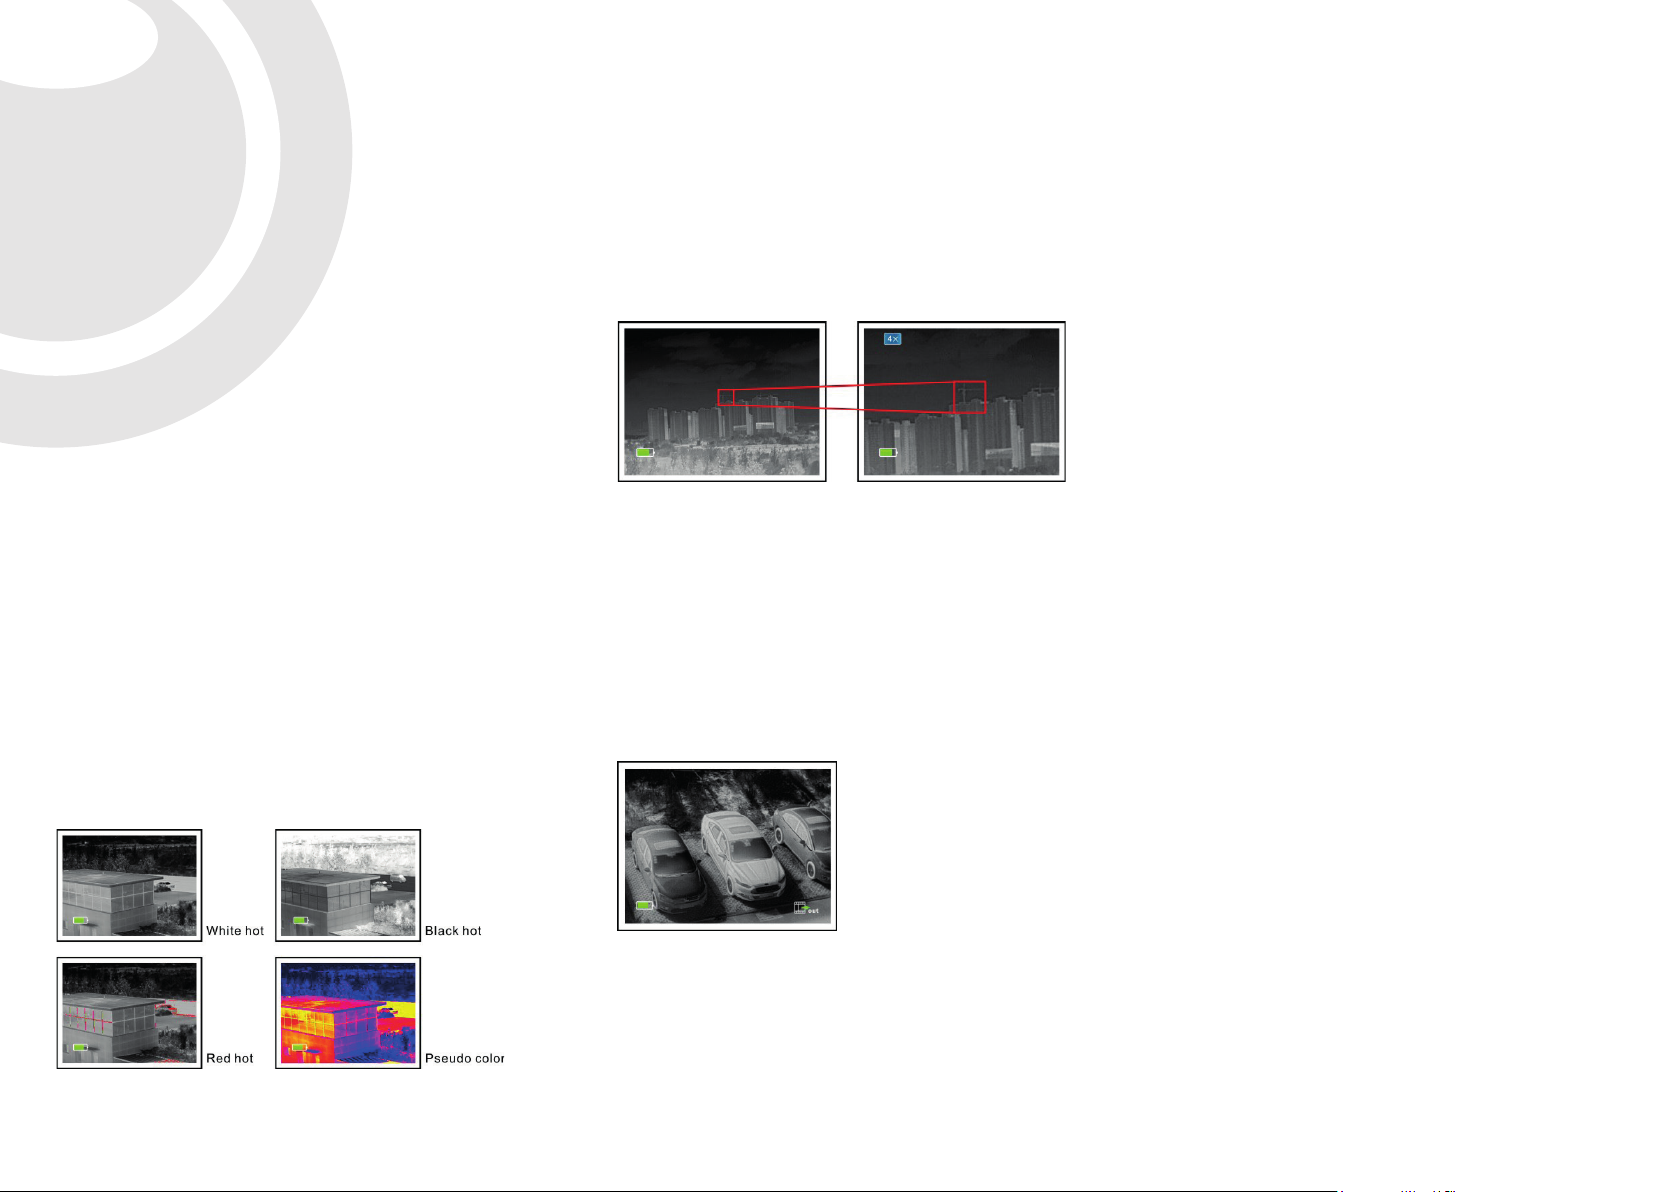
5. Using the Image Mode button
Short click the Image Mode button to switch the image
mode when the camera is on. The image mode will be
switched in 5 steps from White hot, Black Hot, Red Hot,
Pseudo colour to Target highlight (Bird). Each image
mode shows it’s own symbol.
6. Using the brightness button
The brightness of the display can be adjusted when the
camera is on. To do this, briefly press the brightness
button once or more times. There are 6 different setting
options to select from in circular order.
7. Using the E-Zoom button
Short click the E-zoom button when the camera is on.
The image will be electrical zoomed in.
8. Dioptre adjustment
The dioptre knob can help user getting the clearest
image for different eye conditions.
9. Video Out
Open the analogue video through the menu.
In the down-right corner of the image a video output
icon is displayed. The camera is now ready for
analogue video output with a MCX video cable.
10. NUC (non-uniformity correction)
Image deterioration can be improved by manual
correction. There are two correction options
available: Manual correction and external correction.
Short press the E-zoom and brightness- button at the
same time to make the manual correction.
Long press the brightnessbutton to do the external
correction.
Important! When performing an external correction,
please ensure the lenscap is closed.
11. Charging
When the indicator is red, it indicates that the battery
is insufficient, please charge in time. Open the USB
cover, and plug the USB cable to charge. When
charging, the indicator light is red and it will turn into
green when it is fully charged.


