Repairs may become necessary over
time; these and all major servicing
operations must be performed
exclusively by technicians employed
by the manufacturer or an authorized
service centre.
Carefully read the directions given in this
manual; they contain important information
on safety during installation, operation and
maintenance.
Keep this manual in a safe place for
future consultation!
The appliance must be used only for the
purpose for which it was expressly
designed: i.e. cooking foods. Any other
type of use is improper and therefore
dangerous.
should be allowed to use the appliance.
The oven must not be left unattended
during operation.
There are surfaces of the oven that become
hot during operation. Take care!
Ask the installer for information on correct
operation and use of the water softener;
incorrect or incomplete maintenance can
lead to the formation of scale, which can in
turn irreversibly damage the oven.
Should it become necessary to call out a
service technician, all essential identification
details of the appliance are shown on the
data plate, located at the right-hand side
on the bottom.
If the power supply cable is damaged,
it must be replaced by the manufacturer
or by its after-sales assistance service
or, however, by a person with similar
qualification, in order to prevent every risk.
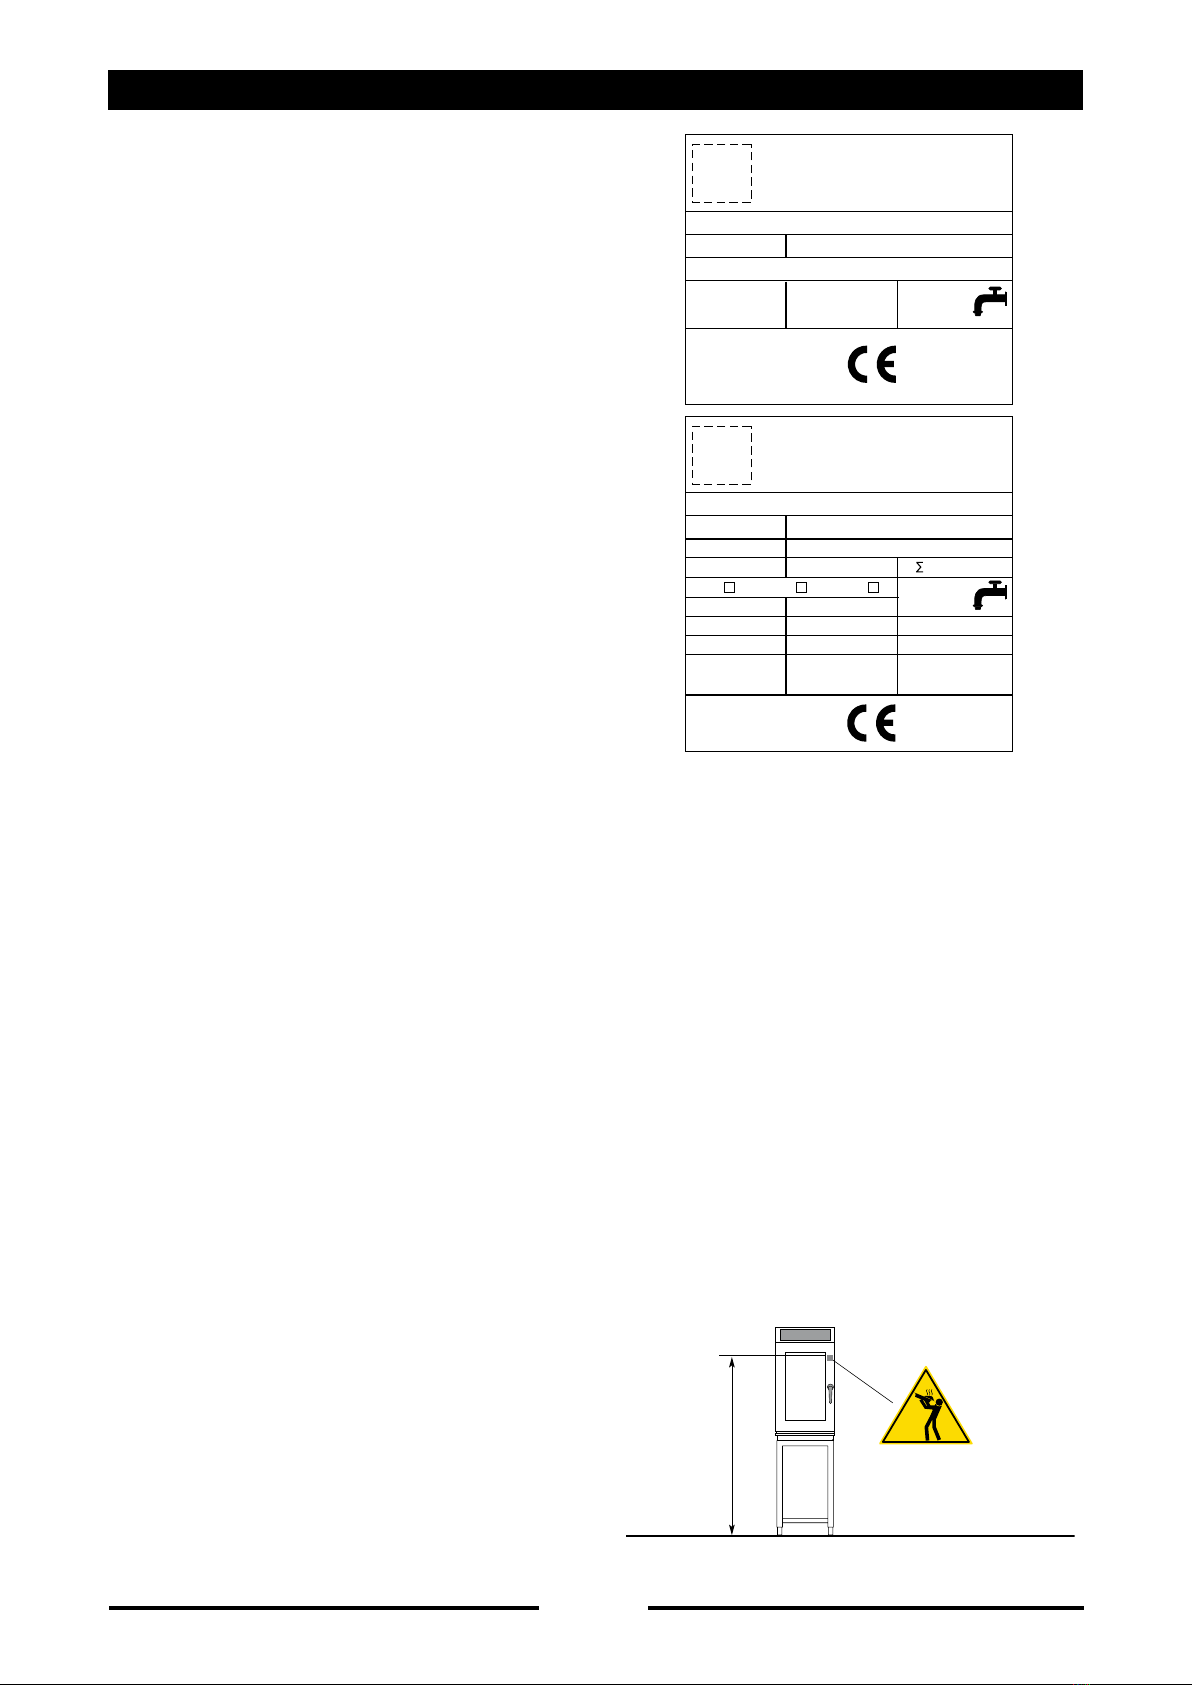
Each appliance is equipped with a data
plate identifying the model and its main
technical specifications. An example is
given below of a dataplate for an electric
oven and one for a gas oven.
In the event of technical assistance being
required, provide as much detailed
information about the fault as possible in
order to facilitate the service technician in
identifying and resolving the malfunction.
In the event of breakdown or faulty operation,
switch off the oven immediately!
The room in which the oven is to operate
must be well ventilated!
Safety sticker
Maximum height for inserting containers
with liquids
the containers filled with liquid or food
which, through cooking become fluid,
at levels higher than those which can be
observed.
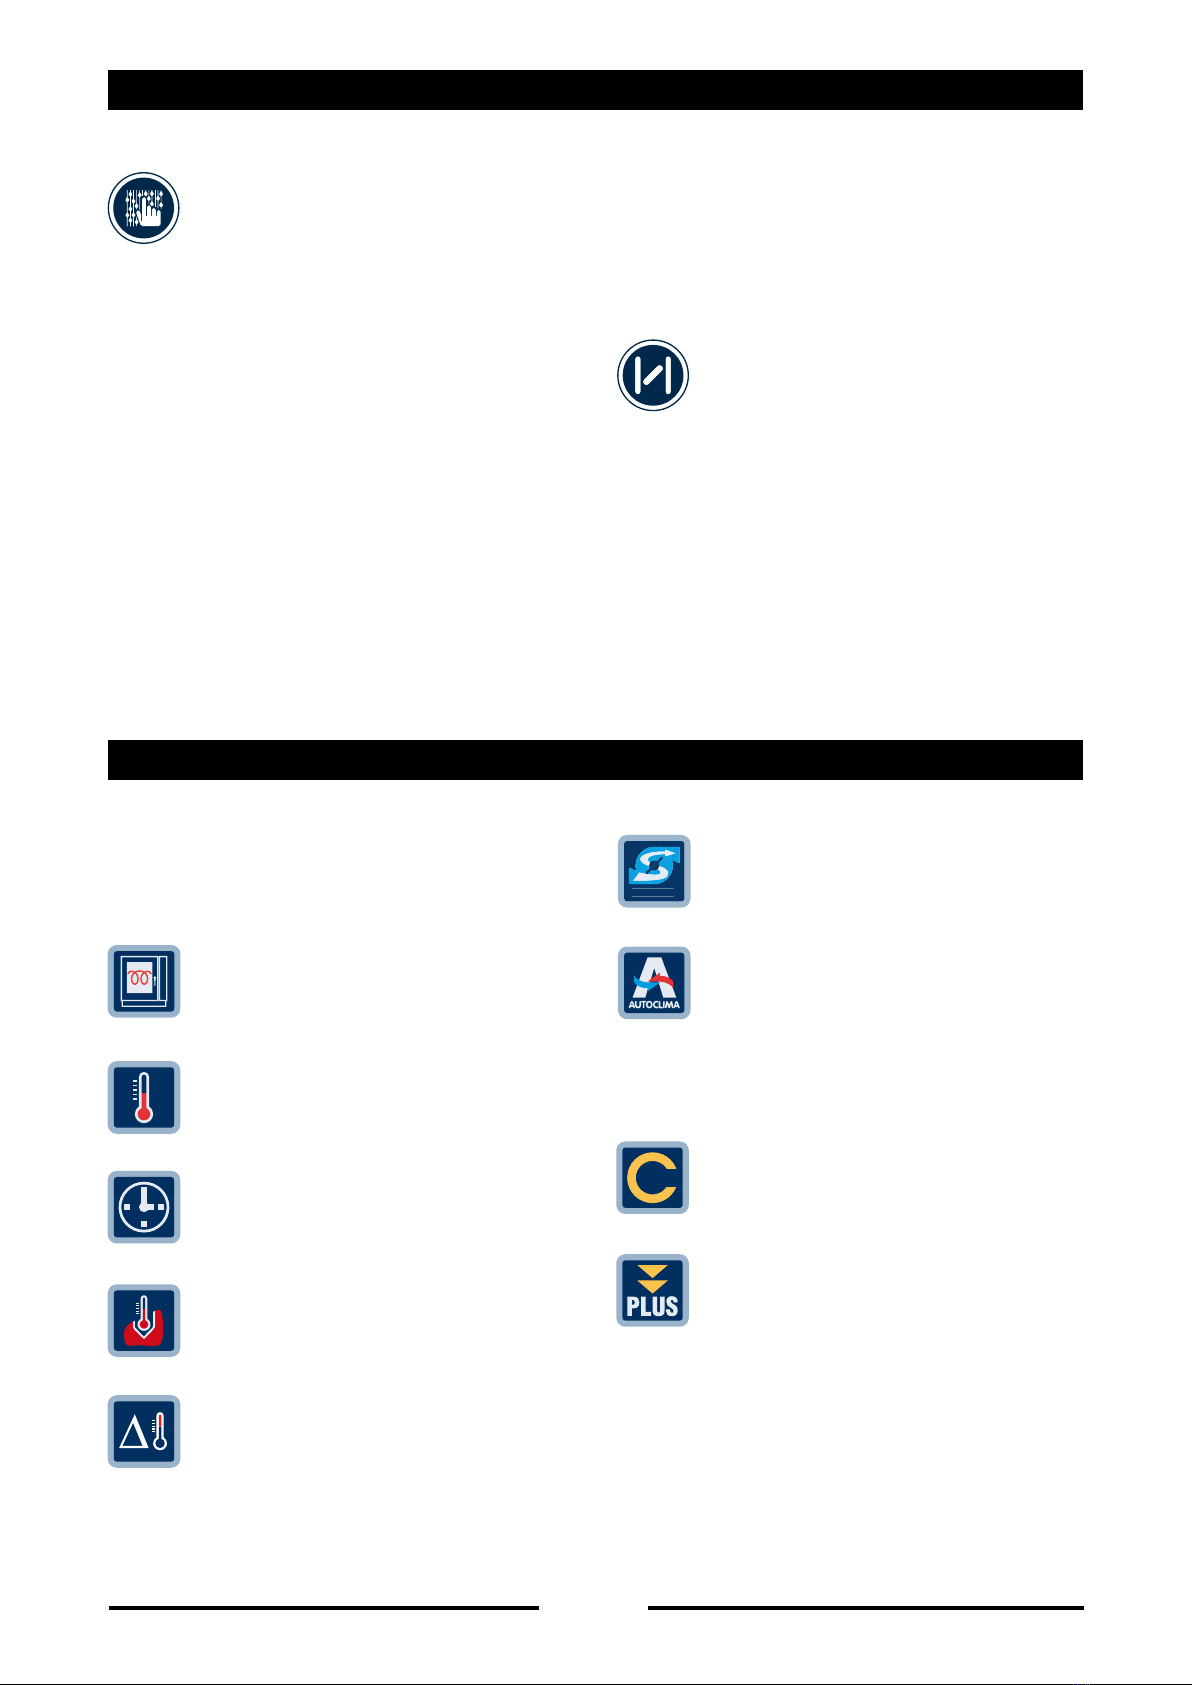
1 GENERAL REMINDERS
1600 mm (63 inch)
0085
2010
EN 203/A1 AC 230V 50Hz
IT
IPX 5
G 25 / m3/h
Qn 40 kW
Cat.
II 2H3+
NR XXXXXXXXXX
kPa
200 - 500
P mbar
20; 28-30/37
TOT 1 kW1 x 0.55 kW
G 20 / m3/h
G 30 3.16 Kg/h
Pmax / mbar Pmax / mbar
Pmin / mbar Pmin / mbar Pmin / mbar
A3 B13 B23
2010
3N AC 400V 50Hz
IPX 5
NR XXXXXXXXXX
kPa
200 - 500
TOT 6.25 kW1 x 0.25 kW
TYP. XXXXXXXX
TYP. XXXXXXXX
LOGO
LOGO
90027560rev00