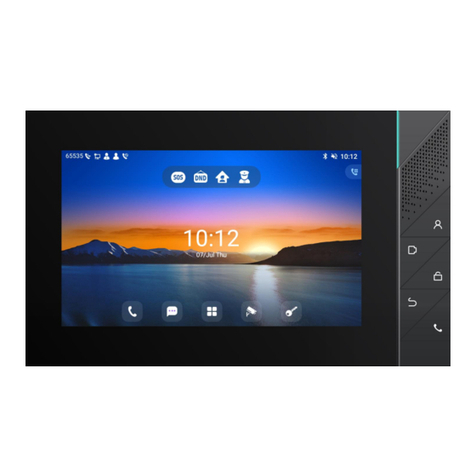
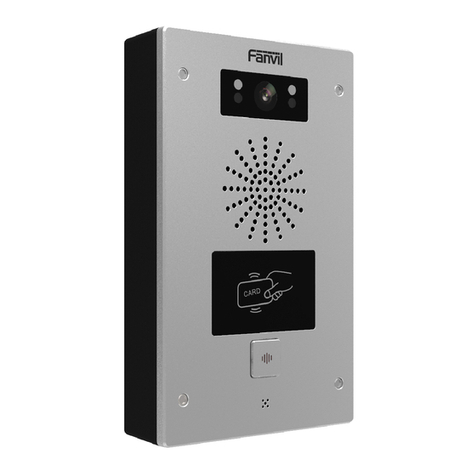
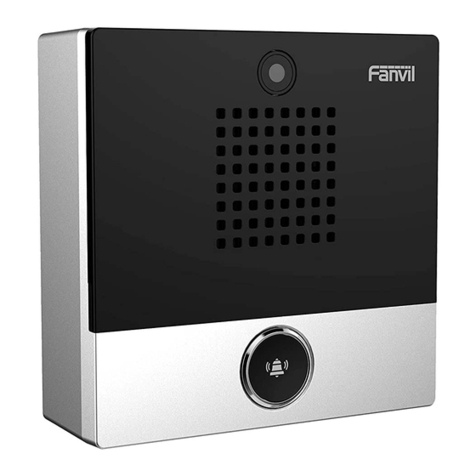
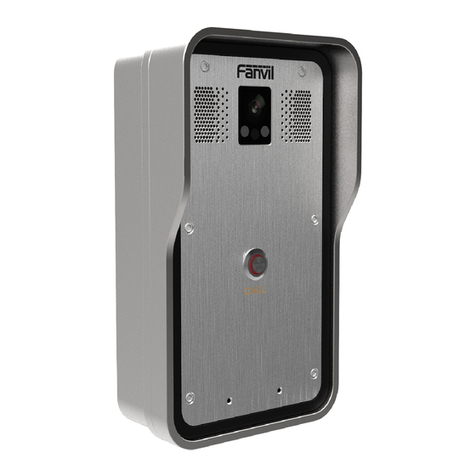
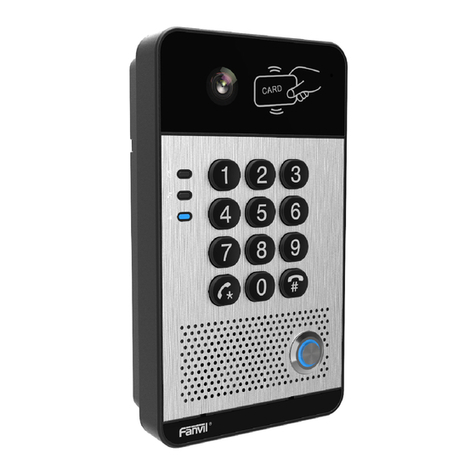
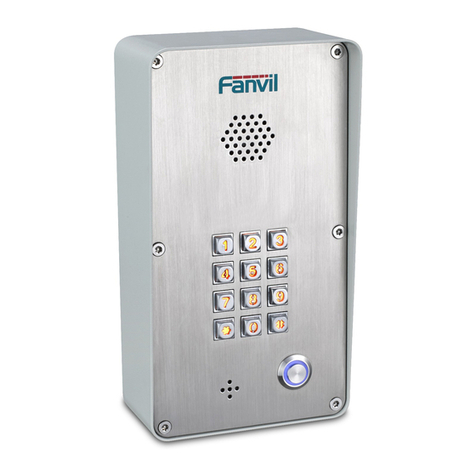
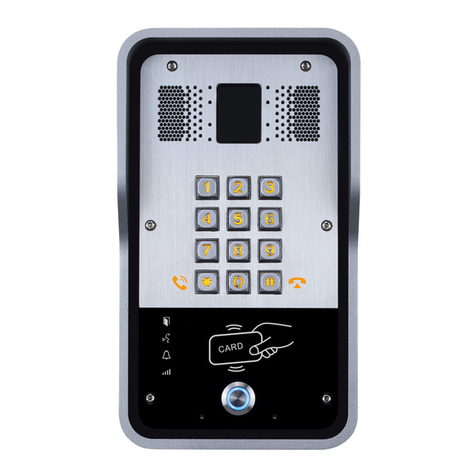
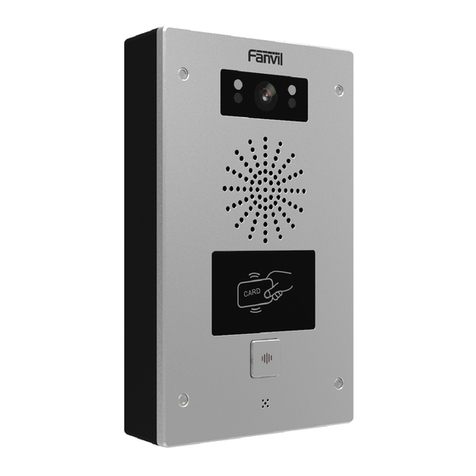
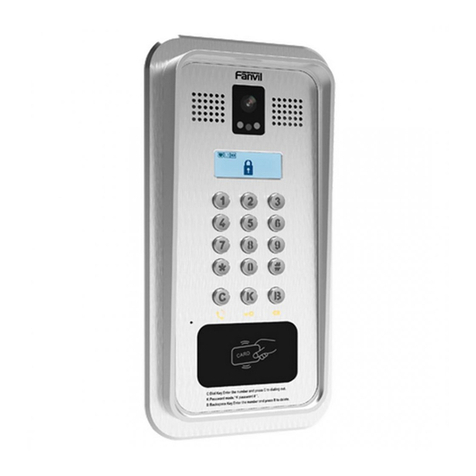
Fanvil i66 User manual

Quick Installation Guide
i66&i67
www.fanvil.com
i66 i67

Package Contents
Video Door Phone
Quick Installation Guide
Wall Bracket
Mounting Template
RFID Cards 2pcs
Screws
connector
and tool
Model
Physical specification
Device size
i66&i67 300 X 115.6 X 35 (mm)
1) Panel
i66 i67
MIC
MIC
Speak
Speak
Numeric
keypad
RF card
reader
RF card
reader
Screen
IR LED IR LEDCamera Camera
White light
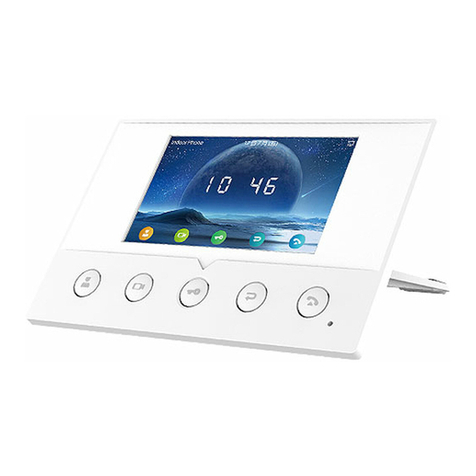
Call
management
center key
Password key
Hang up key
Dial key
Numeric
keypad
White light
Screen
Wall-mounting template
1 2 3 4 5 6 7 8
011CM9 10
1
2
3
4
5
6
7
8
9
10
11
12
13
14
0
15
16
17
18
19
20
21
22CM
23
24
25
26
27
28
29CM
D1 D2 D3
Quick Installation Guide
i66&i67
www.fanvil.com

2) Interface description
Open the back cover of the device, there is a row of wiring terminals for
connecting the power supply, electric lock control, etc. The connections are
as follows:
ʒ
ʓ
ʔ澝ʕ
ʖ
ʗ
ʘ
ʙ
ʚ
Ethernet interface: standard RJ45 interface, 10/100M self-adaptive, it is
recommended to use Category 5 or Super Category 5 network cable
Description
Number
Power interface: 12V/2A input, note that the top is positive and the bottom
is negative
Two sets of short-circuit output control interfaces: used to control electric
locks, alarms, etc.
Wiegand interface(D0/D1/GND)
RS485 interface(A/B)
Two sets of short-circuit input detection interfaces: used to connect input
devices such as switches, infrared probes, door sensors, and vibration
sensors
USB interface,4P/1.25 pitch, used with wireless wifi/4G accessories or
ID card module
Line out interface for connecting auxiliary hearing aids
ʕ
ʙ
ʚ
ʖ
ʗ
ʘ
ʒ
ʓ
ʔ

3) Wiring instructions
:
NO: Disconnected in idle state (normally open) ;
COM: Relay contact (common) ;
NC: Connected in idle state (normally closed)
Power Supply
For Lock Electric-lock Mode
External Power off and
open the door
Power on and
open the door
ɭ
ɭ
ɭ
ɭ
ɭ
ɭ
Wiring
S-I S-O
Electric lock (NO: normally open)
Power off and open the door
NC COM NO
S-I S-O NC COM NO
NC COM NO PUSH GNB 12V
Electric lock (NC: normally closed)
Power on and open the door
S-I S-O NC COM NO
Electric lock drive
(external power supply)
Electric lock drive
(external power supply)
Access control
power input
Access control
power input
Access control
power input
Installation Diagram
Figure 3-1 The three parts of the i66,
Wall mounting:
Step 1: Installation preparation
A.Check the following contents:
KM3*30 screw x3
TA4 x 30mm screw x5
ijPPVFUHZDQFKRU[
KM4*30 screw x3
TM6#*20/screw x5
KM3*6mm screw x3
KB2.6*5 screw x1
B.Tools required for installation
The special L-shaped Torx screw tool provided with the product
Ph2 or Ph3 Phillips screwdriver, hammer, RJ45 crimping pliers
Wall drilling impact drill, 8mm impact drill x1
Figure 3-1

Step 2: Drilling
Figure 3-2 Wall Mounting / Built-in
A. Paste the installation dimension drawing to the position to be installed.
B. Use an electric drill to drill the 4 holes marked on the mounting template.
Remove the template when finishing drilling.
C. Push or hammer screw anchors into the drilled holes.
Step 3: Removing hanging bracket and back shell
A. The wall bracket is separated from the device downwards, and use a screwdriver to
loosen the 6 screws of the rear case, as shown in the figure 3-3,
Figure 3-3-a Figure 3-3-b
Installation Environment
Note:
Biometric recognition products cannot be considered 100% suitable for all recognition
scenarios.
For scenarios with high security requirements, please configure access with combined
authentication.
Face backlight Direct sunlight Sun shines directly
through the window
Sun slanted
through the window
Lighting at
close range
Do not install this device in the following locations: direct sunlight, high temperatures,
snow frost, corrosive chemicals, and places with too much dust.
Install the unit at a suitable visual height, with a recommended height of around 160cm.
If it is installed indoors, please maintain a distance of at least 2 meters from light
sources and at least 3 meters from doors and windows to avoid direct sunlight.
Avoid violent vibration, collision and impact, which may cause damage to the internal
precision components and the shell.
When powering on, if any abnormal situations are identified, the power supply should
be cut off immediately until the issue is resolved.After the system is disconnected
abnormally, please check it in sections. If the cause can not be identified, please
contact the sales agent or the manufacturer's after-sales service provider, and do not
repair the system by yourself.When using the proximity card, it should be kept safe from
magnetism, water, and bending. When equipped with facial recognition functionality,
install it in an evenly lit environment, avoiding situations where the camera is against
strong backlight, exposed to oblique light, or subjected to close-up illumination.
Step 4: Install the wall bracket, wiring and casing
A. Align the screw holes of the wall bracket with the drilled holes on the wall, put in the
ijPPUXEEHUSOXJDQGIL[LWRQWKHZDOOZLWKWKH7$PPVFUHZVSURYLGHG
as shown in Figure 3-4.
B. Pass all the wires through the silicone plug in the middle of the bottom case, and
reserve a length of 15~20CM for all wires, as shown in Figure 3-5.
Note: The outlet hole of the bottom case faces down.
Figure 3-4 Figure 3-5
TA4*30mm
C. Connect the network cable with the RJ45 crystal head, and connect the power cable
and the terminals of the electric lock control cable. Please refer to Section 2 for the
connection sequence.
D. Connect the connected terminals to the motherboard socket, see Section 2 for the
connection location.
Figure 3-6
Flush mounting:
Step 1: Installation preparation
A.Check the following contents:
Built-in wall box x1
Built-in wall decorative panel x1
Built-in wall bracket x2
KM3*6mm screw x3
PM3*3mm screw x5
PM3*4mm screw x5
ijPPVFUHZDQFKRU[
M3*70mm screwdriver x1
E. Test whether there is electricity by doing the following:
Enter the dialing interface, enter #*107, enter the password, enter the engineering
mode, you can view the IP address of the device, and you can switch between static
and dynamic IP modes.
Enter the local opening password or test the indoor opening to see if the electric lock
works normally.
If it works fine, continue with the next steps.
F. Fasten the device and the wall bracket from top to bottom, and tighten the screws at
the bottom, as shown in the figure 3-6.

There are two ways to query the IP of the device, as shown below:
Method 1:
Open the IP scan tool, click the refresh button, search and find the IP address of the
device. (Download link: https://www.fanvil.com/)
IP address of the device
IP access control settings
Method 2:
Enter the dial interface, enter #*107, enter the password, enter the engineering mode,
you can view the IP address of the device, and you can switch between static and
dynamic IP modes.
Step 1: Log in to the device webpage
Use a web browser to enter the IP (eg http://192.168.1.128) to access,
The default username is admin and the password is admin.
ʒʕʓʔ
'VVKGXGTIK /TYZGRRGZOUT*OGMXGS
Decoration
Panel
Small
Stents Device Wall Box

Step 2: Set up a SIP account
Through the assigned SIP account, configure the SIP server address, port, user name,
password and number respectively.
Then check [Enable] and click [Submit] to save this setting.
Step 3: Set Speed Dial Keys
Set the speed dial parameters of the speed dial key, as shown below,
click [Submit]to save this setting.
Type: memory key. Value 1: The number to call.
Line: The SIP line used for the call. Subtype: Speed Dial.
Step 4: Access control parameter settings

Open door settings
Swipe to open the door
:HESDJHDFFHVVVHFXULW\VHWWLQJVĺFDUGPDQDJHPHQWĺDGGFDUGĺVHOHFWFDUGW\SH
(The standard card provides the door opening function, and the add card and delete
card provide the add and delete card function. Default Standard Card)
Enter the name and card number (only the first 10 digits of the card number are
required), click Add to add to the card list.
Open the door by swiping the card in the card reading area of the device through the
configured ID card.
Remote to open the door
2QWKHZHESDJHJRWR6HFXULW\6HWWLQJVĺ3DVVZRUG0DQDJHPHQWĺ$GG3DVVZRUGĺ
Select Type as DTMF
Enter name, password and number, click Add to add to the password list.
The owner answers the door call, press "*" (default password) or add a new password
to open the door for the visitor.

Password to open the door
2QWKHZHESDJHJRWR6HFXULW\6HWWLQJVĺ3DVVZRUG0DQDJHPHQWĺ$GG3DVVZRUG
ĺ6HOHFW7\SHDV/RFDO
Enter your name and password, click Add to add to the password list.
Owners and visitors can directly use the dial pad to enter "6789" (default password)
or "Add password to open the door"。
NOTE: This equipment has been tested and found to comply with the limits for a
Class B digital device, pursuant to part 15 of the FCC Rules. These limits are
designed to provide reasonable protection against harmful interference in a
residential installation. This equipment generates, uses and can radiate radio
frequency energy and, if not installed and used in accordance with the instructions,
may cause harmful interference to radio communications. However, there is no
guarantee that interference will not occur in a particular installation. If this equipment
does cause harmful interference to radio or television reception, which can be
determined by turning the equipment off and on, the user is encouraged to try to
correct the interference by one or more of the following measures:
- Reorient or relocate the receiving antenna.
- Increase the separation between the equipment and receiver.
-Connect the equipment into an outlet on a circuit different from that to which the
receiver is connected.
-Consult the dealer or an experienced radio/TV technician for help
Changes or modifications not expressly approved by the party responsible for
compliance could void the user's authority to operate the equipment.
This device complies with Part 15 of the FCC Rules. Operation is subject to the
following two conditions:
(1) this device may not cause harmful interference, and
(2) this device must accept any interference received, including interference that may
cause undesired operation.
This manual suits for next models
1
Table of contents
Other Fanvil Intercom System manuals

Fanvil
Fanvil i20 User manual

Fanvil
Fanvil A10 User manual

Fanvil
Fanvil i10V Installation and user guide

Fanvil
Fanvil i12-02 User manual

Fanvil
Fanvil PA2 User manual

Fanvil
Fanvil i30 User manual

Fanvil
Fanvil i33V User manual

Fanvil
Fanvil i23 User manual

Fanvil
Fanvil i51W User manual

Fanvil
Fanvil i10 User manual