Charge-Check Advanced Features
Charge-Check improves the battery longevity of rechargeable devices requiring a 5V USB charger. This can include
mobile devices (cellular phones and tablets), rechargeable devices (blue-tooth wireless devices), and other 5V USB
charging applications.
Time-Out Mode Conguration
MADE IN
Rev. A01
2 Vulcan Street
Toronto, ON
Canada, M9W 1L2
Tel: (416) 674-5942
Toll Free (US): 1 (800) 241-LAVA(5282)
Website: www.lavalink.com/lavasimulcharge
Corporate Website: www.lavalink.com
TM
Charge-Checks purpose is to periodically top-up a devices battery to
minimize overcharging. For reference, overcharging (or trickle
charging) is the act of charging a battery beyond its capacity, for
extended and unnecessary periods of time. Once a charging cycle has
started, Charge-Check will monitor the device and charge the battery
until suciently topped-up (up to a maximum of 4 hours). At this
point, it will suspend charging for a set length of time (be default 3
hours) before attempting to top-up the battery again. This is a
recommended strategy because Lithium-ion batteries are proven to
last longer when the batterys charge percentage hovers consistently
The modes on Charge-Check give the user the ability to congure a timeout
length between top-ups of 1 to 5 hours, based on their device charge time and
usage levels. In Single Charge mode, any additional charges of the device will
need to be manually restarted by pressing the black button on the Charge-
Check unit.
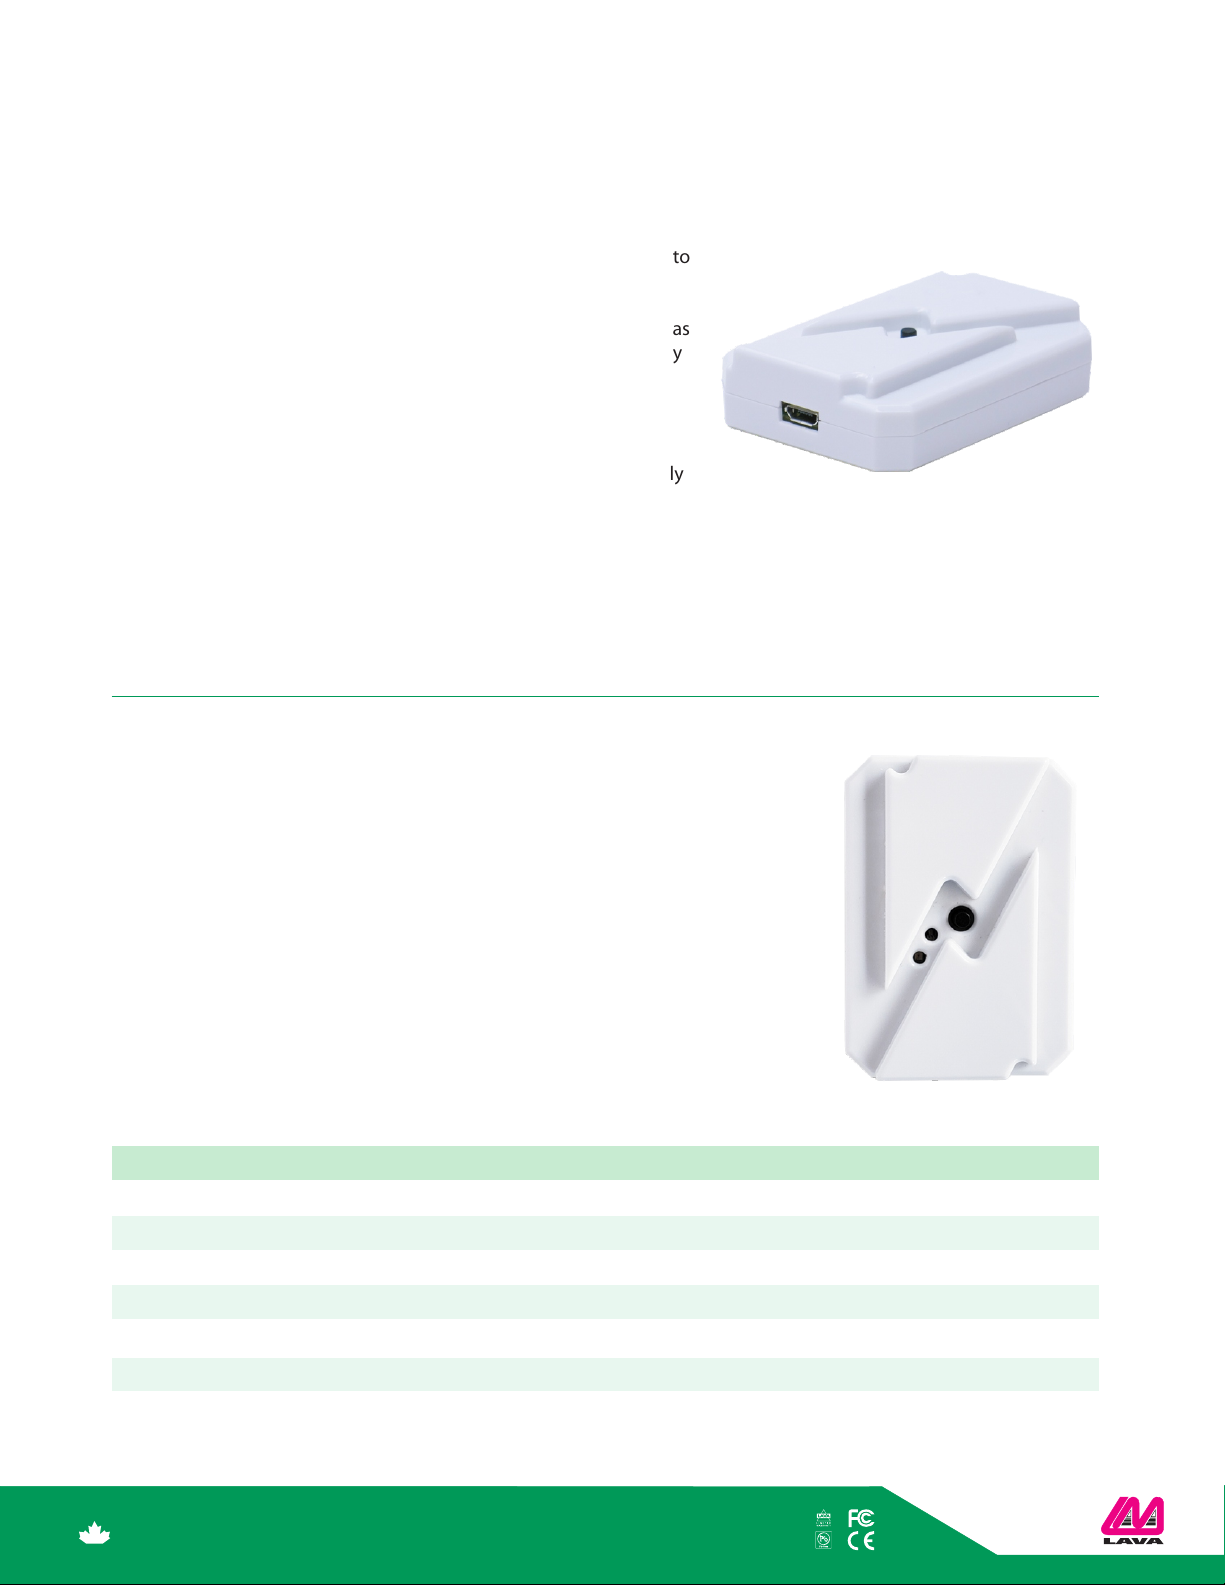
Conguration of Charge-Check is completed using the black button located on
the unit.
To select any of the available modes, follow these steps:
MODE SELECTION ACTION
1 hour timeout Press button once, followed by a 10 second hold 1 hr discharge between top-ups
2 hour timeout Press button 2 times, followed by a 10 second hold 2 hr discharge between top-ups
3 hour timeout Press button 3 times, followed by a 10 second hold 3 hr discharge between top-ups
4 hour timeout Press button 4 times, followed by a 10 second hold 4 hr discharge between top-ups
5 hour timeout Press button 5 times, followed by a 10 second hold 5 hr discharge between top-ups
Single Charge Press button 6 times, followed by a 10 second hold Charge device once, top-ups disabled
1/2
1. Press and hold the black button on the Charge-Check unit for the specied
number of times according to the table below.
2. Hold down the black button for 10 seconds to conrm the changes.
around 50-60%.
Charge-Check was intended for a number of dierent applications, meaning this default 3 hour timeout may not be
appropriate for some devices. As a result, the user is able to congure the time allocations between top-ups, or
disabling top-ups all together. The following will guide you through the advanced conguration feature of Charge-
Check.


