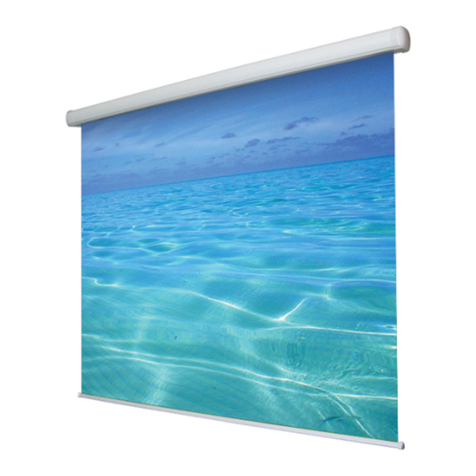
LAWSON PHILIPS OutStanding Screens OSS Drive-in 16 User manual

✴
✴
✴
✴
✴
✴
✴
✴✴✴
✴
✴✴
✴
✴
✴
✴
✴✴✴
✴
The fun begins when the
sun goes down!!
OutStanding
Screens
™.com
2 - pole assemblies
4 - pole segments
(2 tapered, 2 straight)
2 - rubber feet
2 - vinyl tips
4 - stainless steel eyebolts
4 - stainless steel nuts
4 - screw posts
4 - rubber washers
4 - sealing washers
4 - cord assemblies
2 - 26’ parachute cords
2 - 34’ parachute cords
8 - uted dowels
All OutStandingScreens™ come with the following assembled parts:
Owner’s Manual
Made in USA
1- screen
1- 72” OSS carrying case
8- 11” ground stakes
1- owner’s manual
feet
inches
total weight is
less than lbs
Congratulations on your purchase of one of the following screen sizes:
OSS Drive-in 16’ (16’ x 9’) OSS Cinema 14’ (14’ x 7’10.5”) OSS Projection 12’ (12’ x 6’ 9”)
I’m
’”
tall.
What you need for set-up.
- a -foot tape measure or string long enough to measure that distance, depending
on how far your projector can project an image. (See projector specications.)
- a mallet or hammer to drive in the stakes (orange dots in illustrations).
- temporary markers for the pole ends. As you lay out your planned location, it helps to
indicate each end of the screen (green dots in illustrations).
”
diagonal
”
diagonal
”
diagonal
OSS Cinema 14
nished screen size: ’ x ’” (” x .”)
OSS Drive-In 16
nished screen size: ’ x ’ (” x ”)
OSS Projection 12
nished screen size: ’ x ’” (” x ”)
slot for
eyebolt
assembly:
opening for
pole joint
CLOSED end
on the pocket
slot for
eyebolt
assembly
11’3”
4’6”
3’3”
2’1”
OPEN end
on the
pocket
” ground
stakes
black rubber
foot
eye bolt
assembly
white vinyl tip
adjustable
tension
dowel
OutStandingScreens™.com
SW th Street, No.
Topeka, Kansas
phone:..
Basic Setup
OutStandingScreens™ have
been designed to oer a very
versatile and forgiving setup.
Inside is a simple and direct
method to set up your screen
using stakes in an open area.
Once you have staked out your best location, the screen itself
goes up with ease. A few tugs here and there and before you know
it you are next to a screen standing feet into the air.
Choosing Your Location
The first step is to imagine the possibilities! Sit down in your
audience’s place and consider where you want your screen. Every
situation is dierent. We suggest testing your setup before you
have your rst showing. Trying to scramble at the last minute is
never any fun.
Things to Consider
- What throwing distance specs does your projector have?
- How wide or deep of an area do you have to work with?
- What obstructions exist in the planned area?
- Where do you have electricity for projector and stereo?
- Where can you place speakers and run speaker wire?
- Will there be foot trac or water near your wiring?
- If you don’t use stakes, what anchors*can you substitute?
- Where will your audience sit?
Front or Rear Projection?
If you choose rear projection, a low-angle projector aiming upward
is best. Think of your projector as a ashlight. If you aim the
ashlight into the audience’s eyes, they will see the light source.
If you put the ashlight low, angled upward, then the “ashlight” is
aimed above your audience’s head. Test your arrangement before
movie night arrives!
* Alternate anchor points can be used, but they should be permanent
in nature. Go to the website for more detailed care and safety
information.
patent pending
adivision of lawson phillips llc
Satisfaction Guaranteed
OutStandingScreens™ are made of high-quality materials built to last
for years with reasonable care. The screen material is re retardant,
mold and mildew resistant, stain resistant, and machine washable.
The ropes and case are color-fast and very durable. Aluminum
poles and stainless steel hardware are suitable for outdoor use.
OutStandingScreens™ are not intended for permanent installation.
If you are not satised with your screen, just return it within
days of purchase, and we will refund your money. If you have other
questions or need parts, contact us and we will work to keep you
a satised customer. Visit OutStandingScreeens.com anytime for
more information!

. Lay the screen out and connect the poles.
Spread the screen out on the ground with the rubber feet on the green
dots (illustration above). Eyebolts should all face outwards. Join the pole
segments. The top pole is narrowed and ts into the lower pole. There is
an opening in the screen to show the connection.
. Untie the ropes.
There are two pairs of ropes on each pole, top and bottom. Untie both
sets, separate, and lay them out.
. Loop bottom front ropes onto the front stakes.
Slide the dowel up about three feet. The dowel is what tensions the ropes.
. Loop top front ropes onto the other front stakes.
Slide the dowel up about three feet. By this point all front ropes are looped
on front stakes and none of the back ropes are connected.
. Connect one back top rope.*
Grab one top back rope and walk it back to the back stake. As you do this,
the pole will stand up on or near your pole positions (green dots).
. Connect the other back top rope.*
Stand the other end of the screen as above. Once both top back ropes are
looped and tensioned, the screen will be standing. Connect the remaining
back bottom ropes.
*If you have an assistant, do steps 5 and 6 at the same time.
If “A” and “B” measurements are
dierent, then your screen is either
at an angle or your projector is o-
center to your screen.
. Mark the center point of your screen.
Measure and place a marker at the distance the screen needs
to be from your projector (see projector specications).
. Mark the ends of your screen (green dots).
The screen should squarely “face” the projector. Everything
is square when the measurements (“A” and “B”) from the
screen ends (green dots) to the projector are the same.
. Place your stakes.
The stakes (orange dots) are placed 8 feet out from the
pole base locations (green dots) at 45° angles o the
ends of the screen. The stakes should be driven at an
angle away from the rope tension (see illustration).
Incorrect
You can lean the screen by
having one side too tight.
Correct
Both poles should be
straight up and down.
Incorrect
You can bend the poles by
tightening too much at one point.
1. Lay out screen and stake positions
2. Stand the screen
. Tension all ropes.
Continue to adjust all ropes incrementally until the poles
stand straight up and down and the tension on all ropes
is about the same. Hint: it helps to stand back and look at
your progress. You will also adjust the location of the feet as
they have likely moved a little from your “green spots.”
3. Adjust to straight.
68 inches
68 inches
pole assembly
Made in USA
We tested many stakes, ropes, fasteners, and screen materials to come up with a light-weight screen
for either front or rear projection. We are proud of our combination of size, versatility, simplicity, and weight.
Great care was taken to assure compatibility with the outdoors. We use predominantly stainless steel
and aluminum hardware, polyester screens and ropes, and all color-fast materials to create a product that
will last for years. Our screens are not intended for permanent installation.
Read and follow all care and safety instructions. OutStandingScreens™ has taken the time to consider
safety and quality throughout product development; however, a certain amount of personal responsibility
is expected from the user. Visit the website for helpful hints and other safety information.
Look up, look around, and down! Look overhead for electrical wiring and tree limbs, consider other
environmental elements like pools or re pits, and don’t drive stakes into underground hoses or wiring.
Always consider the maturity of the audience in attendance. Left unattended, metal poles, ropes, and
ground stakes are not appropriate play things. Picture bent poles, lost stakes, or dirty screens. Once your
screen is in place, horse-play around the anchor points is not advisable.
How wind friendly? We have had the OSS 16‘ Drive-in Screen in winds gusting to 20 miles per hour. While
that isn’t the ideal condition for setting up or watching a movie, the screen was willing to stand if we were
willing to watch. We have found that most evenings the winds calm down as the sun goes down. Once
your stakes are in, the screen can go up quickly just before movie time.
There is much more information at www.OutStandingScreens.com, including a set-up video, pictures,
and helpful hints. Visit us online! Enjoy! Send us photos!
OutStandingScreens™.com
stakes screen
ropes
poles
stakes
ropes
projector
“A”
“B”
Incorrect
stakes
screen
ropes
poles
stakesropes
projector
“A”
“B”
Incorrect
The dowels easily slide
up and down the rope
to create tension.
cord assembly
Stakes should be driven
at an angle away from
the screen’s poles.
The pole ends do not
stick in the ground.
Visit us online for more information about setting up an outdoor theater!
(the width of your screen,
, , or feet)
stakes stakes
bottom ropes
screen
pole
locations
top ropes
feet
Correct
Measurements of distance of “A”
and “B” should be very close to
equal, and the projector will be
centered to the screen.
pole
locations
stakes
screen
ropes
projector
“A” “B”
Be Safe and Enjoy!
This manual suits for next models
2
Other LAWSON PHILIPS Projection Screen manuals
Popular Projection Screen manuals by other brands
EliteProAV
EliteProAV Tab-Tension Pro Series manual
Stewart Filmscreen
Stewart Filmscreen Vertical ES EM owner's manual

AVstumpfl
AVstumpfl Desertscreen instructions

Avers Screens
Avers Screens Cumulus X Tension user manual
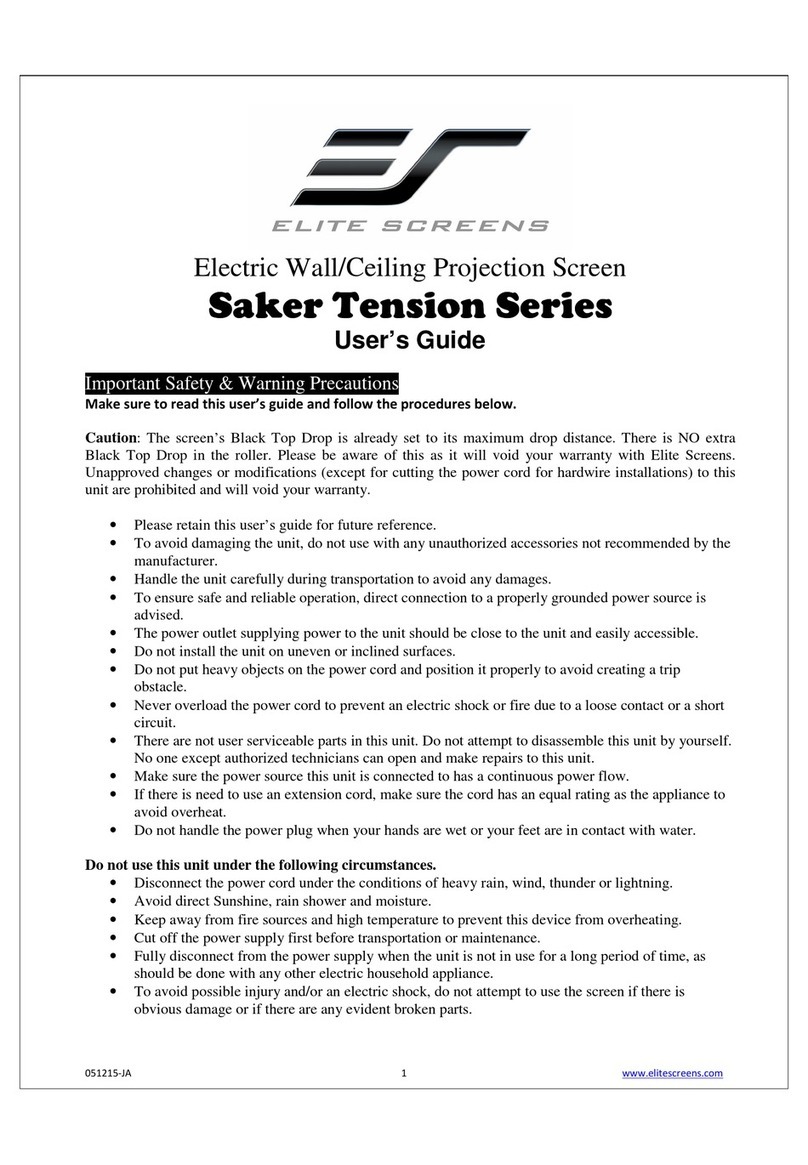
Elite Screens
Elite Screens Saker Tension Series user guide

Elite Screens
Elite Screens CineTension 2 Series user guide
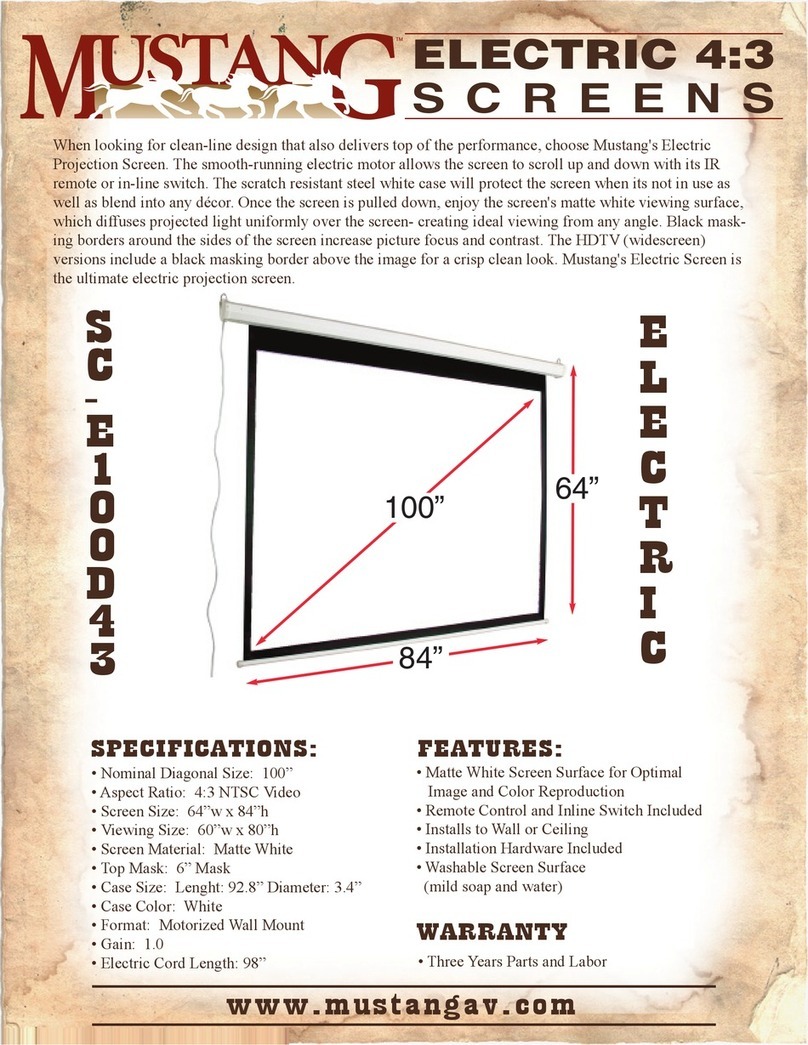
Mustang
Mustang SC-E100D43 Specifications

EluneVision
EluneVision Pneumatic Air-Lift user manual
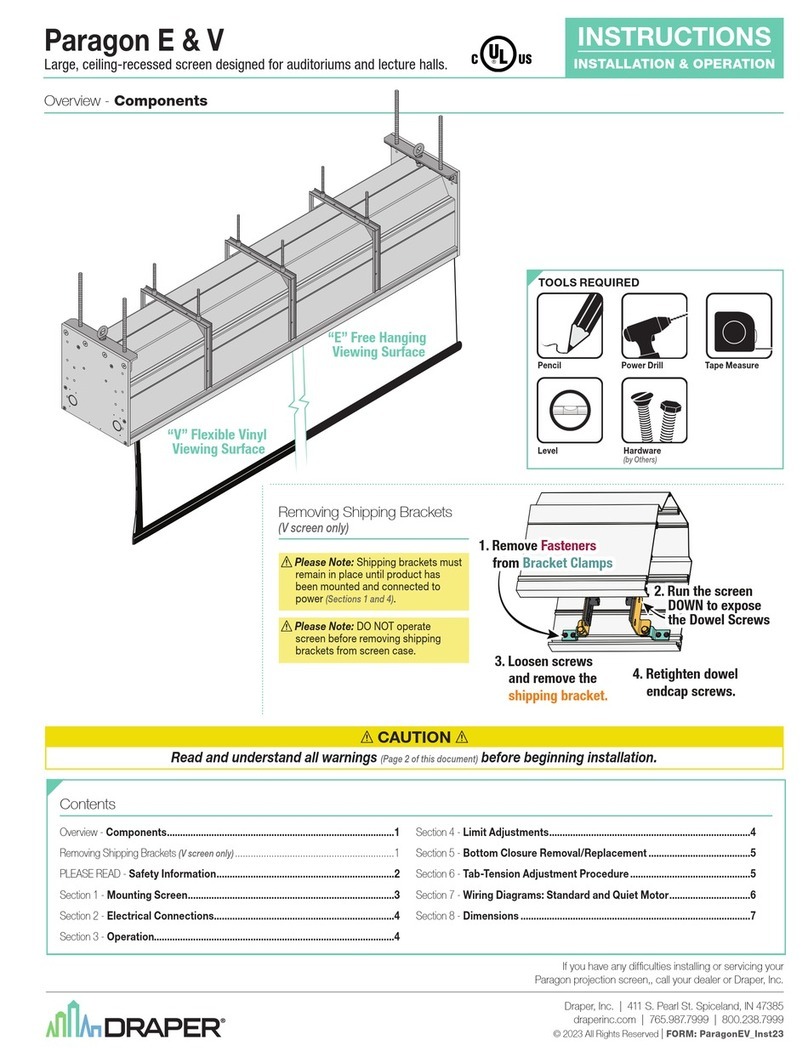
Draper
Draper Paragon E instructions
JAROLIFT
JAROLIFT Profi Line 4250558262931 Original instructions
Elite Screens
Elite Screens Evanesce Tab-Tension ITE120HW2 user guide
FART PRODUKT
FART PRODUKT SCREEN Premium Installation instruction

