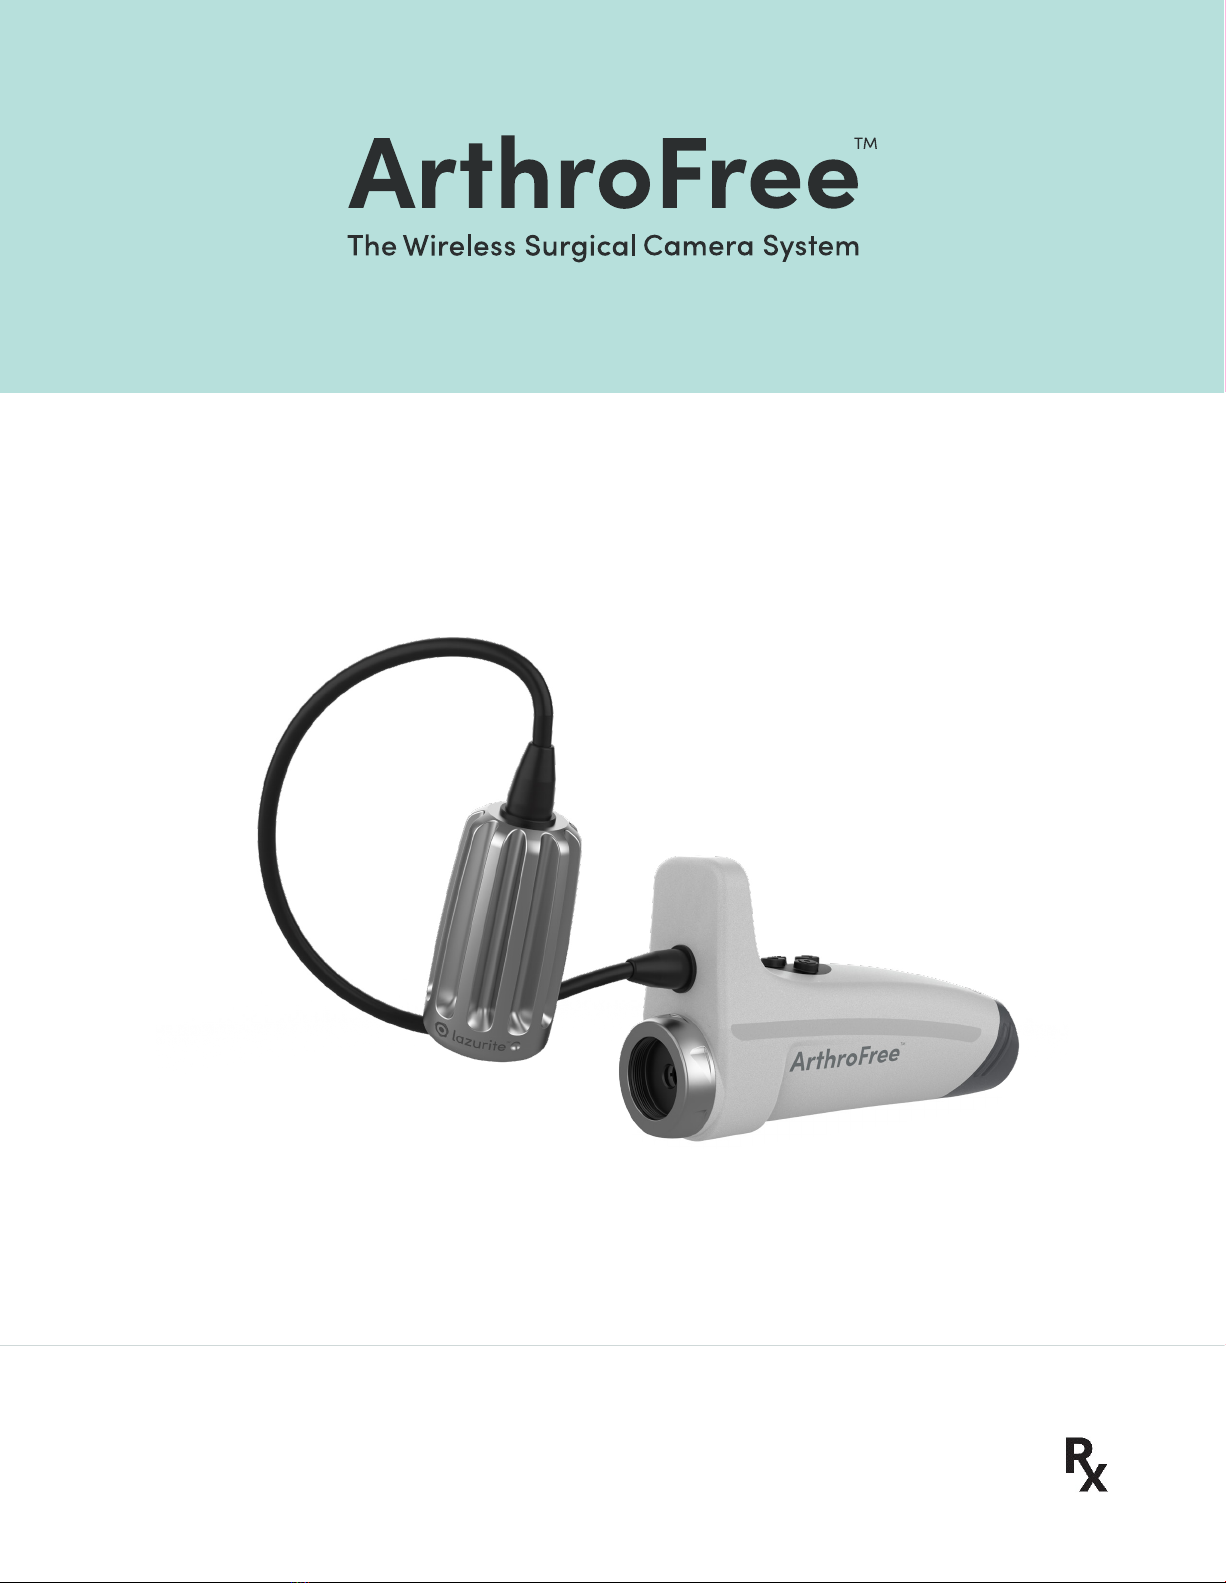
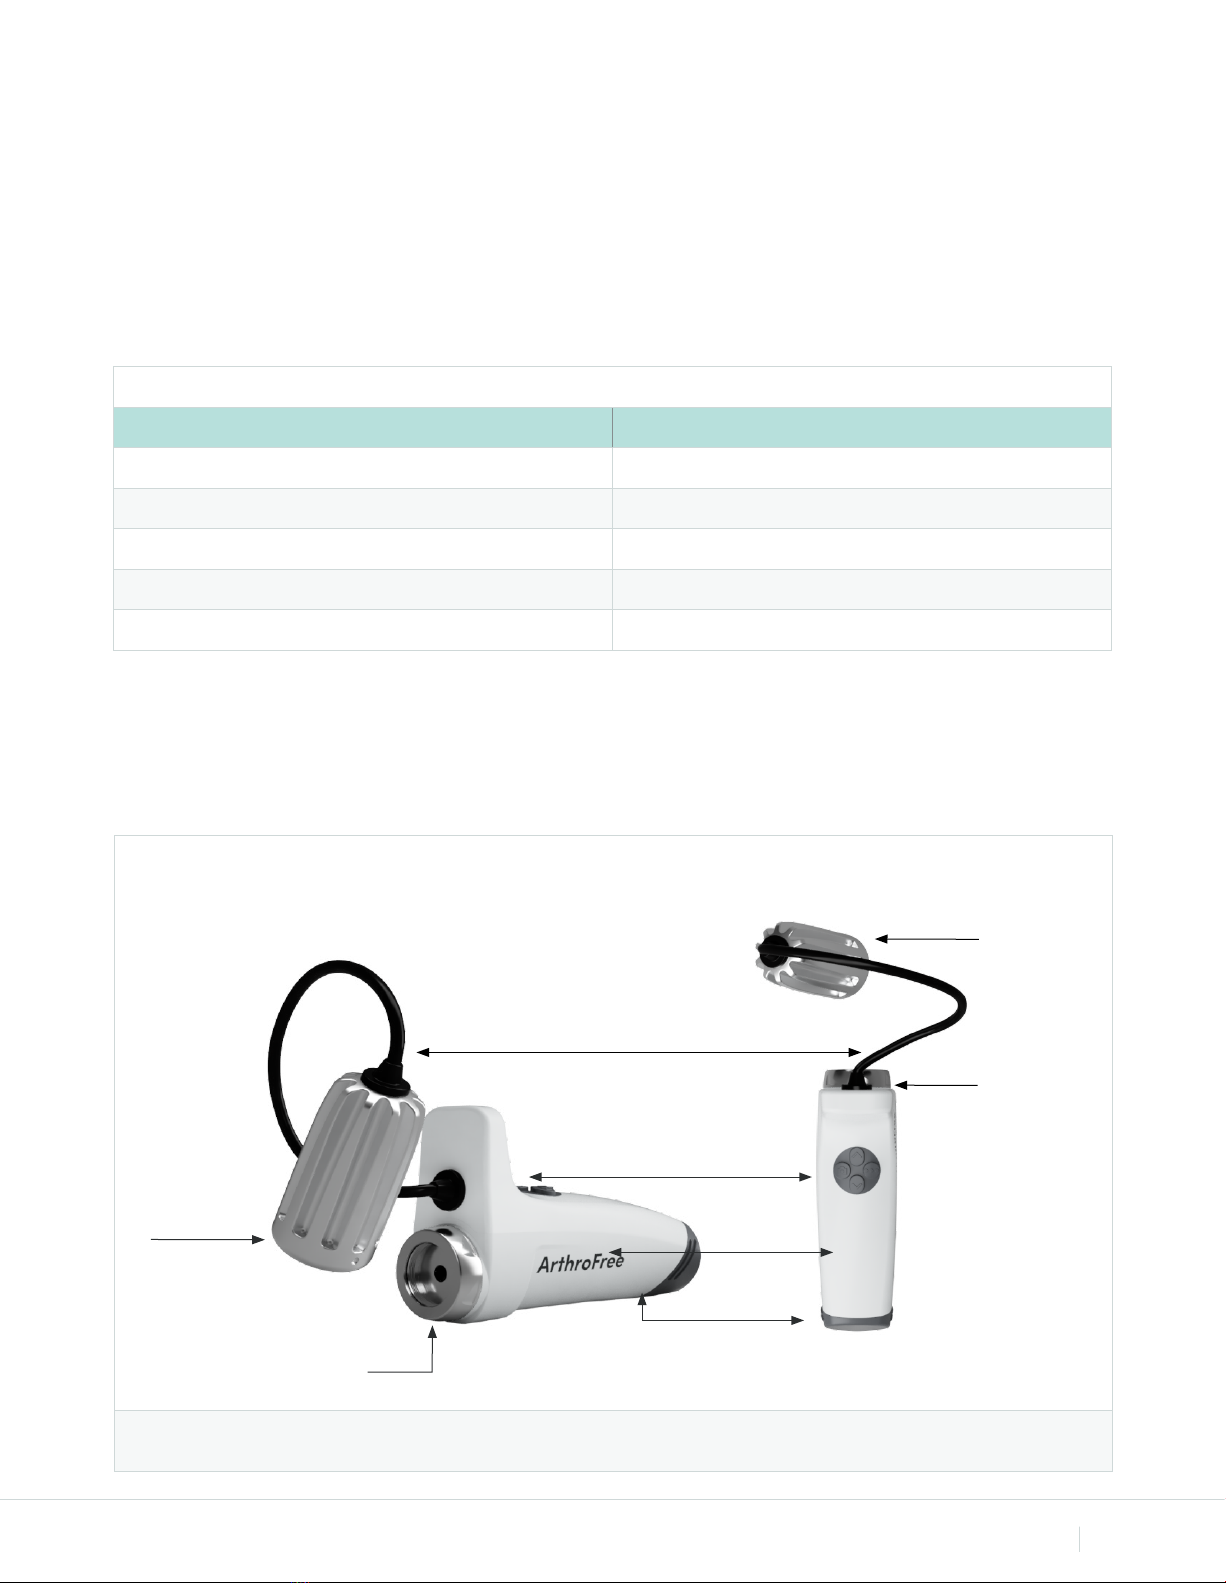
7The ArthroFree System
Product Description and Intended Use
The ArthroFree Wireless Surgical Camera System (“ArthroFree System”) is intended for use in endoscopic
surgical procedures to transmit live video from a surgical site to a pre-existing patient data console or
surgical display. The ArthroFree System also enables the capture of still images and video from the live video
stream when connected to a pre-existing patient data console. The ArthroFree System neither stores data nor
performs diagnoses. It is not intended to contact a patient or deliver any materials to a patient body.
The ArthroFree System was designed to eliminate the hassle and risks associated with fiber-optic and power
cables found in traditional endoscopic camera systems. It is designed to be drop-in compatible with most
currently marketed patient data consoles and surgical displays, and with most endoscopes directly or by use
of a pre-existing C-mount coupler.
CAUTION: Federal law in the United States of America (“US federal law”) restricts this device to use by, or on
the order of, a physician.
Indications
The ArthroFree System is indicated for use in arthroscopy, general laparoscopy, nasopharyngoscopy, ear
endoscopy, sinuscopy, plastic surgery, or wherever a laparoscope, endoscope, or arthroscope is indicated for
use. The users of the camera include general surgeons, gynecologists, cardiac surgeons, thoracic surgeons,
plastic surgeons, orthopedic surgeons, ENT surgeons, neurosurgeons, and urologists.
The ArthroFree System is indicated for use in diagnostic and operative endoscopic procedures, supplying
illumination and visualization of an interior cavity of the body.
Examples of common general endoscopic surgeries are listed below.
• Laparoscopic cholecystectomy
• Laparoscopic hernia repair
• Laparoscopic appendectomy
• Laparoscopic pelvic lymph node dissection
• Laparoscopically assisted hysterectomy
• Laparoscopic and thoracoscopic anterior spinal fusion
• Anterior cruciate ligament reconstruction
• Knee arthroscopy
• Shoulder arthroscopy
• Small joint arthroscopy
• Decompression fixation
• Wedge resection
• Lung biopsy
• Pleural biopsy
• Dorsal sympathectomy
• Pleurodesis
• Internal mammary artery dissection for coronary artery bypass
• Coronary artery bypass grafting where endoscopic visualization is indicated
• Examination of the evacuated cardiac chamber during the performance of valve replacement