manuals.online logo
Brands
  1. Home
  2. •
  3. Brands
  4. •
  5. LEDDOO
  6. •
  7. Outdoor Light
  8. •
  9. LEDDOO PYRA SL-2 User manual

LEDDOO PYRA SL-2 User manual

USER MANUAL PYRA SL-2
Download Smart Garden App
Smart Garden App allows you to control and customize
your controls for Smart Solar Lamp via your smart device.
Search for the latest version on Apple App store
or Google Play
PYRA SL-2
1
CONTENTS
02
03
07
12
IMPORTANT SAFETY INSTRUCTIONS
GETTING TO KNOW SMART SOLAR LAMP
USING YOUR SMART SOLAR LAMP
TROUBLESHOOTING
PYRA SL-2
2
IMPORTANT SAFETY INSTRUCTIONS
Read All Instructions Before Use And
Save For Future Reference
This is an electric lamp-not a toy!
To avoid risk of re, burns,personal injury and
electric shock. it should not be played with or placed
where small children can reach it.
SAVE THESE INSTRUCTIONS
PYRA SL-2
3
Getting to Know Smart Solar Lamp
In The Box
Smart Solar Lamp x 1
USER MANUAL
SShhoorrtt SSccrreeww xx 44
WWaallll PPlluuggxx 44
IInnssttrruuccttiioonn MMaannuuaall xx11
PYRA SL-2
4
Specications
Model
Power Supply
Power
Input Power
Solar Panel
Body Material
IP Grade
Supported OS
Bluetooth
Voice Control
Pyra SL-2
Max 6W
1 x 3.7V 2200mAh Li-Ion Battery
5V 1A
6V Monocrystalline
Aluminum die casting
IP44
Android 5.0 or iOS 9.0 and above
4.0 and above
Alexa & Google Assistant
(only available when connect to Galaxy link light)
USER MANUAL PYRA SL-2
5
Before first use
min.8h
ON OFF
4X 4X
1X
mm
L W H
L
H
W
152 152 705
PYRA SL-2
6
How to Charge
Lift the silicone seal ring
Plug-in USB Type C Charge Cable and connect to the main
power via an adaptor
Remove the USB Type C charging Cable when Full Charged
Put Lamp in Sunlight for ≥
Method 1
8h
Cover the silicone seal ring
Switch button turns Red when Charging
Switch button turns Green when Full Charged
-
able when charging by cable)
USB Type-C
input, 5V 1A
Method 2
PYRA SL-2
7
Using Your Smart Solar Lamp
Connecting with Smart Device
3. Press the Power button to turn on the lamp
(if the lamp has been paired with another device
1. Download “Smart Garden” from Google Play
or AppleApp Store and install. Register as
instructed
before, please reset the lamp, see page 10)
4. Open App, follow the on-screen instructions to
add your lamp
2. Make sure your smart device’s bluetooth, cellular
and location have turned on before pairing
.
ON OFF
3sec
PYRA SL-2
8
Controlling with APP
Always make sure your smart device’s bluetooth have turned on to control the lamp
About
Static Color Settings
Dynamic Scene Settings
Music Rhythm
Countdown
Information about the device or other
Customize the color or brightness
Select a preset Scene(6 Scene available),
edit or add a new scene?
Select the rhythm collected by mic of smart device.
The lamp will turn off automatically after the countdown.
Auto
Full Light Mode
Motion Detection
Customize lamp sensor mode
Set the full brightness duration:5s~60min.
Intelligent Linkage
Linkage between smart device and other smart devieces
Induction Recording
Record the details of each induction
Setting
Select three level detection sensitivity:High,Middle,
Luminance Detection:Trigger lamp under 5 brightness
circums:Day,Dusk,Evening,Night,Dark
Slight Brightness Mode Setting:
ON/OFF: If turn on,lamp will enter into slight light after
the completion of full light.
Brightness:set brightness from 1% to 30%
Duration:Set duration from 1min. to 8h
Low
PYRA SL-2
9
Using Your Smart Solar Lamp
Controlling without Smart Device
ON OFF
3sec
In Default Sensor*Mode: motivation detected work in 100% high brightness for 10s convert
to 30% slight brightness for 1 mins turn off, any motivation will renew the circulation.
(Brightness and Duration of High/Slight brightness mode are both adjustable according to latest
smart device's setting)
1.Mode A: Lamp breathe twice, then turn into Sensor
The lamp can also been controlled without Smart device:
Press the power button once to switch mode between:
* mode
2. Mode B: Constant Lighting
3. Turn Off
If lamp has connected to a smart device before, the lamp will automatically use color,brightness&
duration set last time.
PYRA SL-2
10
Switch to a new device/Reset the lamp
1. Hold power button for 3 seconds, the lamp
and automatically turn to pairing mode
2. Make sure your new device’s bluetooth, cellular
3. Open App on new device, follow the on-
screen instructions to add your lamp.
and location have turned on
4. If you only want to reset the lamp, can press
the power button after 10 seconds to exit blue
3sec
ON OFF
PYRA SL-2
11
Using Your Smart Solar Lamp
Create Group with other Lamps
1. Make sure all lamps have connected to your
device and controlable before create group
3. Touch ‘Create Group’ on the menu list
2. Enter any lamp’s control panel, touch the ‘Pencil’
logo on right top side of screen
4. Add the lamp you need and touch ‘Save’ on
top right side of screen, then you can see the
group in your device list
1
2
3
PYRA SL-2
12
Troubleshooting
Connecting
Problem
Failure
Can not turn o󰀨
the lamp
Lamp Flashing
Can not turn on
the lamp
During Charging
Reason Reason
Cannot nd Smart Lamp
on App when adding lamp
Cannot exit blue ashing
paring mode
Lamp is out of power
Lamp is charging by cable
Current adaptor’s charging
power is too low, cannot
properly charge the lamp
Wait 10 seconds then click
the button to turn o󰀨
When lamp is connected and
accidentally enter the pairing
mode, when connecting
with smart device again, the
progress is very slow and
nally lead to pairing failure.
Charge the lamp, delete
the lamp on App to save
the power if long time not
Make sure Bluetooth,
Cellular and Location have
turned on and Smart Garden
App is authorized to use
above function.
Remove the previous
lamp on App and hold
the power button to blue
ashing pairing model to
connect again function.
using the lamp
Lamp is designed for
higher Safety purpose to
not open when charging
by cable
Change to a adaptor with
higher power ( ≥5V 1A)
PYRA SL-2
13
Instructions:
This light-set can be used outdoors.
Please keep all the relevant information for future reference!
GB
This unit contains rechargeable batteries. Switch the ON/OFF switch to “ON”. The
unit is ready to be used now. Place the solar panel in a way that it will collect as much
daylight as possible (not right under a tree, in the shade). When it starts to get dark,
a light/dark sensor will switch the unit on automatically. After 6-8 hours the lights will
automatically stop burning. Then the next day, batteries will be recharged again by
the daylight. Please note that a sunny, bright day will make the LED’s light up longer
and brighter and a dark, cloudy day will make the light shorter and dimmer.
The batteries in this set are replaceable.If you wish to replace the batteries, please
acquire at your local garden center or hardware store for rechargeable batteries that
match the technical specications of the battery(ies)used in this lighting set, for safe a
nd proper functioning.
Please note: Prior to rst use, the solar light must be charged for 1 or 2 days in
direct sunlight, with the switch turned on. This will benefit the lifetime of the bat-
tery(ies) and assures proper functioning of the lighting set.
PYRA SL-2
PYRA SL-2
IMPORTER:
B&K LUMITEC
2 rue Alfred Kastler
Zone Industrielle
67850 Herrlisheim - France
OFFICE FRANCE
+33 (0) 3.88.96.80.90
[email protected]
OFFICE EXPORT
+49 (0) 7248 94790 30
[email protected]

Other LEDDOO Outdoor Light manuals

LEDDOO NOVA User manual

LEDDOO

LEDDOO NOVA User manual

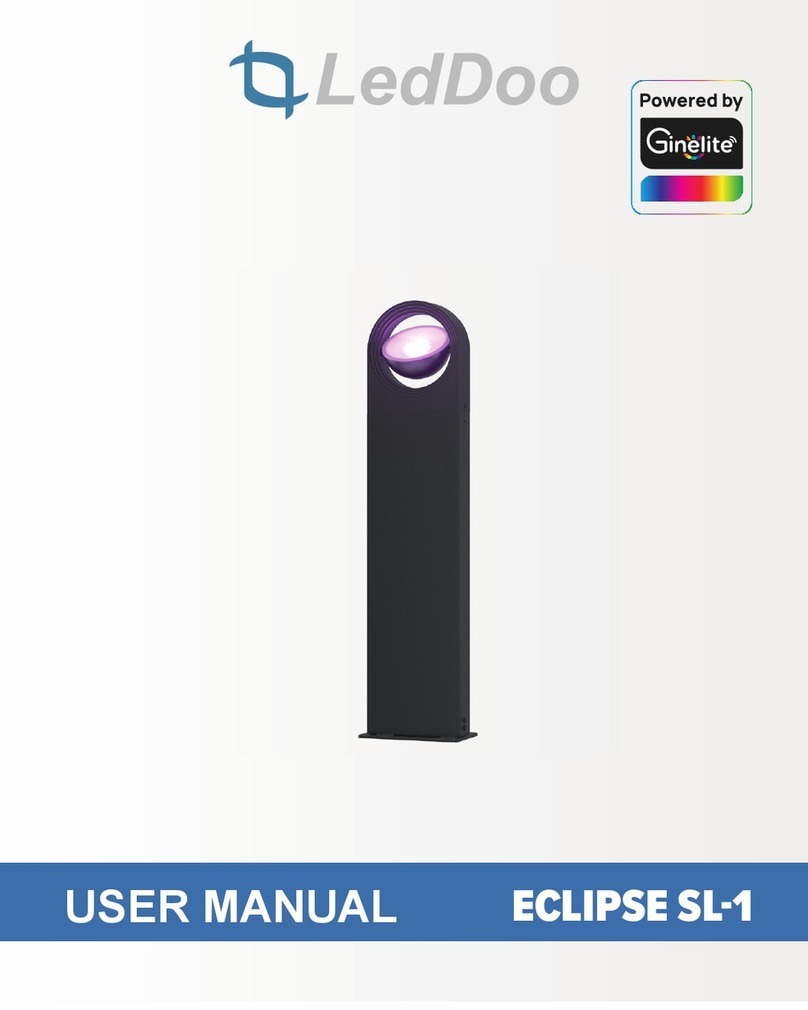
LEDDOO ECLIPSE SL-1 User manual

LEDDOO

LEDDOO ECLIPSE SL-1 User manual

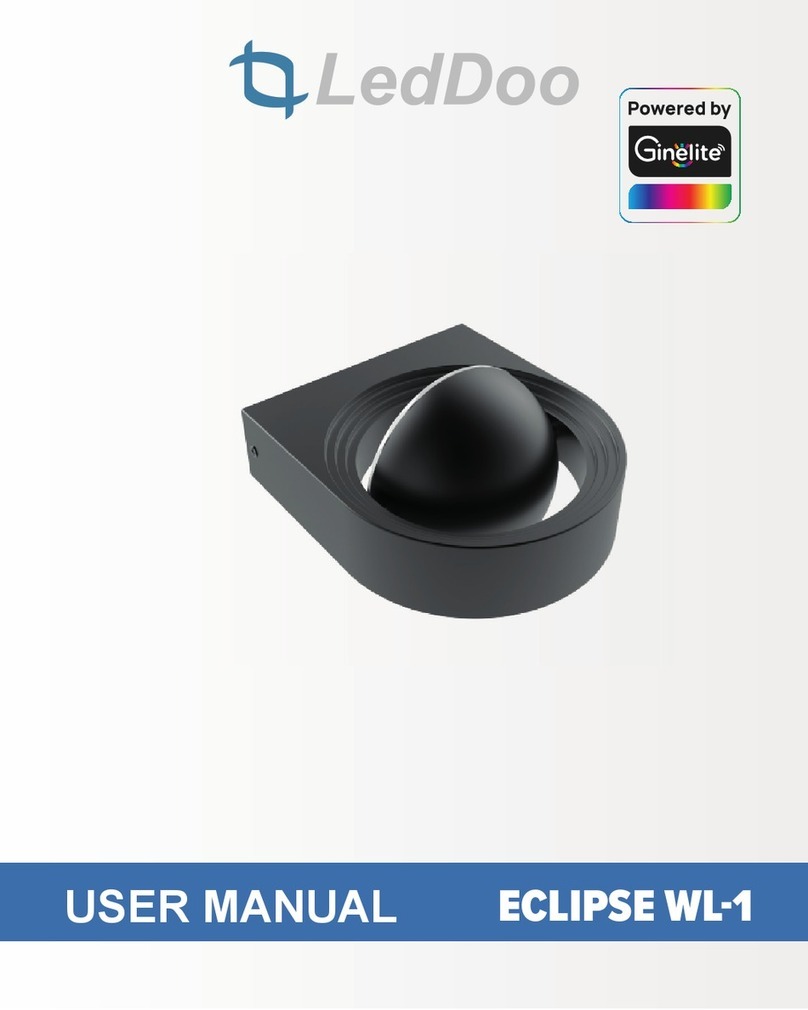
LEDDOO ECLIPSE WL-1 User manual

LEDDOO

LEDDOO ECLIPSE WL-1 User manual

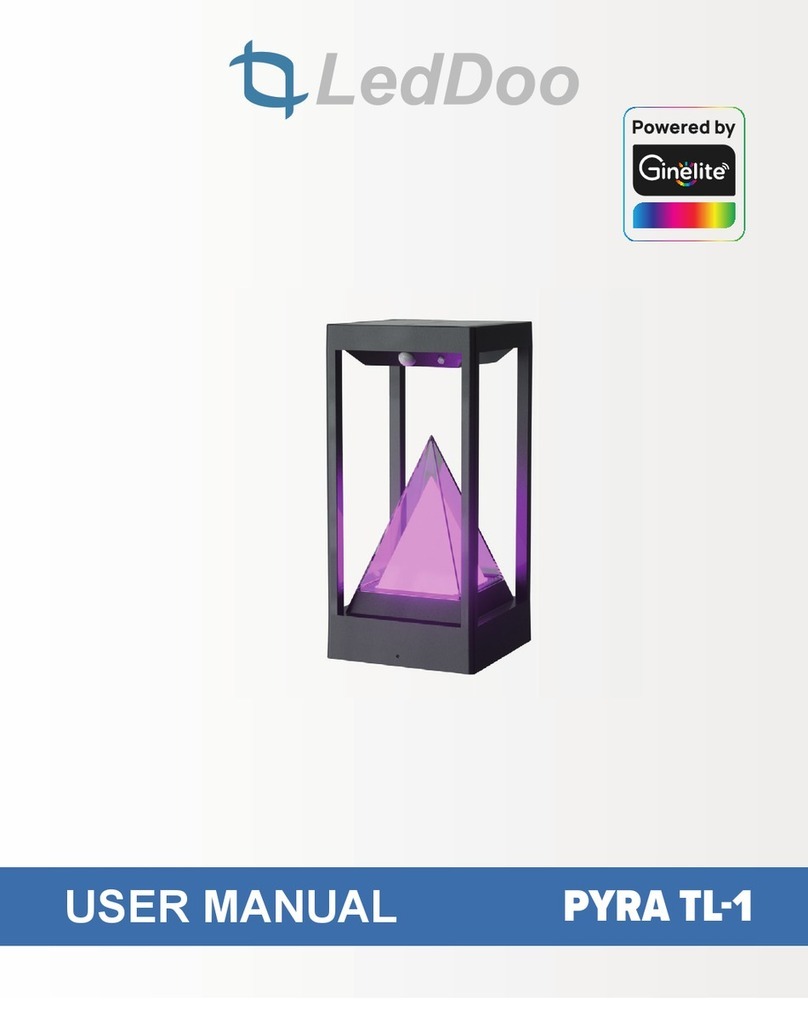
LEDDOO PYRA TL-1 User manual

LEDDOO

LEDDOO PYRA TL-1 User manual

LEDDOO TRIGLOW GL-2 User manual

LEDDOO

LEDDOO TRIGLOW GL-2 User manual

LEDDOO QUADRA SL-1 User manual

LEDDOO

LEDDOO QUADRA SL-1 User manual

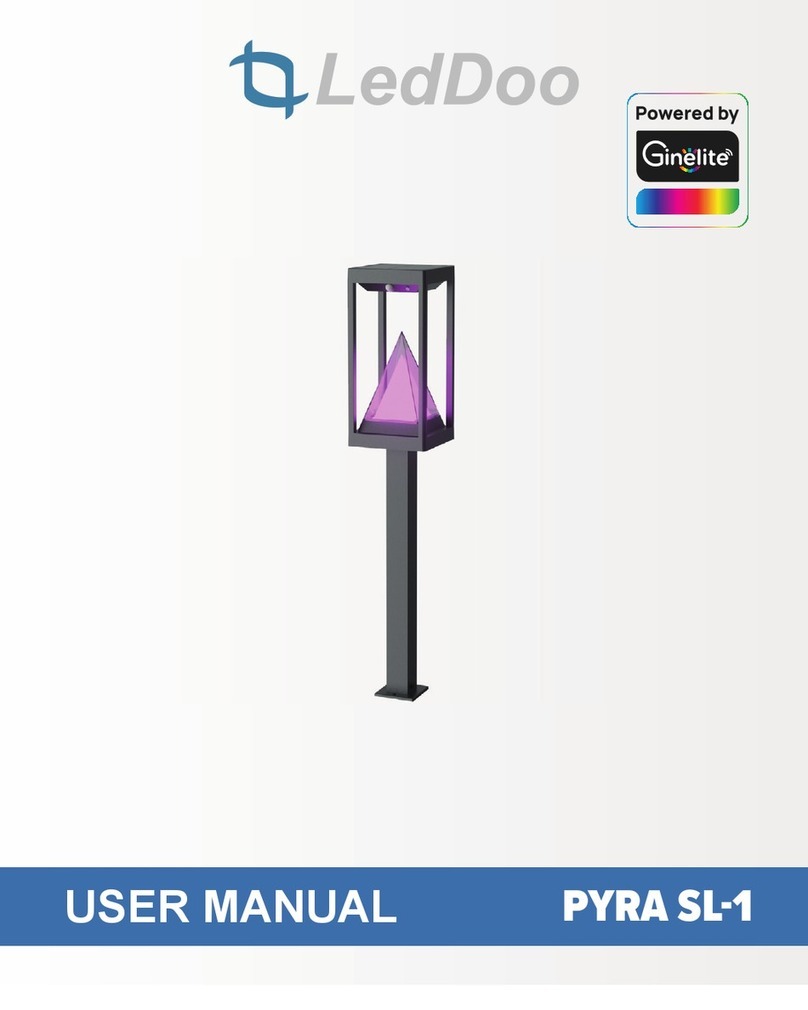
LEDDOO PYRA SL-1 User manual

LEDDOO

LEDDOO PYRA SL-1 User manual

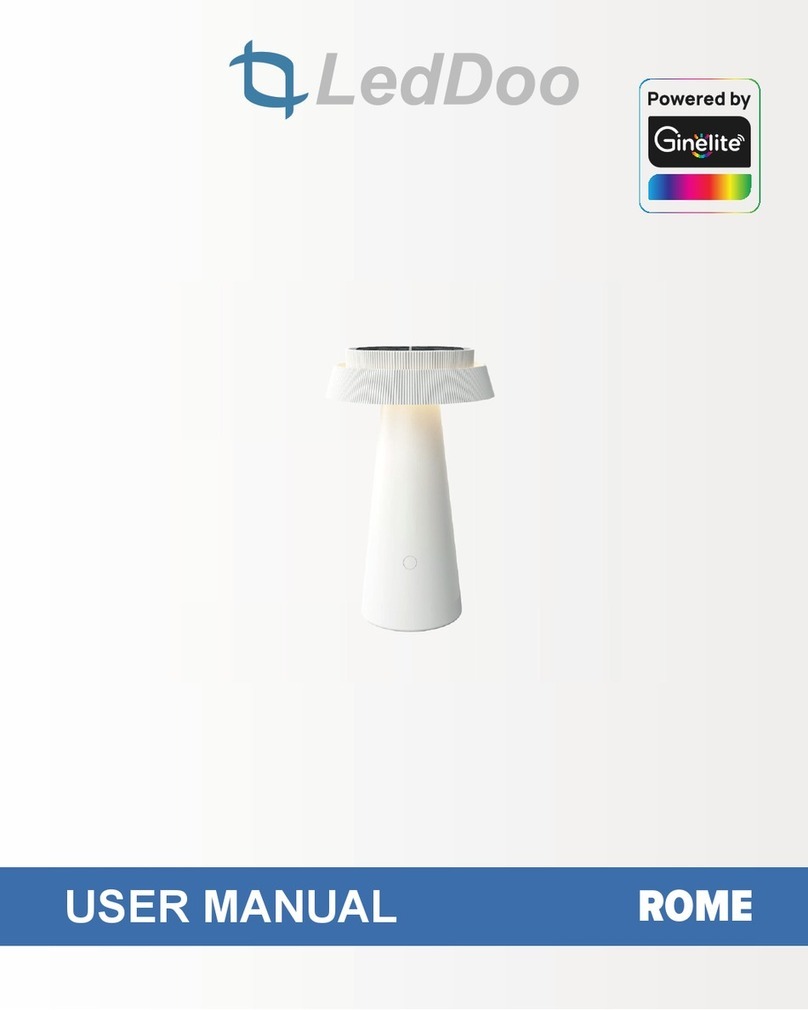
LEDDOO ROME User manual

LEDDOO

LEDDOO ROME User manual

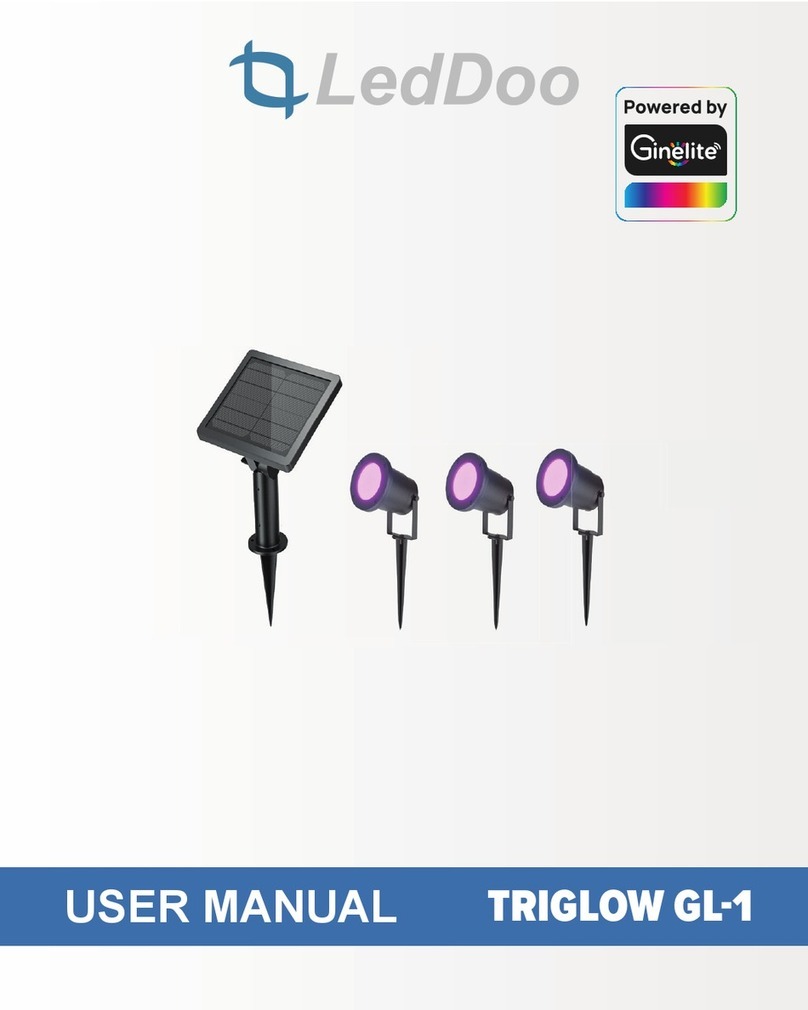
LEDDOO TRIGLOW GL-1 User manual

LEDDOO

LEDDOO TRIGLOW GL-1 User manual

LEDDOO CYLINDRA TL-1 User manual

LEDDOO

LEDDOO CYLINDRA TL-1 User manual

LEDDOO PYRA WL-1 User manual

LEDDOO

LEDDOO PYRA WL-1 User manual

LEDDOO QUADRA WL-1 User manual

LEDDOO

LEDDOO QUADRA WL-1 User manual

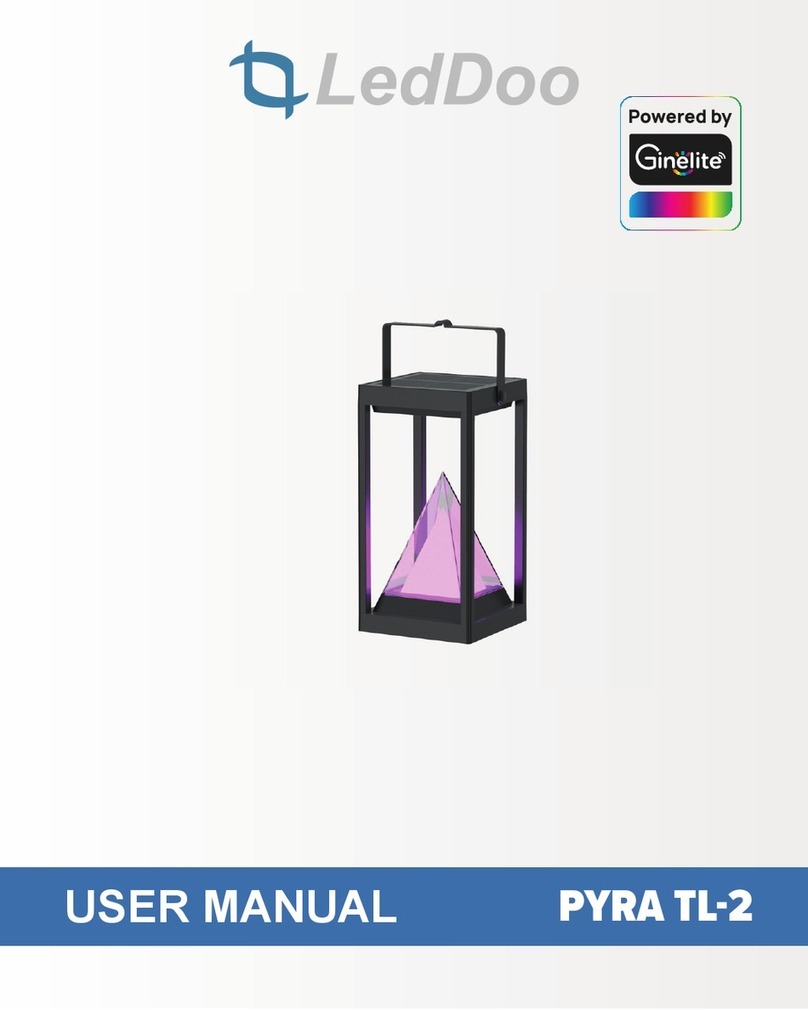
LEDDOO PYRA TL-2 User manual

LEDDOO

LEDDOO PYRA TL-2 User manual

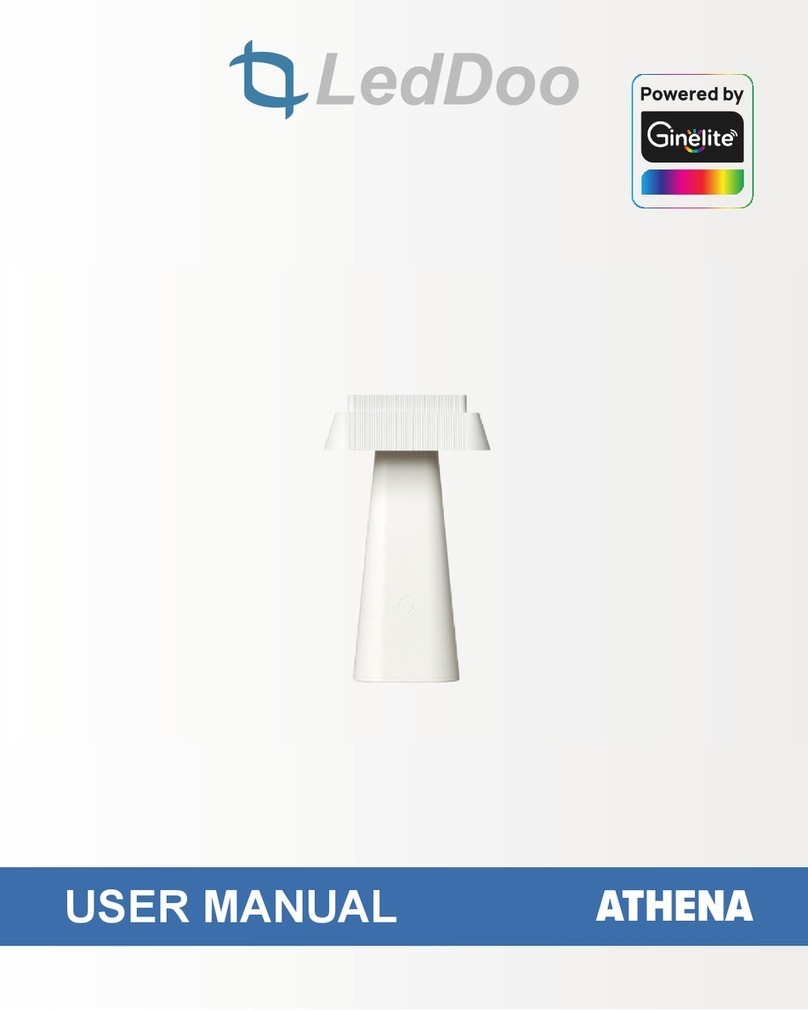
LEDDOO ATHENA User manual

LEDDOO

LEDDOO ATHENA User manual

LEDDOO DUOGLOW GL-1 User manual

LEDDOO

LEDDOO DUOGLOW GL-1 User manual

LEDDOO QUADRA TL-1 User manual

LEDDOO

LEDDOO QUADRA TL-1 User manual
Popular Outdoor Light manuals by other brands

Viabizzuno concrete 1 installation instructions

Viabizzuno

Viabizzuno concrete 1 installation instructions

Winsome house WH104 instruction manual

Winsome house

Winsome house WH104 instruction manual

ModelSigns MS-SLCUR manual

ModelSigns

ModelSigns MS-SLCUR manual

SIGNIFY Stonco Keene DualSelect WP60-SCT-G2-10-BZ quick start guide

SIGNIFY

SIGNIFY Stonco Keene DualSelect WP60-SCT-G2-10-BZ quick start guide

BOT LIGHTING Shot YUMA5N Instruction manual and maintenance

BOT LIGHTING

BOT LIGHTING Shot YUMA5N Instruction manual and maintenance

LIGMAN GI-31601 installation manual

LIGMAN

LIGMAN GI-31601 installation manual

SLV Elektronik BIG NAILS + 50 operating manual

SLV Elektronik

SLV Elektronik BIG NAILS + 50 operating manual

MaxLite BL-CLR Series operating instructions

MaxLite

MaxLite BL-CLR Series operating instructions

Coaster 920209 Assembly instructions

Coaster

Coaster 920209 Assembly instructions

ABACUS HL250 product manual

ABACUS

ABACUS HL250 product manual

Full Spectrum Solutions UltraLux Serenity manual

Full Spectrum Solutions

Full Spectrum Solutions UltraLux Serenity manual

Acuity Brands HGX LED 2RH ALO SWW2 120 PIR DDB Series quick start guide

Acuity Brands

Acuity Brands HGX LED 2RH ALO SWW2 120 PIR DDB Series quick start guide

Heitronic 35834 Installation and operating instructions

Heitronic

Heitronic 35834 Installation and operating instructions

Sharper Image 207806 user guide

Sharper Image

Sharper Image 207806 user guide

nordlux CROSS 20 manual

nordlux

nordlux CROSS 20 manual

Coopers of Stortford Solar Bird Welcome Stone Instructions for use

Coopers of Stortford

Coopers of Stortford Solar Bird Welcome Stone Instructions for use

ABBA STB09 installation guide

ABBA

ABBA STB09 installation guide

Lithonia Lighting DLSD1 installation instructions

Lithonia Lighting

Lithonia Lighting DLSD1 installation instructions

manuals.online logo
manuals.online logoBrands
  • About & Mission
  • Contact us
  • Privacy Policy
  • Terms and Conditions

Copyright 2025 Manuals.Online. All Rights Reserved.