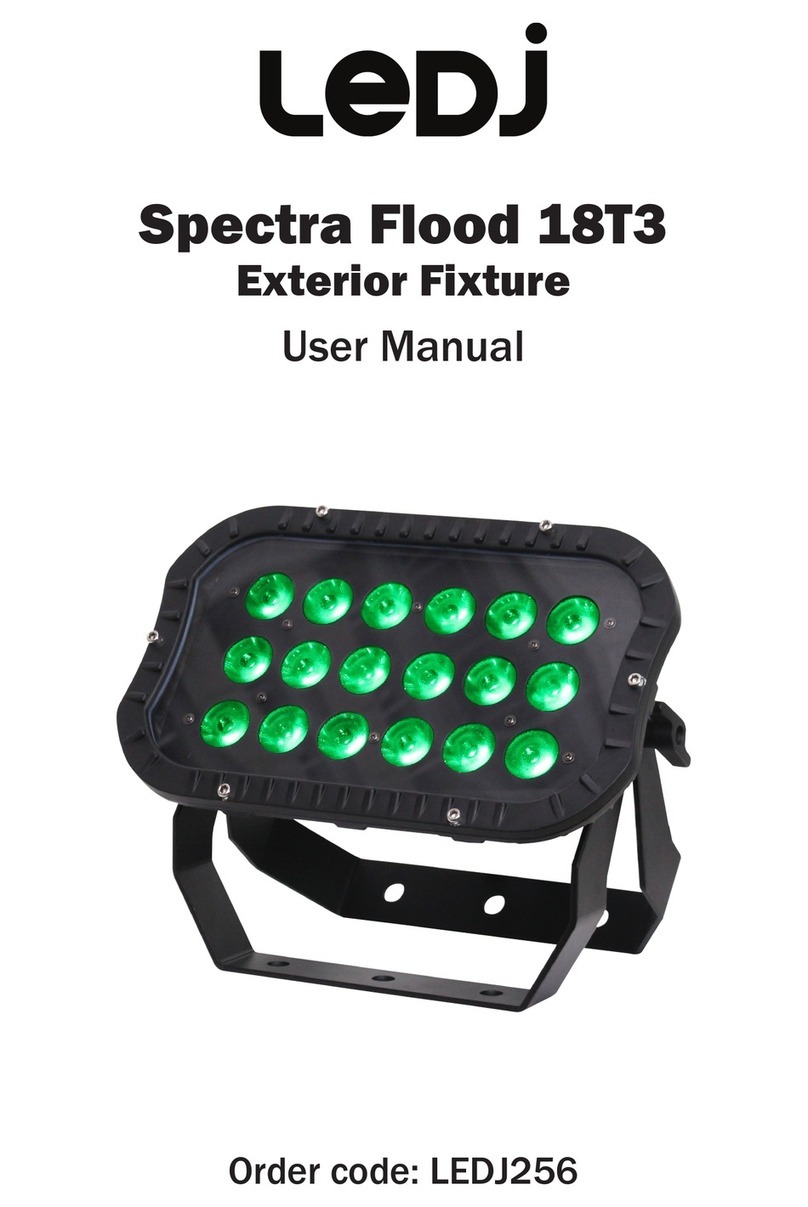
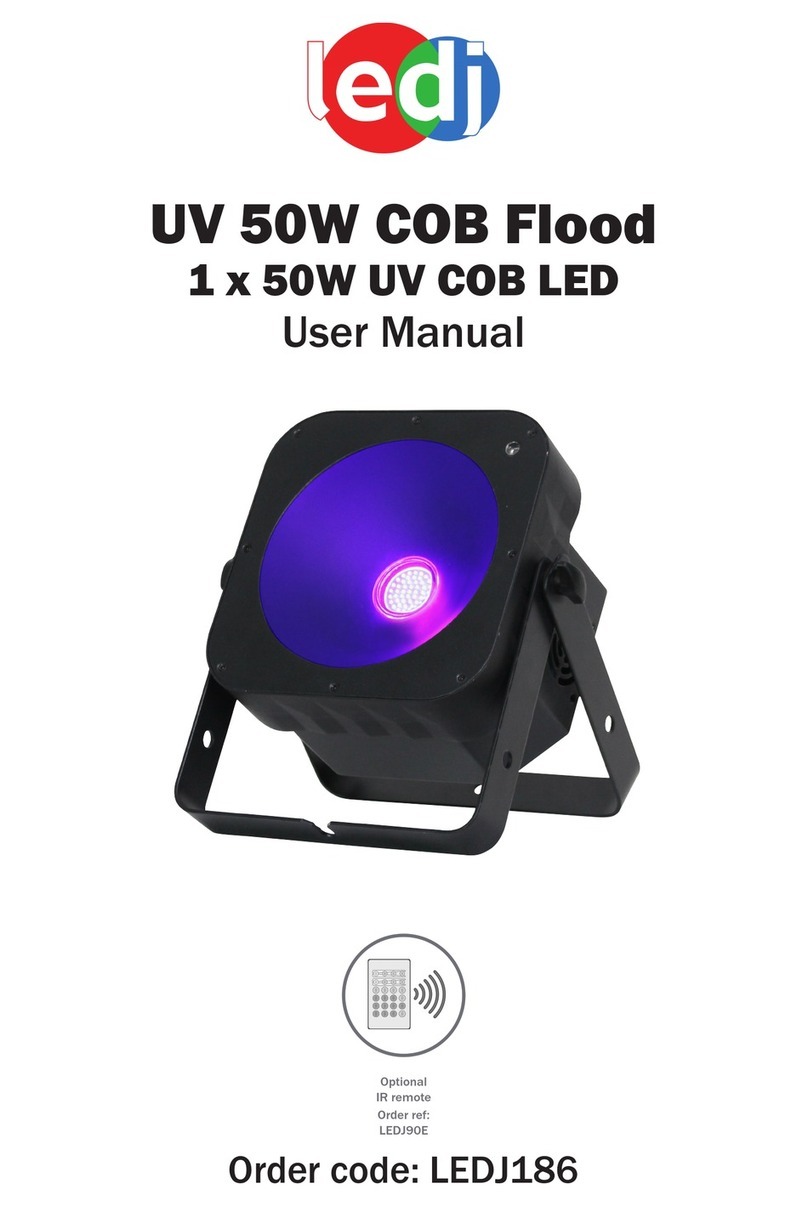
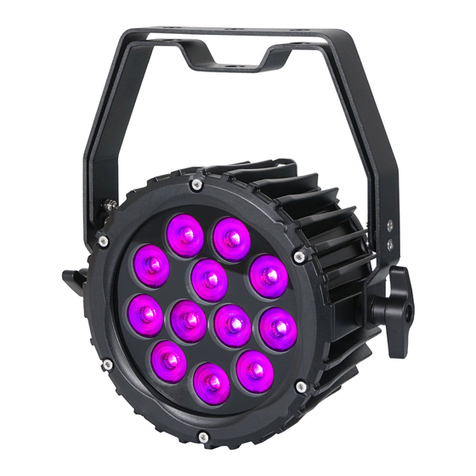
Ledj spectra flood 18T3 User manual

www.prolight.co.uk
Order code: LEDJ256
USER MANUAL
SPECTRA FLOOD 18T3
(IP 66)

Spectra Flood 18T3 Safety
1.
WARNING
FOR YOUR OWN SAFETY, PLEASE READ THIS USER MANUAL CAREFULLY
BEFORE YOUR INITIAL START-UP!
CAUTION!
INPUT VOLTAGE OF 100~240V
SAFETY INSTRUCTIONS
Every person involved with the installation, operation & maintenance of this
equipment should:
- Be competent
- Follow the instructions of this manual
CAUTION! TAKE CARE USING THIS EQUIPMENT!
HIGH VOLTAGE-RISK OF ELECTRIC SHOCK!!
Before your initial start-up, please make sure that there is no damage caused during
transportation. Should there be any, consult your dealer and do not use the
equipment.
To maintain the equipment in good working condition and to ensure safe operation, it is necessary
for the user to follow the safety instructions and warning notes written in this manual.
Please note that damages caused by user modications to this equipment are not
subject to warranty.

Spectra Flood 18T3 Safety
IMPORTANT:
The manufacturer will not accept liability for any resulting damages caused
by the non-observance of this manual or any unauthorised modication to the
equipment.
• Never let the power-cable come into contact with other cables. Handle the power-cable
and all mains voltage connections with particular caution!
• Never remove warning or informative labels from the equipment.
• Do not open the equipment and do not modify the equipment.
• Do not connect this equipment to a dimmer-pack.
• Do not switch the equipment on and off in short intervals, as this will reduce the
system’s life.
• Do not expose to ammable sources or gases.
• Always disconnect the power from the mains when equipment is not in use or before
cleaning! Only handle the power-cable by the plug. Never pull out the plug by pulling the
power-cable.
• Make sure that the available voltage is between 100V-240V.
• Make sure that the power-cable is never crimped or damaged. Check the equipment and
the power-cable periodically.
• Avoid direct eye exposure to the light source while the product is on.
• If the equipment is dropped or damaged, disconnect the mains power supply immediately.
Have a qualied engineer inspect the equipment before operating again.
• If your product fails to function correctly, discontinue use immediately. Pack the unit
securely (preferably in the original packing material), and return it to your Prolight dealer
for service.
• Only use fuses of same type and rating.
• Repairs, servicing and power connection must only be carried out by a qualied
technician. THIS UNIT CONTAINS NO USER SERVICEABLE PARTS.
• WARRANTY; One year from date of purchase.
OPERATING DETERMINATIONS
If this equipment is operated in any other way, than those described in this manual,
the product may suffer damage and the warranty becomes void.
Incorrect operation may lead to danger e.g.: short-circuit, burns, electric shocks,
LED failure etc.
Do not endanger your own safety and the safety of others!
Incorrect installation or use can cause serious damage to people and property.
2.

Introduction
Features
• 18 x 3W tri-colour LEDs
• Beam angle: 40 degrees
• 0-100% dimming and variable strobe
• DMX channels: 1, 3, 4, 5 or 6 selectable
• Static colour, colour fade, colour change, colour mix, auto, master/slave and DMX modes
• 4 push button menu with LED display
• IP rated power in/out sockets
• IP rated 3-pin DMX in/out sockets
• Power consumption: 65W
• Power supply: 100-240V~50/60Hz
• IP rating: IP66
• Dimensions: 325 x 225 x 192mm
• Weight: 4.5Kg
Overview
Setup
Operating Instructions
The Spectra Flood 18T3 Exterior is a DMX-512 controllable unit made up of high efciency RGB
LEDs and will operate in stand alone, master/slave or DMX control modes.
Identication:
1, Tightening knobs
2, Mounting bracket
3, Power in
4, DMX in
5, DMX out
6, Power out
7, LED display
8, Function buttons
9, Safety bond point
Spectra Flood 18T3 Introduction
3.
Lux chart:
0 (M)
RGB
6270
40˚ - Lux
2150 1024 614 396
12 3 4 5

Spectra Flood 18T3 Operation Modes
Operation modes
Colour mix mode:
To access the units colour mix mode, you must be in the built-in programmes mode, choose Pr01
and select option “7” White (RGB). To adjust the brightness of the individual red, green and blue
LEDs, press the “ENTER” button to scroll through the colours and use the “UP” and “DOWN”
buttons to adjust each colour from 000 to 255.
Example:
If you set r, G and B to 000, the Spectra Flood 18T3 will have no LEDs on (blackout).
If you set r to 255 and G and B to 000, the Spectra Flood 18T3 will be 100% Red.
Built-in programmes:
To activate the units built-in programmes, press the “MODE” button to show “Pr01” on the LED
screen. Now use the “UP” and “DOWN” buttons to scroll through the built-in programmes from
Pr01 to Pr10. Now tap the “MODE” button to select the desired speed and adjust by using the
“UP” and “DOWN” buttons. Press the “MODE” button once more to select the desired ash value
and adjust by using the “UP” and “DOWN” buttons.
Speed values: SP00 - SP99 (00 = slow, 99 = fast),
Flash values: FL00 - FL99 (00 = slow, 99 = fast)
In “Pr01” you can set a specic static colour. When in P.01, Press the “Enter” button and use the
“UP” and “DOWN” buttons to scroll through the list of built-in static colours.
0 = White (RGB) 1 = Red 2 = Orange 3 = Light Yellow 4 = Green 5 = Cyan
6 = Blue 7 = Purple 8 = Pink 9 = Yellow 10, Cool white 11, Warm white
To add strobe Press the “ENTER” button again and use the “UP” and “DOWN” buttons to set
strobe from FL00 to FL99. To conrm your setting press the “ENTER” button.
Note: F.00 = slow, F.99 = fast.
Auto run mode
To activate the units auto run mode, press the “MODE” button to show “AUTO”
on the LED screen. The unit will now run through its built-in programmes.
DMX Mode
To activate the units DMX mode, press the “MODE” button to show “d001” on the LED screen and
use the “UP” and “DOWN” buttons to set the rst digit in the DMX address from 0 to 512.
To choose one of the 5 DMX channels, press the “ENTER” button and use the “UP” and “DOWN”
buttons to scroll the through the 1, 3, 4, 5 and 6 channel options. To conrm your choice, press the
“ENTER” button.
For DMX functions, please see the DMX charts below.
Master/salve mode:
To set the unit as the master, simply use any of the above modes on the unit.
To set the unit as a slave unit(s), press the “MODE” button to show “SLAV” on the LED display.
The unit will follow in sequence with the master unit.
4.

1 channel mode DMX chart
3 channel mode DMX chart
4 channel mode DMX chart
5.
Spectra Flood 18T3 DMX Programme Charts
Channel
1
Channel
1
2
3
Channel
1
2
3
4
Value
0
1-22
23-45
46-68
69-91
92-114
115-137
138-160
161-183
184-206
207-229
230-252
253-255
Value
0-255
0-255
0-255
Value
0-255
0-255
0-255
0-255
Function
No function
Red
Green
Blue
Cyan
Yellow
Orange
Pink
Purple
Dark Blue
Pale Green
White
Warm White
Function
Red 0-100%
Green 0-100%
Blue 0-100%
Function
Red 0-100%
Green 0-100%
Blue 0-100%
Master dimmer 0-100%

5 channel mode DMX chart
6 channel mode DMX chart
6.
Spectra Flood 18T3 DMX Programme Charts
Channel
1
2
3
4
5
Value
0-255
0-255
0-255
0-255
0-255
Function
Red 0-100%
Green 0-100%
Blue 0-100%
Master dimmer 0-100%
Strobe (slow to fast)

Spectra Flood 18T3 DMX Programme Charts
6 channel mode DMX chart continued....
7.

Spectra Flood 18T3 DMX Set up
8.
DMX-512:
• DMX (Digital Multiplex) is a universal protocol used as a form of communication between
intelligent xtures and controllers. A DMX controller sends DMX data instructions form the
controller to the xture. DMX data is sent as serial data that travels from xture to xture via the
DATA “IN” and DATA “OUT” DMX terminals located on all DMX xtures (most controllers only have
a data “out” terminal).
DMX Linking:
• DMX is a language allowing all makes and models of different manufactures to be linked together
and operate from a single controller, as long as all xtures and the controller are DMX compliant.
To ensure proper DMX data transmission, when using several DMX xtures try to use the
shortest cable path possible. The order in which xtures are connected in a DMX line does not
inuence the DMX addressing. For example; a xture assigned to a DMX address of 1 may be
placed anywhere in a DMX line, at the beginning, at the end, or anywhere in the middle. When a
xture is assigned a DMX address of 1, the DMX controller knows to send DATA assigned to
address 1 to that unit, no matter where it is located in the DMX chain.
DATA Cable (DMX cable) requirements (for DMX operation):
• The Spectra Flood 18T3 can be controlled via DMX-512 protocol. The DMX address is set on
the back of the unit. Your unit and your DMX controller require a standard 3-pin XLR connector for
data input/output.
Also remember that DMX cable must be daisy chained and cannot be split.
Further exterior DMX and power cables
can be purchased from all good sound and
lighting suppliers or Prolight dealers.
Please quote:
DMX: Power:
LEDJ141 - 1M LEDJ146 - 1M
LEDJ142 - 2M LEDJ147 - 2M
LEDJ143 - 5M LEDJ148 - 5M
LEDJ144 - 10M LEDJ149 - 10M
Interior to exterior DMX:
LEDJ91 - 1M
IP Rated Exterior Power Cable
IP Rated Exterior DMX Cable
Interior to IP Rated Exterior DMX Cable

Spectra Flood 18T3 DMX Set up
9.
Notice:
• Be sure to follow gures 2 & 3 when making your own cables. Do not connect the cable’s shield
conductor to the ground lug or allow the shield conductor to come in contact with the XLR’s outer
casing. Grounding the shield could cause a short circuit and erratic behaviour.
Special Note: Line termination:
• When longer runs of cable are used, you may need to use a DMX terminator on the last unit to
avoid erratic behaviour (LEDJ260).
AC Plug:
• The Spectra Flood 18T3 features captive power cords terminated with IP66 connectors for power
input and power linking. The xture is then supplied with a short 13A to IP66 connector power
cord. If at any stage the 13A plug is removed please follow the chart below. Any changes to the
connector types must be veried by a PAT test or equivalent electrical safety test.
Power linking:
• The Spectra Flood 18T3 supports power linking. You can link up to 8 products at 120 VAC or 16
at 240 VAC.
•This product supplied with a xed power input cord. This product is not suppled with a power link
cable; however, power cables are available as an option (see page 8).
Termination reduces signal transmission problems
and interferance. it is always advisable to connect a
DMX terminal, (resistance 120 Ohm 1/4 W) between
pin 2 (DMX-) and pin 3 (DMX+) of the last fixture.

10.
Spectra Flood 18T3 Trouble Shooting
Problem
One or more xtures
are completely dead.
Fixtures reset correctly, but
all are responding erratically
or not at all to the controller.
Fixtures reset correctly, but
some are responding
erratically or not at all
to the controller.
No power to the xture. Check that the power is switched
on and cables are connected.
Contact your Prolight dealer.
Internal fuse has blown.
The controller is not connected.
The 3-pin XLR out of the
controller does not match the
XLR out of the rst xture
(i.e. signal is reversed).
Poor data quality.
Check the data quality. If much lower
than 100%, the problem may be a
bad data link connection, poor quality
or broken cables, missing termination
plug or a defective xture is disturb-
ing the link.
Bad data link connection.
Inspect the connection and
cables. Correct the connection.
Repair or replace the
damaged cables.
Insert a termination plug into the
output socket of the last xture.
Data link not terminated with 120
Ohm termination plug.
Incorrect addressing of the xtures. Check that DMX address setting
is correct.
One of the xtures is
defective and disturbs the data
transmission on the link.
Bypass one xture at a time until
normal operation is regained.
Unplug both connectors and
connect them together.
Have the xture serviced by a
qualied technician.
The 3-pin XLR Out on the xture
do not match (pins 2 and 3
reversed).
Install a phase reversing cable
between the controller and the
rst xture in the link.
Install a phase
reversing cable between the
xtures or swap pin 2 and 3
in the xture that behaves
erratically.
Connect the controller.
Probable cause Solution

11.
Spectra Flood 18T3 Trouble Shooting
Problem
Fixture blacks out suddenly.
No Light.
The xture is resetting the effect. Contact a technician for servicing
if the problem persists.
Fixture is too hot.
The LEDs are damaged.
The power supply settings do not match
the local AC voltage and frequency.
Allow the xture to cool down.
Make sure that all air vents are
not blocked.
Disconnect the xture and return it
to your dealer.
Disconnect the xture and check
settings and correct if necessary.
Probable cause Solution

12.
Notes:
Spectra Flood 18T3 Notes

13.
Notes:
Spectra Flood 18T3 Notes

15.
Notes:
Spectra Flood 18T3 Notes

Other manuals for spectra flood 18T3
1
Table of contents
Other Ledj Light Fixture manuals
Popular Light Fixture manuals by other brands

MOLTO LUCE
MOLTO LUCE DASH DC Mounting instruction

Lightolier
Lightolier CTS3_FLNG Assembly and installation

Philips
Philips EG1-7 specification

Occhio
Occhio Piu alto2 track CDM Series Mounting instructions

Cooper Lighting
Cooper Lighting Combolight MLU213 Specifications

EuroLite
EuroLite Flexilight quick start guide

OVE
OVE cULus HH-S5050X-30-12-Y installation manual

Lightolier
Lightolier Lytespan 6272 specification

Cooper Lighting
Cooper Lighting Combo Classic CR230M39 Specification sheet

Hunter
Hunter Bowl Light Kit Owner's guide and installation manual

Westinghouse
Westinghouse W-367 owner's manual

Philips
Philips 23MHRS manual