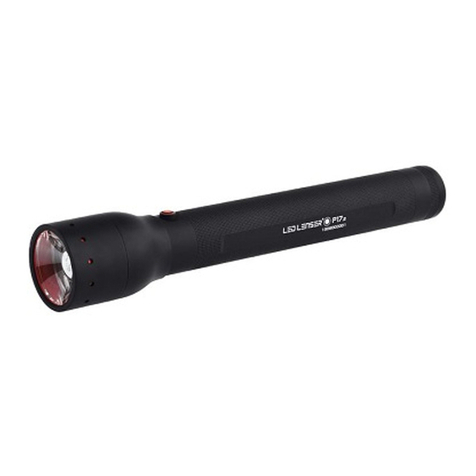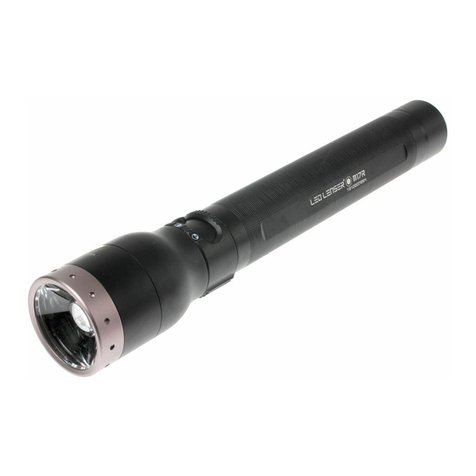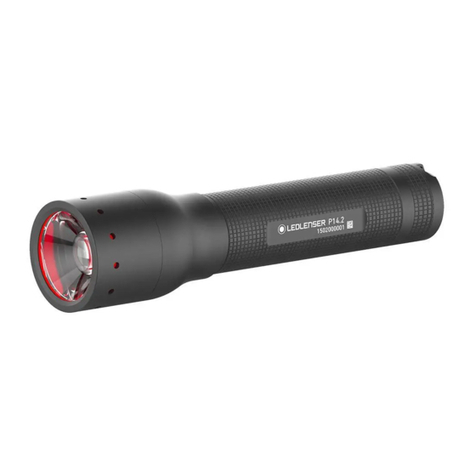
Nous sommes heureux que vous ayez choisi un de nos produits. Le présent
mode d‘emploi va vous familiariser avec votre nouveau produit.
Jeu de piles:
1 x lithium CR123 3V
Marche/Arrêt.
La mise en marche et l’arrêt de la lampe s’eectuent en actionnant le
bouton-poussoir.
Interrupteur commandé par microcontrôleur
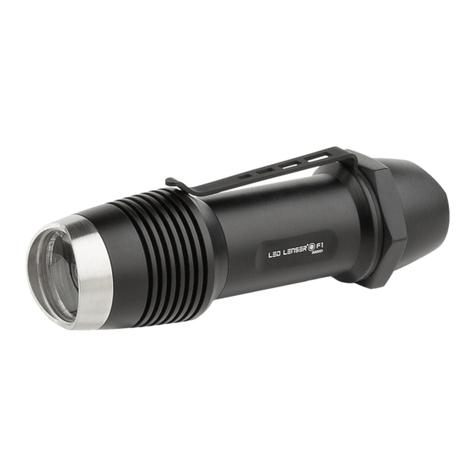
Le système de commutation employé dans la LED LENSER® F1 utilise un
microprocesseur pour sélectionner le mode d‘éclairage. Grâce à l‘usage
d‘un seul commutateur, l‘interface avec l‘utilisateur a pu rester très
simple et conviviale. Par ce système, la lampe peut fonctionner dans une
puissance d‘éclairage réduite, dans une puissance d‘éclairage maximale et
dans un mode stroboscopique.
La puissance d‘éclairage maximale est atteinte en actionnant une fois
l‘interrupteur.
La puissance d‘éclairage réduite est atteinte en eeurant une fois
l‘interrupteur dans un délai d‘une seconde, puis en l‘actionnant.
Vous pouvez sélectionner le mode stroboscopique (12 Hz) en eeurant
l‘interrupteur deux fois dans un délai d‘une seconde, puis en l‘actionnant.
Surveillance de température.
La LED LENSER® F1 est équipée d‘un système de surveillance de
température. Il évite une surchaue de la lampe en fonctionnement.
Une réduction de la luminosité peut alors avoir lieu.
Clip interchangeable.
Le clip joint à la livraison peut être monté soit au niveau de la tête, soit au
niveau du capuchon d‘extrémité. Il sut de dévisser les pièces correspon-
dantes, d‘insérer le clip entre les deux pièces et de revisser fermement.
Remplacement des piles.
Lorsque la lampe commence à clignoter 3 fois toutes les 15 secondes en
cours d‘usage, cela signifie que les piles sont usées et qu‘elles doivent
être remplacées. Pour remplacer la pile, dévissez l‘arrière de la lampe.
Enlevez la pile usagée et mettez-la au rebut. Introduisez la pile neuve avec
le pôle plus (+) en premier dans le compartiment à piles. Revissez ensuite
le capuchon d‘extrémité pour le fermer.
Important!
Lorsque vous introduisez une nouvelle pile, veuillez absolument respecter
les indications de polarité (+) et (-) figurant dans le compartiment à piles.
Autrement, vous risquez éventuellement d’endommager les piles et de les
faire exploser.
Piles
Pour votre LED LENSER® F1, veuillez n‘utiliser que des piles lithium CR123
de 3 V. Si vous n‘utilisez pas la lampe pendant une période prolongée,
enlevez impérativement les piles pour éviter tout dommage. N‘utilisez pas
d‘accumulateurs ou de piles rechargeables pour cette lampe. Les piles
déchargées doivent être retirées du produit. Des piles non rechargeables
ne doivent en aucun cas être rechargées. Les piles et les batteries usagées
constituent des déchets spéciaux devant être éliminés conformément à la
législation nationale.
Consignes de sécurité.
Ne dirigez jamais intentionnellement le faisceau lumineux dans vos yeux
ou ceux d’autres personnes. Si un faisceau lumineux atteint vos yeux,
fermez-les et éloignez votre tête du faisceau lumineux. N‘utilisez pas
d’instruments optiques grossissants pour observer le faisceau lumineux.
Regarder directement le faisceau lumineux peut entraîner des phénomènes
d’éblouissement dus à la forte intensité lumineuse de la lampe. En cas
d’utilisation sur la voie publique, respectez les prescriptions légales en vigueur.
En cas d’exploitation commerciale ou d’exploitation dans le secteur public,
l’utilisateur doit être formé selon les prescriptions relatives aux lampes
LED portatives.
* Français
* English
Thank you for choosing one of our products.To familiarize yourself with
this product, please read the following instructions.
Battery
1 x CR123A Lithium 3V
Turning the flashlight ON and OFF
To turn the flashlight ON and OFF, push the button at the end of the
flashlight.
Brightness adjusting
When the lamp is o, push the button down, you can get 100% brightness;
and push the button again, can turn the lamp o;
When the lamp is o, touch the button down twice in 1 second, keep or
push the button, you can get 15% brightness;
When the lamp is o, touch the button 3 times in 1 second, keep or push
the button, you can get strobe function (12 Hz);
When the flashlight is o, touch the button down to use the Boost Function.
Over temperature protection
When the temperature of flashlight is too high, the system of flashlight
will automatically start to adjust, to make sure the lamp could work under
normal work condition.
Clip reverse assemble function
Assemble the clip of flashlight in the other direction the flashlight still
could work normally. Screw o the end cap and take out the clip and
battery first from tube, and screw out the neck of flashlight from tube, put
the clip on the neck and then screw the neck of flashlight into tube, and
then fill in the battery with anode contact (+) first into tube, and then screw
the end cap into tube.
Replacing the batteries
The flashlight will signal low battery by blinking 3 times with 3Hz each 15
seconds. To replace the battery, switch o the flashlight and then unscrew
the end cap of the flashlight. Take out the used battery and dispose of it
properly. Fill in the new battery with the anode contact (+) first. Close the
lamp by screwing the lamp end cap into the body.
Important!
When inserting the battery, please place the electrode of battery correctly.
If you insert battery the wrong way, there may be the risk of battery dama-
ge or maybe an explosion!
Batteries
Never try to use rechargeable battery on this flashlight and never try to
recharge the battery. If you intend to not use the flashlight for a long period
of time, take the battery out to prevent it from leaking and damaging the
flashlight. Discharged battery should also be removed.
Used battery is hazardous waste and must be disposed of according to
government regulations.
Safety advice
Do not shine the light directly in someone‘s eyes. If the light beam shines
directly in your eye, look away immediately. Do not use any magnifying in-
struments with this flashlight that could concentrate the light beam.If used
for commercial purposes, the flashlight should only be used in accordance
with any local laws and regulations. Use on the road, please follow the
state regulations on road trac signals.
LED LENSER®*
LED LENSER®* Hersteller | Manufacturer | Fabricant
ZWEIBRÜDER® OPTOELECTRONICS GMBH & CO. KG
Kronenstr. 5-7 • 42699 Solingen • Germany Tel. +49 212 / 5948 - 0 • Fax +49 212 / 5948 - 200
info@zweibrueder.com • www.zweibrueder.com
Hersteller | Manufacturer | Fabricant
ZWEIBRÜDER® OPTOELECTRONICS GMBH & CO. KG
Kronenstr. 5-7 • 42699 Solingen • Germany Tel. +49 212 / 5948 - 0 • Fax +49 212 / 5948 - 200
info@zweibrueder.com • www.zweibrueder.com
