2LenelS2 Readers - 5000 Series
Slimline 13.56 MHz
- Technical specifications
Operating frequency 13.56 MHz.
Reading technologies
NFC/BLE, MIFARE CSN 4 byte, MIFARE CSN 7 byte, MIFARE Classic, MIFARE Plus,
MIFARE DESFire 0.6, MIFARE DESFire EV1, MIFARE DESFire EV2**, MIFARE DESFire
EV3**, MIFARE Random CSN and iCLASS CSN 8 byte. Also supports other ISO 14443
A/B* compatible cards.
*Not all ISO14443 B cards have been implemented in the reader, please contact
LenelS2 for more details on current status.
**Application coding must be in accordance with EV1.
MIFARE is a registered trademark of NXP B.V. and is used under license.
Secure Access Module
(SAM):
MIFARE SAM AV2, external SIM card
connection slot.
Communication protocols Wiegand, Clock/Data, OSDP 1, OSDP 2 (including Secure channel),
RS232 and RS485.
Reading output format 24 to 1024 (excluding parity bits)
Keypad output format Wiegand 4 bit, Wiegand 8 bit (Dorado), Wiegand 26 bit, OSDP ASCII format.
Keypad
12 digit keypad in 6 rows of 2 keys in each row with configurable
backlight in blue color. Control features On/Off/Auto indicators.
Light itensity can be adjusted.
Indicators LED, Green, Red and Yellow. Backlight in blue color. Buzzer.
Power supply 9 to 30 VDC
Current consumption
24 VDC idle mode with heater inactive 40 mA**
12 VDC, idle mode with heater inactive 50 mA**
**Current consumption differs depending on functionality used
and can also be limited in the reader configuration.
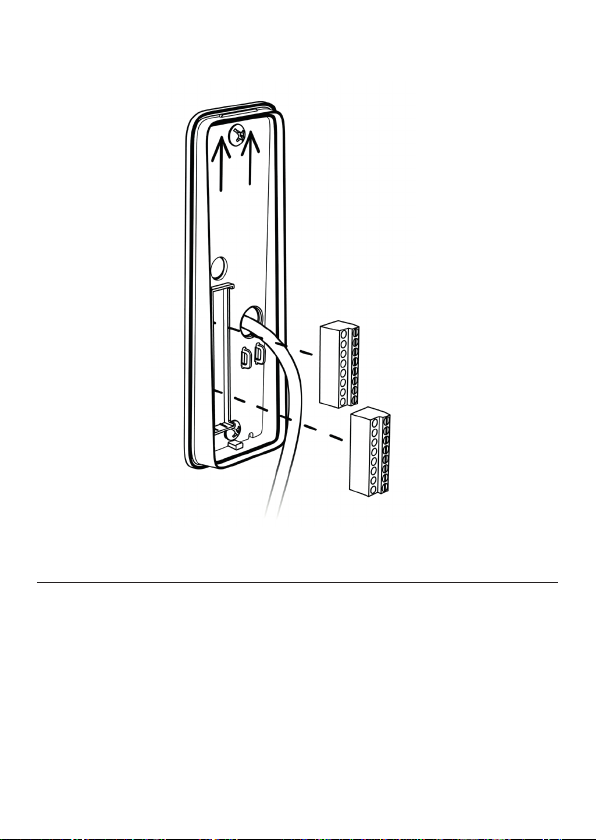
Input/Output
4 input for LED- and buzzer control and 2 configurable General Purpose
Input/Output (GPI/O). The GPI/O’s are push/pull type which provides 3.3 VDC
as output when “high” on each respective GPI/O connection pin.
Tamper alarm Built-in mechanical tamperswitch which allows for
indication break off protection and/or opening of the reader.
Operating temperature
-40° to +70°C
When installing readers in environments with extreme heat
(above +50°C) it is recommended to utilize the climate protection
LNL-R50000-WRW which provides additional shading to the reader.
Heater Thermostat controlled embedded heater.
Operating humidity 0 to 95% RHNC
(Relative Humidity No Condensation)
IP rating IP65/IK07
Dimension (W x H x D) 48 x 141 x 25
Configuration method Configuration card, reader tool software or factory configured readers.
Compliances