manuals.online logo
Brands
  1. Home
  2. •
  3. Brands
  4. •
  5. Lenoxx Sound
  6. •
  7. CD Player
  8. •
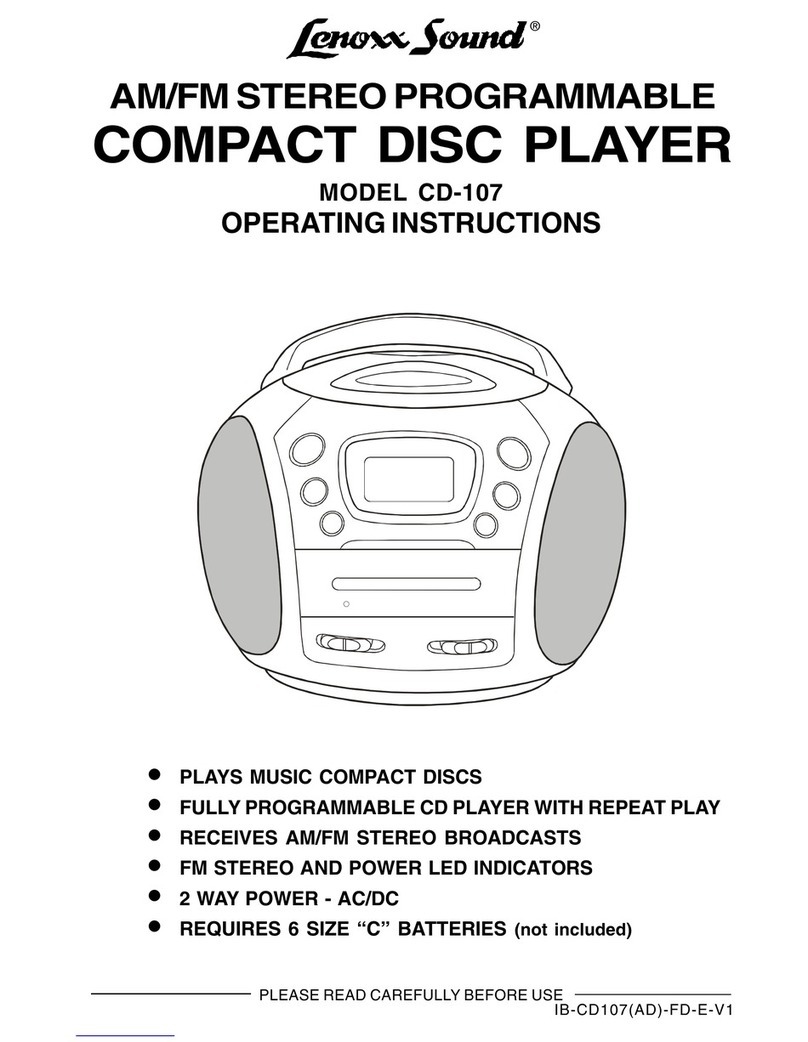
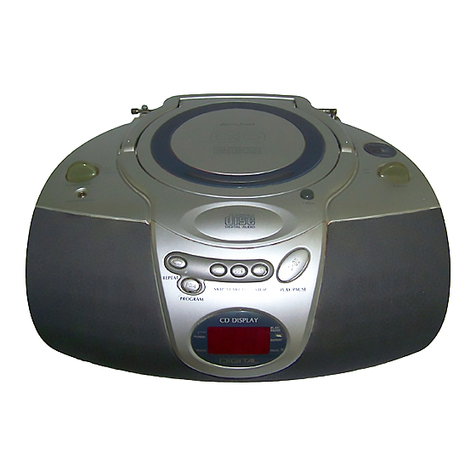
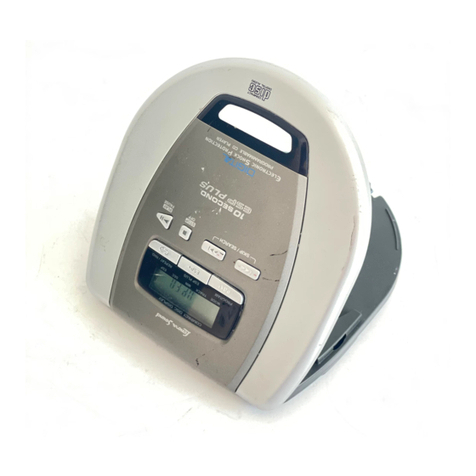
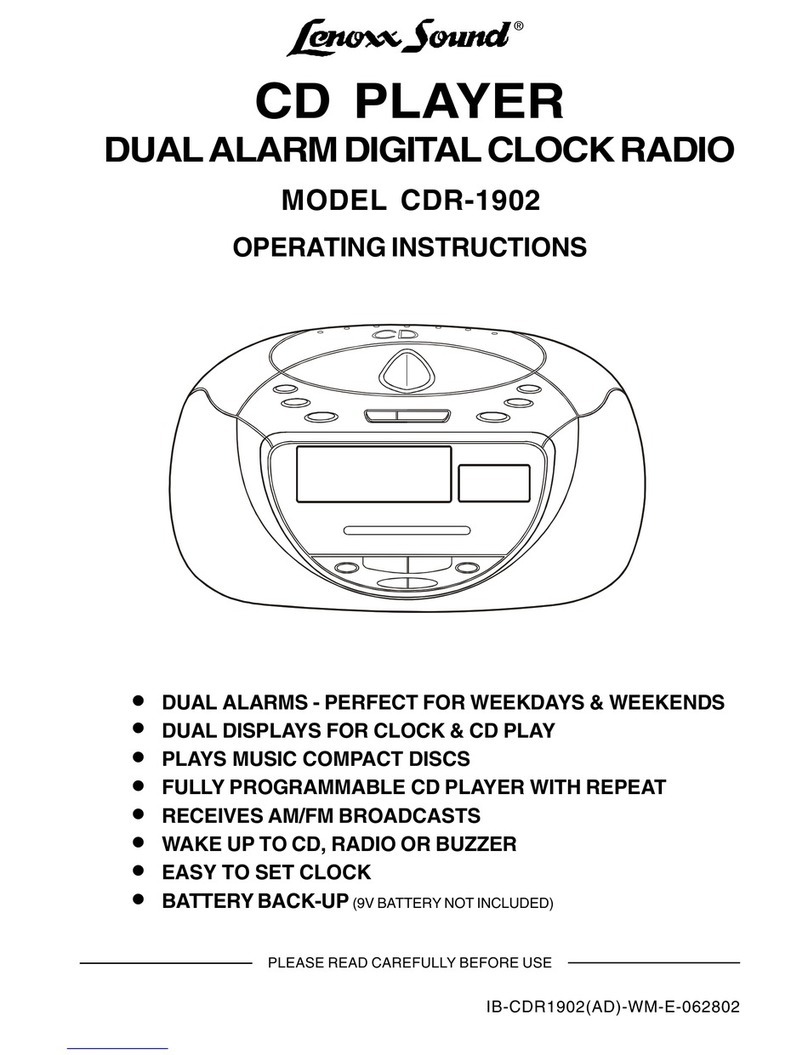
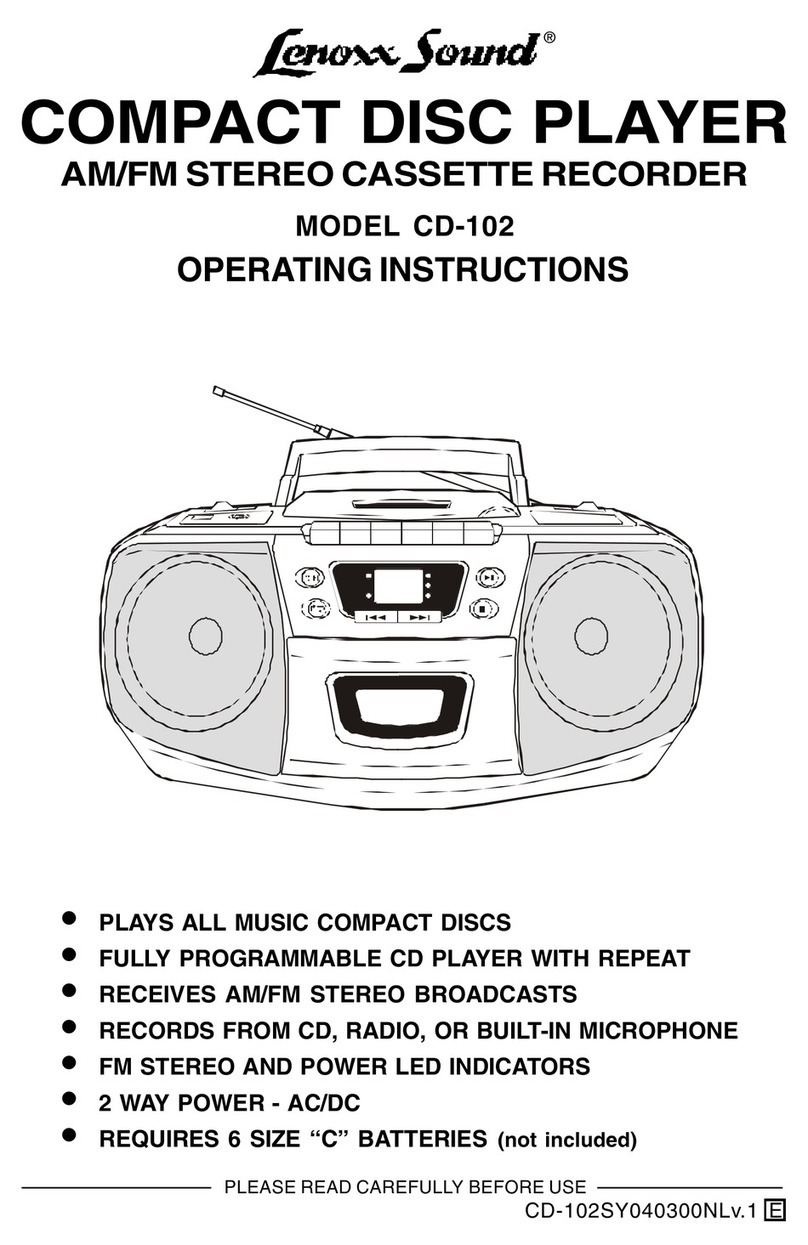
  9. Lenoxx Sound CD-107 User manual

Lenoxx Sound CD-107 User manual

®
AM/FM STEREO PROGRAMMABLE
COMPACT DISC PLAYER
PLAYS MUSIC COMPACT DISCS
FULLY PROGRAMMABLE CD PLAYER WITH REPEAT PLAY
RECEIVES AM/FM STEREO BROADCASTS
FM STEREO AND POWER LED INDICATORS
2 WAY POWER - AC/DC
REQUIRES 6 SIZE C BATTERIES not included)
IB-CD107(AD)-FD-E-V1
MODEL CD-107
OPERATING INSTRUCTIONS
PLEASE READ CAREFULLY BEFORE USE
SAFETY INSTRUCTIONS
The lightning fl sh
nd rrow he d
within the tri ngle is
w rning sign
lerting you of
d ngerous volt ge
inside the product.
CAUTION
RISK OF ELECTRIC
SHOCK
DO NOT OPEN
CAUTION: TO REDUCE THE
RISK OF ELECTRIC SHOCK,
DO NOT REMOVE COVER (OR
BACK). NO USER SERVICEABLE
PARTS INSIDE. REFER
SERVICING TO QUALIFIED
SERVICE PERSONNEL.
The excl m tion point
within the tri ngle is
w rning sign lerting
you of import nt
instructions
ccomp nying the
product.
WARNING: TO REDUCE THE RISK OF FIRE OR ELECTRIC SHOCK, DO NOT
EXPOSE THIS APPLIANCE TO RAIN OR MOISTURE.
THESE IMPORTANT SAFETY INSTRUCTIONS ARE INCLUDED, AS APPLICABLE TO THE
APPLIANCE, CONVEYING TO THE USER THE INFORMATION ITEMIZED BELOW:
1. Read Instructions - All the s fety nd oper ting instructions should be re d before
the ppli nce is oper ted.
2. Retain Instructions - The s fety nd oper ting instructions should be ret ined for
future reference.
3. Heed Warnings - All w rnings on the ppli nce nd in the oper ting instructions
should be dhered to.
4. Follow Instructions - All oper ting nd use instructions should be followed.
5. Water and Moisture - The ppli nce should not be used ne r w ter - for ex mple ne r
b thtub, w shbowl, kitchen sink, l undry tub, in wet b sement, or ne r swimming pool,
nd the like.
6. Wall or Ceiling Mounting - The ppli nce should not be mounted to w ll or ceiling.
7. Ventilation - The ppli nce should be situ ted so th t its loc tion or position does not
interfere with its proper ventil tion. For ex mple, the ppli nce should not be situ ted on
bed, sof , rug, or simil r surf ce th t m y block the ventil tion openings; or,
pl ced in built-in inst ll tion, such s bookc se or c binet th t impede the flow of ir
through the ventil tion openings.
8. Heat - The ppli nce should be situ ted w y from he t sources such s r di tors,
he t registers, stoves, or other ppli nces (including mplifiers) th t produce he t.
9. Power Sources - The ppli nce should be connected to power supply only of the
type described in the oper ting instructions or s m rked on the ppli nce.
10. Grounding or Polarization - Prec utions should be t ken so th t the grounding or
pol riz tion me ns of n ppli nce is not defe ted.
11. Power Cord Protection - Power supply cords should be routed so th t they re not
likely to be w lked on or pinched by items pl ced upon or g inst them, p ying p rticul r
ttention to cords t plugs, convenient recept cles, nd the point where they exit
from the ppli nce.
12. Cleaning - The ppli nce should be cle ned only s recommended by the m nuf cturer.
13. Nonuse periods - The power cord of the ppli nce should be unplugged from the
outlet when left unused for long period of time.
1
SEE BOTTOM OF THE SET
IB-CD107(AD)-FD-E-V1
EXAMPLE OF ANTENNA GROUNDING AS PER
NEC - NATIONAL ELECTRICAL CODE
Do not pply oil or petroleum products or solvents to ny p rt of this set.
CAUTION
Use of controls or djustments or perform nce of procedures other th n those
specified herein m y result in h z rdous r di tion exposure.
This comp ct disc pl yer is cl ssified s CLASS 1 LASER PRODUCT s st ted
on the bottom of the set.
14. Object and Liquid Entry - C re should be t ken so th t objects do not f ll nd liquids
re not spilled into the enclosure through openings.
15. Damage Requiring Service - The ppli nce should be serviced by qu lified service
personnel when:
A. The power supply cord or the plug h s been d m ged; or
B. Objects h ve f llen, or liquid h s been spilled into the ppli nce; or
C. The ppli nce h s been exposed to r in; or
D. The ppli nce does not ppe r to oper te norm lly or exhibits m rked ch nge in
perform nce; or
E. The ppli nce h s been dropped, or the enclosure d m ged.
16. Servicing - The user should not ttempt to service the ppli nce beyond th t described in the
oper ting instructions. All other servicing should be referred to qu lified service personnel.
17. Power lines - An outdoor ntenn should be loc ted w y from power lines.
18. Outdoor Antenna Grounding - If n outside ntenn is connected to the receiver, be sure the
ntenn system is grounded so s to provide some protection g inst volt ge surges nd
built up st tic ch rges. Section 810 of the N tion l Electric l Code, ANSI/NFPA 70 provides
inform tion with respect to proper grounding of the m st nd supporting structure, grounding
of the le d-in wire to n ntenn disch rge unit, size of grounding conductors, loc tion of
ntenn -disch rge unit, connection to grounding electrodes, nd requirements for the
grounding electrode. See Figure.
ANTENNA
LEAD IN WIRE
ANTENNA DISCHARGE UNIT
(NEC SECTION 810-20)
GROUNDING CONDUCTORS
(NEC SECTION 810-21)
POWER SERVICE GROUNDING
ELECTRODE SYSTEM
(NEC ART 250, PART H)
ELECTRIC
SERVICE
EQUIPMENT
GROUND
CLAMP
GROUND CLAMPS
SAFETY INSTRUCTIONS
2IB-CD107(AD)-FD-E-V1
1. Use only the type nd size of b tteries mentioned in the oper ting instructions
booklet (b tteries re not included with this set, ple se buy the proper b tteries).
2. Do not dispose the b tteries into fire. The cells m y explode. Check with loc l
codes for possible speci l dispos l instructions.
3. Do not open or mutil te the b tteries. Rele sed electrolyte is corrosive nd m y
c use d m ge to the eyes or skin. It m y be toxic if sw llowed.
4. Be c reful when h ndling b tteries in order not to short the b ttery with conducting
m teri ls such s rings, br celets nd keys. The b ttery or conductor m y over
he t nd c use burns.
5. Do not ttempt to rech rge non-rech rge ble b tteries. The b tteries m y le k
corrosive electrolyte or explode.
6. Do not ttempt to rejuven te the b tteries identified for use with this product by
he ting them. Sudden rele se of the b ttery electrolyte m y c use burns or
irrit tion to eyes or skin.
7. All b tteries should be repl ced t the s me time. Mixing fresh nd disch rged
b tteries could incre se intern l cell pressure nd rupture the b tteries.
8. When inserting b tteries into this product, the proper pol rity ( nd ) or
direction must be observed. Reverse insertion of some or ll of the b tteries m y
result in b ttery electrolyte le k ge or explosion.
9. Remove the b tteries from this product if the product will not be used for long
period of time (sever l months or more) since during the period the b tteries could
le k, d m ging the product.
10. Disc rd we k or de d b tteries s soon s possible since they re more likely to
le k in the product. B tteries should be repl ced (depending on the product) when
the displ y gets dim or if the Low B ttery Indic tor shows or if the sound gets
distorted.
11. Do not store this product in high temper ture re s. B tteries th t re stored in
freezer or refriger tor for the purpose of extending shelf life should be protected
from condens tion during stor ge nd defrosting. B tteries should be st bilized t
room temper ture prior to use fter cold stor ge.
12. If this product does not oper te norm lly, see TROUBLE SHOOTING in this
instruction m nu l. If you c nt resolve the problem, or if the product is d m ged, refer to the
LENOXX WARRANTY INFORMATION. Opening or removing covers m y expose you to
d ngerous volt ges or other risks. Incorrect re ssembly c n c use electric shock when
the ppli nce is subsequently used.
13. If liquid le ks from the b tteries, c refully wipe this liquid. Do not llow it to touch your skin,
nd disc rd the le king b tteries.
14. Do not mix b tteries (OLD nd NEW or CARBON nd ALKALINE, etc.).
15. The use of rech rge ble b tteries is not recommended for this set bec use their
volt ge nd life is lower th n st nd rd b tteries.
16. Inst ll tion of b tteries should be done by n dult only.
SAVE THESE INSTRUCTIONS
CAUTION: TO REDUCE THE RISK OF FIRE OR PERSONAL INJURY OR DAMAGE TO YOUR
SET, READ AND FOLLOW THESE INSTRUCTIONS.
3
BATTERY SAFETY INSTRUCTIONS
IB-CD107(AD)-FD-E-V1
CHOOSING THE POWER SOURCES
You c n use the AC power or b tteries s power source.
TIP
If the plug of the AC
power cord does not
m tch your outlet, do not
force it.
Reverse it nd try g in.
The plugs re pol rized
nd only fits one w y into
the w ll outlet nd b ck
of the set.
Repl ce the b tteries
when the POWER l mp
dims or when the pl yer
stops oper ting. Repl ce
ll the b tteries with new
ones. Before you repl ce
the b tteries, be sure to
t ke out the CD from the
pl yer nd remember to
check the B ttery S fety
Instructions on P ge 3.
1. Connecting the AC power
cord
Insert one end of the supplied AC power cord
(loc ted in the b ttery comp rtment) into the socket
loc ted t the re r of the pl yer, nd the other end
to the w ll outlet.
2. Using the player on batteries
Insert 6 size C b tteries (not supplied) into the
b ttery comp rtment.
To use the pl yer on b tteries, disconnect nd
remove the AC power cord from the pl yer.
4
AC SOCKET
B ttery comp rtment
To w ll outlet
NOTE: One bl de of plug
nd outlet is wider.
!
#

"
$
upper
upper
lower
Insert new b tteries
ccording to sequence
s shown on FIG. 1.
+
+
+
+
FIG. 1
FIG. 2
To remove the b tteries,
(open the door) stick
your finger into the hole
on the bottom of the set
nd push the b tteries
out s shown on FIG. 2.
IB-CD107(AD)-FD-E-V1
1Slide the FUNCTION
switch to CD position, the
POWER l mp will turn on.
3Close the CD DOOR by
pushing it down. The
displ y will show the tot l
tr cks on th t CD.
4
1
2 & 3
Press the right corner of the
CD DOOR m rked OPEN/
CLOSE to open the door
nd pl ce the CD in the
CD comp rtment. The
l bel side of the CD should
f ce upw rd.
2
Press the CD PLAY
button. The PLAY/PROG.
l mp will be ste dy on, the
pl yer will pl y ll the
tr cks in order once.
4
Connect the supplied AC power cord or b tteries (see p ge 4).
PLAYING A CD
PLAY/PAUSE
5
POWER l mp
TRACK
FUNCTION
Tr ck
number
PLAY/PROG.
l mp
OPEN
CLOSE
IB-CD107(AD)-FD-E-V1
USE THESE BUTTONS FOR
ADDITIONAL OPERATIONS
To Press or Adjust
Adjust the volume VOLUME control
Stop pl yb ck
P use pl yb ck The tr ck number will fl sh
during p use. Press g in to
resume pl y fter p use.
Go to the next tr ck
Go b ck to the previous
tr ck
Loc te point in song
BACKWARDS or
FORWARDS
Press nd hold down while
pl ying until you find the point.
TIP
Remove the CD Press the right corner of the
CD DOOR m rked OPEN/
CLOSE (press STOP first)
VOLUME CONTROL
( t the left side of the set)
FUNCTION SWITCH
OPEN THE CD DOOR
BY PRESSING HERE
6
If you bump the set
during CD pl y, the
music will stop or
skip for few
seconds. This is
norm l for this type
of pl yer.
TIP
FORWARDS
BACKWARDS
To enjoy the music
without disturbing others
Insert your he dphone
(option l - not included) plug
into the PHONES j ck ( t the
left side of the set)
PHONES
JACK
STOP PLAY/PAUSE
BACKWARD FORWARD
STOP
PLAY/PAUSE
When CD pl y is
p used, the tr ck
number will fl sh
nd no music will
pl y.
To resume pl y,
press the PAUSE
button g in, the
tr ck number will
stop fl shing nd
music will pl y.
Turn off the power Slide the FUNCTION switch to
OFF position
IB-CD107(AD)-FD-E-V1
PLAYING CD TRACKS REPEATEDLY
REPEAT PLAY)
1. Slide the FUNCTION switch to the CD position.
2. Select the tr ck by pressing SKIP/SEARCH BACKWARD or FORWARD
, nd then press .
3. Press the CD REPEAT/PROGRAM button.
To repeat Press
single tr ck (song)
ll the tr cks ( ll songs)
You c n pl y CD tr cks over nd over in norm l or progr m pl y modes (see p ge 8).
progr mmed tr cks
FUNCTION
SWITCH
Display shows
PLAY/PROG.
LAMP REPEAT
LAMP
7
RANDOM
BUTTON
BACKWARD FORWARDPLAY/PAUSE
Press the REPEAT/PROGRAM
button once, the REPEAT l mp
will be ste dy on.
Press the REPEAT/PROGRAM
button twice, the REPEAT l mp
will be fl shing.
PLAY/
PROG.
REPEAT
PLAY/
PROG.
REPEAT
During progr mmed pl y, press
the REPEAT button twice, both
the REPEAT nd PLAY/PROG.
l mps will be fl shing.
PLAY/
PROG.
REPEAT
To cancel Repeat Play
Press the REPEAT/PROGRAM button until the REPEAT l mp goes off.
REPEAT/PROGRAM
BUTTON
IB-CD107(AD)-FD-E-V1
You c n m ke progr m of up to 16 tr cks in the order you w nt them to be pl yed.
PLAY/PROG.
LAMP
8
SELECTING YOUR OWN MUSIC PLAYING ORDER
Programmed Play)
REPEAT/PROGRAM
BUTTON
PLAY/
PROG.
REPEAT
PLAY/
PROG.
REPEAT
1. Slide the FUNCTION switch to CD position.
M ke sure the CD is stopped.
2. Press the REPEAT/PROGRAM button. The letters
P0 will show nd the PLAY/PROG. l mp will
fl sh.
3. Press or to select the tr cks you w nt to
progr m in the order you w nt.
4. Press the REPEAT/PROGRAM button to confirm.
The letters P1 will show nd the PLAY/PROG.
l mp will fl sh.
5. Repe t steps 3 nd 4. You c n progr m up to 16
tr cks (the displ y will show P , Pb ... Pf
for progr m#11-16).
6. Press to st rt progr mmed pl y. The PLAY/PROG.
l mp will be fl sh.
To change the current program
Just cre te new progr m following the Progr mming procedure.
To cancel Programmed Play
Slide the FUNCTION switch to OFF position.
2. Random Play
To play the songs in random order
Press the RANDOM button, nd the displ y will show some moving symbols like
 ... ...  every 5 second.
Press to skip to next r ndom song.
To resume normal play
Press the RANDOM button g in.
IB-CD107(AD)-FD-E-V1
LISTENING TO THE RADIO
Connect the supplied AC power cord or b tteries (see p ge 4).
Slide the FUNCTION switch to
RADIO position, the POWER
l mp will turn on.
12
3
1
2
3
Slide the BAND switch to the
proper b nd position (AM, FM, or
FM STEREO) th t you w nt.
Tune into the st tion you prefer
using the TUNING control ( t the
right side of the set). Adjust for
the cle rest sound.
4This indic tor will light up when
receiving FM Stereo bro dc sts.
9
4
FM STEREO
BAND
FUNCTION
IB-CD107(AD)-FD-E-V1
USE THESE BUTTONS FOR
ADDITIONAL OPERATIONS
To Slide or Adjust
Adjust the volume VOLUME control ( t the
left side of the set)
TIP
•If the FM bro dc st is
noisy, slide the BAND
switch from FM Stereo
to FM (MONO) position. Turn off the R dio Slide the FUNCTION
switch to OFF position
To improve broadcast reception
Ch nge position of the ntenn for FM or FM Stereo.
Move the set itself for AM.
•Next time you w nt to
listen to the r dio, just
slide the FUNCTION
switch to RADIO. The
pl yer utom tic lly
st rts pl ying the
previously tuned
st tion.
10
FUNCTION SWITCH
VOLUME
CONTROL
IB-CD107(AD)-FD-E-V1
PRECAUTIONS
On Safety
As the l ser be m used in the CD
pl yer section m y be h rmful to the
eyes, do not ttempt to dis ssemble
the c binet. Refer servicing to
qu lified personnel only.
Should ny solid object or liquid f ll
into the pl yer, unplug the pl yer, nd
h ve it checked by qu lified personnel
before oper ting it ny further.
On Power Sources
For b ttery oper tion, use 6 size C
b tteries. We recommend lk line
b tteries for longer life.
When the b tteries will not be used
for few weeks or more, remove them
to void d m ge th t c n be c used
by b ttery le k ge or corrosion.
11
On Operation
If the pl yer is brought directly from
cold to w rm loc tion, or is pl ced
in very d mp room, moisture m y
condense on the lens inside the CD
pl yer section. Should this occur, the
pl yer will not oper te properly. In
this c se, remove the CD nd w it
bout n hour for the moisture to
ev por te.
This CD pl yer is designed to be
pl yed on st ble no vibr tion
position. If you bump the set during
CD pl y, the music will stop or skip for
few seconds. This is norm l for this
type of pl yer.
If you h ve ny questions or problems
concerning your pl yer, ple se cont ct
our customer service dep rtment.
On Placement
Do not le ve the pl yer in loc tion
ne r he t source, or in pl ce
subject to direct sunlight, excessive
dust or mech nic l shock.
Do not pl ce the pl yer on n inclined
or unst ble pl ce.
Do not pl ce nything within 1 inch of
the b ck of the c binet. The
ventil tion holes must not be covered
for the pl yer to oper te properly nd
prolong the life of its components.
If the pl yer is left in c r p rked in
the sun, be sure to choose loc tion
in the c r where the pl yer will not be
subjected to the direct r ys of the
sun.
Since strong m gnet is used for the
spe kers, keep person l credit c rds
using m gnetic coding or springwound
w tches w y from the pl yer to
prevent possible d m ge from the
m gnets.
IB-CD107(AD)-FD-E-V1
PRECAUTIONS continued)
Notes on CDs
Before pl ying, cle n the CD with
cle ning cloth. Wipe the CD from the
center out.
Do not use solvents such s benzene,
thinner, commerci lly v il ble
cle ners or nti-st tic spr y intended
for vinyl LPs.
Do not expose the CD to direct
sunlight or he t sources such s hot
ir ducts, nor le ve it in c r p rked
in direct sunlight s there c n be
consider ble rise in temper ture inside
the c r.
Do not stick p per or stickers on the
CD, nor scr tch the CD.
 After pl ying, store the CD in its c se.
If there is scr tch, dirt or fingerprints
on the CD, it m y c use tr cking
error or skipping.
12
MAINTENANCE
Cleaning the Lens
Cleaning the Cabinet
Cle n the c binet, p nel nd controls
with soft cloth slightly moistened
with mild detergent solution. Do
not use ny type of br sive p d,
scouring powder, or solvent, such s
lcohol or benzene.
If the lens becomes dirty, it m y
c use skipping of sound during CD
oper tion. Cle n with commerci lly
v il ble lens cle ner nd blower.
IB-CD107(AD)-FD-E-V1
TROUBLE SHOOTING
Problem Remedy
The power is not on. Connect the AC power cord to w ll
outlet securely.
M ke sure the b tteries re inserted
correctly nd they re fresh.
There is no sound. M ke sure the FUNCTION switch is t
the right position s you w nt.
Adjust the volume.
Unplug the he dphones when listening
through spe kers.
 ppe rs in the displ y
even when CD is in pl ce.  Insert the CD with the l bel side up.
CD does not pl y.
 M ke sure th t the CD comp rtment is
closed.
 Pl ce the CD with the l bel side up.
 Cle n the CD.
 T ke out the CD nd le ve the CD DOOR
open for bout n hour to dry moisture
condens tion.
 M ke sure the FUNCTION switch is t CD
position.
Cle n the CD, or repl ce it if the CD is
b dly d m ged.
Pl ce the pl yer in loc tion free from
vibr tion.
 Check if your b tteries re fresh.
The sound is we k or h s
poor qu lity. Repl ce ll the b tteries with new ones if
they re we k, or bring the set ne r
window, or rot te the set.
GeneralCD player
Radio
The sound drops out.
13 IB-CD107(AD)-FD-E-V1
SPECIFICATION
General Description
Power source: AC 120V, 60Hz 12W tts
DC 9V (6 size C b tteries)
(Alk line b tteries re recommended)
Spe kers: 2 - 3^ 8 ohm
Output power: 1.5W/ch nnel
Dimensions: Width: 9 1/2^
Depth: 9^
Height: 6 1/2^
Weight: 3.5LBs (without b tteries)
CD Section
Pl ys disc type: Any norm l CD used in port ble pl yers
L ser w velength: 760 - 800 NM
Tr cking method: 3 - spot error detection 3.86 mm lens
Radio Section
Frequency r nge: FM: 88 - 108 MHz
AM: 530 - 1700 kHz
LENOXX reserves the right to m ke design nd specific tion ch nges for
product improvement.
PROTECT YOUR FINE FURNITURE!
WE RECOMMEND A CLOTH OR OTHER PROTECTIVE MATERIAL BE PLACED
UNDER THE SET WHEN PLACING IT ON SURFACE WITH A NATURAL OR
LACQUER FINISH.
© 2001 LENOXX ELECTRONICS CORP.
2 GERMAK DRIVE
CARTERET, N.J. 07008
MADE & PRINTED IN CHINA
Frequency response: 50Hz - 15kHz +1/-2dB
14
NOTE: This CD pl yer will only pl y NORMAL music CDs (or CD-R CDs).
This set will not pl y CDRW encoded discs.
For customer service
Dial 1-800-315-5885 (MONDAY - THURSDAY 9:00 AM - 5:00 PM, FRIDAY 9:00 AM - 1:00 PM EST)
or Visit Our Website: http://www.lenoxx.com
IB-CD107(AD)-FD-E-V1

Other manuals for CD-107

1

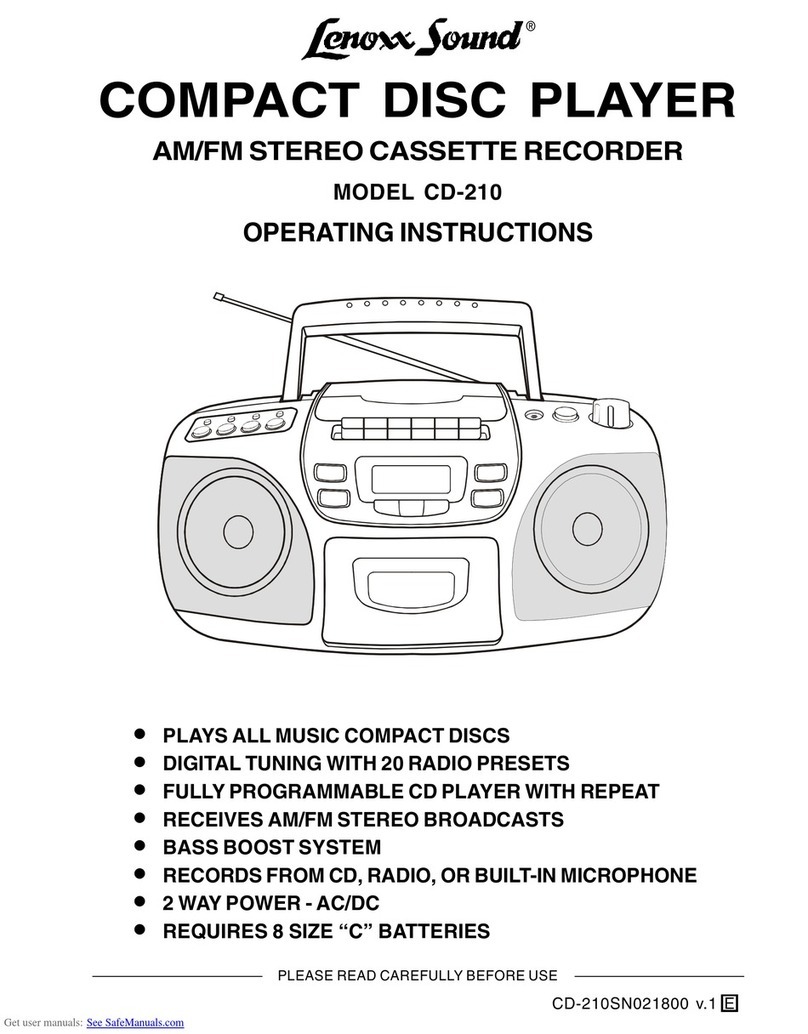
Other Lenoxx Sound CD Player manuals

Lenoxx Sound CD-105 User manual

Lenoxx Sound

Lenoxx Sound CD-105 User manual

Lenoxx Sound CD-50 User manual

Lenoxx Sound

Lenoxx Sound CD-50 User manual

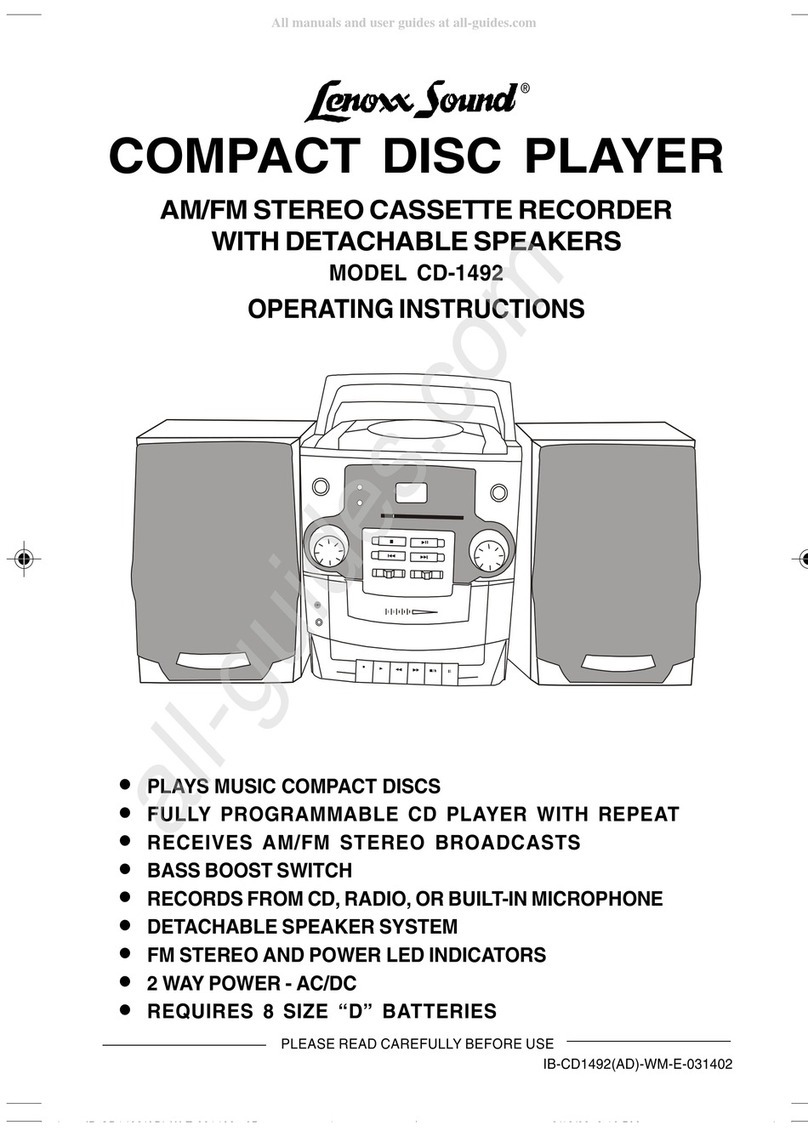
Lenoxx Sound CD-1492 User manual

Lenoxx Sound

Lenoxx Sound CD-1492 User manual

Lenoxx Sound BP-103 User manual

Lenoxx Sound

Lenoxx Sound BP-103 User manual

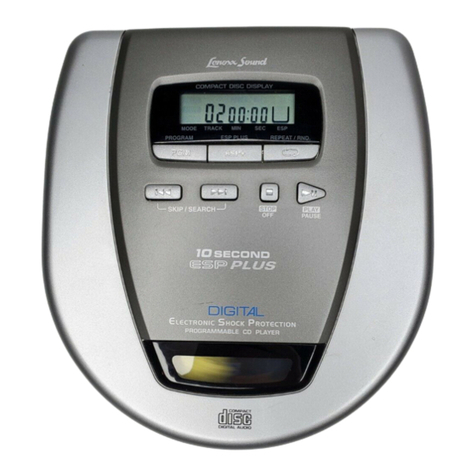
Lenoxx Sound 10 SECOND ESP PLUS User manual

Lenoxx Sound

Lenoxx Sound 10 SECOND ESP PLUS User manual

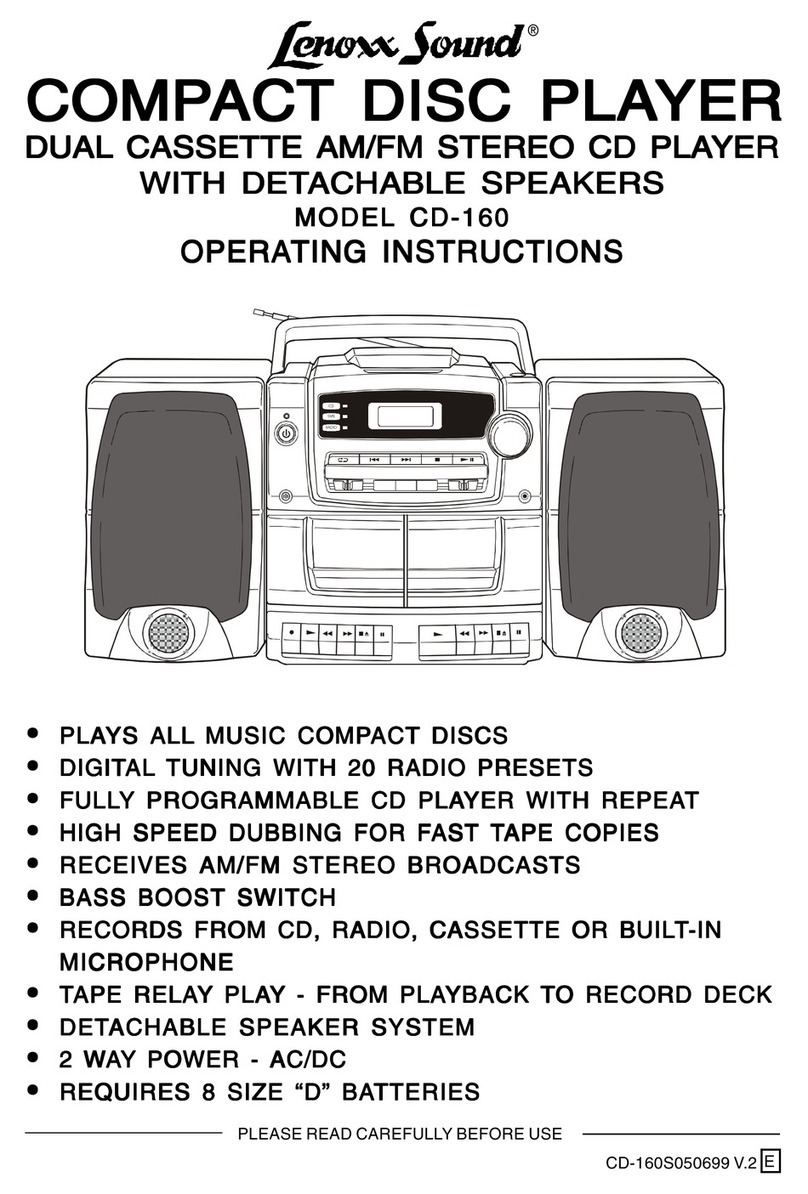
Lenoxx Sound CD-160 User manual

Lenoxx Sound

Lenoxx Sound CD-160 User manual

Lenoxx Sound CD-149 User manual

Lenoxx Sound

Lenoxx Sound CD-149 User manual

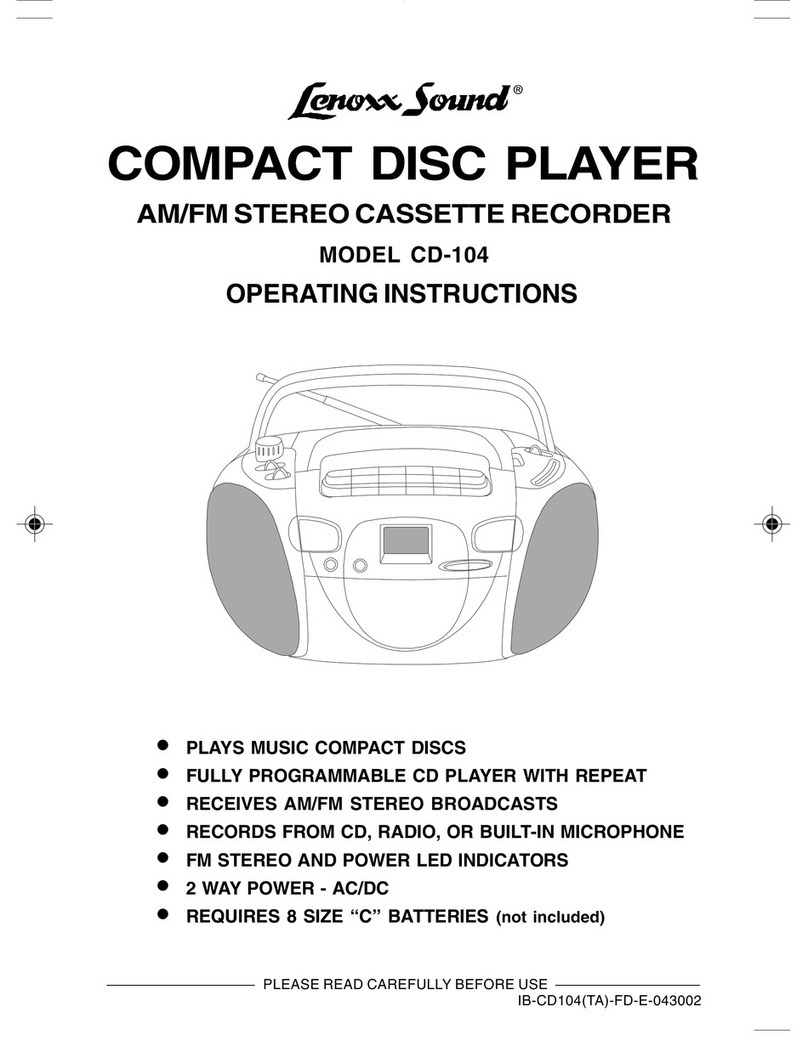
Lenoxx Sound CD-104 User manual

Lenoxx Sound

Lenoxx Sound CD-104 User manual

Lenoxx Sound CD-110 User manual

Lenoxx Sound

Lenoxx Sound CD-110 User manual

Lenoxx Sound CD-210 User manual

Lenoxx Sound

Lenoxx Sound CD-210 User manual

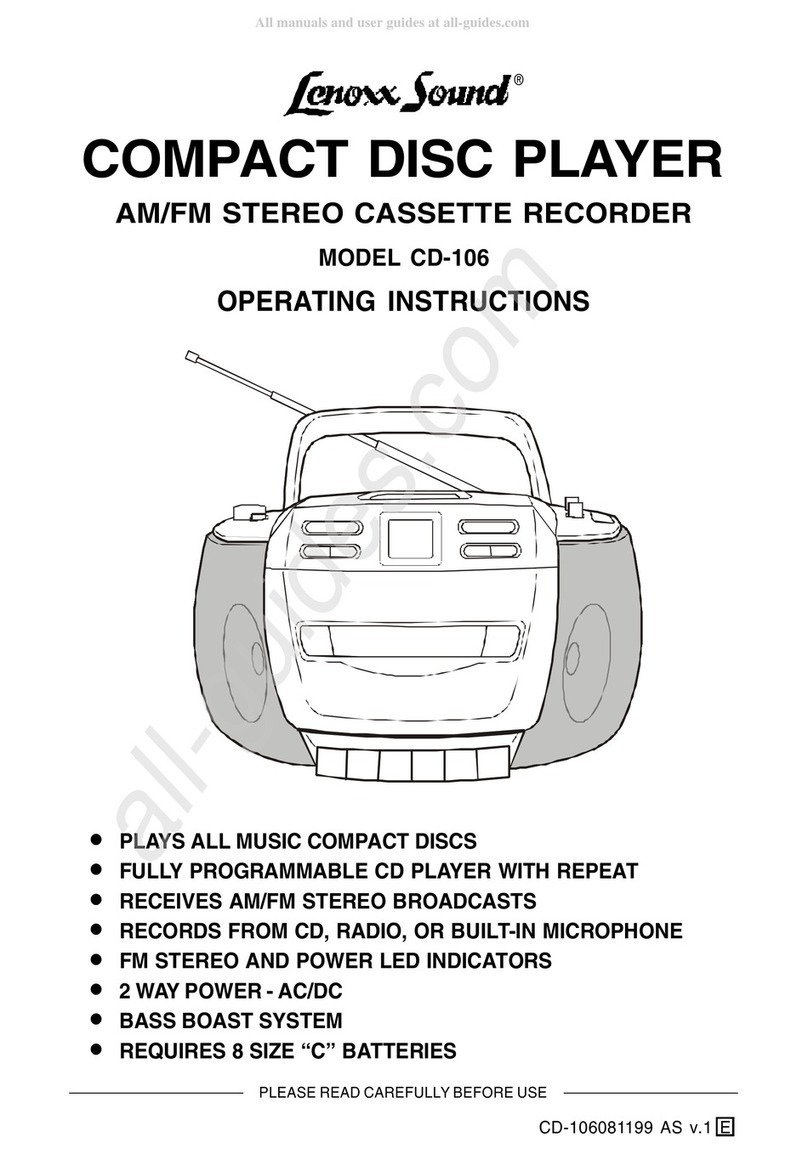
Lenoxx Sound CD-106 User manual

Lenoxx Sound

Lenoxx Sound CD-106 User manual

Lenoxx Sound 10 Second ESP Plus CD-79 User manual

Lenoxx Sound

Lenoxx Sound 10 Second ESP Plus CD-79 User manual

Lenoxx Sound CD-106 User manual

Lenoxx Sound

Lenoxx Sound CD-106 User manual

Lenoxx Sound CD-90 User manual

Lenoxx Sound

Lenoxx Sound CD-90 User manual

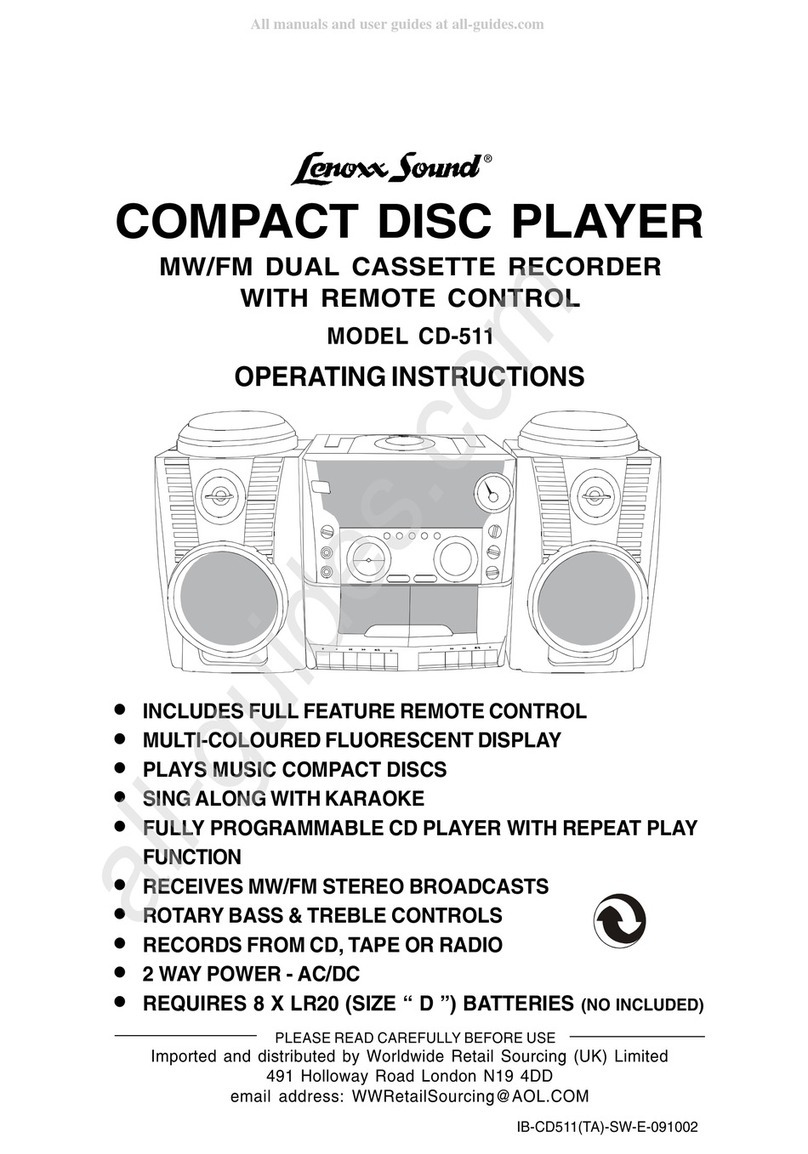
Lenoxx Sound CD-511 User manual

Lenoxx Sound

Lenoxx Sound CD-511 User manual

Lenoxx Sound CD-210 User manual

Lenoxx Sound

Lenoxx Sound CD-210 User manual

Lenoxx Sound CD-1492 User manual

Lenoxx Sound

Lenoxx Sound CD-1492 User manual

Lenoxx Sound CD-163 User manual

Lenoxx Sound

Lenoxx Sound CD-163 User manual

Lenoxx Sound CD-108 User manual

Lenoxx Sound

Lenoxx Sound CD-108 User manual

Lenoxx Sound CDR-1902 User manual

Lenoxx Sound

Lenoxx Sound CDR-1902 User manual

Lenoxx Sound CD-88 User manual

Lenoxx Sound

Lenoxx Sound CD-88 User manual

Lenoxx Sound CD-102 User manual

Lenoxx Sound

Lenoxx Sound CD-102 User manual

Lenoxx Sound CD-57 User manual

Lenoxx Sound

Lenoxx Sound CD-57 User manual

Lenoxx Sound CD-163 User manual

Lenoxx Sound

Lenoxx Sound CD-163 User manual

Popular CD Player manuals by other brands

Sony D-VJ65 operating instructions

Sony

Sony D-VJ65 operating instructions

Philips FW 31 Instructions for use

Philips

Philips FW 31 Instructions for use

McIntosh MCD1100 owner's manual

McIntosh

McIntosh MCD1100 owner's manual

Classe Audio CDP-3 Service manual

Classe Audio

Classe Audio CDP-3 Service manual

Philips Jogproof AX3200 Service manual

Philips

Philips Jogproof AX3200 Service manual

Denon DCD-2500NE owner's manual

Denon

Denon DCD-2500NE owner's manual

Coby CX-CD410 owner's manual

Coby

Coby CX-CD410 owner's manual

Kenwood DP-M993 instruction manual

Kenwood

Kenwood DP-M993 instruction manual

Sony CD Walkman D-EJ011 operating instructions

Sony

Sony CD Walkman D-EJ011 operating instructions

Philips AZ1010/05 Instructions for use

Philips

Philips AZ1010/05 Instructions for use

Champion ADM100 user manual

Champion

Champion ADM100 user manual

Panasonic SL-CT470 operating instructions

Panasonic

Panasonic SL-CT470 operating instructions

Sony CDP-CX210 - 200 Disc Cd Changer operating instructions

Sony

Sony CDP-CX210 - 200 Disc Cd Changer operating instructions

Kenwood DP-1510 instruction manual

Kenwood

Kenwood DP-1510 instruction manual

Wurlitzer OMT K 99 operating instructions

Wurlitzer

Wurlitzer OMT K 99 operating instructions

Panasonic RXES25 - RADIO CASSETTE W/CD operating instructions

Panasonic

Panasonic RXES25 - RADIO CASSETTE W/CD operating instructions

Sony Walkman D-EJ010 operating instructions

Sony

Sony Walkman D-EJ010 operating instructions

NAD C565BEE datasheet

NAD

NAD C565BEE datasheet

manuals.online logo
manuals.online logoBrands
  • About & Mission
  • Contact us
  • Privacy Policy
  • Terms and Conditions

Copyright 2025 Manuals.Online. All Rights Reserved.