manuals.online logo
Brands
  1. Home
  2. •
  3. Brands
  4. •
  5. LEVENGER
  6. •
  7. Indoor Furnishing
  8. •
  9. LEVENGER STACKABLE FILE CABINETS User manual

LEVENGER STACKABLE FILE CABINETS User manual

Prepping for the base
Lay the unit on its back with the
drawer handle facing up. Insert a
mini-lock screw into each of the four
holes in the bottom frame and tighten
firmly with a Phillips screwdriver
until the screws touch the shoulder.
Attaching the base
Align the screws with the holes on the file base and push until fully inserted and
the base is attached.
Insert a mini-lock nut into each of the four holes. Make sure the arrow on each
mini-lock nut faces out and lines up with its mini-lock screw. When fully
inserted, use a screwdriver and turn each mini-lock nut clockwise approximately
1⁄2turn, locking it into position. This assembly will now be referred to as Unit 1.
unit
mini-lock
screws
base
unit
mini-lock screws mini-lock
nut
Unit 1
MINI-LOCK
ASSEMBLY
3
4
Wooden file cabinets are possibly the only
kind worthy of being called furniture. These
stackables can grow as your files do.
Since each drawer is modular, you can order
just the number you need now and add more
later. You can also rearrange the ones you
have. For example, you can convert a four-
drawer cabinet into 2 two-drawer cabinets
simply by adding another base and top.
All cabinets have an anti-tip interlock
mechanism, allowing only one drawer to
open at a time. You can order a locking
drawer for a top position, and it will lock all the drawers beneath it. All drawers
have top-of-the-line Accuride glides and full-height wooden sides.
STACKABLE FILE CABINETS ASSEMBLY
Taking inventory
Lay everything in front of you. Make sure you have the hardware listed (per unit).
You will need a 1⁄4" socket wrench or pliers and a Phillips screwdriver.
STACKABLE FILE CABINETS
file unit
mini-lock nut
w/base–4
w/unit–4 mini-lock screw
w/top–4
w/unit–4
splicer
bar–1
base
1
top
double drawer
unit
CAUTION: Check position of
drawer lock
If you have a locking drawer,
make sure the lock is in
the unlocked position before
assembling. Insert the key and
turn counter-clockwise until the
key is upside down.
2
Prepping the second unit
The upper section of your file will be
referred to as Unit 2. Lay Unit 2 on
the floor on its base and remove the
drawer as you did for Unit 1. Lay the
unit’s frame on its back and insert a
mini-lock screw into each of the four
holes on the bottom.
Attaching the units
Locate the four holes on the top of
Unit 1. Pick up Unit 2 and set it on
top of Unit 1 with the mini-lock
screws extending into the holes of
Unit 1. Insert a mini-lock nut into
each of the four holes on the inside
of Unit 1. Make sure the arrow on
each mini-lock nut faces out and
lines up with its mini-lock screw.
When fully inserted, use the
screwdriver and turn each mini-lock
nut clockwise approximately 1⁄2turn,
locking it into position.
lever
tab
mini-lock
screws
Unit 2
Unit 2
Unit 1
Removing the drawers
Lay Unit 1 on the floor on its base. Pull the drawer straight out until it will go no
farther. (If the drawer is locked into position and will not open, push down on
the lock bar located inside the unit to the left.) Locate the plastic tab or lever on
each side of the drawer glides. You will use these levers to release the drawer. If
your cabinet has tabs, push in on the tabs on both sides to release the drawer. If
your cabinet has levers, push the lever on the left side up and the lever on the right
side down. Hold as you pull the drawer completely out of the frame. There will
be some resistance, but it should ride smoothly.
5
6
7
lock bar
Attaching the splicers
Find the lock bars located on the left interior of each unit. Put all the lock bars
into the middle position by moving them up and down.
Locate and examine the splicer. The splicer allows only one drawer to be opened
at a time. On the back of each splicer bolt are two small wings. (See illustration
below.) Loosen the nuts until they are halfway
undone. Align the splicers with the lock
bars, and be sure the wings start out in a
vertical position. Align the splicer and
its wings with the slot of the lock
bar. Slide it down so the center hole
is between the drawers and cannot
be seen. Hold the splicer in place.
Tighten both the upper and lower
nuts with a 1⁄4" socket wrench or
pliers until both wings disappear.
The wings will disappear within
the lock bar when they are fully
tightened. (The diagrams below
show the two positions; left shows the
upper clip in the unlocked position; right
shows the locked position.) Make sure it is
snug and does not slip. Test by moving the lock bar up and down. If the splicer
wings do not disappear, loosen the nuts more and try again. Do not be
discouraged if it takes you a few trials to lock the splicer in place.
8
splicer
center
hole
black bar
glide
lock bar
lock bar
unlocked position
center
hole
splicer
wing
locked position
center
hole
lock bar
anti-tip
interlock
lever
Inserting the drawers
Now you are ready to reinsert the drawers.
Align the side rails of the
drawer with the glider of the
frame. Carefully insert the
drawer. Make sure not to
force the rail into the glider.
There will be resistance, but
if aligned properly, it should
be smooth. Test by pulling
the drawer in and out.
Movement should be smooth
and even. If not, carefully
remove and reinsert.
Attaching the top
Lay the top on a clean surface with the holes facing up. Insert a mini-lock screw
into each of the four holes and tighten. Turn the top over and align the mini-
lock screws with the corresponding holes
of the top unit.
NOTE: Because the top is solid wood,
it may bow in shipment. This is not
a defect. Solid wood naturally
expands and contracts due to
moisture in the air. The wood will
straighten once attached to the
unit. You may need to apply
pressure on one side at a time as
you secure the mini-lock nuts.
Insert a mini-lock nut into each
of the four holes located inside
the top unit. Make sure the
arrow on each mini-lock nut
faces out and lines up with the
mini-lock screw. When fully
inserted, turn each mini-lock nut clockwise
approximately 1⁄2turn, locking it into position.
9
10
Using legal files
If you requested the legal attachments for your Stackable File Cabinets, pull the
drawer out until fully extended. Slide a file bar into each pair of slots. You are
now ready to add your hanging legal files.
SPECIAL NOTE ON THE DARKENING
OF NATURAL CHERRY WOOD:
Natural cherry wood will gradually darken with exposure to light. This is a natural
process and enhances the beauty of the wood; however, you should be mindful of uneven
darkening. We recommend you not permanently rest objects on exposed surfaces during
the first two weeks. During this period, an object left in the same place for even a few
days will show a lighter color beneath. After the break-in period you can leave objects
in place since color development will be complete.
11
We hope you enjoy your Stackable File Cabinet. E-mail us at
productreview@Levenger.com and let us know your comments.
Questions? Call us toll-free at 800-545-0242 and we will be happy to
assist you. To place an order, please call 800-544-0880. To join our
Preferred Customer E-List and be the first to see our new
merchandise, please sign up on the homepage of Levenger.com.
© 2007 Levenger (FTS•TF0655/TF0665 •07/30/07)
Levenger Distribution Center 3530 E. Raines Road, Suite 101 Memphis, TN 38118
800-545-0242 or 901-375-9318 Fax: 800-544-6910 or 901-375-8346
levenger.com cservice@levenger.com
NOTE:
For safety purposes, stack no more than 4 units. If more stability is
required, please consult a construction or engineering professional
when anchoring your cabinets to walls.

Other LEVENGER Indoor Furnishing manuals

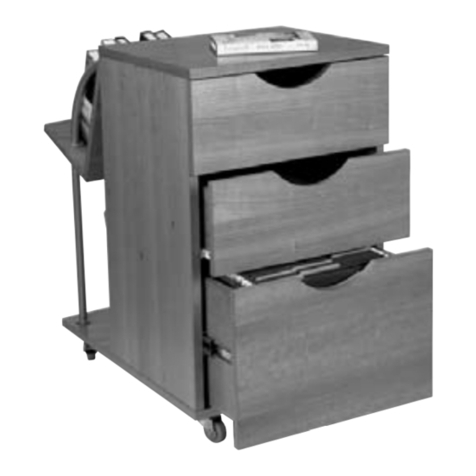
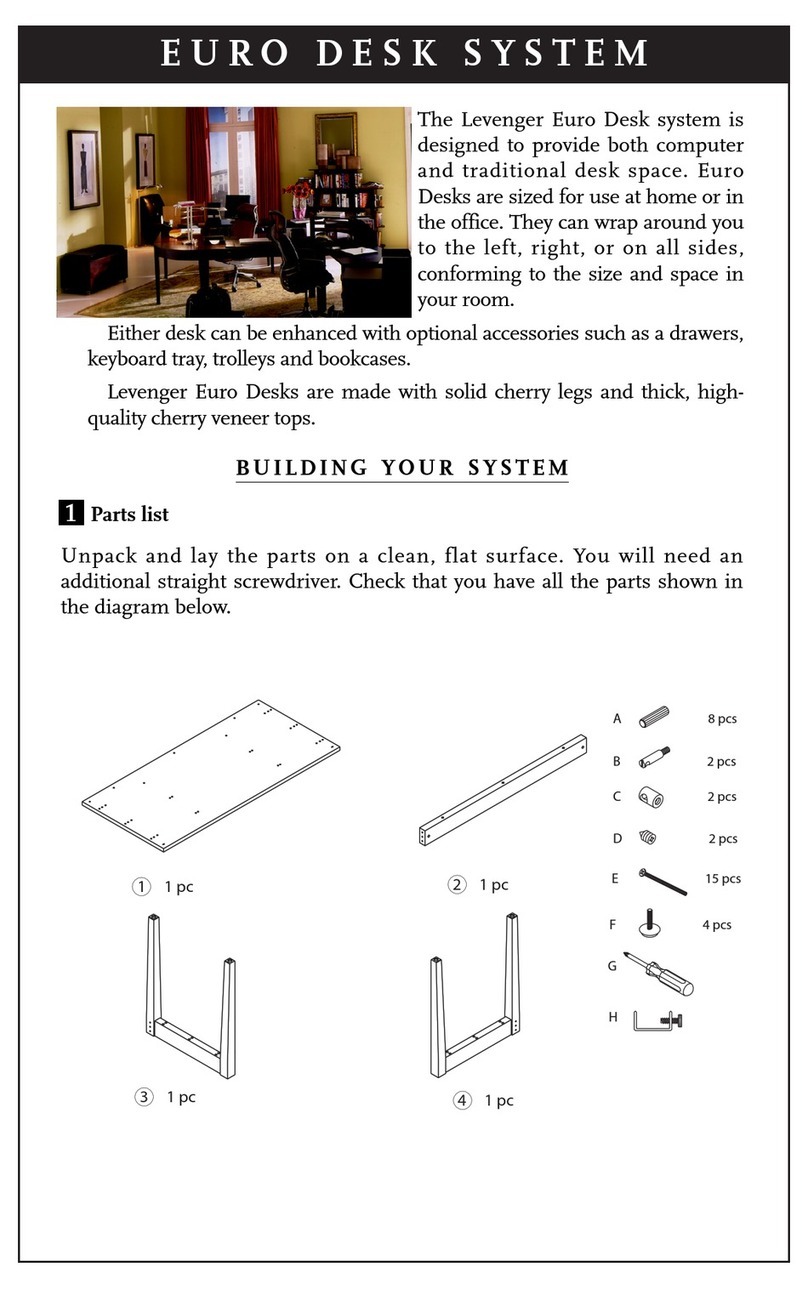
LEVENGER EURO DESK SYSTEM FD0180 User manual

LEVENGER

LEVENGER EURO DESK SYSTEM FD0180 User manual

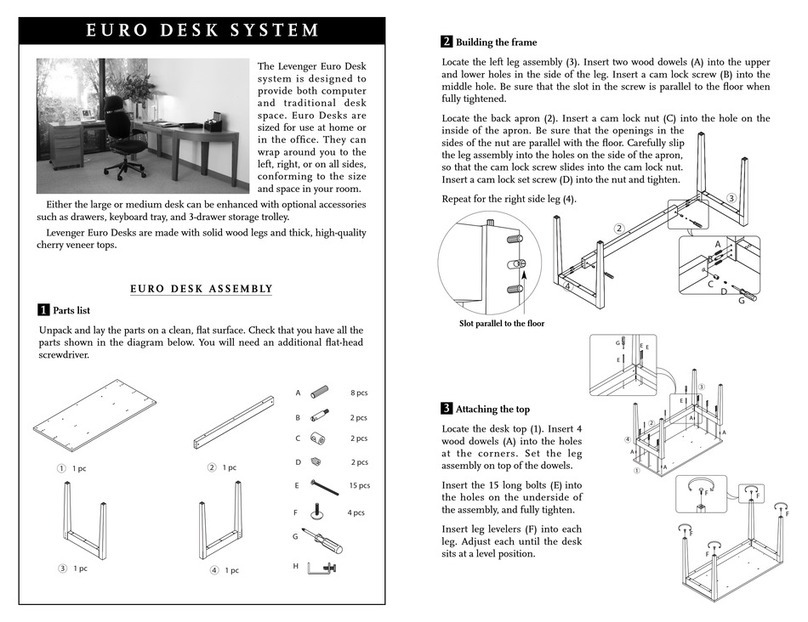
LEVENGER Euro Desk System Operator's manual

LEVENGER

LEVENGER Euro Desk System Operator's manual

LEVENGER MORGAN CHARGER VALET User manual

LEVENGER

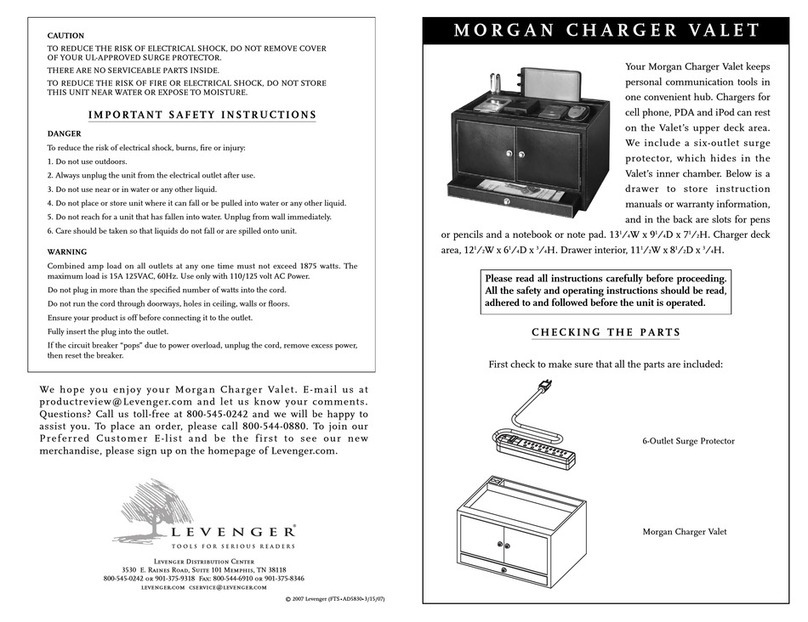
LEVENGER MORGAN CHARGER VALET User manual

LEVENGER HOMER User manual

LEVENGER

LEVENGER HOMER User manual

LEVENGER STACKABLE LATERAL DRAWER User manual

LEVENGER

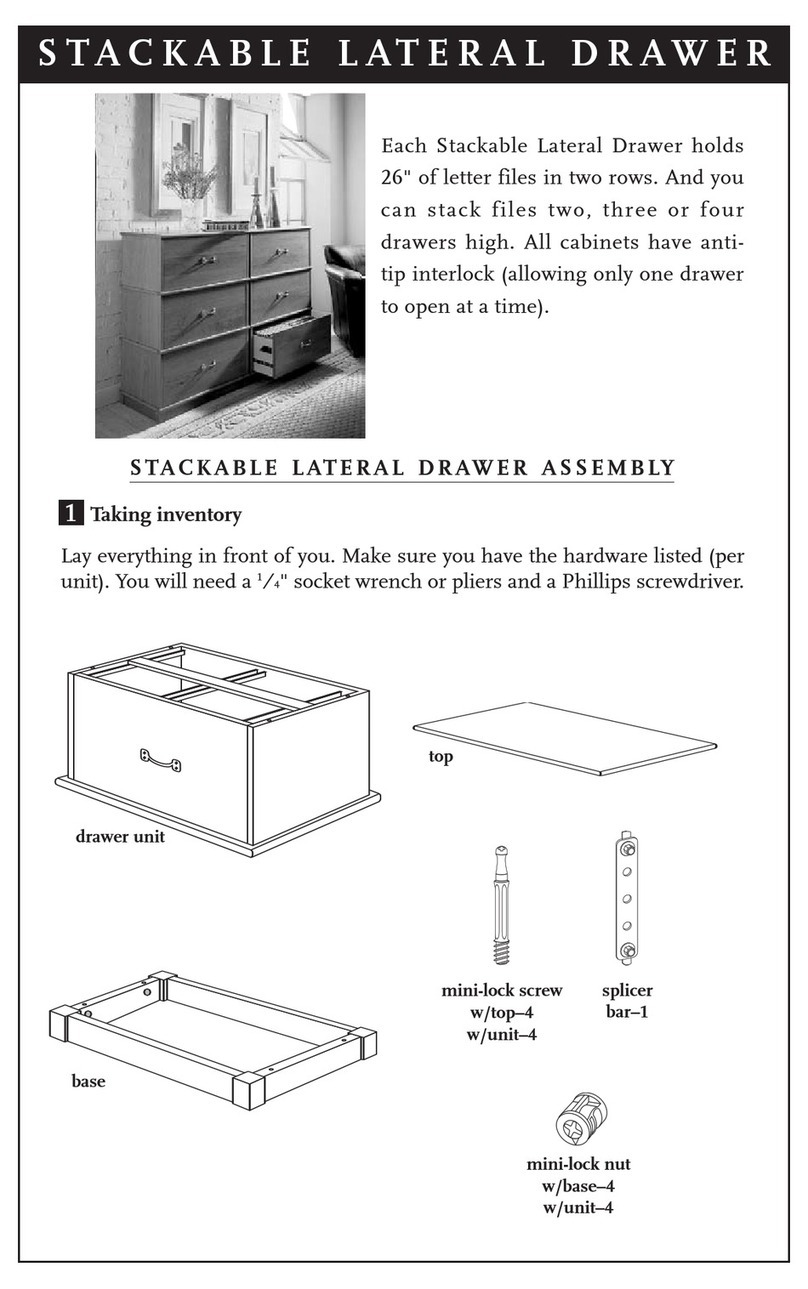
LEVENGER STACKABLE LATERAL DRAWER User manual

LEVENGER Stackable Lateral Drawer User manual

LEVENGER

LEVENGER Stackable Lateral Drawer User manual

Popular Indoor Furnishing manuals by other brands

Gami 400 Assembly instructions

Gami

Gami 400 Assembly instructions

ROOMS TO GO Sofia Vergara NAJA BDPATDR Assembly instructions

ROOMS TO GO

ROOMS TO GO Sofia Vergara NAJA BDPATDR Assembly instructions

Dorel DL7519E user manual

Dorel

Dorel DL7519E user manual

Auralex Acoustics ELiTE ProPanel Panels installation guide

Auralex Acoustics

Auralex Acoustics ELiTE ProPanel Panels installation guide

New Classic Furniture ORION U1769-30L Assembly instructions

New Classic Furniture

New Classic Furniture ORION U1769-30L Assembly instructions

BRW NIKA NKDP-60/82 Assembly manual

BRW

BRW NIKA NKDP-60/82 Assembly manual

Safavieh Furniture Primrose CNS5706 quick start guide

Safavieh Furniture

Safavieh Furniture Primrose CNS5706 quick start guide

Freedom 23755727 quick start guide

Freedom

Freedom 23755727 quick start guide

Next 228906 Assembly instructions

Next

Next 228906 Assembly instructions

Coalesse Lagunitas manual

Coalesse

Coalesse Lagunitas manual

Klaxon CROCUS installation guide

Klaxon

Klaxon CROCUS installation guide

Furniture of America CM6326-LV Assembly instructions

Furniture of America

Furniture of America CM6326-LV Assembly instructions

LDI SAFCO Value Mate 7171 Assembly instructions

LDI

LDI SAFCO Value Mate 7171 Assembly instructions

King Living NEO Assembly instructions

King Living

King Living NEO Assembly instructions

Manhattan Comfort 3GLF Assembly guide

Manhattan Comfort

Manhattan Comfort 3GLF Assembly guide

RUSTA LISSABON manual

RUSTA

RUSTA LISSABON manual

Origin 21 WD2SMDK-16-OAK Assembly instructions

Origin 21

Origin 21 WD2SMDK-16-OAK Assembly instructions

BDI CORRIDOR Assembly instructions

BDI

BDI CORRIDOR Assembly instructions

manuals.online logo
manuals.online logoBrands
  • About & Mission
  • Contact us
  • Privacy Policy
  • Terms and Conditions

Copyright 2025 Manuals.Online. All Rights Reserved.