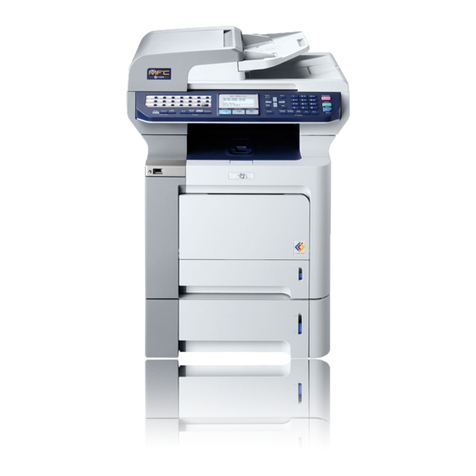
Lexmark 7100 series User manual
Other Lexmark All In One Printer manuals
Lexmark
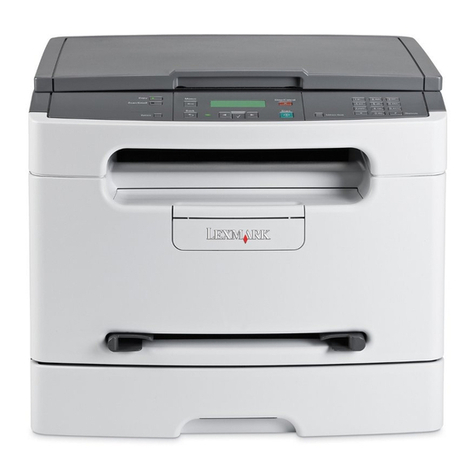
Lexmark X203N series Building instructions
Lexmark
Lexmark X63 User manual

Lexmark
Lexmark MX810 Series User manual
Lexmark
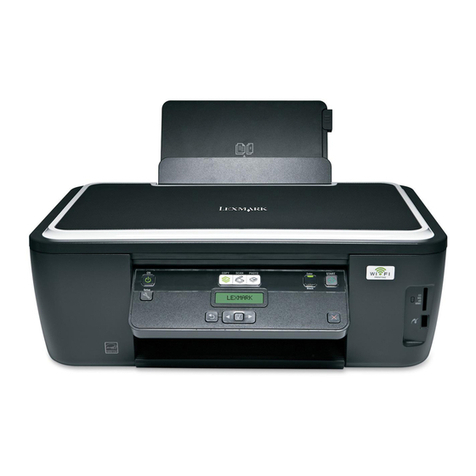
Lexmark Impact S305 User manual
Lexmark
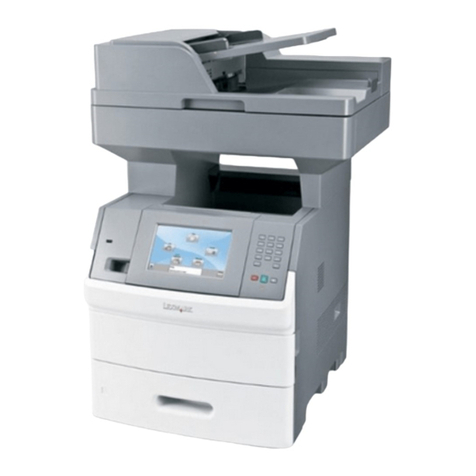
Lexmark X65 Series User manual

Lexmark
Lexmark 5495 - X Color Inkjet Specification sheet
Lexmark
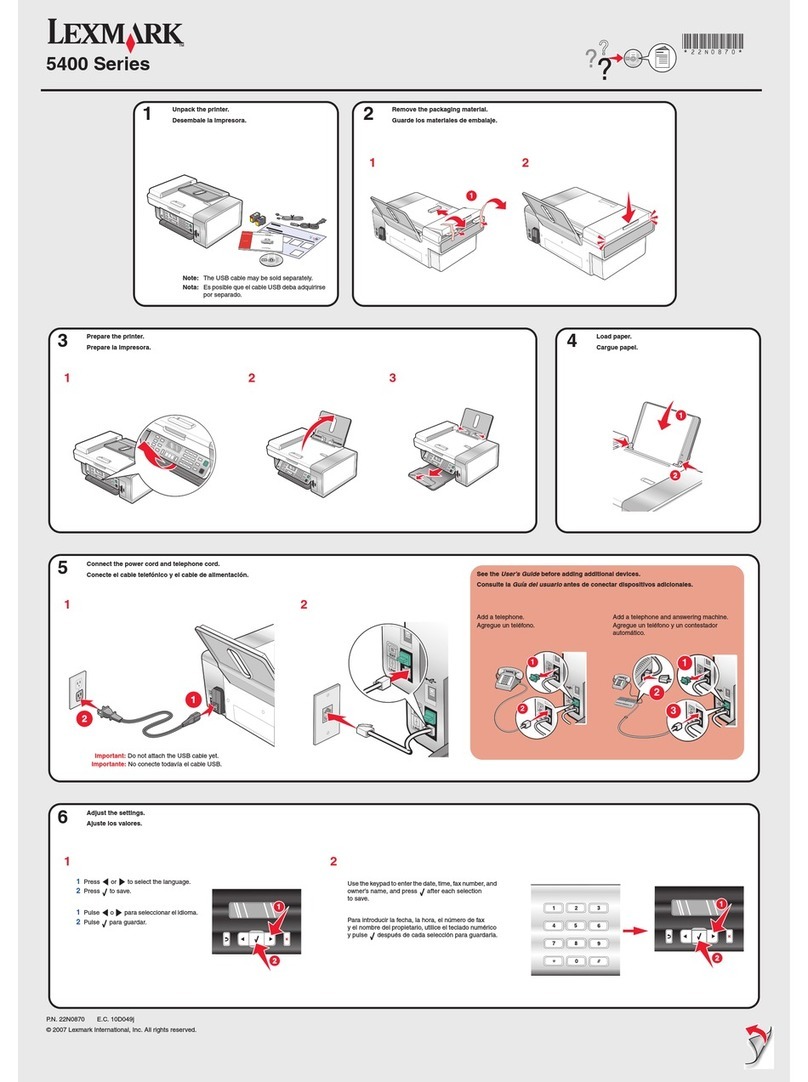
Lexmark 5400 Series User manual
Lexmark
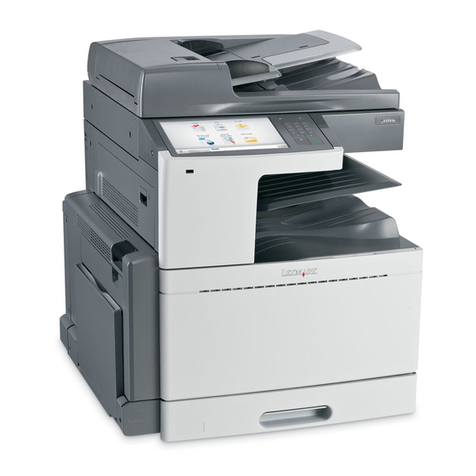
Lexmark X950 Series User manual
Lexmark
Lexmark MX810 Series Installation and maintenance instructions
Lexmark
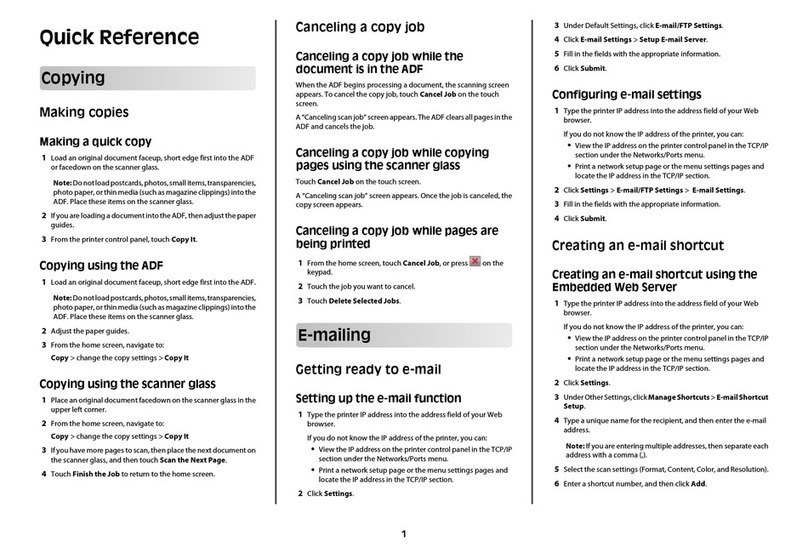
Lexmark X544 Operating manual
Lexmark
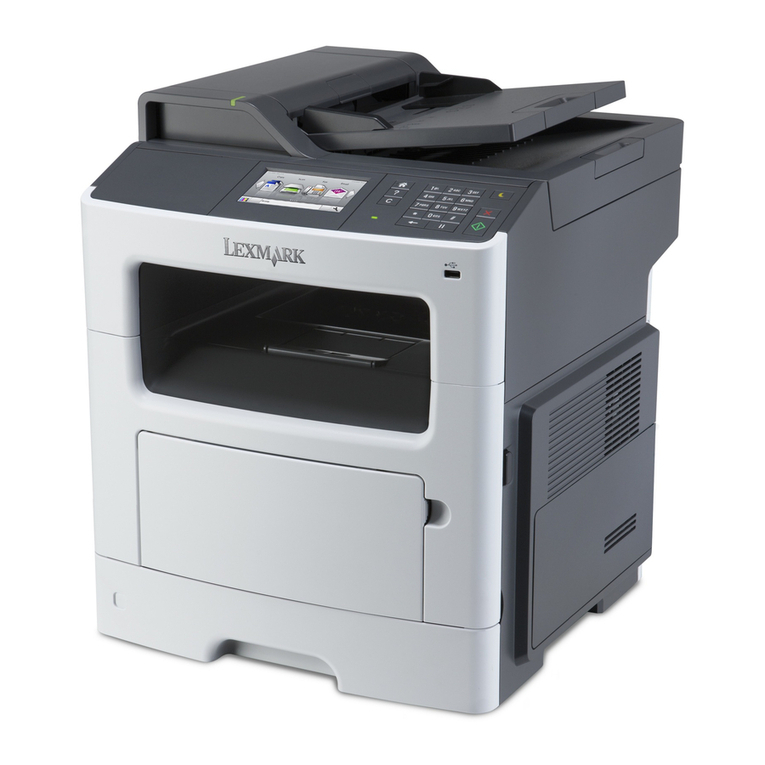
Lexmark X792 User manual
Lexmark
Lexmark XM1140 User manual
Lexmark
Lexmark T62X User manual
Lexmark
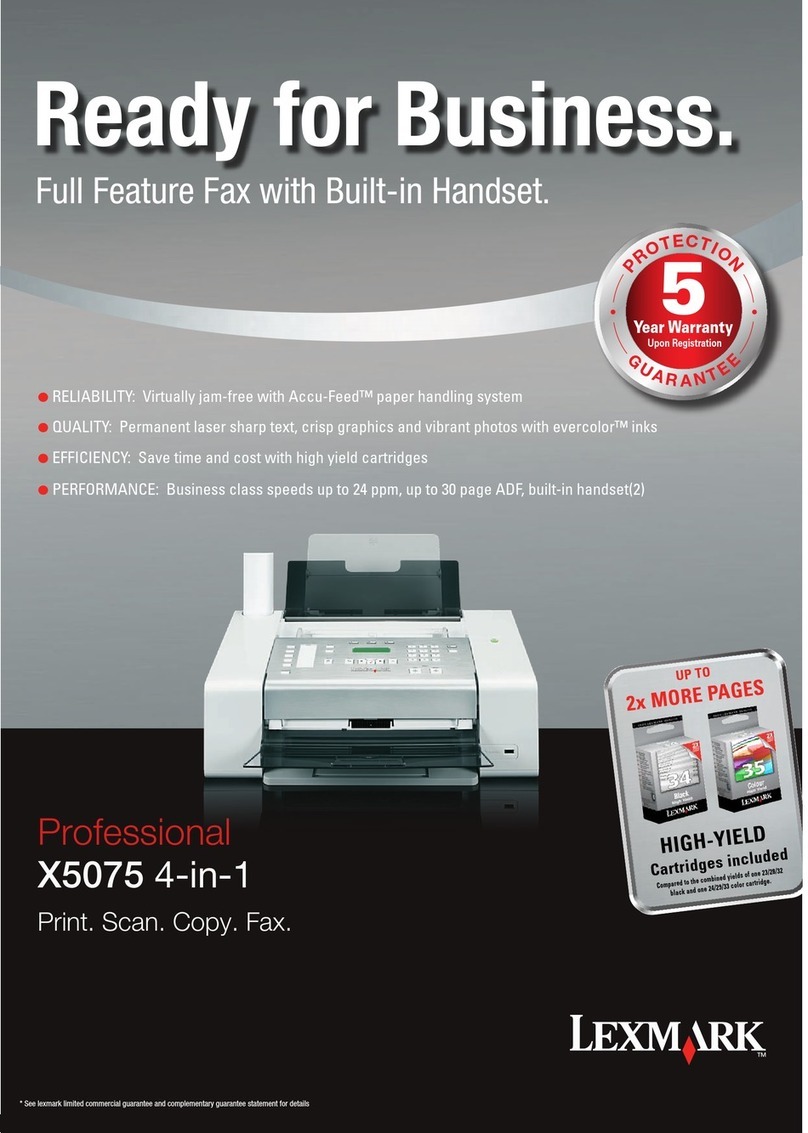
Lexmark X5075 User manual
Lexmark
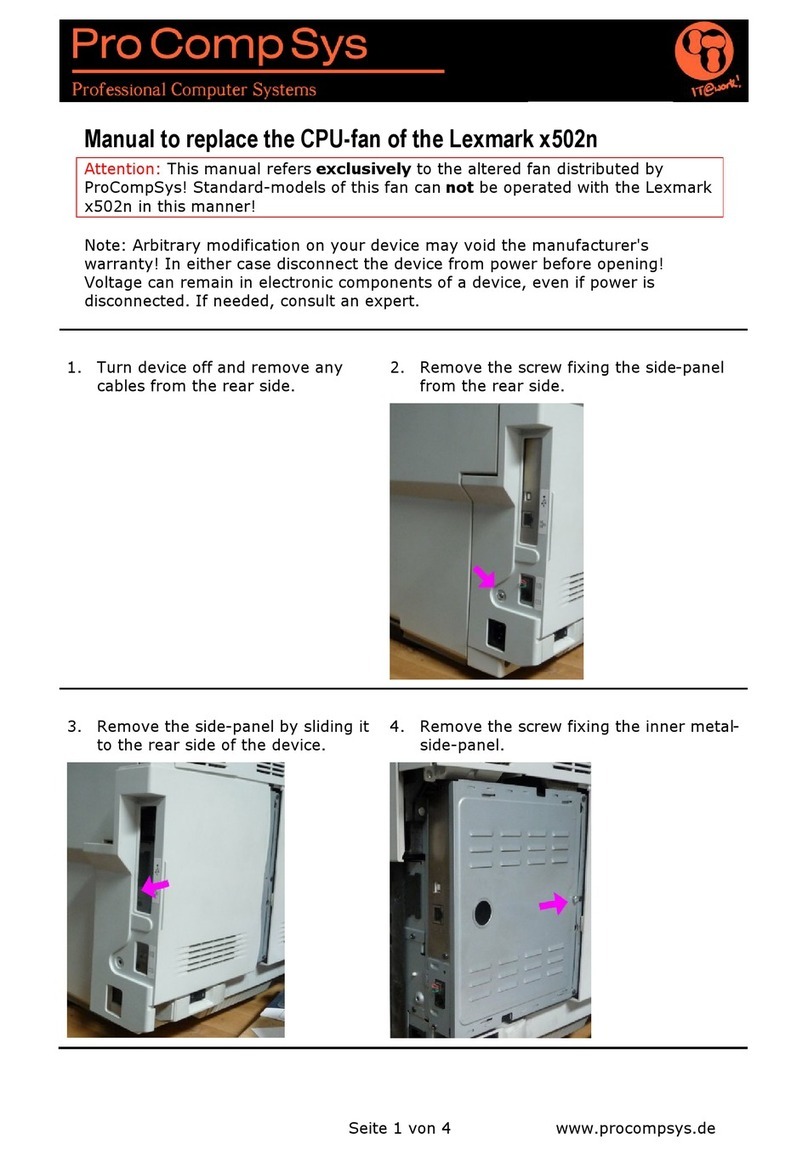
Lexmark X502N Operating and safety instructions

Lexmark
Lexmark X658DFE User manual

Lexmark
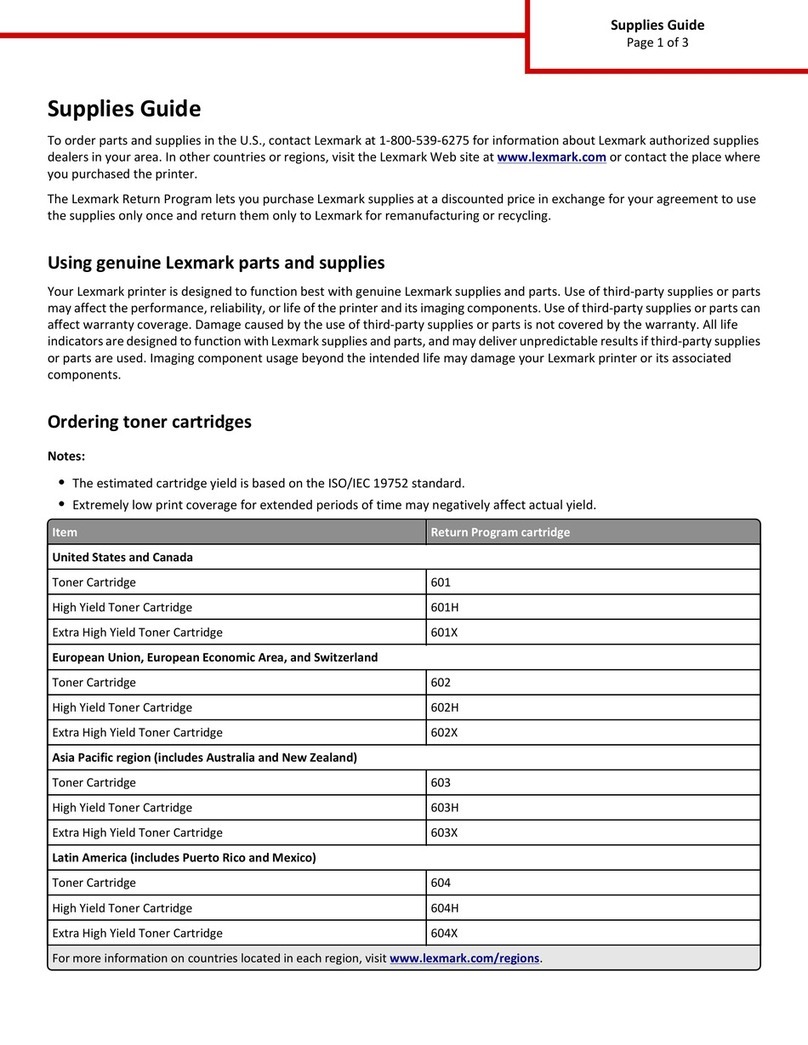
Lexmark 40S0300 User manual
Lexmark
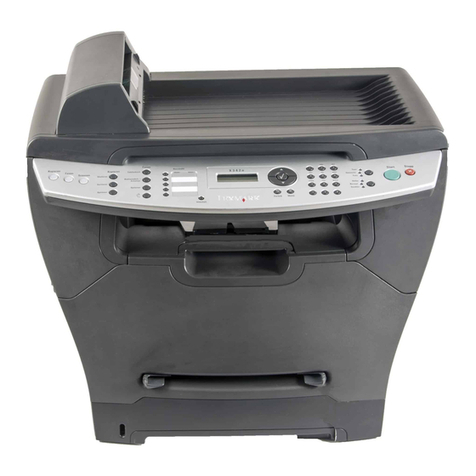
Lexmark MX610 Series User manual
Lexmark
Lexmark X342n User manual

Lexmark
Lexmark MX710 Series User manual
