manuals.online logo
Brands
  1. Home
  2. •
  3. Brands
  4. •
  5. Lexmark
  6. •
  7. Printer
  8. •
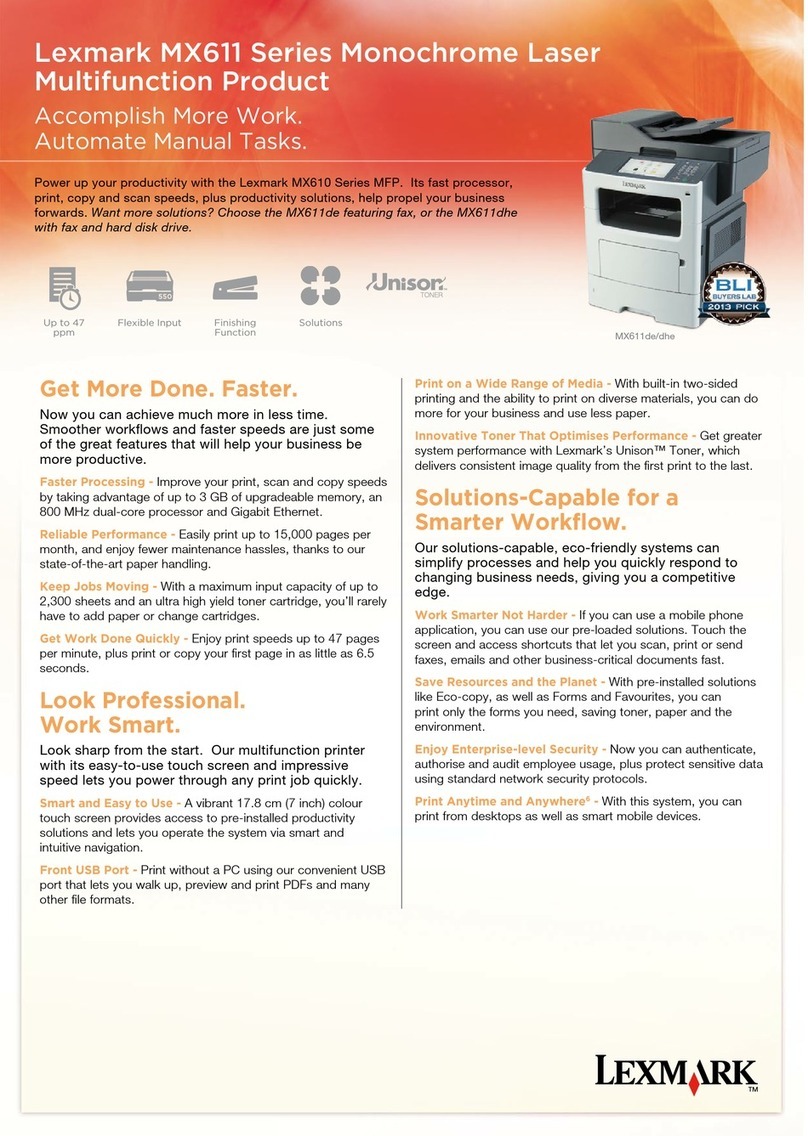
  9. Lexmark 7300 Series User manual

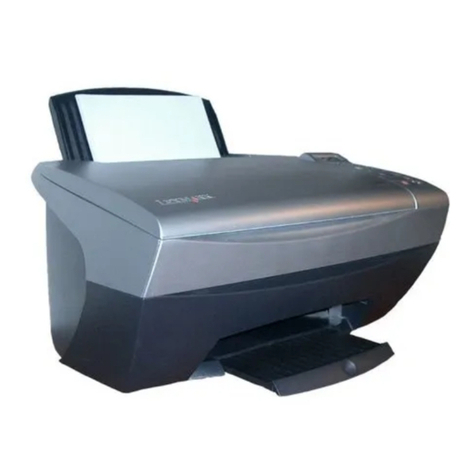
Lexmark 7300 Series User manual

Other manuals for 7300 Series

6

Other Lexmark Printer manuals

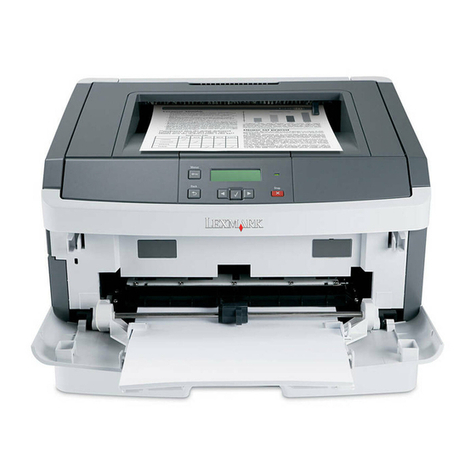
Lexmark E450DN - E 450dn B/W Laser Printer User manual

Lexmark

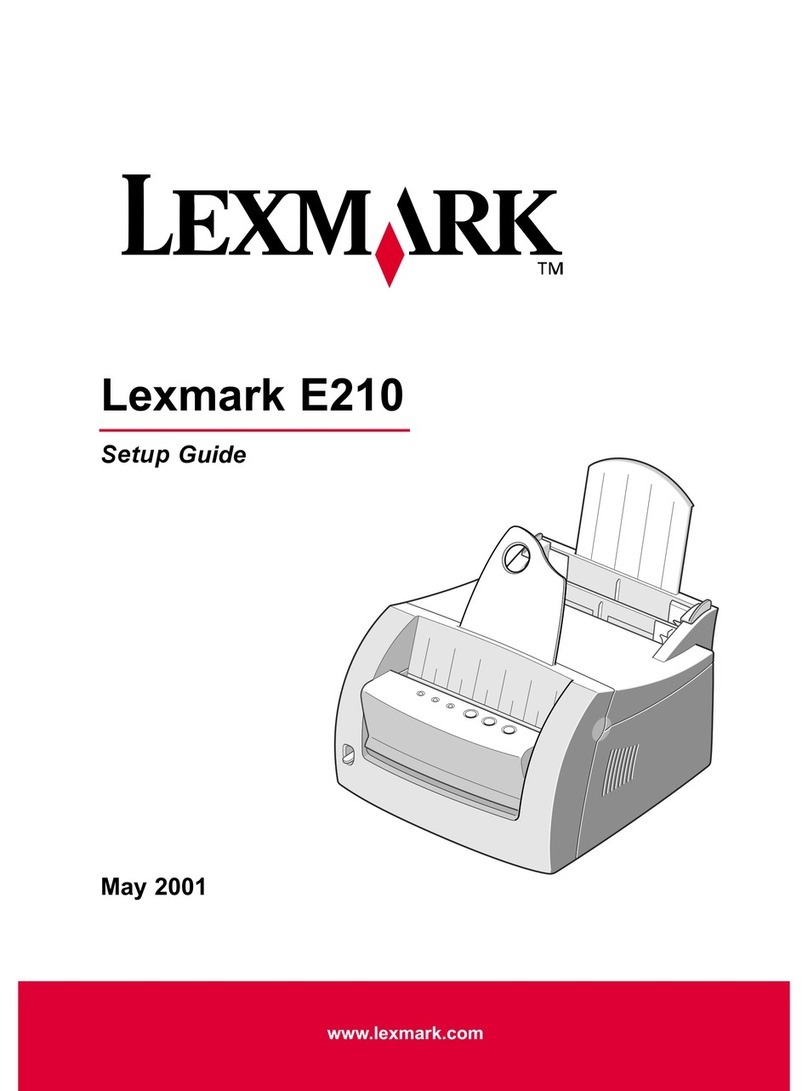
Lexmark E450DN - E 450dn B/W Laser Printer User manual

Lexmark Optra C710 User manual

Lexmark

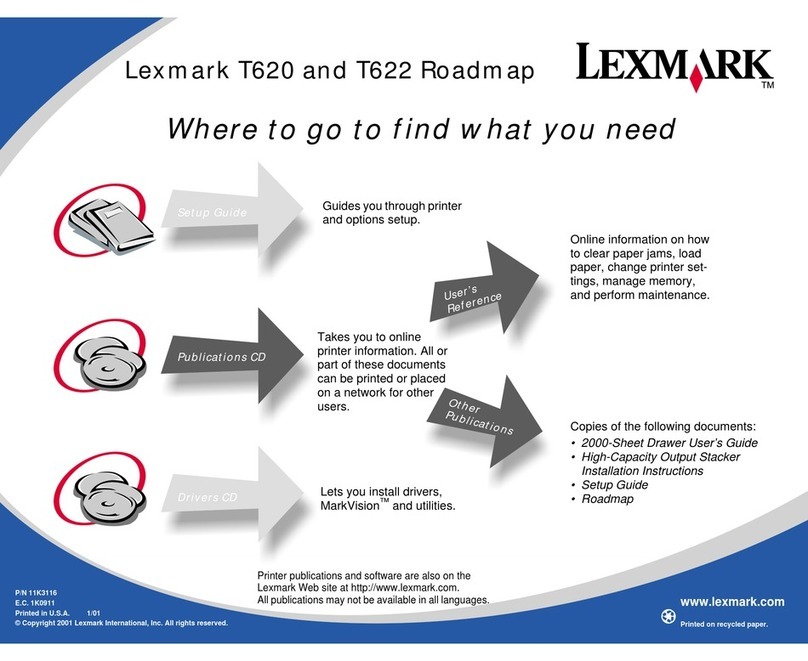
Lexmark Optra C710 User manual

Lexmark 7500 Series User manual

Lexmark

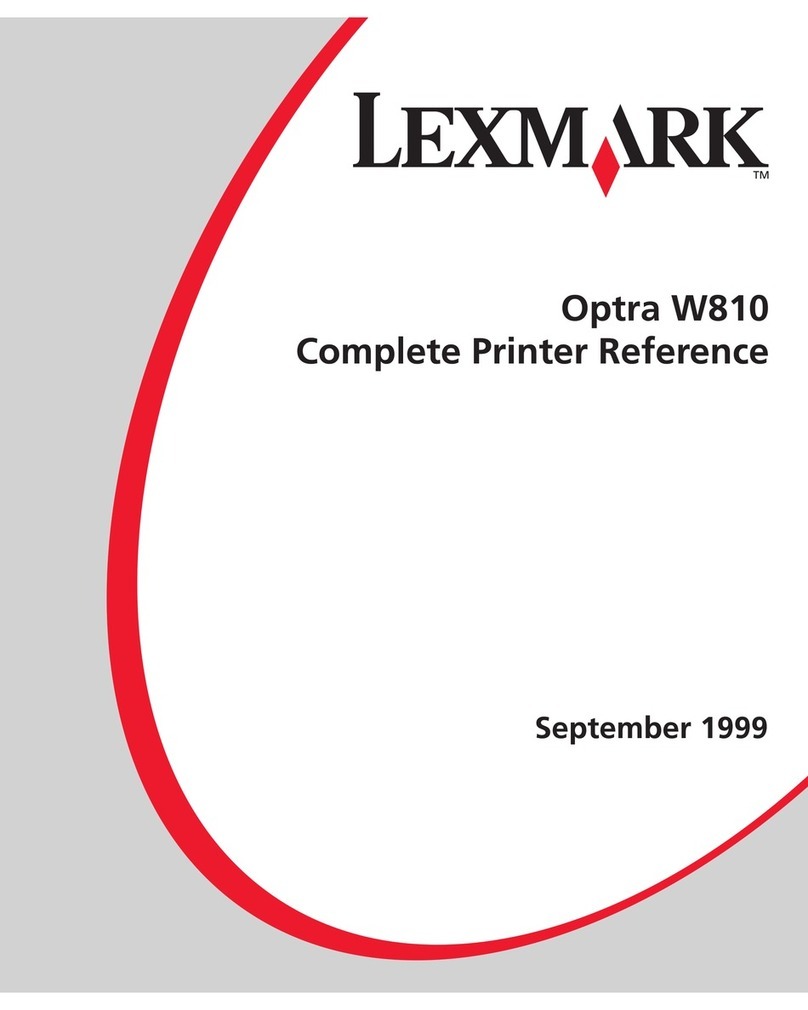
Lexmark 7500 Series User manual

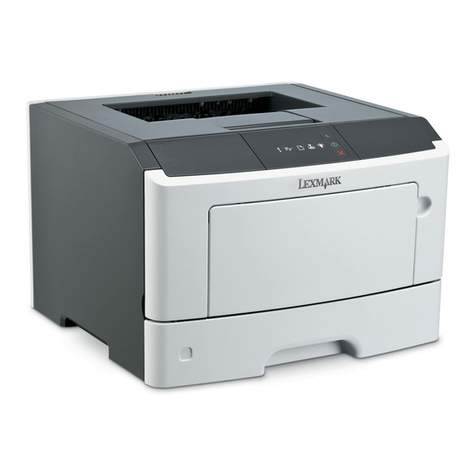
Lexmark B2236dw User manual

Lexmark

Lexmark B2236dw User manual

Lexmark Z31 Color Jetprinter User manual

Lexmark

Lexmark Z31 Color Jetprinter User manual

Lexmark 2050 Color Jetprinter User manual

Lexmark

Lexmark 2050 Color Jetprinter User manual

Lexmark E360D series User manual

Lexmark

Lexmark E360D series User manual

Lexmark C510 Product information sheet

Lexmark

Lexmark C510 Product information sheet

Lexmark T642 - Monochrome Laser Printer User manual

Lexmark

Lexmark T642 - Monochrome Laser Printer User manual

Lexmark 350 User manual

Lexmark

Lexmark 350 User manual

Lexmark E 450dn User manual

Lexmark

Lexmark E 450dn User manual

Lexmark 6500E Installation and maintenance instructions

Lexmark

Lexmark 6500E Installation and maintenance instructions

Lexmark E350d User manual

Lexmark

Lexmark E350d User manual

Lexmark C522 Series User manual

Lexmark

Lexmark C522 Series User manual

Lexmark C54x Series Service manual

Lexmark

Lexmark C54x Series Service manual

Lexmark E120 User manual

Lexmark

Lexmark E120 User manual

Lexmark MS510 Series User manual

Lexmark

Lexmark MS510 Series User manual

Lexmark C510 User manual

Lexmark

Lexmark C510 User manual

Lexmark Optra S User manual

Lexmark

Lexmark Optra S User manual

Lexmark OfficeEdge Pro4000c User manual

Lexmark

Lexmark OfficeEdge Pro4000c User manual

Lexmark C792 Family Service manual

Lexmark

Lexmark C792 Family Service manual

Lexmark MS810 Series Quick reference guide

Lexmark

Lexmark MS810 Series Quick reference guide

Lexmark J 110 User manual

Lexmark

Lexmark J 110 User manual

Lexmark C950 Series User manual

Lexmark

Lexmark C950 Series User manual

Popular Printer manuals by other brands

Evolis Elypso user guide

Evolis

Evolis Elypso user guide

Panduit COUGAR LS9Q Operator's manual

Panduit

Panduit COUGAR LS9Q Operator's manual

Olivetti PG L2140 Operation guide

Olivetti

Olivetti PG L2140 Operation guide

Samsung SL-M2820DW user manual

Samsung

Samsung SL-M2820DW user manual

Kyocera FS-9530DN specification

Kyocera

Kyocera FS-9530DN specification

Canon LASER SHOT LBP-1210 Specifications

Canon

Canon LASER SHOT LBP-1210 Specifications

Canon PIXMA PRO-1 Series Getting started

Canon

Canon PIXMA PRO-1 Series Getting started

Canon LBP113w Getting started

Canon

Canon LBP113w Getting started

Epson M1120 user guide

Epson

Epson M1120 user guide

TransAct POSJET 1500 Spare parts

TransAct

TransAct POSJET 1500 Spare parts

Telpar MTP-1500 user manual

Telpar

Telpar MTP-1500 user manual

Star DP8340 SERIES user manual

Star

Star DP8340 SERIES user manual

MGI JETVARNISH 3DS user manual

MGI

MGI JETVARNISH 3DS user manual

Kyocera TASKalfa PA4500ci Operation guide

Kyocera

Kyocera TASKalfa PA4500ci Operation guide

Emaar EP-360 user manual

Emaar

Emaar EP-360 user manual

Fujitsu DL7400 user manual

Fujitsu

Fujitsu DL7400 user manual

Centronics 101A Technical manual

Centronics

Centronics 101A Technical manual

Logic Controls LR1100 user manual

Logic Controls

Logic Controls LR1100 user manual

manuals.online logo
manuals.online logoBrands
  • About & Mission
  • Contact us
  • Privacy Policy
  • Terms and Conditions

Copyright 2025 Manuals.Online. All Rights Reserved.

7300 Series All-In-One
Imprimante Tout en un 7300 Series
Safety information
•Use only the power supply provided with this
product or the manufacturer’s authorized
replacement power supply.
•Connect the power cord to a properly
grounded electrical outlet that is near the
product and easily accessible.
•Refer service or repairs, other than those
described in the user documentation, to a
professional service person.
•Use only a 26 AWG or larger
telecommunications (RJ-11) cord when
connecting this product to the public switched
telephone network.
CAUTION: Do not use the fax feature during a
lightning storm. Do not set up this product or
make any electrical or cabling connections, such
as the power supply cord or telephone, during a
lightning storm.
Unpack the All-In-One.
Déballez l'imprimante Tout en un.
1
Raise the paper exit tray, and then extend
the paper guide.
Soulevez le bac de sortie du papier et tirez
le guide papier.
1Load plain paper in the paper tray.
Chargez du papier ordinaire dans le
bac d'alimentation.
2Adjust the paper guides.
Ajustez les guides papier.
3Lower the paper exit tray, extend the
paper support, and then flip up the
paper stop.
Abaissez le bac de sortie du papier,
tirez le support papier, puis relevez le
bord d'arrêt du papier.
4
Prepare the All-In-One.
Préparez l'imprimante Tout en un.
3
Make sure the power cord is pushed
all the way into the power supply port.
Vérifiez que le cordon d'alimentation
est correctement inséré dans le port
d'alimentation électrique.
1Connect the telephone line.
Reliez l'imprimante à une prise
téléphonique murale.
2
See the User’s Guide before adding additional equipment.
Reportez-vous au Guide de l'utilisateur avant d'ajouter tout équipement
supplémentaire.
Add a telephone.
Connecter un téléphone.
Add a telephone and answering machine.
Connecter un téléphone et un répondeur.
Press .
Appuyez sur .
3Press to scroll, press to enter your default
language, and then enter your default country or
region.
Appuyez sur pour faire défiler les options,
appuyez sur pour entrer la langue par défaut
voulue, puis entrez le pays ou la région par
défaut.
4Press the keypad to enter the:
Entrez les informations suivantes
à l'aide du pavé numérique :
1Time
Heure
2Date
Date
3Fax number
Numéro de
télécopieur
5
Continue with Step 4...
Passez à l'étape 4...
*20W0077*
Press .
Appuyez sur .
Press .
Appuyez sur .
Press .
Appuyez sur .
P/N 20W0077 E.C. 6M0011
© 2005 Lexmark International, Inc. All rights reserved.
2
1
3
12
LINE
LINE
EXT
EXT
LINE
LINE
EXT
EXT
1
2
1
2
1
23
1
2
x
Sold separately.
Eléments en option.
?
??
?
??
Consignes de sécurité
•Utilisez uniquement l'unitéd'alimentation fournie
avec ce produit ou l'unitéde remplacement
autorisée par le fabricant.
•Branchez le cordon d'alimentation àune prise
électrique correctement mise àla terre, proche
du produit et facile d'accès.
•Pour toute intervention ou réparation autre que
celles décrites dans la documentation de
l'utilisateur, adressez-vous àun technicien
qualifié.
•Utilisez uniquement un câble de
télécommunication 26 AWG (ou RJ-11) pour
connecter ce produit au réseau téléphonique
public.
ATTENTION : N'utilisez pas la fonction de télécopie
lors d'un orage. N'installez pas ce produit et
ne procédez àaucun branchement (cordon
d'alimentation, téléphone, etc.) en cas d'orage.
Note: Contents may vary.
Remarque : Le contenu de l'emballage peut varier.
Load paper.
Chargez du papier.
2
Install the print cartridges.
Installez les cartouches d'encre.
4
If you are using the All-In-One with a computer, continue with the following step.
Si vous utilisez l'imprimante Tout en un avec un ordinateur, procédez comme
suit.
If you are using the All-In-One without a computer, you are finished.
Si vous utilisez l'imprimante Tout en un sans ordinateur, vous avez
terminé.
Install the software.
Installez le logiciel de l'imprimante.
5
Make sure your computer is on.
Assurez-vous que l'ordinateur est sous
tension.
1Connect the USB cable.
Branchez le câble USB.
2Important! Click Cancel on all New Hardware Screens.
Important ! Cliquez sur Annuler dans tous les écrans
Nouveau matériel.
3
Click Install.
Cliquez sur Installer.
5
Open the scanner unit.
Ouvrez l'unitédu scanner.
1Remove the tape from the print cartridges.
Supprimez la bande protectrice des
cartouches.
2Press down on the cartridge levers to open the cartridge lids,
insert the print cartridges, and then close the print cartridge lids.
Appuyez sur les leviers des cartouches pour ouvrir les couvercles
des cartouches, insérez les cartouches, puis refermez les
couvercles.
3Close the scanner unit, and press
to print an alignment page.
Fermez l'unitédu scanner et
appuyez sur pour imprimer une
page d'alignement.
4
Insert the software CD.
Insérez le CD du logiciel.
4If this install screen does not
appear, click Start ÆRun, and
then type D:\setup,where Dis the
letter of your CD-ROM drive.
Si cet écran d'installation
n'apparaît pas, cliquez sur
Démarrer ÆExécuter, puis
entrez D:\setup,D étant la lettre
correspondant au lecteur de
CD-ROM.
To prevent errors during installation:
1Close all open programs.
2Temporarily disable any anti-virus
software. For help, see your
program documentation, or
contact the software manufacturer
for support.
Note: After installation is complete,
remember to enable your anti-virus
software.
Pour éviter tout problème
d'installation :
1Fermez les programmes ouverts.
2Désactivez temporairement le
logiciel anti-virus sur l'ordinateur.
Pour obtenir de l'aide, reportez-
vous àla documentation de ce
programme ou contactez le
fabricant.
Remarque : Une fois l'installation
terminée, n'oubliez pas d'activer le logiciel
anti-virus.
!
!
www.lexmark.com
123
LINE
LINE
EXT
1
2
Have a question?
•See the User’s Guide.
•See the Lexmark Solution Center software:
1Click Start ÆPrograms or All Programs Æ
Lexmark 7300 Series ÆLexmark Solution Center.
2Click the Troubleshooting tab on the left side of the
screen.
•Visit our Web site: http://support.lexmark.com.
Avez-vous des questions ?
•Reportez-vous au Guide de l'utilisateur.
•Reportez-vous au logiciel du Centre de solution Lexmark :
1Cliquez sur Démarrer ÆProgrammes ou Tous les
programmes ÆLexmark 7300 Series ÆCentre de
solution Lexmark.
2Cliquez sur l'onglet Dépannage figurant àgauche de
l'écran.
•Visitez notre site Web : http://support.lexmark.com.
Setup troubleshooting
Dépannage - Installation
Problem Solution
Power light is not lit. 1Disconnect the power supply cord from the wall outlet and then from the All-In-One.
2Plug the cord all the way into the power supply port on the All-In-One.
3Plug the cord into an electrical outlet that other electrical devices have been using.
4If the Power button light is not on, press .
Incorrect language appears
on the display. 1From the control panel, press Scan Mode, and then press .
2Press twice.
3Press .
4Press .
5Press or repeatedly until the language you want appears on the display.
6Press to save.
7Press twice to exit.
Problème Solution
Le voyant de mise sous
tension n'est pas allumé.1Débranchez le cordon d'alimentation de la prise secteur et de la prise de l'imprimante
Tout en un.
2Branchez le cordon d'alimentation àfond dans le port correspondant sur l'imprimante
Tout en un.
3Branchez le cordon dans une prise électrique que d'autres appareils ont déjàutilisé.
4Si le bouton de mise sous tension ne s'allume pas, appuyez sur .
La langue incorrecte apparaît
sur l'affichage. 1Sur le panneau de commandes, appuyez sur Mode Numérisation, puis sur .
2Appuyez sur deux fois.
3Appuyez sur .
4Appuyez sur .
5Appuyez sur ou jusqu'àce que la langue voulue apparaisse sur l'affichage.
6Appuyez sur pour enregistrer.
7Appuyez deux fois sur pour sortir.
Need more ink?
Cartouches d'encre disponibles
Photo cartridge
Cartouche photo Black cartridge
Cartouche noire
Color cartridge
Cartouche couleur
•31 •32
•34
•33
•35
1
2
Windows 98/Me Windows 2000/XP
Left:
A gauche :
Right:
A droite :