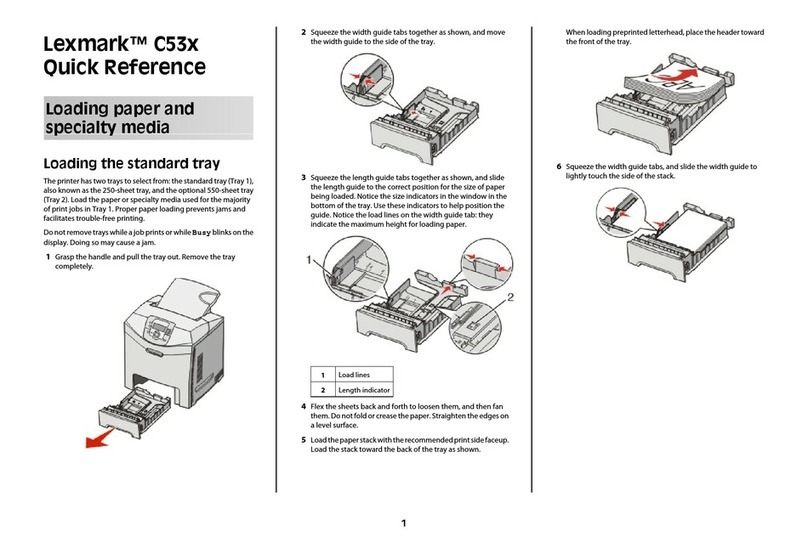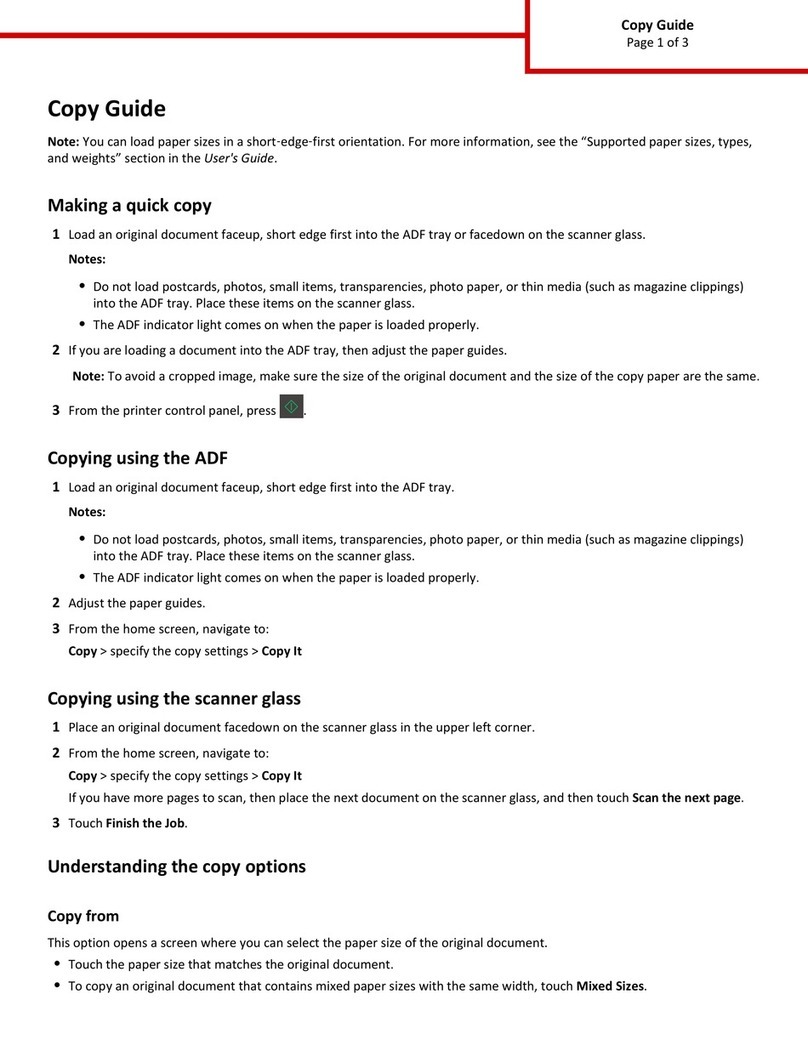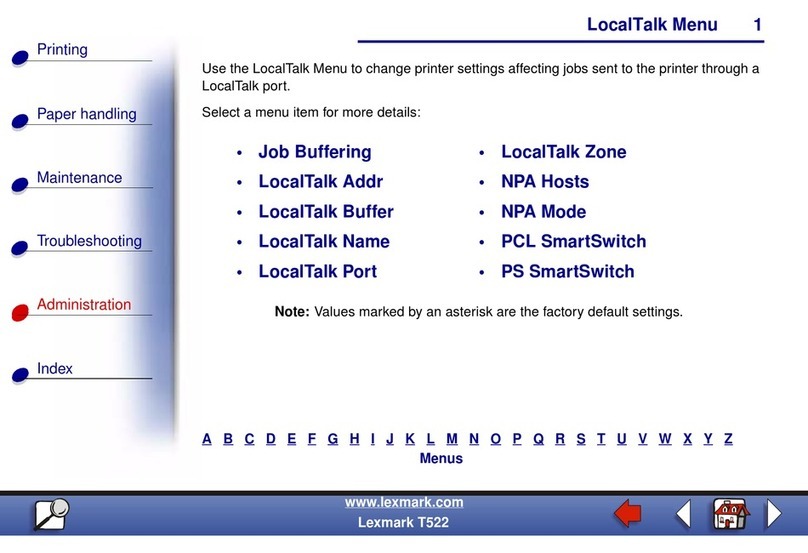
Printing method Example
Shared printing
•Printer is connected to one of the computers on the network using a local cable, such as a
USB or parallel cable.
•Printer software is installed on the computer attached to the printer.
•During software installation, the printer is set up to be “shared” so that other network
computers can print to it.
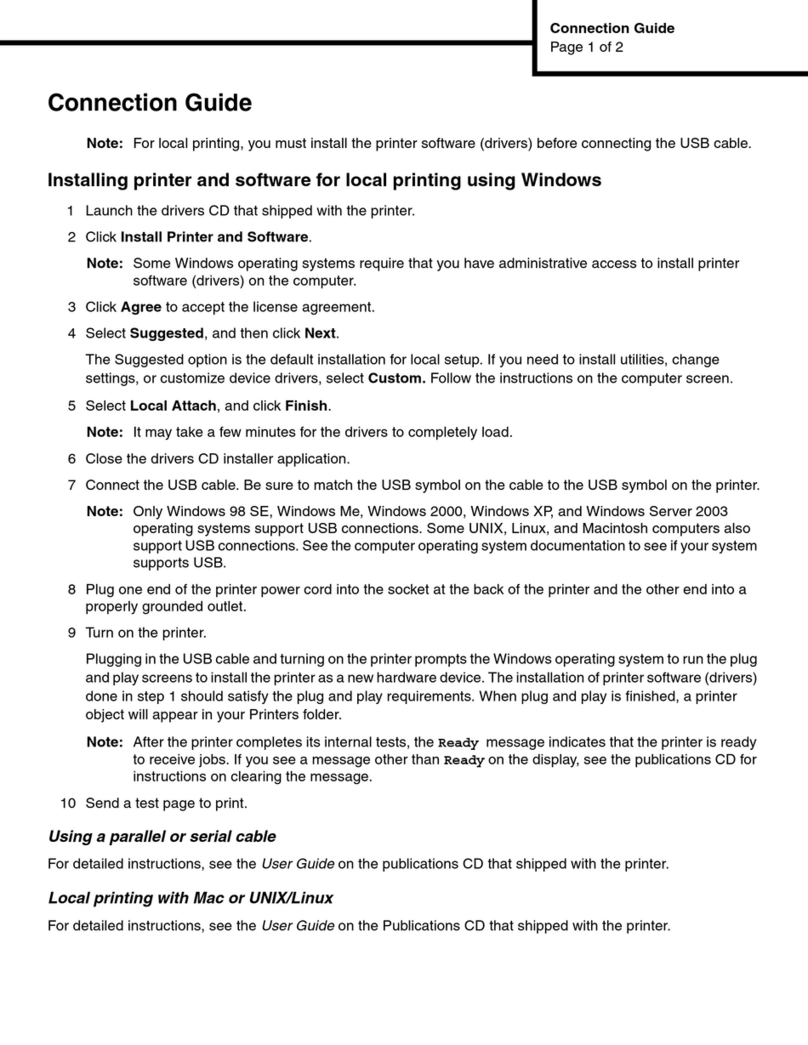
Installing the printer on a wired network
Before installing the printer on a wired network, make sure the initial setup of the printer is complete, and the printer is connected
to an active Ethernet network by an Ethernet cable.
1Close all open software programs.
2Insert the Software and Documentation CD.
If the installation screen does not appear after a minute, then launch the CD manually:
aClick , or click Start and then click Run.
bIn the Start Search or Run box, type D:\setup.exe, where Dis the letter of your CD or DVD drive.
cPress Enter, or click OK.
3Click Install, and then follow the instructions on the computer screen.
Note: To configure the printer using a static IP address, IPv6, or scripts, select Advanced Options > Administrator Tools.
4Select Ethernet connection, and then click Continue.
5Attach the appropriate cable to the computer and to the printer when instructed to do so.
6Select the printer from the list, and then click Continue.
Note: If the configured printer does not appear in the list, then click Modify Search.
7Follow the instructions on the computer screen.
Sharing the printer on a network
1Close all open applications.
2Insert the Software and Documentation CD.
Wait for the Welcome screen to appear.
If the CD does not launch after a minute, then do the following:
aClick or click Start, and then click Run.
bIn the Start Search or Run box, type D:\setup.exe, where Dis the letter of your CD or DVD drive.
cPress Enter, or click OK.
3Click Install, and then follow the instructions on the computer screen.
4When prompted, select the printer you want to install, and then click Add Printer.
5In the left‑hand pane, under Selected Components, click +next to the printer model you just added.
Connection Guide
Page 3 of 5

