LG-Nortel 7016 User manual

3
7016 / 7024
Digital Keyset
User Guide
4
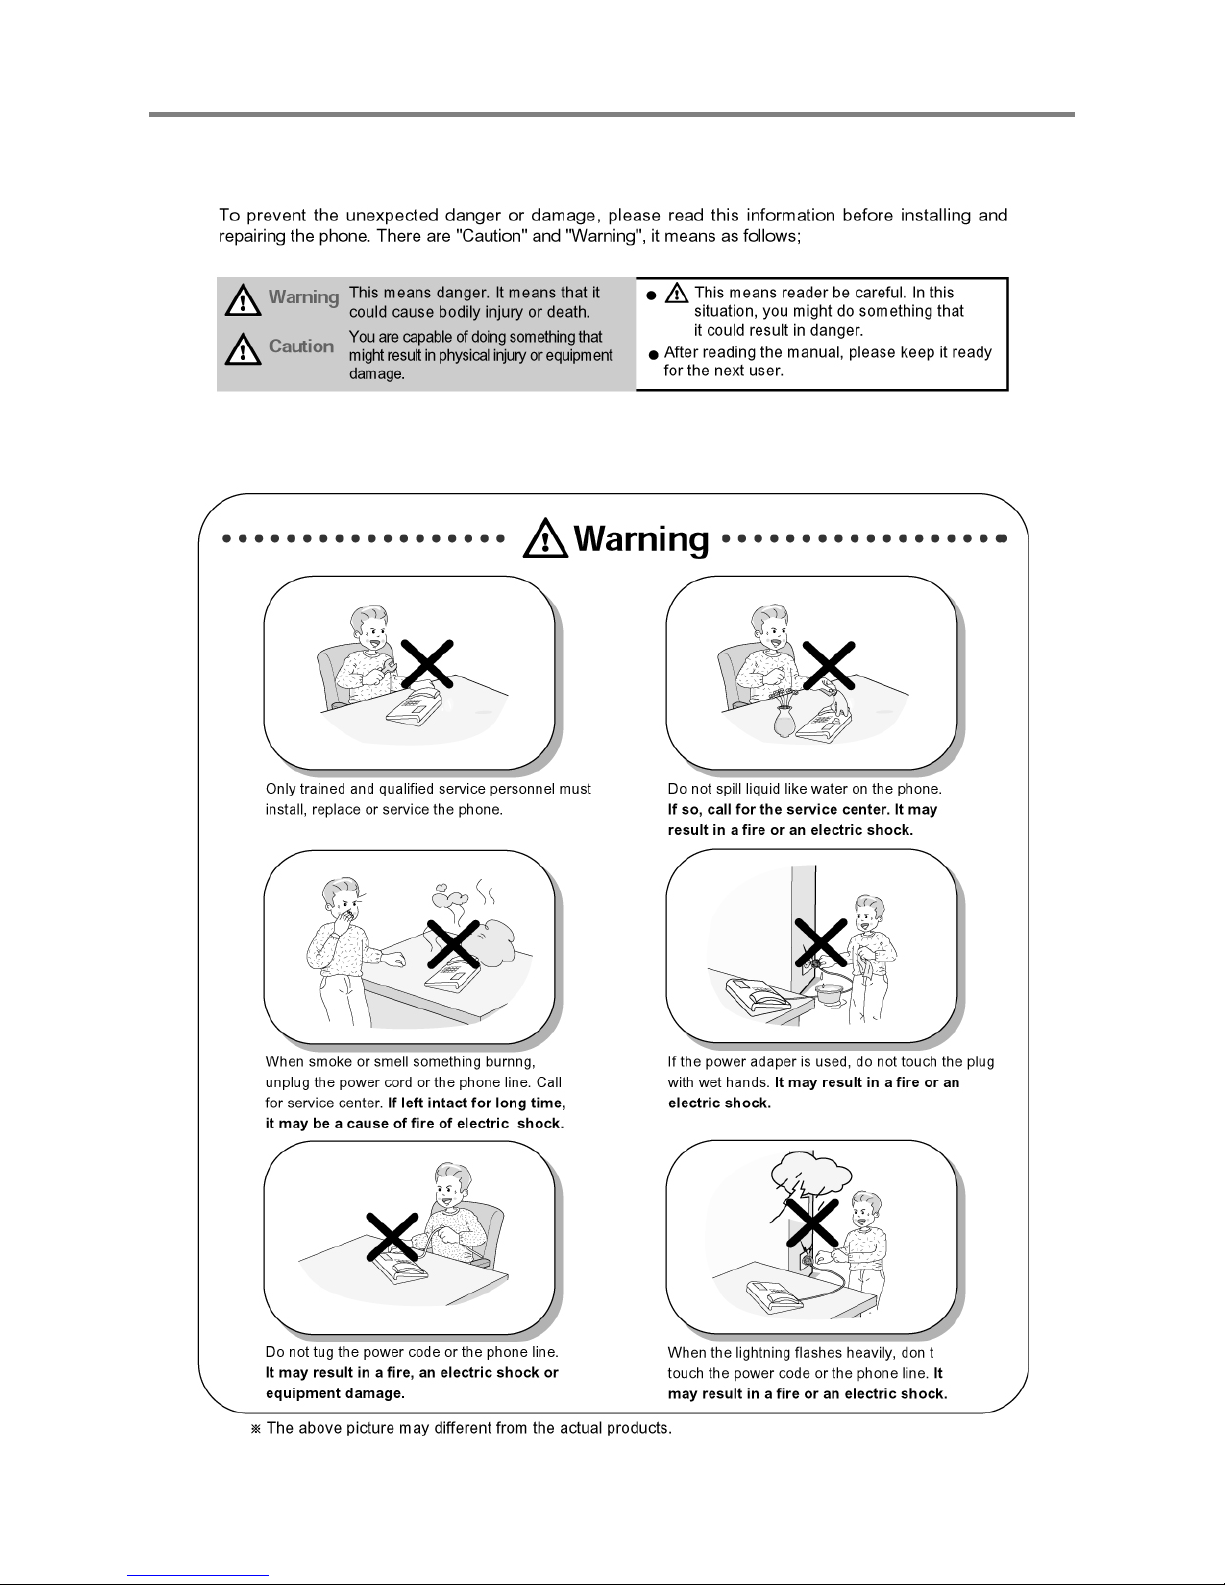
Important Safety Information

5
Important Safety Information

6
Important Safety Information

7
Getting Started
LDP-7000 Series Model 7016D & 7024D
Input / Output Devices and Button
Cable Connection
ADP (Additional Device Port)
Placing or answering a call
1. Placing a call
2. Answering a call
3 Soft Button & Navigation Button
Basic Function
1. Idle
1.1 Pickup
1.2 Conference
1.3 Redial
2. Off Hook
3. Intercom Dialing
4. Intercom Ring Back
5. Intercom Busy
6. Intercom Do Not Disturb
7. Intercom Dialing Error
8. Intercom Receiving
9. Intercom Talk
10. CO Line Busy
11. CO Dialing / CO Talk
12. Checking messages
13.Paging
Call Log
1. Received Call
2. Dialed Call
3. Lost Call
3.1 Answer
3.2 Del Cur (Delete Current)
3.3 Del All (Delete All)
3.4 Save
3.5 Name/Tel
8
8
9
11
12
14
14
14
15
16
16
16
17
18
18
18
19
19
19
19
19
20
20
20
21
21
22
22
23
24
24
24
25
25
25
Table of Contents

8
Menu
1. Basic Program
1.1 Station name program
1.2 Ring program
1.2.1 Select Ring
1.2.2 Select melody
1.3 Mode (H/T/P) Program
1.4 Password Program
1.4.1 Password Register
1.4.2 Password Change
1.5 Language Program
1.6 ENBLOCK Mode Program
2. Advanced Program
2.1 Wake up Program
2.1.1 Setting
2.1.2 Canceling
2.2 Pre-selected MSG PGM
2.2.1 Select the MSG PGM
2.2.2 Canceling/ Changing
2.3 Station COS Program
2.3.1 COS Down Mode
2.3.2 Restoring COS Mode
2.3.3 Walking COS Mode
2.4 SPK/Headset Program
2.5 EAR MIC Program
3. Speed Program
4. Mobile Extension PGM
4.1 Mobile-EXT. NUM PGM
4.2 Mobile-EXT Enable
5. Conference Room PGM
5.1 Create CONF Room
5.2 Delete CONF Room
6. Hot Desk Program
6.1 Hot Desk Log in
6.2 Hot Desk Log out
Phone Book
1. Dial By ICM Name
2. Dial By STA SPD name
3. Dial By SYS SPD Name
Entering characters
Glossary of Terms
26
27
27
28
29
29
30
31
31
32
33
33
34
34
34
35
36
36
37
38
38
39
40
41
41
42
43
43
43
44
44
44
45
45
46
47
47
48
48
49
50
Table of Contents
9
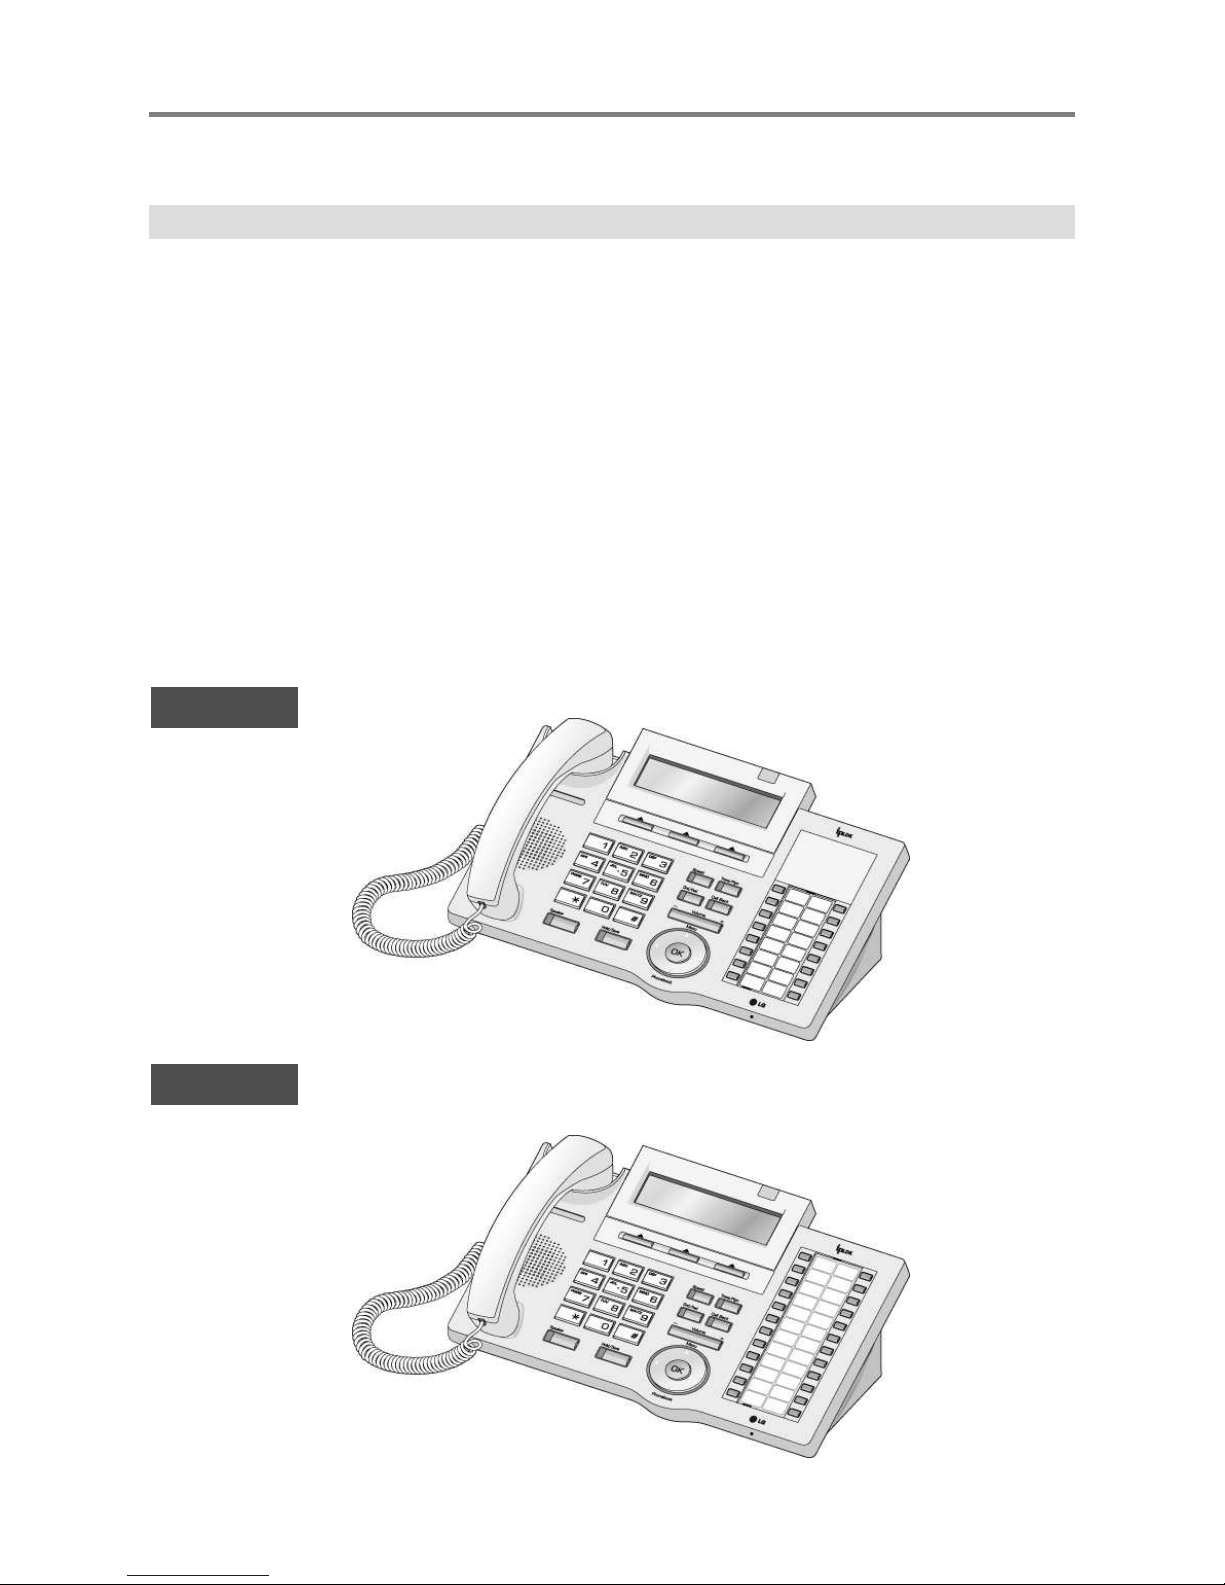
LDP-7000 Series, Model 7016D & 7024D
LDP-7016D/7024D are advanced, user-friendly digital keysets, offering the convenience of soft
buttons and a navigation key.
LDP-7024D
•Features
-.Trendy and Stylish LDP Family design
-.Multi Level Line LCD ( x 24)
-.16 or 24 Flexible buttons with dual-color LED’s
-.Additional Device Port (ADP) for SLT or FAX
-.Call Log Feature
-.Call Recording Feature –7024D only (Optional USB Module).
-.Hands-Free Solution –7024D only (Optional Blue- Tooth Module).
-.Wall Mountable (Bracket Optional)
LDP-7016D
Getting Started
10
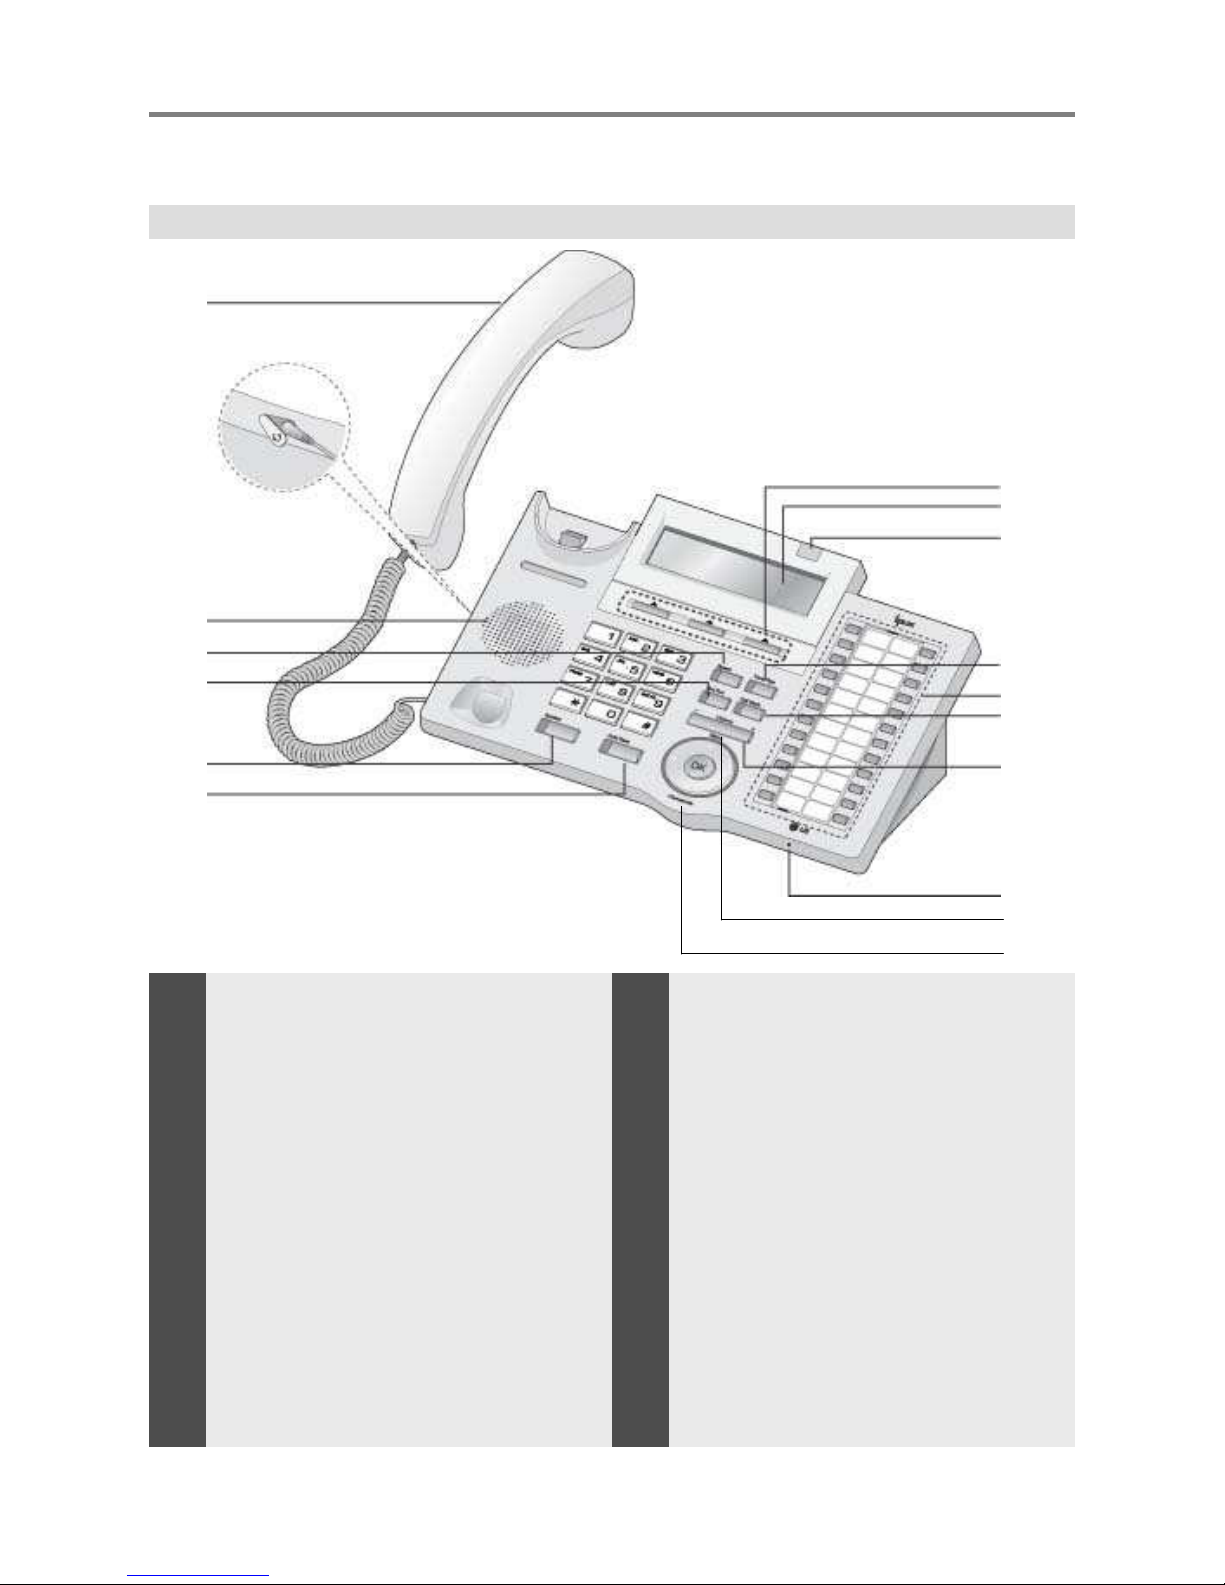
Input / Output Devices and Buttons
Handset
Earphone-Jack Socket
(Ear/Mic Mode)
Speaker
Speed Button
Dnd/Fwd Button
Speaker Button
Hold/Save Button
3 Soft Button
LCD Display
Visual Ringing LED
Trans/Pgm Button
Flexible Button (Loop Button)
Call back Button
Volume Button
Hands-free Microphone
Menu Button
Phonebook Button
(Same operate as ‘Speed’)
Getting Started
1
8
11
12
13
3
4
5
6
7
2
9
14
15
16
17
10
1
2
3
4
5
6
7
8
9
10
11
12
13
14
15
16
17

11
Used for handset call.
Used to connect optional headset to the phone.
Outputs tones and voice.
Used to access speed dialing, speed programming, save number redial,
and last number redial.
The DND (Do Not Disturb) feature blocks all incoming calls. When DND
is active, the red LED in this button is illuminated.
It is also used to activate call forward, e.g. to another station or
voicemail. When call forward is activated, the red LED flashes.
Speaker toggles the speakerphone state, and the red LED is
illuminated when the speakerphone is active.
This button is used to put a call on hold or save information when
programming.
Used in conjunction with fixed and flexible features, and the function
changes in relation to call progress, as indicated on theLCD display.
Displays information about telephone status, dialing directories,and test
message information.
Illuminates when the phoneis ringing.
This button is used to initiate a call transfer (TRS) or to enter
programming mode (PGM)
Some flexible buttons are pre-programmed in the system for line
appearances, loop functions etc. The remaining flexible buttons can be
user-programmed.
A station can initiate a call back request to a busy station. Once that
station becomes idle, the initiating station is signaled.
The volume button adjusts the audio levels for ringing, handset and
speakerphone functions.
Microphone is used for hands-free speakerphone function.
The menu button is used to move to the desired option(Dial, MSG,
Program), and to select the next screen when indicated by an arrow on
the LCD display.
Used to access speed dialing, save number redial, and last number
redial, and to access flexible button programming.
Handset
Earphone-Jack Socket
Speaker
Speed Button
Dnd/Fwd Button
Speaker Button
Hold/Save Button
3 Soft Buttons
LCD Display
Visual Ringing LED
Trans/PGM Button
Flexible Button
Call back Button
Volume Button
Hands-free Microphone
Menu Button
Phonebook Button
Getting Started
1
2
3
4
5
6
7
8
9
10
11
12
13
14
15
16
17

12
Cable Connection
Cable connections
A - Connect the telephone cord (curly cord) to the handset and the other end to the
handset jack at the bottom of the telephone.
B - Connect the line cable to the port at the bottom of telephone and the other end to the
wall socket.
C- Connect the Headphone to the headphone jack on the left side of the telephone.
(As viewed from the front.)
Getting Started
A
BC
This manual suits for next models
1
Table of contents
Other LG-Nortel Telephone manuals

LG-Nortel
LG-Nortel LDP-7008 User manual

LG-Nortel
LG-Nortel Aria LDK User manual

LG-Nortel
LG-Nortel LWS-BS Instruction manual

LG-Nortel
LG-Nortel LSP-450 User manual

LG-Nortel
LG-Nortel SINGLE LINE TELEPHONE LKA-200 Owner's manual

LG-Nortel
LG-Nortel IP Phone 1535 User manual

LG-Nortel
LG-Nortel iPecs LIP-8012D User manual

LG-Nortel
LG-Nortel ARIA SOHO IP Operating and installation instructions

LG-Nortel
LG-Nortel GDC-400H User manual

LG-Nortel
LG-Nortel iPECS WIT-400H User manual


