LG GB270 User manual

GB270 User Guide
www.lgmobile.com MMBB0345604 (1.0)
GB270
Use r G u id e
ENGLISH
fgUnh
GB270_India_Cover_0522.indd 1 2009.5.27 7:6:5 PM

Bluetooth QD ID B015424
GB270_India_Cover_0522.indd 2 2009.5.27 7:6:6 PM

GB270 USER GUIDE
This guide will help you understand your new
mobile phone.
It will provide you with useful explanations of
features on your phone. Some of the contents
in this manual may differ from your phone
depending on the software of the phone or
your service provider.
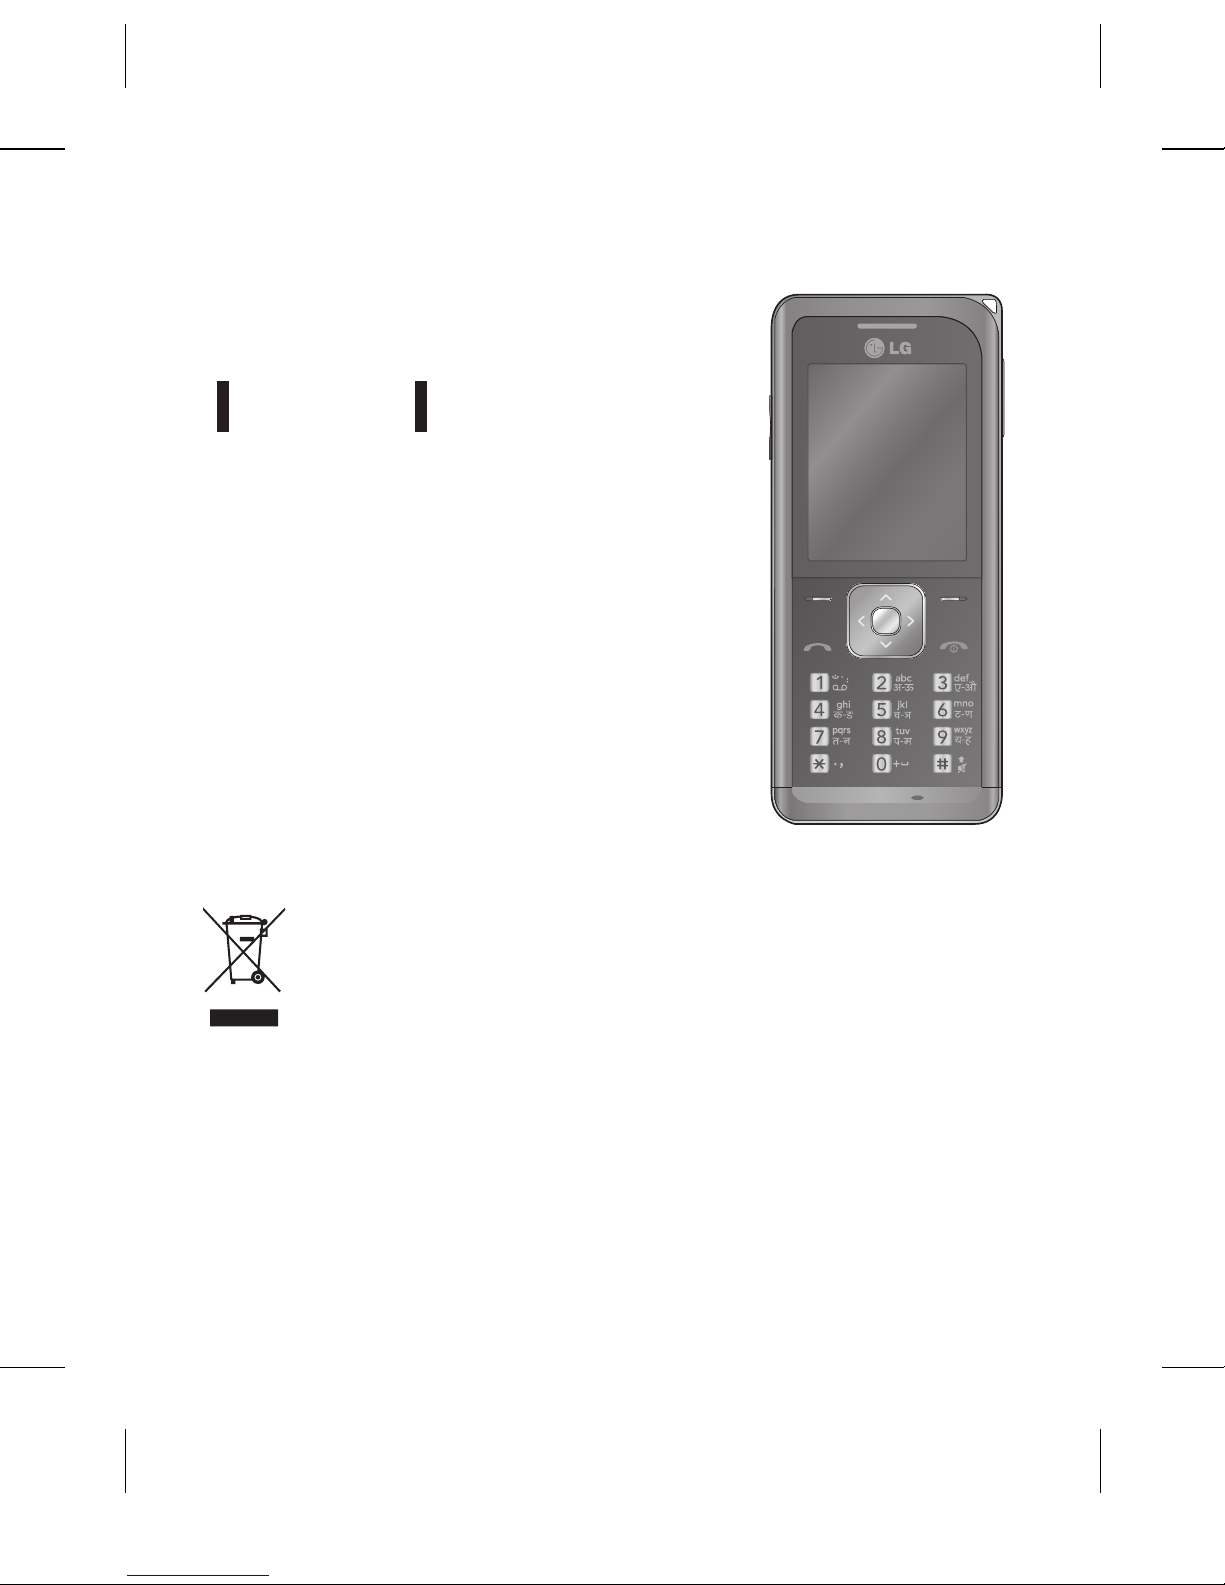
Disposal of your old appliance
1 When this crossed-out wheeled bin symbol is attached to a
product it means the product is covered by the European Directive
2002/96/EC.
2 All electrical and electronic products should be disposed of
separately from the municipal waste stream via designated collection
facilities appointed by the government or the local authorities.
3 The correct disposal of your old appliance will help prevent potential
negative consequences for the environment and human health.
4 For more detailed information about disposal of your old appliance,
please contact your local authority, waste disposal service or the
shop where you purchased the product.
GB270_India_0527.indd 1 2009.5.27 7:0:40 PM

Contents
Getting to know your phone 3
Selecting functions and options
4
Installing the SIM Card and
Charging the Battery 5
Installing the SIM Card
Changing the cover and Melody
composer 7
Changing the cover
Melody composer 9
Calls 11
Making a call
Making a call from your contacts
Answering and rejecting a call
Speed dialling 12
Viewing your call logs
Changing the call settings 13
Call barring
Address book 14
Adding a new contact
Messaging 15
Sending a message
Entering text 16
T9 predictive mode 17
Abc manual mode
123 mode
Message folders
Using templates 18
Multimedia 20
Camera
After you’ve taken your photo
Voice recorder 21
Recording your voice recorder.
My stuff
Games and Apps
Tools 22
Browser 23
Accessing the wap
Profiles 24
Changing your profiles
Settings 24
Connectivity 27
Guidelines for safe and efficient
use 28
Technical Data 36
Trouble Shooting 37
2
GB270_India_0527.indd 2 2009.5.27 7:0:40 PM

3
Earpiece
Display screen
Soft keys
Each of these keys
performs the functions
indicated by the
text on the display
immediately above
them.
Send key
You can dial a phone
number and answer
incoming calls.
Getting to know your phone
OK key + 4-way
navigation key
Use for quick
access to phone
functions.
End /Power key
Allows you to
power the phone
on or off, end
calls, or return to
Standby Mode.
Alphanumeric keys
These keys are
used to dial
a number in
Standby Mode
and to enter
numbers or
characters in edit
mode.
GB270_India_0527.indd 3 2009.5.27 7:0:40 PM

4
Selecting functions and options
Your phone offers a set of
functions that allows you
to customize the phone.
These functions are arranged
in menus and sub-menus,
accessed via the two soft
keys. Each menu and sub-
menu allows you to view
and alter the settings of a
particular function.
The roles of the soft keys
vary according to the current
context; the option on the
bottom line of the display
just above each key indicates
its current role.
Menu Theme
Press the left soft key to
select available
menu and options.
Press the right soft key
to access the
available options.
GB270_India_0527.indd 4 2009.5.27 7:0:41 PM

5
Installing the SIM Card and Charging the Battery
Installing the SIM Card
When you subscribe to a
cellular network, you are
provided with a plug-in
SIM card loaded with your
subscription details, such as
your PIN, and any optional
services available.
Important! › The plug-in SIM
card and its contacts can be
easily damaged by scratches
or bending, so be careful
when handling, inserting or
removing the card. Keep all
SIM cards out of the reach of
small children.
1Open battery cover
2Remove the battery
GB270_India_0527.indd 5 2009.5.27 7:0:44 PM

6
3Insert your SIM
4Install the battery
5Close the battery cover
6Charge your battery
WARNING: Do not remove
the battery when the phone
is switched on, as this may
damage the phone.
Installing the SIM Card and Charging the Battery
GB270_India_0527.indd 6 2009.5.27 7:0:53 PM

7
Changing the cover
1Please disconnect the
charger and any other
device before removing
the covers. Please do not
operate your phone while
changing the covers.
2Press the release button
and remove the back cover
from the phone. from the
phone. See “Installing the
SIM card and the battery”
on page 5.
3Press the bottom of cover
to remove the front cover.
4Pull the body toward right
5Open the other cover
Changing the cover and Melody composer
GB270_India_0527.indd 7 2009.5.27 7:0:57 PM

8
6Place soft keypad mat in
the new front cover and
press the soft keypad
mat in.
7Align the front cover and
keypad to the phone and
press the front cover to lock
it into place.
8Align the bottom of the
back cover to the bottom
of the phone, and press the
back cover to lock it into
place.
Changing the cover and Melody composer
GB270_India_0527.indd 8 2009.5.27 7:1:0 PM

9
9Your phone will
automatically ask you to
select a theme (Business or
Casual) to match the color
of the new cover.
Note: Always use or store
the device with the covers
attached.
Note: Avoid touching
electronic components while
changing the covers.
Note: If change the covers
while the phone is switch
off, your phone will not be
able to automatically detect
theme changing when your
phone switch on again. In
the standby mode, you may
change theme by pressing the
right soft key.
Melody composer
This function allows you
to compose a ring tone or
melody. You can share your
melody with your friends
by forwarding it via EMS or
MMS.
To start composing
1From the main menu,
select Multimedia and
press OK.
2Select Melody composer
and press OK.
3Select Options and then
Add.
4press the keypad to start
composing. (see the key
definition in melody
composer mode on page
10)
GB270_India_0527.indd 9 2009.5.27 7:1:1 PM

10
5Press Options to choose
different instrument to
edit your melody, adjust
different play speeds or
listen to the melody you
have just made.
6When you are done you
can press Options to save
your melody.
Note: The melody you
composed is saved in IMY
format.
Key definition in melody
composer mode
Keys Functions and Descriptions
1 Press the 1 key to play Do.
2 Press the 2 key to play Re
3 Press the 3 key to play Mi
4 Press the 4 key to play Fa
5 Press the 5 key to play So
Keys Functions and Descriptions
6 Press the 6 key to play La
7 Press the 7 key to play Si
8 Press the 8 key to play
Vibration note
9 Press the 9 key to play
Backlight/LED note
0 Press the 0 key to play Rest
# Press the # key to toggle
sharp, normal or flat notes
* Press the * key to change
the beat length of current
musical note or to change
a note between backlight
and LED
Press the navigation keys
down to lower one octave
(Can disable vibration,
backlight and LED)
Press the center key to listen
to the melody you have
made.
Press the volume keys to
change the instrument.
Changing the cover and Melody composer
GB270_India_0527.indd 10 2009.5.27 7:1:2 PM

11
Calls
Making a call
1Key in the number using
the keypad. To delete a
digit press left key .
2Press to initiate the
call.
3To end the call, press .
TIP! To enter + when making
an international call, press
and hold 0.
Making a call from your
contacts
1Press to open Search.
2Using the keypad, enter
the first letter of the
contact you want to call.
For example, for Office,
press 6 three times.
3To scroll through the
contacts and their different
numbers use and .
4Press to initiate the
call.
Answering and rejecting
a call
1When your phone rings,
press Accept or press
to answer the call.
2While your phone is
ringing, select Silent to
mute the ringing. This is
great if you have forgotten
to change your profile to
Silent for a meeting.
3Press or Reject to
reject the incoming call.
GB270_India_0527.indd 11 2009.5.27 7:1:3 PM

12
Calls
TIP! You can change the
settings on your phone to
answer your calls in different
ways. Press Menu, select
Settings and choose Call.
Select Answer mode and
choose from Any key or Send
key only.
Speed dialling
You can assign a speed dial
number to a contact you call
frequently.
1Press Menu, Select
Contacts and choose
Speed dials.
2Your voicemail is preset
to speed dial 1 and you
cannot change this. Select
any other number either
by using the navigation
keys and selecting Assign
or by pressing the hard
key number.
3Your address book will
open. Select the contact
you’d like to assign to
that number using the
navigation keys then
select OK.
4To call a speed dial
number, press and hold
the assigned number until
the contact appears on
screen. The call will begin
automatically and there is
no need to press .
Viewing your call logs
You can check the record of
missed, received, and dialed
calls only if the network
supports the Calling Line
Identification (CLI) within the
service area.
GB270_India_0527.indd 12 2009.5.27 7:1:4 PM

13
The number and name
(if available) are displayed
together with the date and
time at which the call was
made. You can also view call
durations. Press Menu, select
Call history.
Changing the call settings
You can set the menu
relevant to a call. Press Menu,
select Settings and choose
Call.
• Call divert – Choose
whether to divert All voice
calls, when the line is busy,
when there is no reply,
when you are out of reach,
All data calls or All fax calls.
Choose Activate and select
whether to divert to voice
mail, to other number or to
favorite number. Enter your
divert number or select
Search to browse Contacts
for your divert number.
Note: Charges are incurred for
diverting calls. Please contact
your network provider for
details.
Call barring
• Fixed dial number
– Choose a list of numbers
that can be called from
your phone. You’ll need
your PIN2 code from your
operator. Only numbers
included in the fixed dial
list can be called from your
phone.
GB270_India_0527.indd 13 2009.5.27 7:1:4 PM

14
Adding a new contact
You can add a new contact to
your contacts.
1Press Address book and
choose New contact.
2Choose whether to store
your new contact on your
Phone or SIM card.
3Enter all the information
you have in the fields
provided and select Save.
Note: When you are storing a
contact’s email address,
press to enter a symbol and
scroll with and until
you see @.
Address book
GB270_India_0527.indd 14 2009.5.27 7:1:4 PM

15
Messaging
Your GB270 includes
functions related to SMS
(Short Message Service),
MMS (Multimedia Message
Service) and Bluetooth, as
well as the network’s service
messages.
Sending a message
1Press Menu, select
Messaging and choose
New message.
2Choose Message to send
an SMS or MMS.
3A new message editor
will open. Message editor
combines SMS and MMS
into one intuitive and easy
to switch between SMS
mode and MMS mode.
The default setting of the
message editor is SMS
mode.
4Enter your message using
the T9 predictive mode
by choose Set T9 “On“
from Options or Abc, abc,
ABC or 123 manual mode.
You can switch text input
mode between Abc, abc,
ABC and 123 by pressing
.
TIP! You can select your
message type as SMS or MMS
when you enter a text longer
than 2 pages in the message
field.
5 Press Options and choose
Insert to add an Image,
Sound, Symbol, Text
template, Emoticon,
Name & Number, New
slide, Subject or More
(Contact/My business
card/Schedule/Memo/To
do).
GB270_India_0527.indd 15 2009.5.27 7:1:5 PM

16
Messaging
6Press Options, then Send
to.
7Enter the phone number
or press Options and
select Contacts or Recent
list to open your contacts
list. You can add multiple
contacts.
8 Press Options, then Send.
WARNING: If an Image,
Sound, New slide or Subject
is added to the message
editor, it will be automatically
converted to MMS mode
and you will be charged
accordingly.
Note: You can send SMS to
many users at a time.Option
“Send to Many” will open the
contacts list where in user can
mark/unmark contacts for
sending message.
To send the SMS to a
particular group of contacts
select the option “Send to
Group” after composing the
SMS.
Entering text
You can enter alphanumeric
characters using the phone’s
keypad. For example, storing
names in Contacts, writing
a message and creating
scheduling events in the
calendar all require entering
text. The following text input
methods are available in the
phone: T9 predictive mode,
Abc manual mode and 123
mode.
Note: Some fields may allow
only one text input mode (e.g.
telephone number in address
book fields).
GB270_India_0527.indd 16 2009.5.27 7:1:5 PM

17
T9 predictive mode
T9 predictive mode uses
a built-in dictionary to
recognise words you’re
writing based on the key
sequences you press. Simply
press the number key
associated with the letter
you want to enter, and the
dictionary will recognise the
word once all the letters are
entered.
Abc manual mode
This mode allows you to
enter letters by pressing the
key labeled with the required
letter once, twice, three or
four times until the letter is
displayed.
123 mode
Type numbers using one
keystroke per number. You
can also add numbers while
remaining in letter modes
by pressing and holding the
desired key.
Message folders
Press Menu, select
Messaging.
New Message - This is where
you can send a new message.
Choose Message to send
SMS or MMS.
Inbox - All the messages you
receive are placed into your
Inbox. From here you can
reply, forward and more, see
below for details.
GB270_India_0527.indd 17 2009.5.27 7:1:5 PM

18
Drafts - If you don’t have
time to finish writing a
message, you can save what
you have done so far here.
Sent - All the messages you
send are placed into your
Sent items folder.
Listen to voicemail - You can
access your voice mail box (if
provided by your network).
When a new voice message
is received, will be
displayed on the standby
screen.
Info message - All info
messages and updates
received from your operator.
Templates - A list of useful
messages, already written for
a quick reply.
Settings - You can change
the predefined message
settings as you like.
Using templates
You can create templates
for the Text and Multimedia
messages you send most
frequently. There are some
templates already on your
phone, which can be edited
if you wish.
1 Press Menu, select
Messaging and choose
Templates.
2Choose Text or
Multimedia. You can
then select Options and
choose Edit to change
existing templates or
select Options to add
New template or Delete
templates.
3To send a template, select
the one you want to send,
choose Options and select
Send via.
Messaging
GB270_India_0527.indd 18 2009.5.27 7:1:5 PM
Table of contents
Other LG Cell Phone manuals