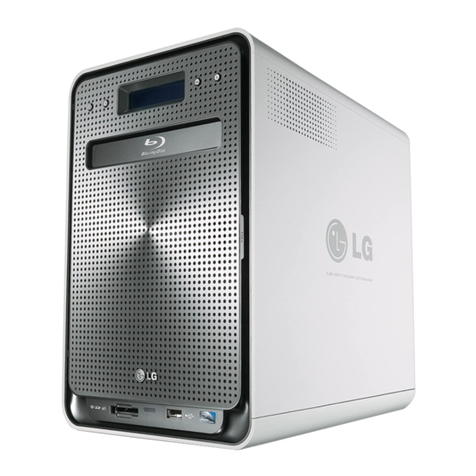
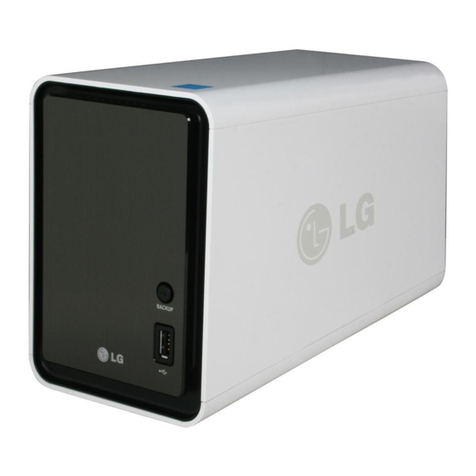
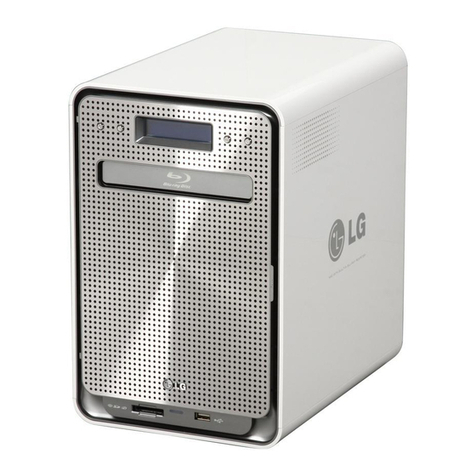
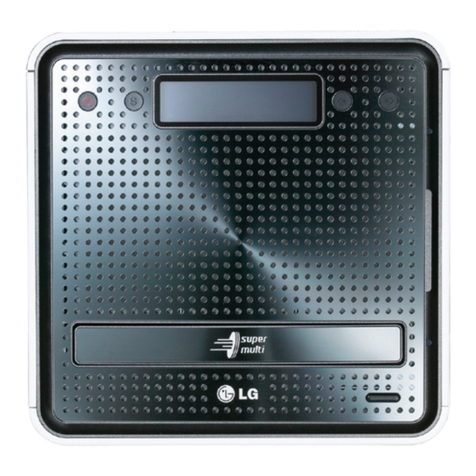
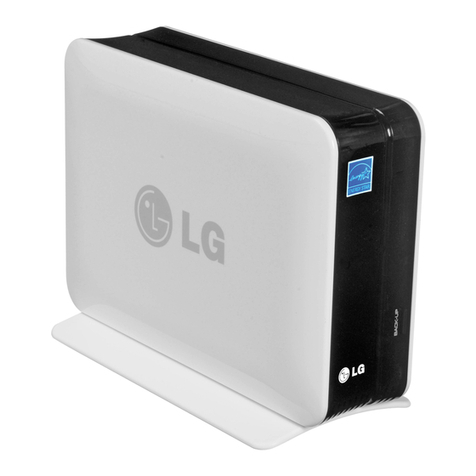
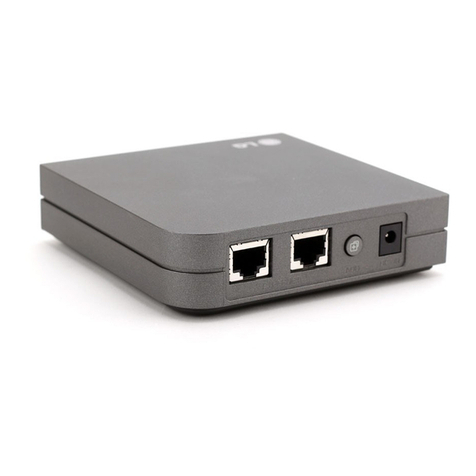
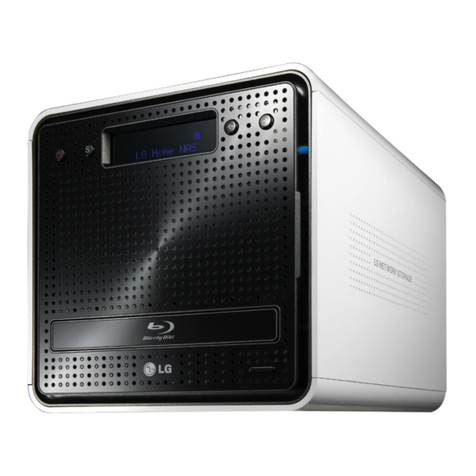
LG N2A3 User manual


2
ㅣ
LG Network Storage
software installation CD
ㅣ
LG Network Storage Auto Settings
Components and supported OS
NAS Advanced Settings
02
Name of the product parts
Connecting to the Network Storage
03
08
11
Network Storage installation
04-07
09-10
Connecting to Web Menu
18
NAS Monitor
19
Program Installation
ㅣ
LG Network Storage
Installation Wizard
12-16
ㅣ
NAS Detector
17
Components and supported OS
Table of contents
Please check the components before installing.
※
Pictures or photographs used in the user manual are subject to change in
accordance with the components of the model.
※
Components may be changed upon the situation of the company.
Components
Support OS
- Windows XP SP3, Windows Vista,
Windows 7
- MAC OS X 10.5 or higher
- Linux(Ubuntu 10.10 or higher,
Fedora 14 or higher,
OpenSuse 11.4 or higher)
PC S/W
NAS Detector
NAS Monitor
Nero BackItUp & Burn
Support OS
Windows XP, Server 2003, Vista, Mac OS 10.x or higher, Windows 7
Windows XP, Server 2003, Vista, Windows 7
Acrobat Reader
Flash Player
Installation Wizard
Remote Network Drive
Windows, Mac
Windows XP(SP2 or higher), Vista, Windows 7
Windows, Mac
Windows XP(SP3 or higher), Server 2003, Vista, Windows 7
Network Storage Product Warranty
Quick Installation Guide Power supply cord
and adaptor
LAN cable
PC S/W Installer

3
Name of the product parts
(Front) (Back)
LED panel
ODD Slot hole : You should insert the disc having the writing side as a data side.
ODD eject button
Back-up button : A button to back-up data of a disc or USB onto NAS.
Fan
Power button
USB 2.0 port
USB 2.0 port
11
LAN port
DC-in
Kensington Lock
12
Adaptor cable holder
:
Ethernet
:
POWER
:
HDD
:
ODD
11
12
N2T3N2A3 N2A3/N2T3

4
Network Storage installation
Instructions to install LG Network Storage. If installing a hard disk proceed with
<Installing Hard disk> and if a hard disk is already equipped proceed with page 8
<Connecting to Network Storage>.
1. Installing Hard Disk
If installing a previously used hard disk, all data will be deleted. Backup all important files
before proceeding.
※
After placing the hard disk in the hard rack, use a driver to screw in 4 screws on each side.
A
Push down the lock switch on the back and carefully push the top cover toward the direction of
the arrow to separate it.
The top cover is separated.
B
A

5
Network Storage installation
F
Pull the HDD rack to separate from the body.
Separate the screw that is fixed in the Hard Disk Rack (HDD rack).
Screw the four points on both sides.
Push the HDD rack in toward the body until it clicks.
G
G
G
G
F
Fix the HDD rack by screwing the four points.
G

6
Network Storage installation
network sharing device
(Shapes may vary depending on the
network sharing device.)
*
Connect the Network Storage to a network equipment(IP router/ Hub/ Switch)
LAN port using the LAN cable provided.
H
Network Storage
*
2. Resetting LG Network Storage
All data are lost during the reset procedure. Backup all important data before
proceeding.
3 files are in the zip file: NAS Detector, TFTP server program, and firm ware zip file.
※
※
A
Unzip the downloaded file.
Download the LG Network Storage Initialization compressed file (zip file) from the
LG Network Storage website (http://www.lg.com/nas)

7
Network Storage installation
Select “LG-NAS –Enclosure” and press “Install NAS system”.
Run NAS Detector in zip file.
Select the Reset Firmware file(zip file) from the file selector.
After resetting the Network Storage, it automatically reboots. In the event the process is
terminated abnormally, restart from step
Basic installation of the LG Network Storage is complete.
System files are loaded after boot up.
Network Storage cannot be used during system booting.
With a cheerful alarm, system booting is complete. (If connected to the network)
Volume composition process is included in the reset process.
Refer to the table below of time needed for the process.
※
※
Total capacity of HDD
1TB(Hitachi)
7200rpm
2TB(Seagate)
5900rpm
1
About 7 min.
About 14 min.
About 8 min.
About 16 min.
1
2
2
Bay Run time
G
F
Push the POWER button 2~3 seconds on the back as you push the BACKUP button and
release the buttons at the same time.
BACK-UP button (front) POWER button (back)
B

8
Connecting to the Network Storage
1. Connect LAN port of Network Storage with LAN port of a network equipment
(IP network sharing device / router / hub / switch) using a LAN cable enclosed,
or directly connect the LAN port of the PC.
2. After checking the connection of the power supply cable of LG Network Storage,
press the power button at the back and start LG Network Storage.
The booting will take about 40 sec. ~ 1 min.
and alert you with a sound.
network sharing device
(Shapes may vary depending on the
network sharing device.)
*
Network Storage
*

9
The booting will take about 40 sec. ~ 1 min.
and alert you with a sound.
Program InstallationㅣLG Network Storage software installation CD
1. Insert “LG Network Storage PC Software Installer” CD that is provided with the
system into an optical drive (CD/DVD drive) of the user’s PC.
You should not put in‘Network Storage’.
Installation may not start automatically
depending upon the computer settings.
If it doesn’t start automatically, you can
execute SetUpD.exe on the disc in
Windows Explorer.
※
※
LG Network Storage Plug & Play will not start automatically if it is installed already.
※
2. Agree on installation of LG Network Storage Plug & Play
If you don’t select anything, automatic installation will begin seconds later.
3. LG Network Storage Plug & Play installation begins.
If you select ‘Yes’, the LG Network Storage Plug & Play installation will begin.
※
If you select ‘No’, the LG Network Storage advanced setting page will appear.
※

10
Program InstallationㅣLG Network Storage software installation CD
4. Agree on search to connect your LG Network Storage at the initial installation.
5. LG Network Storage search is completed.
Congratulations!
Basic setting for LG Network Storage has been successfully completed.
If you select ‘Yes’, the Search process will begin.
If you don’t want this page to appear again, check [Do not show this page].
※
If you select ‘No’, you can skip this process. But you will be asked again when you
boot up your computer.
※

11
Program InstallationㅣLG Network Storage Auto Settings
1. This page appears automatically 5 seconds later. We recommend you to change
your password of your LG Network Storage Admin account for security.
(If you don’t set it, you will be asked this question every time you boot up your computer.)
2. You can change Password of your LG Network Storage Admin account on this page.
3. You can create DDNS address (LG Network Storage Name) / Password on this page
The initial admin password is ‘admin’.
※
You can access to the LG Network Storage through the created DDNS address
(LG Network Storage Name.lgnas.com).
※
Once the program has been installed, a pop-up window to automatically set up LG Network
Storage appears 5 seconds later. This is not required. You may set it up later.
※

12
NAS Advanced SettingsㅣLG Network Storage Installation Wizard
※ Compatible with only Windows OS. Use NAS Detector for Mac OS.
If you cannot connect LG Network Storage after the automatic installation /
setting, you can solve the problem though LG Network Storage advanced
setting.
If you select ‘No’ in the ‘Installing the Program’ process or click the ‘Explore Install
Disc’ button in the ‘LG Network Storage Auto Settings’ process, you can start the
LG Network Storage Advanced Setting.
Helps to easily set up Network Storage and complicated networks
(DDNS, Port Forwarding).
A
For detailed instructions on using Nero BackItUp & Burn, refer to the manual within the
program after installation.
If you want to install Remote Network Drive, click the Remote Network Drive button.
To install NAS Monitor, Nero BackItUp & Burn program click each button.
Click on the icon if a flash player is not installed on the PC.
※
※
※
※
Install ‘Installation Wizard’ for Windows users.
It will make Network Storage setup easy.
Install ‘NAS Detector’ for Mac users.
If you click the ‘User Manual’ button, you can download the user manual in various
languages through the web.

13
NAS Advanced SettingsㅣLG Network Storage Installation Wizard
B
After running Installation Wizard check the connection between the
Network Storage to the router in use.
Select the current router connection and click on ‘Next’ to go to the next step.
If the router is connected as above, click ‘Next’.
If the connection status is different click on ‘Choose a connection configuration manually’.

14
NAS Advanced SettingsㅣLG Network Storage Installation Wizard
F
Click on ‘Web Menu’ to create web menu short cuts and connect to the log-in site.
Click on ‘Network Folder’ to create shortcuts and open network folder.
G
If Network Storage doesn’t appear, recheck the connection and
click ‘Search network button’.
※
Click ‘Next’
After checking the content click ‘Next’.
I

15
NAS Advanced SettingsㅣLG Network Storage Installation Wizard
Enter the name and password of
the domain you would like to use.
Choose the model for your Network Storage.
Select the item that tests for
external connections.
After entering the password for
Network Storage administrator,
click ‘Ok’. Default Administrator
password is ‘admin’.
Click ‘Next’
Click ‘Next’
After checking the results click ‘Next’.
short cut icon on the desktop
by clicking ‘web menu’
Click ‘Next’
Enter the domain name without special
characters and spaces.
(English and digits only)
※
If the connection fails, move to
and continue installation.
※
NAS Advanced SettingsㅣLG Network Storage Installation Wizard
J
K
L
P
Q
O
S
R
Q
P
R

16
NAS Advanced SettingsㅣLG Network Storage Installation Wizard
After confirming failed connection,
click on ‘Next’
Select the brand and model of your router.
After confirming the selection click ‘Next’.
After confirmation, click ‘Next’ to
move to .
Click ‘Next’
You can change to user defined
settings but we recommend
default settings.
If the connection failure persists, you must set up manual Port Forwarding
by referring to the router’s manual.
※
※
Install the router manually using
the router manual, if the router is
not in the list.
※
T
V
W
S
U
R
V
U
T
S
W

17
NAS Advanced SettingsㅣNAS Detector
Recommended for searching Network Storage and setting up networks in Mac.
A
B
It shows LG Network Storage’s ‘MAC Adress’, ‘IP Adress’, and ‘Host Name’ in order.
If the LG Network Storage you are searching for fails, click the ‘Search Network’ button.
You can change IP addresses and related information by clicking ‘Change Network Info’ button.
A
You can connect to Web Menu of selected LG Network Storage by clicking ‘Open Web Menu’ button.
You can connect to LG Network Storage network folder by clicking ‘Open Network Folder’ button.
For “NAS Detector” program to work properly, the PC must be connected to the
LG Network Storage with the same IP Router / Switch / Hub.
※
When you aren’t able to connect to Network Storage remotely, you must use the
Network Storage’s UPnP function, or set up Port Forwarding
by referencing your router’s manual.
※
Also, compatible with Windows
※

18
Connecting to Web Menu
A
Click ‘Web Menu’
1. There are several ways to connect to Web Menu.
2. The login window will appear as below.
Connecting through
Shortcut icon
AA
Connecting through Installation
Wizard
Connecting through
NAS Detector
Connecting through the
Internet address box
LG
-
NAS
_
We
bMENU
A
Select the wanted language.
The default LG Network Storage
administrator’s ID is ‘admin’ and
the password is ‘admin’
You can request a new account.
B
B
A
※It is advised to change your password
for security reasons.
(Connect to Network Storage Web
Menu -> Configuration ->
Personal Setting -> My profile)
You can easily enjoy Multi-media files and manage LG Network Storage
through Web Menu.

19
NAS Monitor
The Network Storage’s IP address detected on the local network will be shown
and will connect to the automatically changed IP address.
A
NAS Monitor will
automatically communicate
with LG Network Storage to
get IP Address information.
Right click on windows
notice icon.
B
- Web menu :
It is a menu used to access a web page.
- Network Folder : It is used when opening network folde.
- FTP server : It is used to connect to FTP server.
- NAS Detector : Used to change the IP Address of LG Network Storage
NAS Detector must be installed to use this menu.
- NAS Selection : You can select one desired LG Network Storage.
- View the Last Message : Shows the latest network information on the connected Network Storage.
If there is only one Network Storage connected, it will be automatically selected.
※

P/N: 3828HN1004W(Ver. 1.00)
This manual suits for next models
1
Table of contents
Other LG Network Hardware manuals

LG
LG N2A2DD2 Instruction Manual

LG
LG MODBUS-RTU User manual

LG
LG N2R1D - NAS Server User manual

LG
LG N2A2DD2 User manual

LG
LG N2R1DD2 - N2R1 NAS Server User manual

LG
LG LRN8240D Series User manual

LG
LG LRN8240D Series Specification sheet

LG
LG N1A1DD1 Instruction Manual

LG
LG LRN8240D Series Specification sheet

LG
LG N4B2 User manual
Popular Network Hardware manuals by other brands

NCD
NCD PR60-12 MIRCC8 WIFI quick start guide

Cudy
Cudy GS1028PS2 Quick installation guide

Panasonic
Panasonic Transistors 2SA2162G Specifications

XMOS
XMOS XC-2 quick start guide

ADTRAN
ADTRAN NetVanta 6355 PoE installation guide

Teledyne
Teledyne WIRELESS COMMUNICATION MODULE 2102 Installation and operation guide