2-1
CONTENTS
SAFETY PRECAUTIONS
-----------------------------------------------------------------------------------------------------------
1-1
CONTENTS
-----------------------------------------------------------------------------------------------------------------------------
2-1
SPECIFICATIONS
--------------------------------------------------------------------------------------------------------------------
3-1
DESCRIPTION OF THE FEATURE
---------------------------------------------------------------------------------------------
4-1
STRUCTURES
-----------------------------------------------------------------------------------------------------------------------
4-1
CONTROL PANEL
------------------------------------------------------------------------------------------------------------------
4-2
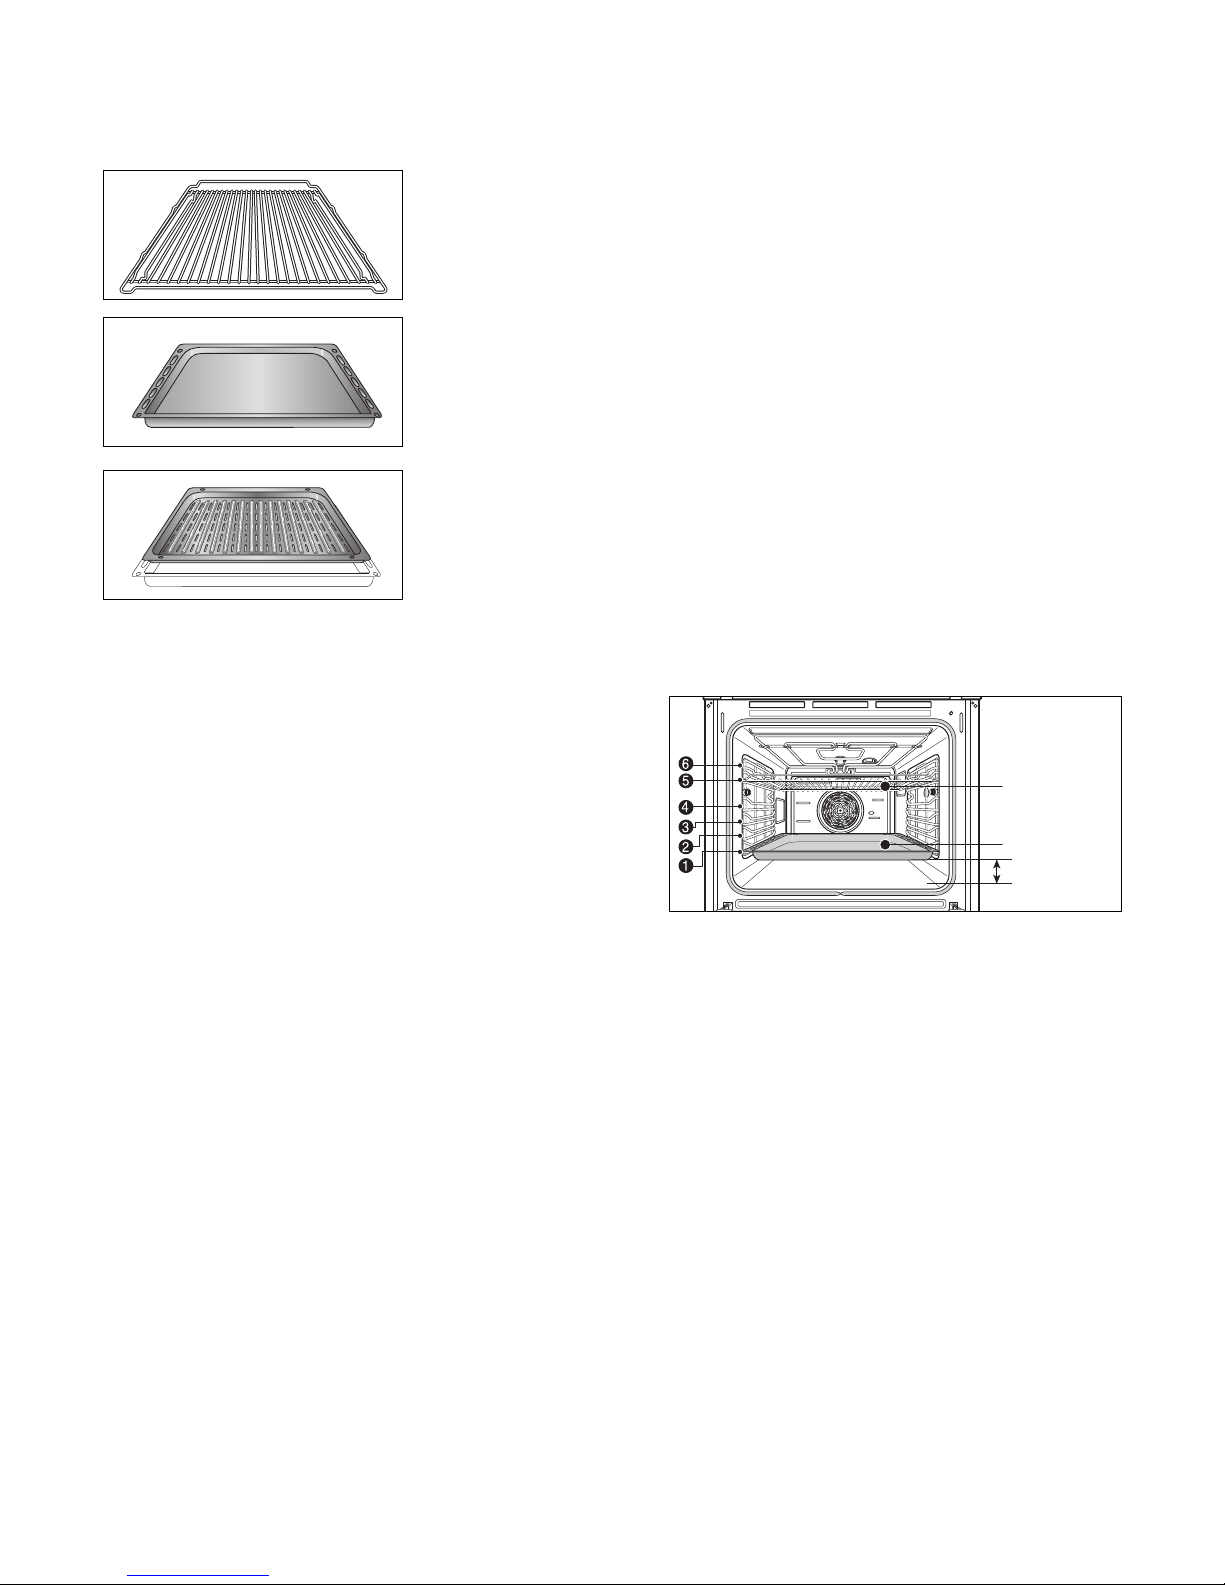
ACCESSORIES
---------------------------------------------------------------------------------------------------------------------
4-3
SIDE RUNNERS
-------------------------------------------------------------------------------------------------------------------
4-4
PRINCIPLE OF MAIN SYSTEM
----------------------------------------------------------------------------------------------------
5-1
COOLING FAN SYSTEM
--------------------------------------------------------------------------------------------------------
5-1
OVEN LAMP SYSTEM
------------------------------------------------------------------------------------------------------------
5-3
FUNCTION SWITCH
---------------------------------------------------------------------------------------------------------------
5-4
POWER TRANSFORMER
-------------------------------------------------------------------------------------------------------
5-5
ELECTRICAL CONNECTIONS
------------------------------------------------------------------------------------------------
5-6
CONVECTION SYSTEM
---------------------------------------------------------------------------------------------------------
5-7
DOOR SYSTEM
--------------------------------------------------------------------------------------------------------------------
5-8
CONTROL SYSTEM
------------------------------------------------------------------------------------------------------------
5-13
GENERAL TROUBLE SHOOTING
-----------------------------------------------------------------------------------------------
6-1
ELECTRIC CIRCUIT DRAWING
--------------------------------------------------------------------------------------------------
7-1
EXPLODED VIEW
---------------------------------------------------------------------------------------------------------------------
8-1
INSTRUCTION PARTS
-----------------------------------------------------------------------------------------------------------
8-1
DOOR PARTS
-----------------------------------------------------------------------------------------------------------------------
8-2
CONTROLLER PARTS
-----------------------------------------------------------------------------------------------------------
8-3
CAVITY PARTS
---------------------------------------------------------------------------------------------------------------------
8-4
INTERIOR PARTS
-----------------------------------------------------------------------------------------------------------------
8-5
INSULATOR PARTS
--------------------------------------------------------------------------------------------------------------
8-6
REPLACEMENT PARTS LIST
------------------------------------------------------------------------------------------------------
9-1
LGE Internal Use Only Copyright © 2007 LG Electronics. Inc. All right reserved.
Only for training and service purposes