1. Locate the load box mounting plate
and the two mounting screws sup-
plied.
Figure 7
2.
Place the load box mounting plate
in
the bottom of the Resusci®Junior*,
aligning the predrilled
holes in the
bodywiththetapped
holes in the
load box mounting plate. (See
figure 7.)
Figure 8
3.
Now screw the plate down securely
from the back side. (See figure 8.)
4.
Locate the screw protruding from the
newlyinstalledmounting
plate.
Center the load box over the plate
and tighten it down snugly using
the load box screw knob. (See
figure 9.)
Figure 9
Operating Instructions
Replacing the Skin
Now that you have secured the load
box, uncoil the smaller cable that has
the four lead snaps attached. These
four lead snaps will eventually be
attached to your patient simulator
cable. (It can also be attached to an
Arrhythmia Tutor, which is available
from Nasco through the Health Care
Educational Materials Catalog.) For
now, simply uncoil the cable and allow
it to hang freely from the manikin.
To reinstall the head, simply reverse
the procedure used to remove it. Make
sure to tighten the four body screws.
Figure 10
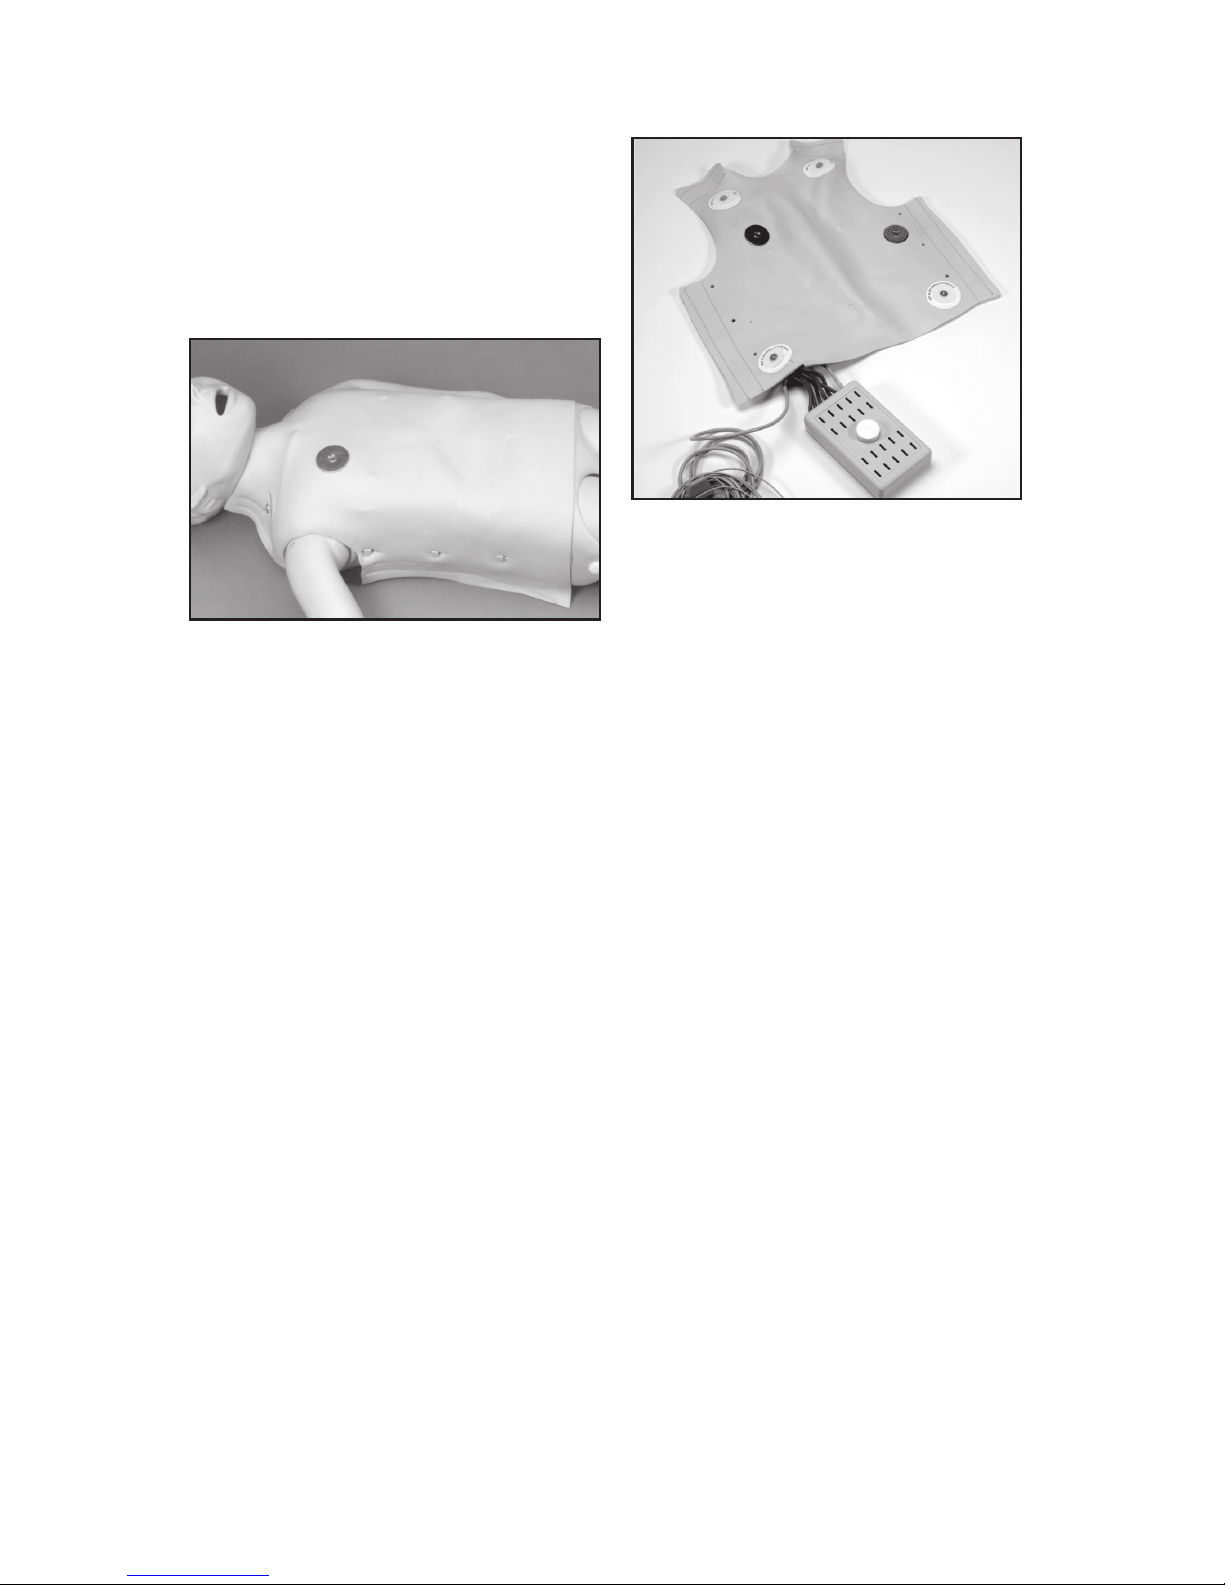
Next, replace the chest compression
plate that was removed earlier and fit
it with a single lung bag. Thread the
bag through the chest plate and up
through the head using the thread-
ing tool that came with your Resusci®
Junior*. (See figure 10.)
Now place the lung plate over the lung
bag. Lay the Child Defibril
lation Chest
Skin on top of the chest
of the manikin.
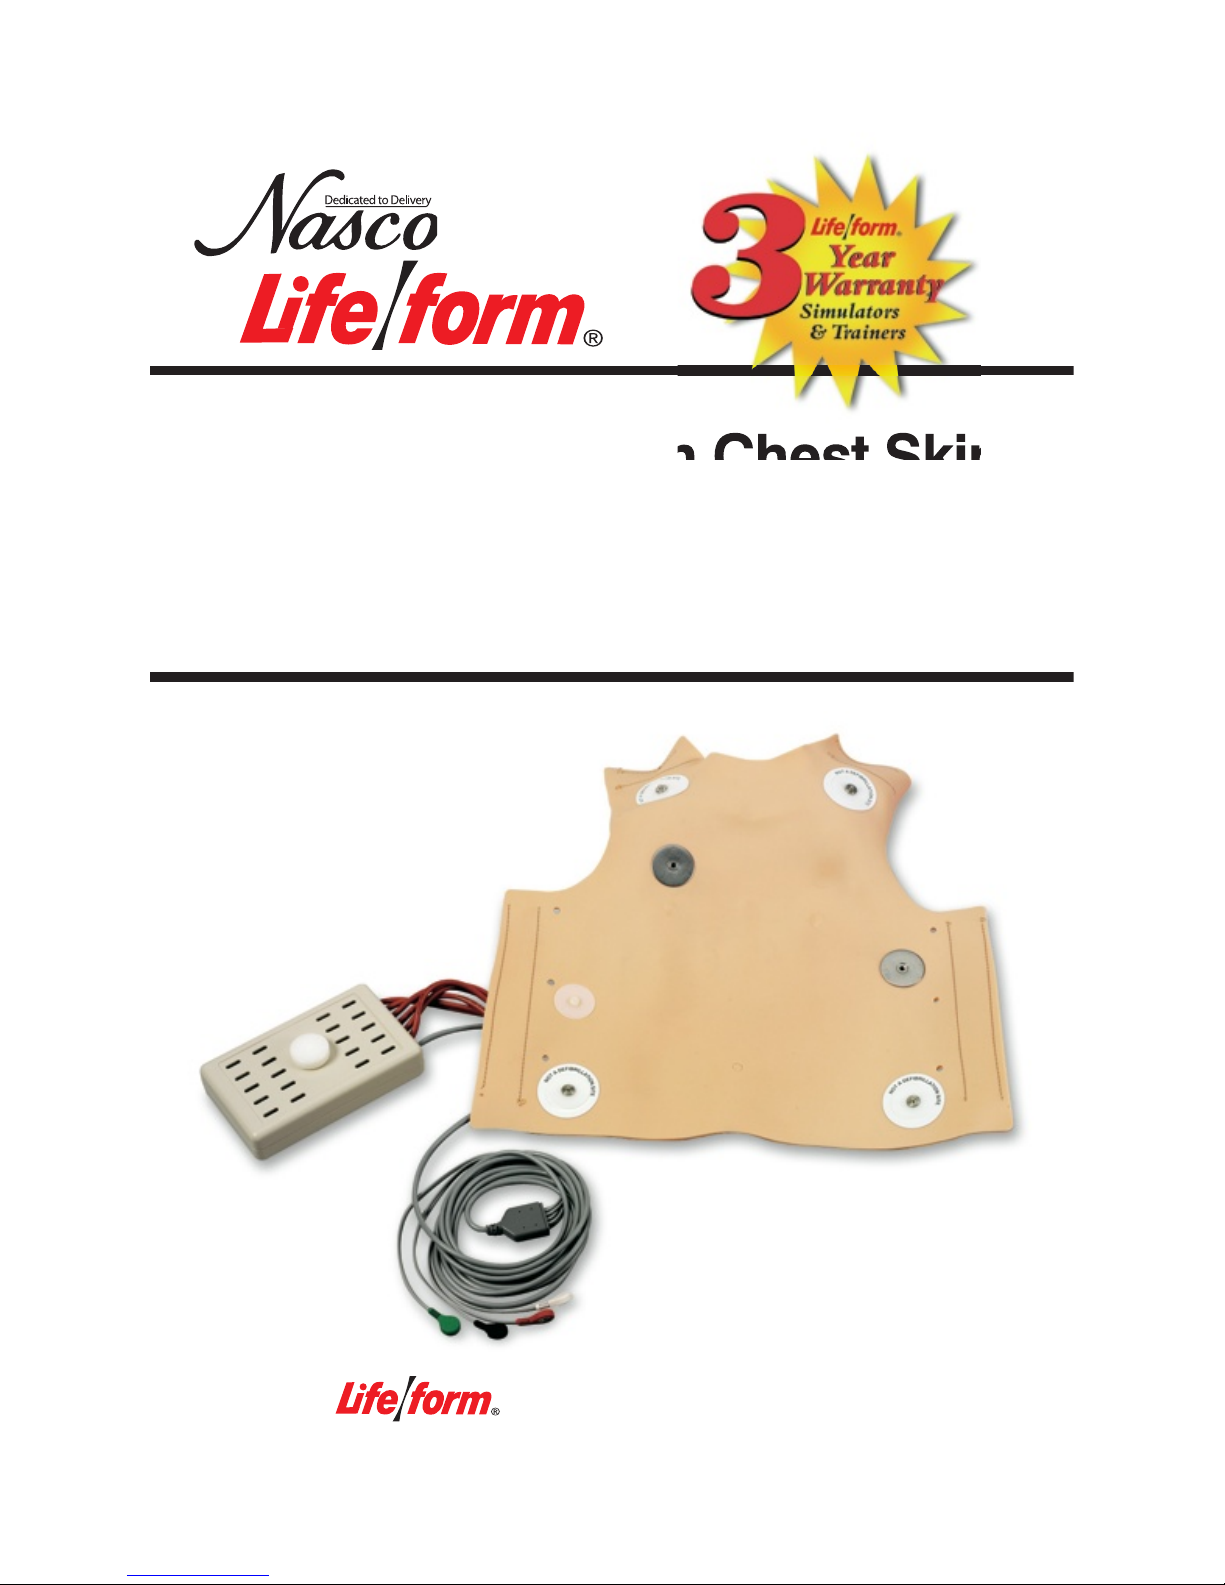
Figure 11
The new Defibrillation Chest Skin has
holes at both edges for hooking into
place on the Resusci®Junior* mani-
kin. (See figure 11.)
Connecting Your Patient Simulator
(or Arrhythmia Tutor, which is avail-
able separately)
Now that the chest skin and the load
box are in place, you will want to con-
nect the four lead snap cable to your
patient simulator (or Arrhythmia Tutor).
Figure 12
Nasco has designed the Child CRiSis™
System to be compatible with a variety
of patient simulators. This is possible
via the standard four lead snap cable.
(See figure 12.) If your patient simula-
tor has only two output posts, the red
and black leads must be connected to
the patient simulator.
If you want to connect the manikin to
the simulator that came with your defi-
brillator, it is necessary to purchase
the corresponding adapters from
Nasco separately if the patient simula-
tor doesn’t have the standard snap
connectors. (Please see accessories
at the end of this manual.)
Once your manikin is connected to
your patient simulator, you will be
able to pick up the ECG waves either
through the monitor hook-ups on the
skin or through the two disks attached
to the skin on the defibrillation sites.
These disks will enable you to pick
up the ECG wave using either the
“Quick Look” paddle option or directly
through gel pads, just like on a real
patient.
It is possible to use AED gel pads with
the cable connectors built into the gel
– the same ones you use on patients.
In an effort to help you save money,
Nasco does offer a set of training
buttons that will correspond to your
particular AED unit. These buttons are
sold separately and can be used over
and over again. They come as a set
with the patient simulator adapters.
(See accessories at the end of this
manual.)
Troubleshooting
Problem ECG wave is not being
picked up from the manikin.
Solution
1. Check your connections on the
patient simulator; one or more
may be disconnected.
2. Check to make sure your patient
simulator is plugged in and
working properly.
Problem ECG wave is inverted.
Solution
Recheck the position of the red
and black lead snaps on the patient
simulator.
*RESUSCI® JUNIOR IS A TRADEMARK OF LAERDAL MEDICAL CORPORATION. *RESUSCI® JUNIOR IS A TRADEMARK OF LAERDAL MEDICAL CORPORATION.
3 4
NP016_96_LF03611 4NP016_96_LF03611 4 10/5/12 10:24:13 AM10/5/12 10:24:13 AM