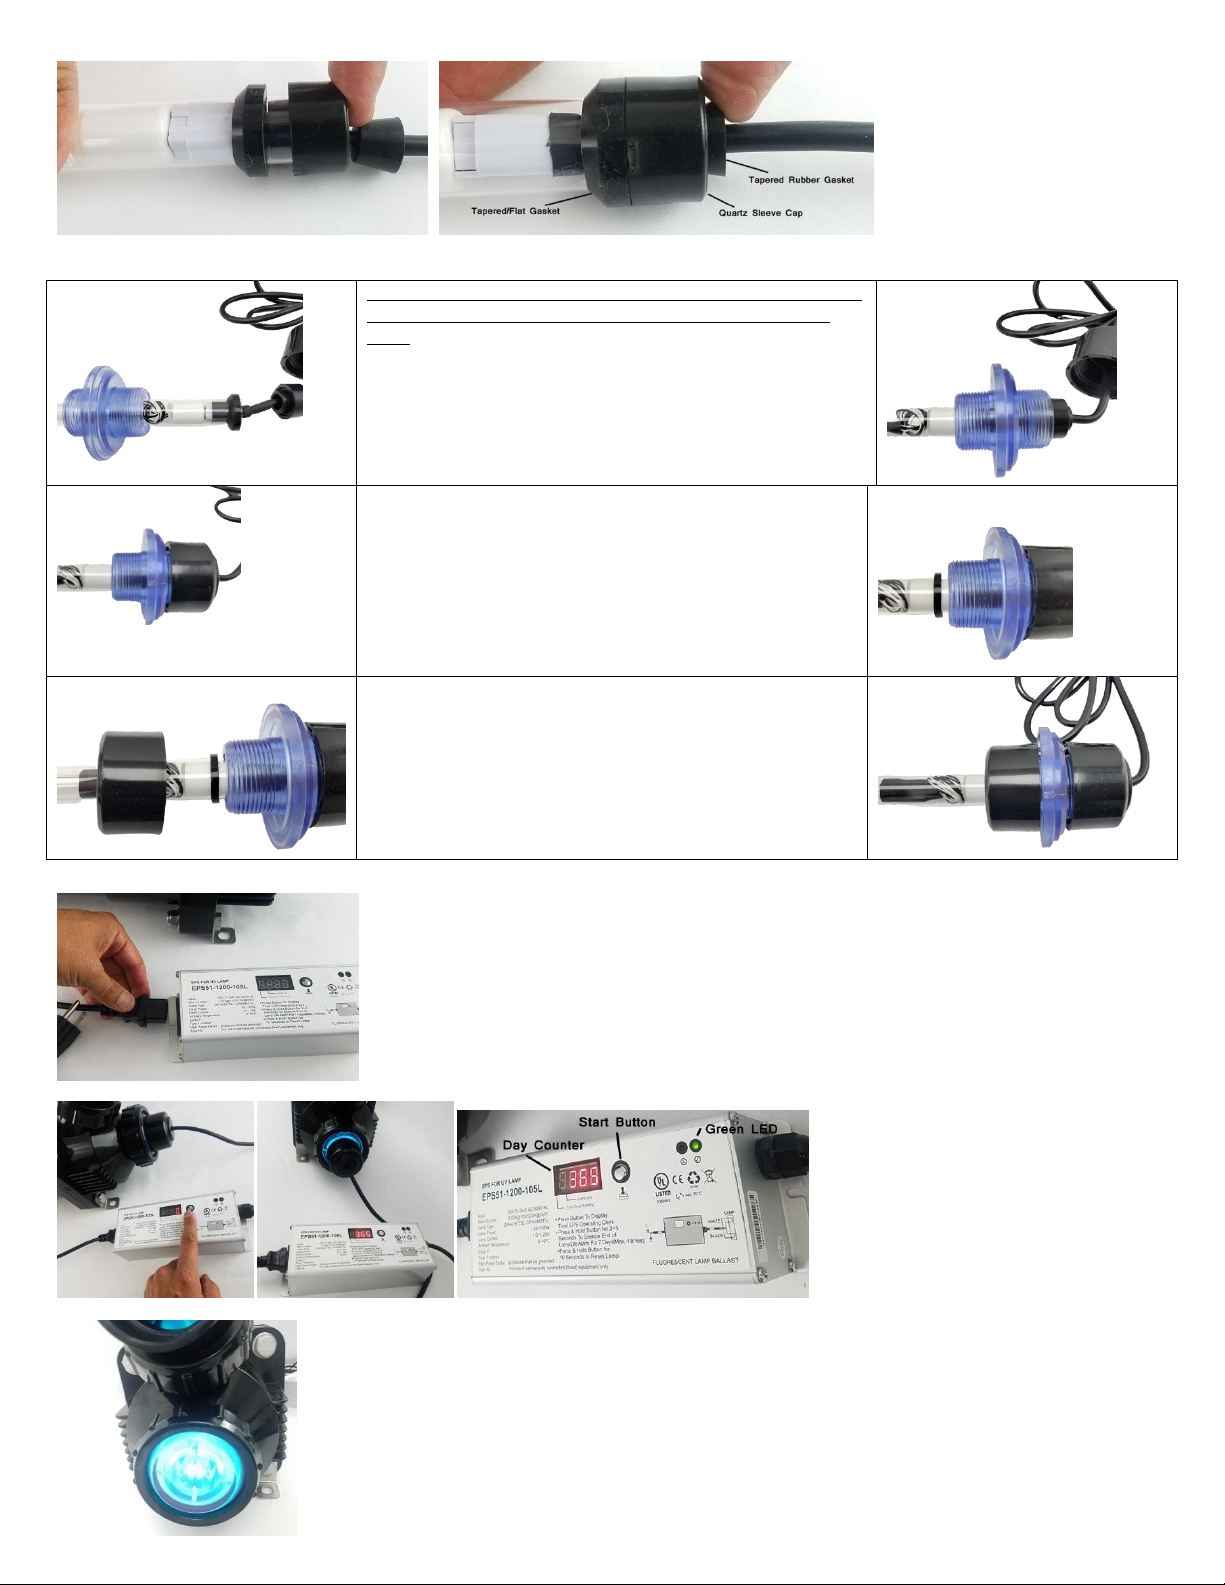
sure the O-ring fits properly in the round gap. You can use the quartz sleeve to gently push it in or just use your fingers to make sure it's flashed all the
way. This is where the Quartz Sleeve will slide in to make a moisture resistant seal.
Open the do box for the quartz sleeve. You have to be very careful and gentle when working with the quartz sleeve and UV bulb as it can break or crack
with force and can result in injury. Take Extreme Caution and don't use force when installing the
quartz sleeve and UV bulb.
Install the tapered/flat quartz sleeve rubber gasket (#16) as shown below with the tapered end
going on to the quartz sleeve first and the flat end close to the quartz sleeve opening.
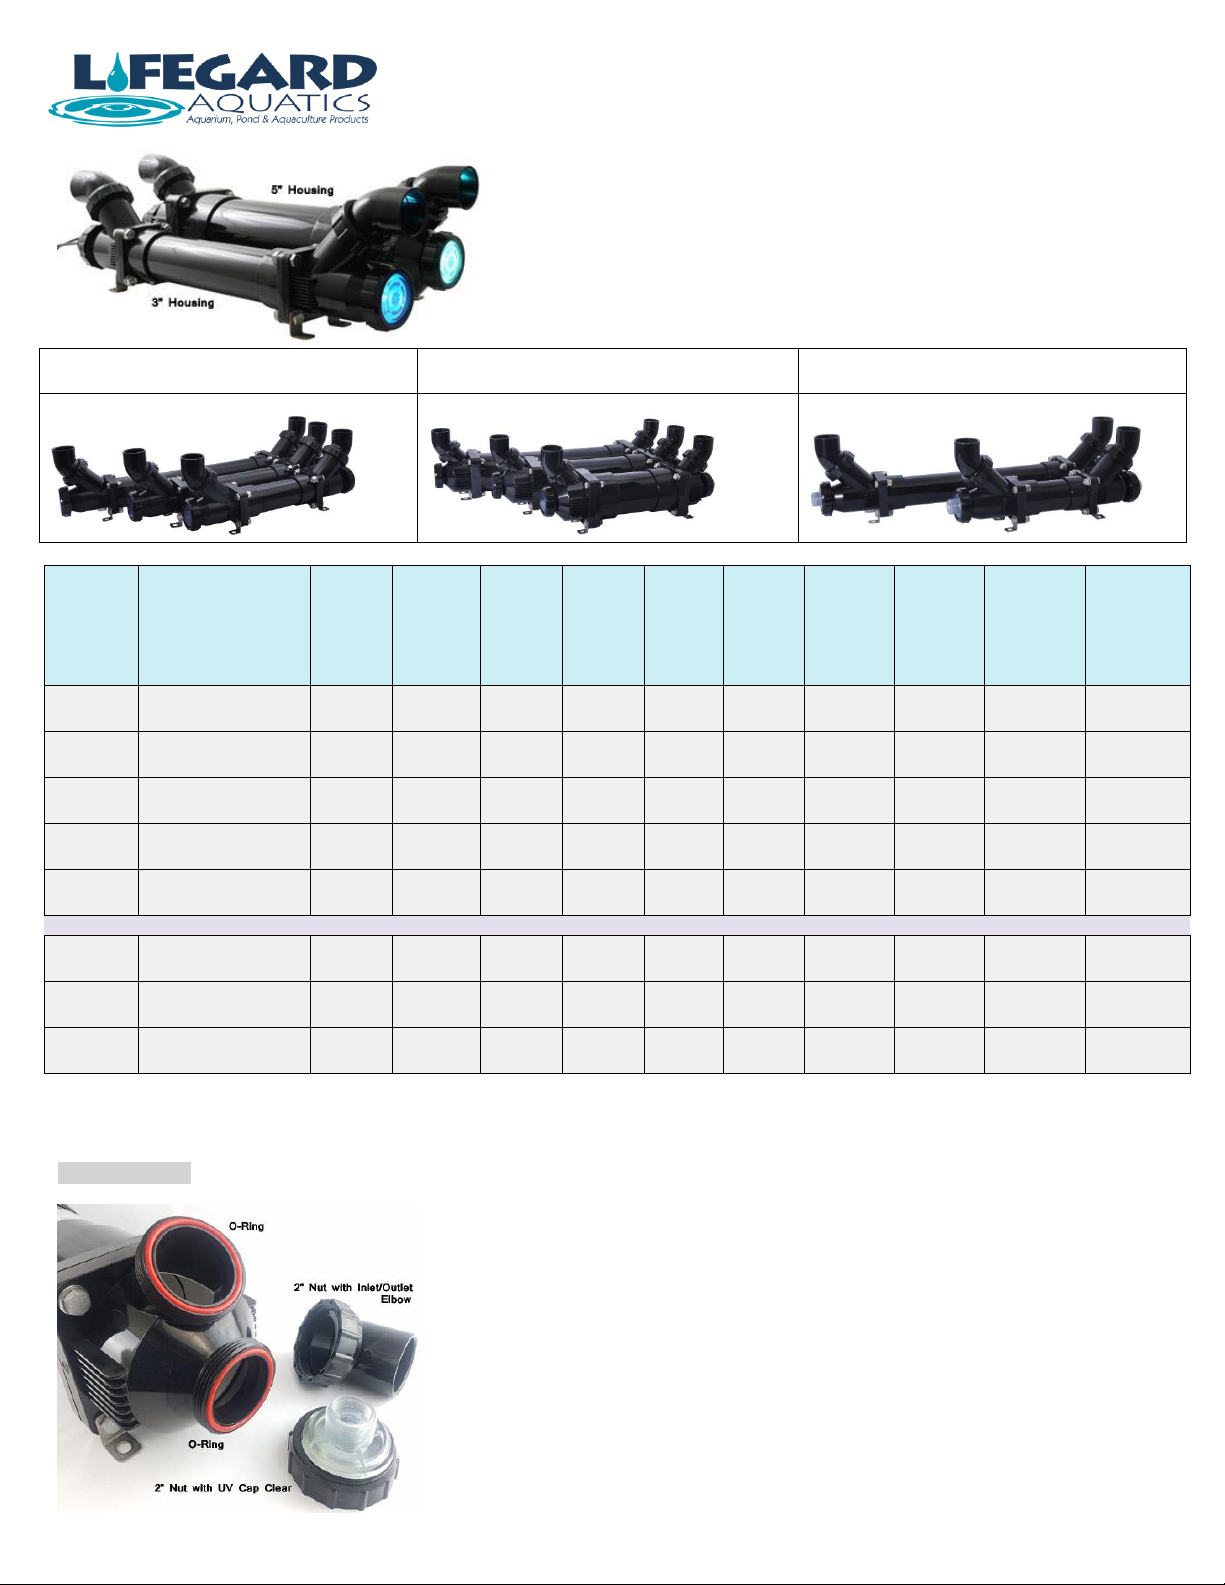
In 2021 Lifegard introduced the new add-on parts kit to your Pro Max will allow you to seal the
quartz sleeve internally so when you plan to service the UV and change the UV bulb the water will not drain from the Pro Max. In addition it is a
secondary seal to protect the UV bulb. Part Number: R450230
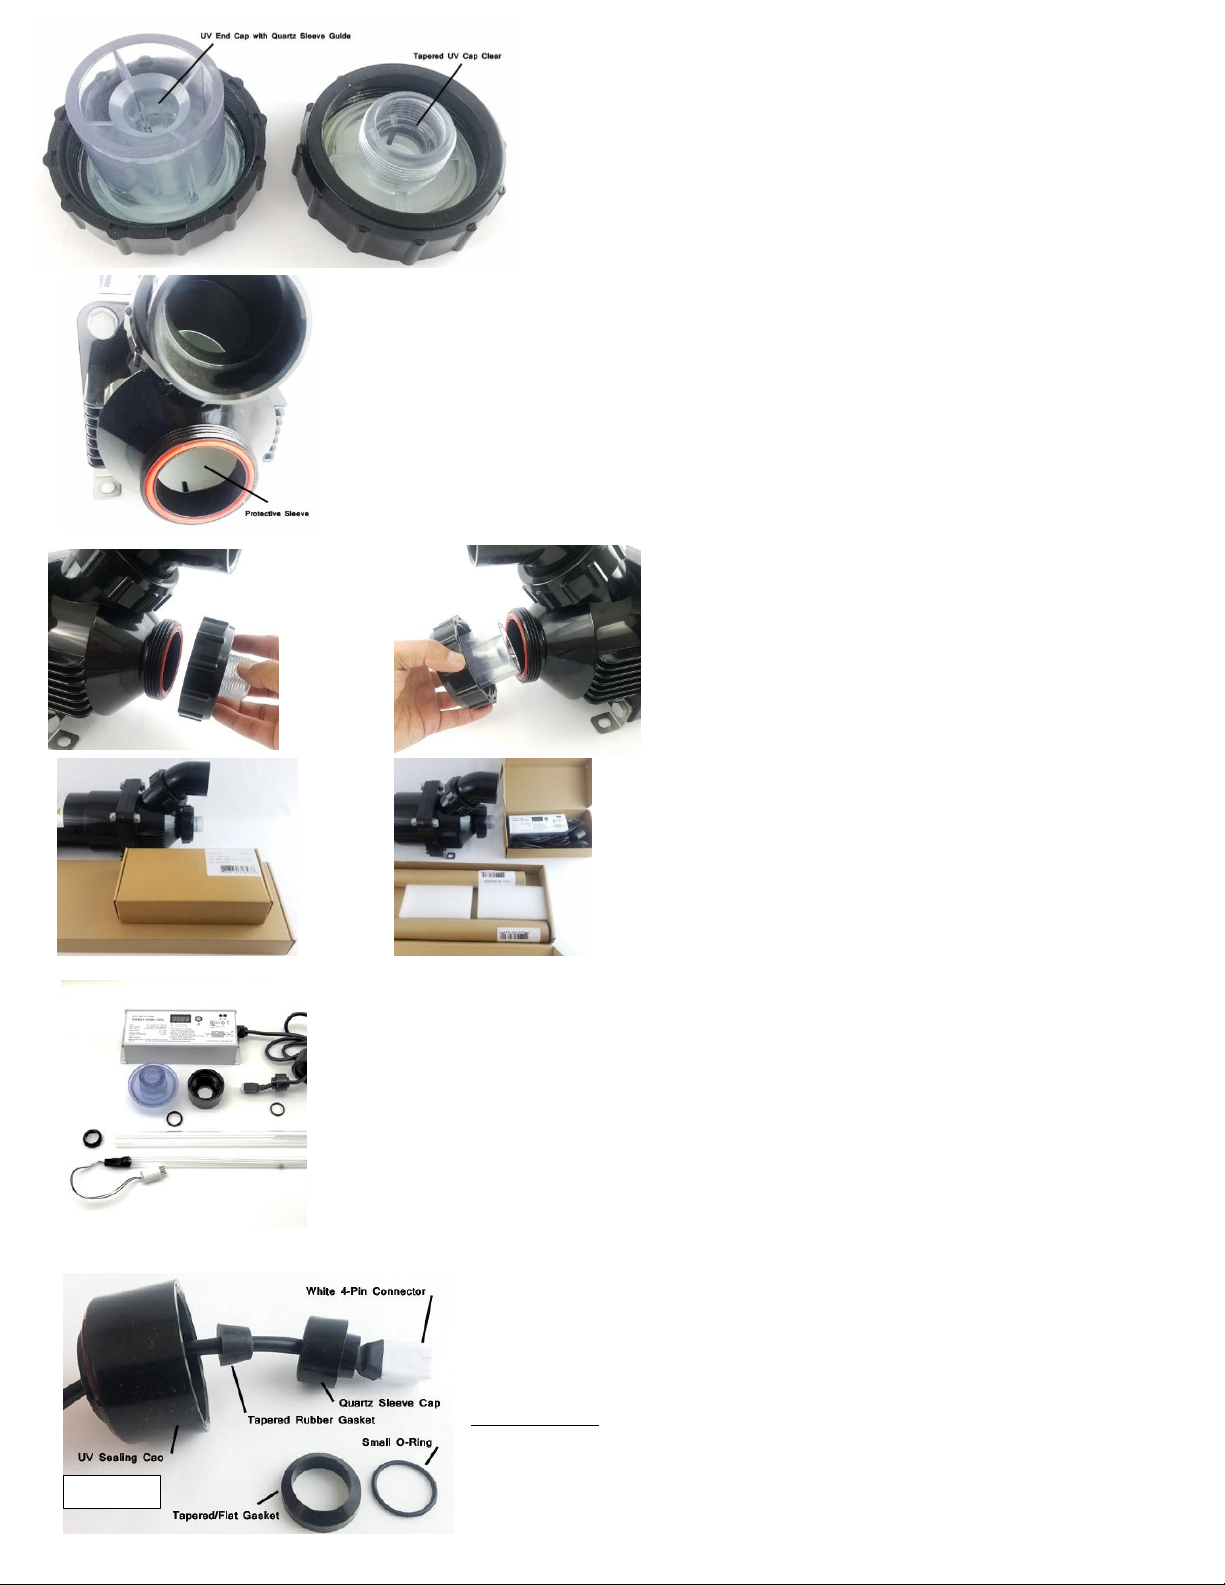
The add-on parts kit consists of a:
A - Duel Threaded view Port
B - Quartz Sleeve Flat Locking Gasket
C - Quartz Sleeve Locking Nut
NOTE: The Quartz Flat Sleeve Locking Gasket goes on to the part with the
smaller grove.
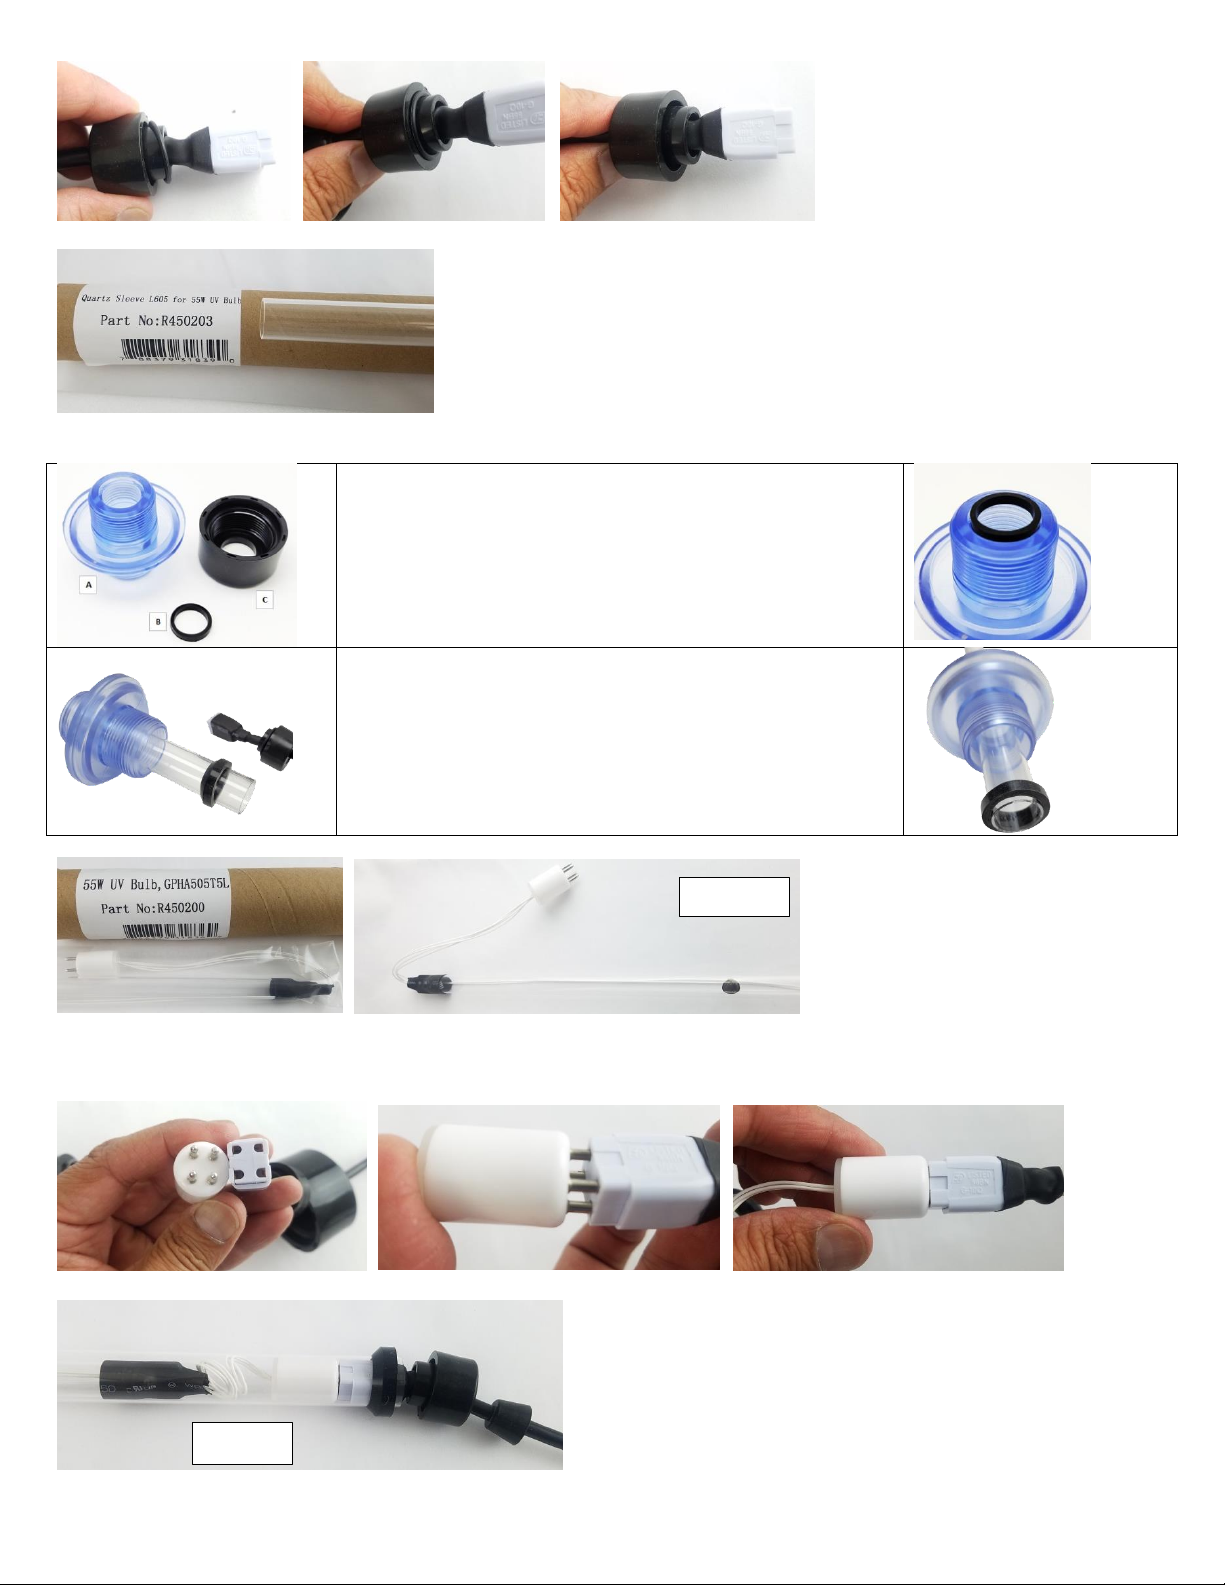
NOTE: As precautions make sure to wipe off any fingerprints or oil residue
from the quartz sleeve and the UV bulb if it comes in contact with your
hand. Quartz sleeve and bulb need to be residue-free otherwise it can
result in a burn mark which can reduce the effectiveness of the UV.
Slide the Large Tapered Gasket on to the Quartz Sleeve Open end as
shown below. NOTE: This end of the Quartz Sleeve slides in to the deeper
end of the View Port
Before you install the bulb inside the quartz sleeve - note that the male end 4-pin connector of the bulb has to match the 4-pin connector of the ballast.
They're not Square they more rectangular so you need to align them properly otherwise you can damage the bulb or the ballast end. Make sure the
two 4-pin connector (bulb end and ballast end) are flushed all the way.
Gently slide the bulb inside the quartz sleeve. Followed by the thin wires (In
order to properly place the wire of the UV bulb inside the quartz sleeve - you
can ring the wire around your finger and gently slide it inside the quartz sleeve),
followed by the two connected 4-pin connectors. Figure 5
Push the bulb into the quartz sleeve using the ballast 4-pin connector. Be
careful and gentle –Applying force can damage the quartz sleeve. As shown in the image below press the quartz sleeve cap on to the quartz sleeve so
it is flushed with the tapered/flat rubber gasket. Make sure the tapered/flat rubber gasket fits flat on top of the quartz sleeve cap and there is no