LITHIUM-ION BATTERY TIPS
Always fully charge your system before its rst use. Systems are shipped only
partially charged and must be fully charged to achieve the proper run time.
The Lithium-Ion battery contained in the Stella will power you through many
hundreds of rides and will serve you well if you follow these simple rules:
• Never store the battery dead. Charge it up after your ride.
• Charge before you ride if you haven’t charged it within a few days.
Lithium-Ion batteries may lose charge slowly over time.
• For long term storage, be sure to charge your battery every 3 months.
Lade deine Stella vor dem ersten Gebrauch vollständig auf.
Der wieder aufladbare Li-Ion Akku wird dich über hunderte von Fahrten begleiten
und dir noch länger Freude bereiten, wenn du Folgendes beachtest:
• Lade deine Stella vollständig auf, bevor du sie für längere Zeit lagerst.
• Obwohl der Li-Ion Akku eine langsame natürliche Entladung hat, lade
deine Stella vor der Benützung erneut auf, falls du sie einige Tage nicht
mehr benützt hast.
•Bei längerem Nichtgebrauch empfehlen wir dir, deine Stella alle 3
Monate erneut aufzuladen.
Toujours donner une pleine charge a votre système avant de vous en servir
pour la première fois. Nos Stella sont livrés partiellement chargés et doivent
être complètement chargés pour donner leur pleine autonomie.
La batterie Lithium Ion de votre Stella vous éclairera pendant des cen-
taines de voyages et vous servira très longtemps si vous suivez ces quel-
ques règles :
• Ne jamais ranger la batterie quand elle est déchargée. Chargez la après
votre voyage avant de la ranger.
• Chargez votre batterie avant de partir si vous ne l’avez pas fait depuis
quelques jours.
• Si vous rangez votre Stella longtemps sans vous en servir, assurez vous de
le charger tous le 3 mois.
Warranty
Light & Motion provides warranties against manufacturer
defects for 2 years starting from the date of purchase. While
the warranty is non-transferable and does not cover fai-
lures from misuse or battery issues beyond one year, dama-
ged lights can usually be repaired for a nominal fee. Proofof
purchase required for warranty support.
Returning Products for Warranty
Evaluation & Repair
Should your system malfunction for any reason, submit a
service request to the Light & Motion service department at:
www.lightandmotion.com
We will contact you the following business day to nalize
the arrangemen ts for your repair. When returning
your system, please make sure to unplug the battery
from the light before shipping. Always package your
light so that the switch cannot be pressed accidentally
by the light moving around in the box. All warranty and
repair products should be returned, with proof of purchase
from an authorized dealer to:
Light & Motion
RMA# ____________
300 Cannery Row
Monterey, CA 93940
International customers please contact your local bicycle
dealer for warranty and return instructions.
Garantie
Light & Motion gewährt für Fabrikations- und Materialfehler
eine Garantie von 2 Jahren ab Kaufdatum. Die Garantie ist
nicht übertragbar und erlischt bei Schäden die aus unsach-
gemässer Handhabung/Nutzung entstanden sind, sowie
bei Akku-Problemen nach einem Jahr. Beschädigte Lam-
pen können zu geringen Kosten reparier t werden. Für den
Garantieanspruch bitte Kaufquittung aufbewahren und im
Garantiefall vorweisen.
Garantieabklärung & Reparatur
Sollte deine Lampe einen Defekt aufweisen, so wende
dich bei Garantie- und Reparaturfälle direkt bei deinem
lokalen Fachhändler.
www.lightandmotion.com
Garantie
Light and Motion offre une garantie pièce et main d’œuvre
de 2 ans depuis la date d’achat. La garantie est non transfé-
rable et ne couvre pas les usages abusifs ou les problème de
batterie au delà de 1 an. Les phares endommagés peuvent
normalement être réparés pour un prix nominal. Une facture
originale est requise pour activer la garantie.
Retour de produits pour évaluation de
garantie et pour réparation:
En cas de problèmes techniques, quelle que soit la raison,
contactez votre revendeur local pour instructions con-
cernant le retour du produit.
www.lightandmotion.com
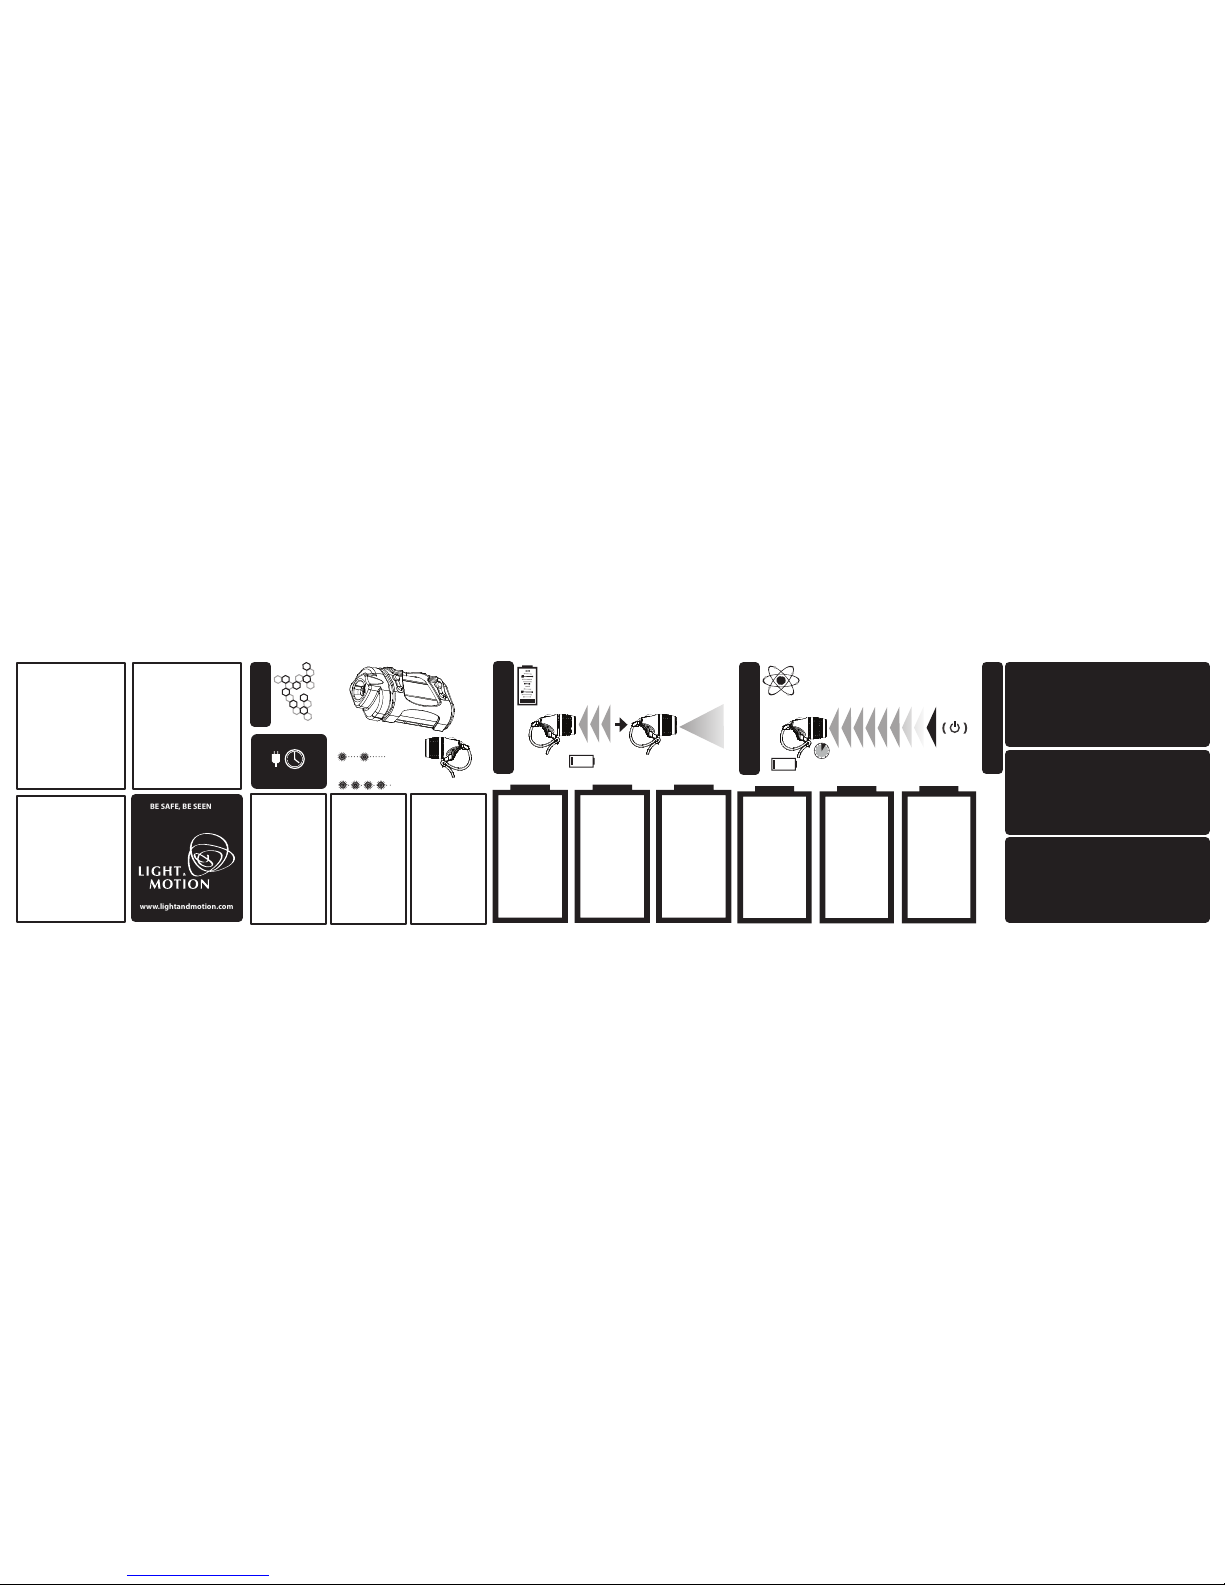
LOW BATTERY WARNING
5-10%
Low Battery Warning:
All Light & Motion lights
incorporate a low battery
warning and battery
discharge protection circuit.
When the battery gets to
5-10% of capacity the light
will ash, and switch to a
lower setting to conserve
battery life. The light will
continue to ash a warning
every three minutes unless
you manually change the
setting.
Warnblinklicht
Alle Light & Motion Produkte
sind mit einem Warnblinkli-
chtfunktion (bei niedrigem
Akku-Ladestand) und einem
Niederentladungs-Schutz
ausgestattet. Ist der Akku
auf eine Ladung von 5-10%
gesunken, so stellt sich ein
erstes Warnblinken des
Scheinwerfers ein und die
Lichtstärke reduziert sich
allmählich mit dem Ziel, die
verbleibende Akkuleistung
optimal auszunutzen. Das
Warnblinken wird sich alle 3
Minuten wiederholen, sofern
du nicht auf die nächst
niedrigere Stufe wechselst.
Alerte de décharge
batterie
Light and Motion a incor-
poré une alerte de décharge
et une protection de
décharge. Quand la batterie
est a 5/10% de sa capacité, la
lampe clignote et passe en
basse puissance pour pro-
longer son autonomie. La
lampe continue a clignoter
toutes les 3 minutes jusqu’a
ce que le mode soit changé
manuellement.
Auto Shuto Feature
When the Stella can’t
stay on any longer
without damaging the
battery, the main LED
will fade slowly for
10 seconds and then
shut off. The Stella
will not power back
on until it is charged.
AUTO SHUTOFF FEATURE
10 SEC
( )
Arrêt automatique
Quand la Stella ne peut
plus fonctionner sans en-
dommager la batterie, les
LED clignottent lentement
pendant 10 secondes avant
de s’éteindre. La lampe
devra alors être rechar-
gée avant de fonctionner.
Automatisches
Ausschalten
Um eine Niederentladung
und somit eine Beschä-
digung des Akkus zu ver-
hindern, hat deine Stella
eine automatische Aus-
schaltfunktion. Die Lampe
wird für 10 Sekunden
langsam Blinken und sich
dann komplett ausschalten.
Sie kann nicht mehr einge-
schalten werden, bevor du
sie nicht wieder auädst.
Ladevorgang mit dem
Mini-L-Ladegerät
1. Verbinde das Netzkabel mit
dem Ladegerät und dann mit
einer Steckdose.
2. Verbinde den Akku mit dem
Ladegerät. Hierbei muss der
farbige Pfeil auf dem Stecker des
Ladegeräts auf den roten Punkt
oder Pfeil des Li-Ionen-Akkus
zeigen, denn so ist der Stecker mit
der Buchse des Akkus verbunden.
Die Stella-Leuchte wird sich
innerhalb von etwa 5 Stunden aus
leerem Ladezustand vollständig
auaden.
MINI L CHARGER
CHARGING:
5h 00 Min
Slow Blink = Defective Battery
Langsames Blinken = defekter Akku
Clignotement lent = Batterie défectueuse
Quick Flash = Low Voltage
Schnelles Blinken = niederer Ladestand
Clignotement rapide= Bas voltage
Charging with the
Mini L Charger
1. Plug the power cord into
the charger and then into the
wall socket.
2. Attach the battery to the
charger by aligning the colored
arrow on the plug from the
charger with the red dot or
arrow on the Li-ion batteries,
inserting the plug into the
battery‘s socket.
The Stella will charge from
depleted to full in about 5 hrs.
Charge avec le
chargeur Mini L
1. Brancher le câble
d’alimentation sur le chargeur,
puis dans la prise murale.
2. Brancher la batterie au
chargeur en alignant la èche
de la prise avec le point rouge
ou la èche rouge de la batterie
lithium ion.
La charge complète de la STELLA
prend environ5 heures.