Light Efficient Design LumiCleanse LC-UVC-AIR-350 User manual

USER MANUAL
LC-UVC-AIR-350
USER MANUAL
KEEP THIS MANUAL FOR FUTURENEEDS

USER MANUAL
1
Thank you for purchasing a LUMICLEANSE product. You have acquired a powerful and
versatile product. We are confident that you will be satisfied with our excellent product and
service. For your own safety, please read this user manual carefully before operating the
product.
Contents
1. Product Overview 3
2. Control Panel Overview 3
3. Using The Product 5
4. Moving The Unit 9
5. Fall Protection 10
6. Open Door Protection 10
7. Dimensional Drawings 11
8. Replacing and Cleaning The Filters 11
9. Replacing The UV Lamps 14
10.Troubleshooting Tips 16
11.Features 17
12.Cleaning and Maintenance 17
13.Recycling 18
14.Service 18

USER MANUAL
2
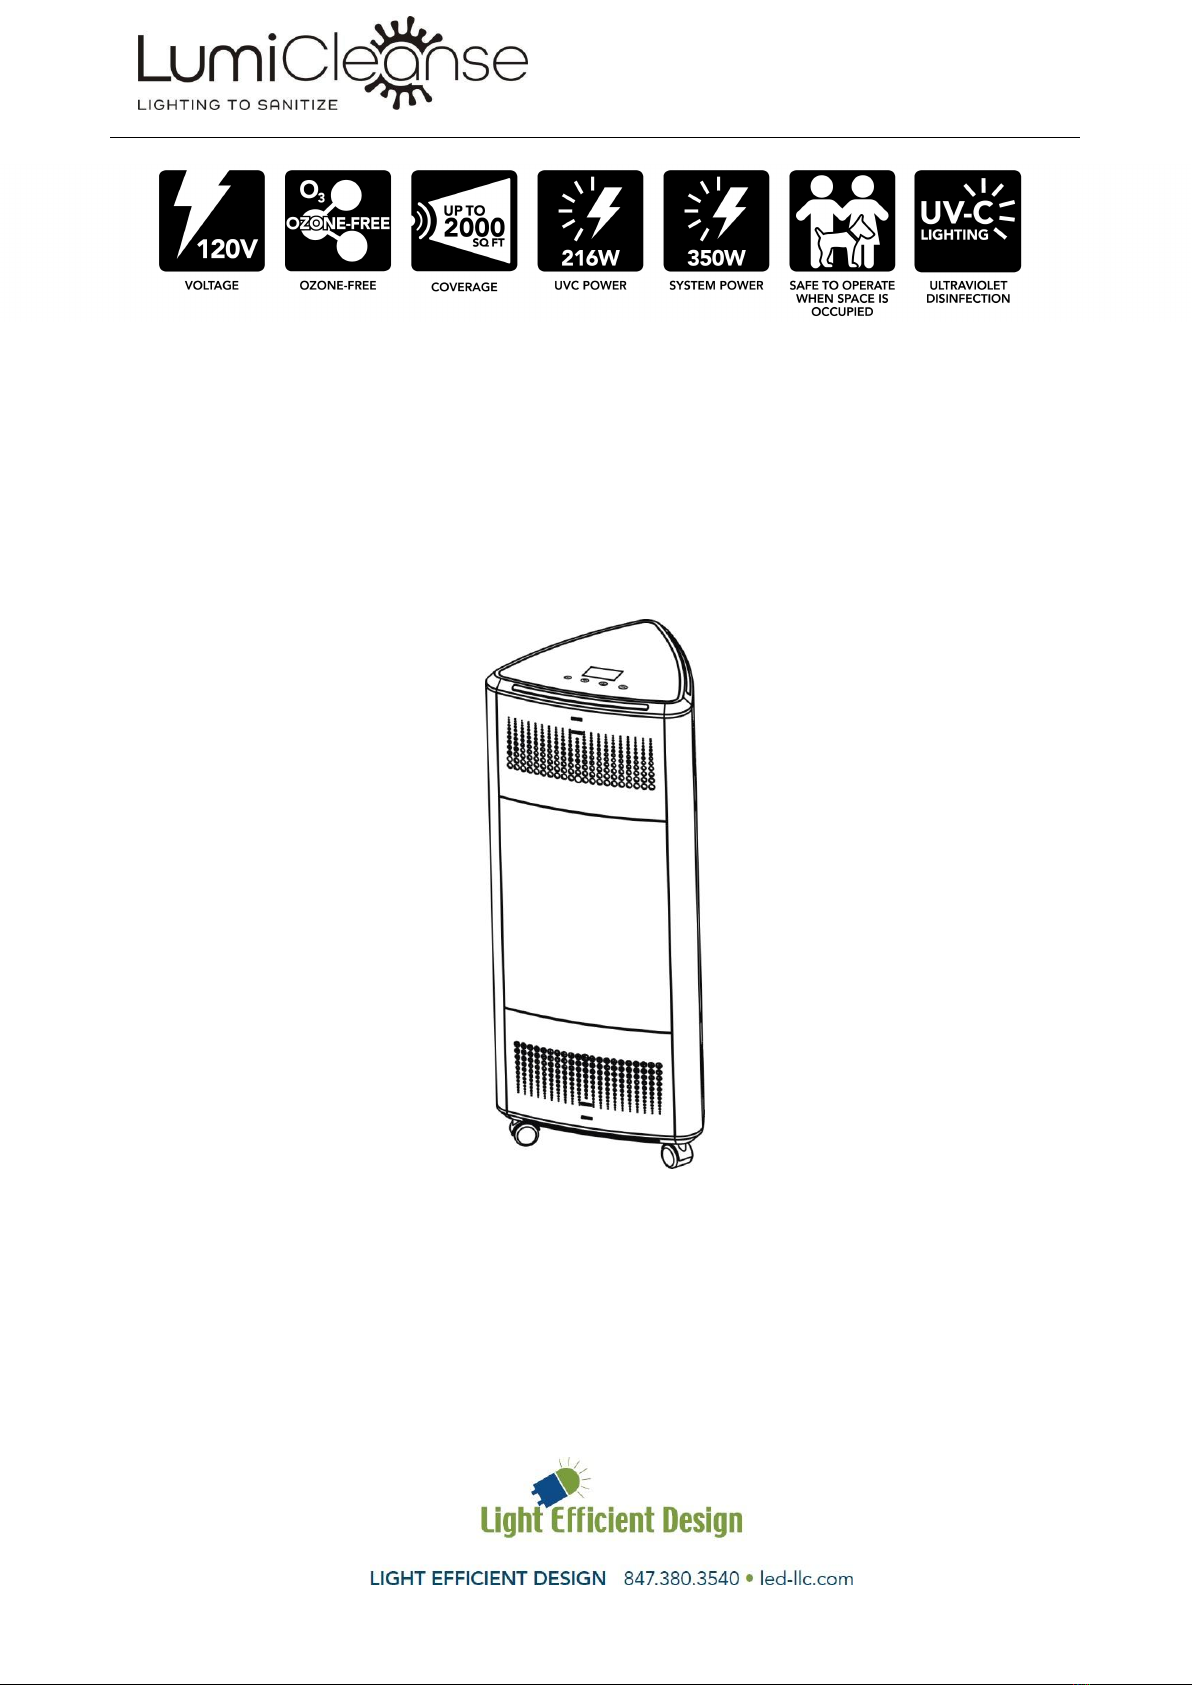
Voltage Input: AC120V~, 60Hz; Power: 350W;Product Size: 457x429x1075mm
This product is for commercial use, such as in conference rooms, offices, hotels, schools,
theaters, waiting rooms, restaurants, etc.
IMPORTANT!
When using electrical equipment, basic safety precautions should always be followed.
READ AND FOLLOW ALL SAFETY INSTRUCTIONS carefully before using this product,
save it for future reference.
•Check and make sure the voltage indicated on this product corresponds to the local
power voltage before connecting this product to the power socket.
•Do not use this product if the plug, power cable, or the product itself is damaged. If
anything is damaged, it must be replaced or repaired before using, to avoid a hazard.
•Always place and use the product on a dry, stable, level and horizontal surface. Do not
use the product in wet surroundings or in surroundings with high ambient temperatures,
or near gas products, heating devices or fireplaces.
•Do not use the product in a room with major temperature changes, as this may cause
condensation inside the product.
•If you need to move the product, disconnect the product from the power supply first. Do
not move the product by pulling its power cable.
•Always engaged the wheels brakes during use or storage, to avoid accidentally moving
by itself.
•Do not block the air inlet and outlet by placing any items on the air inlet and outlet.
•Do not use this product for other than intended use.
•Make sure that foreign objects do not fall into the product through the air outlet.
•Do not let water, other liquid or flammable detergent enter this product, to avoid risk of
electric shock or fire hazard.
•Do not sit or stand on the product. Sitting or standing on the product may lead to potential
damage or injury.
•Do not clean this product with water, chemicals, or flammable solvents, to avoid risk of
electric shock or fire hazard.
•Always unplug the product after use and before cleaning, or carrying out other
maintenance or replacing any accessory.
•Only use the original accessory specially intended for this product. Do not use any other
accessory. The use of accessory not recommended by the manufacturer may cause an
unsafe condition.

USER MANUAL
3
1. Product Overview
2. Control Panel Overview
Display Panel:
Fan Speed
|
Time Mode -
- WIFI indicator
PM2.5 Indicator -
- Status and Alert
Key Lock -
- Lamp Replacement Indicator
|
Filter Replacement Indicator

USER MANUAL
4
Control Buttons:
Touch to Select the function in main menu
Touch to go Up to select different setting
Touch to go Down to select different setting
Touch to Start or Stop operation, or Enter the selected setting
4 Time Modes: ON (continuous); 60 min; 90 min; 120 min
10 Fan Speeds: from 1(low) to 10(high)
WIFI connected; select it and pressing for 5 seconds to reset
WIFI disconnected
Key unlocked: pressing +for 5 seconds
Key locked: after 27 seconds no operation
Filter Replacement Indicator (white: normal; red: need to replace)
Select it and pressing for 5 seconds to reset
Lamp Replacement Indicator (white: normal; red: need to replace)
Select it and pressing for 5 seconds to reset
Alert: door opened during use, or fall protection
Status
ON: working; OFF: standby; XX:XX: time counting down
PM2.5
5 stars green: excellent; 4 stars yellow: good; 3 stars red: pollution
LCD Light
Off after 30 seconds no operation; On when touch any key
Indicator Light
Pressing +for 5 seconds to turn off indicator lights
Reset Default
Pressing + + for 5 seconds

USER MANUAL
5
Indicator Lights & Audio Alarm:
Status
Audio Alarm
Indicator Lights
Standby
/
Green Light
solid
Operating
/
Blue Light
solid
End of Cycle
Triple(3) Ping
every 10 seconds
Green Light
flash for 30 seconds
Fall Protection
Quadruple(4) Ping
every 10 seconds
Green Light
flash continuously
Door Opened
Quintuple(5) Ping
every 10 seconds
Blue + Green Lights
flash alternately
3. Using The Product
3.1 Before Use
•Always place the product on a stable and flat surface with the universal wheels brakes
engaged before and during use.
•For best purification and disinfection performance, close all the doors and windows.
•Keep curtains, clothes, papers, etc…away from the air inlet or outlet.
For air purification, this product can detect and provide the current PM2.5 feedback. Most of
the indoor air pollutants fall under PM2.5, such as tobacco smoke, some bacteria, mold
spores, dust, allergen, etc…. Air quality indications for reference:
Indications
PM2.5
Green
Excellent
Yellow
Good
Red
Pollution

USER MANUAL
6
This product is designed with UV lamps inside, the UVC can do high efficient disinfection to
the air which going through this product during the air purification process.
The suggestion on disinfection area and time for reference:
Area
Time Mode for Disinfection
500SF
60min
1,000SF
90min
1,500SF
120min
Up to 2,000SF
ON (continuous)
Note: time could be different depending on the actual height and structure of the room.
3.2 Operation
Control Panel Operation:
1. Confirm that the power cable is plugged into a 120V outlet.
2. Press the switch to < I > to power on, the indicator
lights turn on green.
3. Touch button to select your desired function in the
main menu.
4. Touch button or to select your desired setting
(time mode and fan speed).
5. Touch button to enter the setting and start the
operation.
6. Touch button to stop the operation.
* If need to change the time mode after operation started, need to stop operation first.
Remote Control Operation:
1. Connect the power plug of the product to the power socket.
2. Press the switch to < I > to power on, the indicators turn
on green.
3. Press the button to start the operation.
4. Press the button < - > or < + > to reduce or increase the fan
speed. Or press the button < Max > or < Quiet > for quick
access to the maximum or minimum speed.
5. Press the button to stop the operation.
*Battery type for the remote control: CR2025.

USER MANUAL
7
WIFI APP Operation
•Connect your mobile phone to the LAN network.
•Make sure the LAN network you connected is 2.4G WIFI, not 5G WIFI.
•One LAN network is only for one user to bind device, not for multi-user.
Download "GOLDENSEA UV" APP from App store or Android market and install into your
mobile phone.
Steps to Connect your device to the LAN network and Bind:
1. Launch the APP, click
“+ ”to select and add
new device.
2. Click the device in
the list which you want
to connect.
3. Input the WIFI name
and password, click
“Next”to connect.

USER MANUAL
8
4. Select the device from
the list of “Local Devices
Discovered”.
5. Choose “Main Building”
and click “Bind”. (you can
also choose “Main Room”
as an option)
6.You can find the
device(s) in the “Main
Building”and “Rooms”

USER MANUAL
9
7.Now you can control the device from theAPP.
4. Moving The Unit
This product has been integrated with 3 universal
wheels for fast and easy relocation.
Before moving the product, make sure the power cable
is disconnected from power socket.
Simply push the brake lever down to engage the brake;
or lift the lever to release the brake.
*Always place the product on a stable and flat surface with
the universal wheels brakes engaged during use or storage.

USER MANUAL
10
5. Fall Protection
When a working product detects a movement of more
than 45°, it will automatically shut off for safety.
There will be audio alarm and flashing green indicator
light to alert the operator.
To re-start the unit after fall protection, put the product
back to the normal upright position, make sure the
power plug is still well-connected to power socket,
re-start the operation again from the beginning.
Should a qualified technician check for damage before
re-starting the unit after a fall.
6. Open Door Protection
If the front door of the product is opened during use by
accident or by misuse, the product will automatically
turn off for protection purpose.
There will be audio alarm and flashing green+blue
indicator lights to alert the operator.
Once the door is closed again, the operation process
will continue.
The front door can be closed or opened by simply
pushing in on the right side of the door.
*The other two doors can be opened by pushing out from inside.
*Do not open the doors unless there is need for service or maintenance.

USER MANUAL
11
7. Dimensional Drawings
8. Replacing and Cleaning The Filters
•Always turn off the product and unplug from the socket before replacing the filters.
•The HEPA and Active Carbon Filters are not washable or reusable.
•Before carrying out any replacement and cleaning, wait about 15 minutes after switching
off the product (to let the UV tubes cool down to avoid scalding).
8.1 Replacing the HEPA and Active Carbon Filters
Filter Replacement Indicator:
This product is equipped with a filter replacement indicator to make sure that the air
purification filter is in optimal condition when operating. When the filters need to be
replaced, the icon of “Filter Replacement Indicator” turn from white to red and stay flashing.
If the filters are not replaced in time, the product will stop operating and automatically lock
to protect the air quality in the room. Replace the filters as soon as possible. Remember,
non professionals are not allowed to change the filter by themselves.

USER MANUAL
12
Steps:
1. Push in on the right side of the front
door and release to open.
*The other two doors can be opened by
pushing out from inside.
2.Remove the air inlet cover by simply
pulling it out.
3.Loosen the 2 screws and remove
the HEPA cover.
* If the screws are too tight to turn by hand,
use a screwdriver to loosen them first.
4. Remove the current HEPA by simply
pulling it out holding the strip.
Now install a new HEPA, re-install the
HEPA cover and tighten the 2 screws,
re-install the air inlet cover.

USER MANUAL
13
5.Remove the air outlet cover by
simply pulling it out.
6.Remove the current Active Carbon
Filter by simply pulling it out.
Now install a new Active Carbon Filter,
re-install the air outlet cover, push in
the door to close.
The product is now ready for use again.
* After filters replacement, remember to reset the filter hours in the display menu: select the
icon and pressing for 5 seconds to reset.
8.2 Clean the Pre-filters
The Pre-filters need to be checked and cleaned regularly to avoid dust accumulated and
wind flow efficiency reduced.
•Do not clean the Pre-filters with a vacuum.
•If the pre-filter is damaged, worn or broken, do not use.
Steps:
1. Push in on the right side of the front
door and release to open.
*The other two doors can be opened by
pushing out from inside.
2. Remove the air inlet cover by simply
pulling it out.
Take out the Pre-filter and clean with a
brush. After cleaning, re-install it back.

USER MANUAL
14
9. Replacing The UV Lamps
To maintain the sterilizing efficacy, the UV tubes need to be replaced after 9,000 hours of
use. When the lamps need to be replaced, the icon of “Lamp Replacement Indicator” turn
from white to red and stay flashing.
If the lamps are not replaced in time, the product will stop operating and automatically lock
to protect the disinfection effect in the room. Replace the lamps as soon as possible.
•Before carrying out any replacement, wait about 15 minutes after switching off the product
(to let the UV tubes cool down to avoid scalding).
Steps:
1. Push in on the right side of the front
door and release to open.
*The other two doors can be opened by
pushing out from inside.
2.Loosen the 2 screws and remove
the UV shield cover by pulling it out.
* If the screws are too tight to turn by hand,
use a screwdriver to loosen them first.

USER MANUAL
15
3. Loosen the 2 screws of the UV tube
holder cover and remove the metal
cover.
* Be careful when removing the metal
cover to avoid damage to UV tubes.
4.Turn the two clips downwards on
both sides of the UV tube holder.
5.Move the current UV tube out of its
holder upwards and take it out.
6.Now install a new UV tube into the
holder and push it downwards until it
fits into place correctly and tightly, turn
the two clips upwards on both sides.

USER MANUAL
16
5.Re-install the UV tube holder cover
and tighten the 2 screws.
6. Re-install the UV shield cover and
tighten the 2 screws.
Push in on the right side of the door to
close.
The product is now ready for use again.
* After lamps replacement, remember to reset the lamps hours in the display menu: select
the icon and pressing for 5 seconds to reset.
*Note: please follow your local toxic and hazardous waste regulations for lamp disposal.
10.Troubleshooting Tips
10.1 What to do if the product doesn’t work?
1. Ensure the product is plugged into a working socket, plug is wired correctly and
terminal well-connected.
2. Ensure the power switch is switched to “on”< I >.
3. Check if the door is opened by accident or misuse. Push the door in to close it.
10.2 How often should the UV tube be replaced?
1. The UV tube is the core of the product, it should be replaced after 9000 hours of use to
maintain the germicidal efficacy. If it needs to be replaced, the icon on display will
turn from white to red.
2. If the UV tube is defected or damaged, please contact your local dealer or our customer
service to order a new UV tube. For replacing the UV tube, please refer to the
instructions in this user manual.
3. After use for a period of time, it is normal to find some black spots on the UV tube.

USER MANUAL
17
10.3 Why airflow coming out from the air outlet is significantly weaker than before?
1. Check if the pre-filter is dirty, if so, clean the pre-filter.
10.4 Why the display still show the alert icon of replacing filter/lamp even after it is
just replaced?
1. Check if you have reset the filter/lamp in the display menu after replacement.
11.Features
Light Source
•Lamp: TUV PL-L 36W/4P 1CT/25 (PHILIPS) or
HNS L 36W 2G11 GFT36DL/2G11/SE/OF PURITEC UV-C Germicidal Low Pressure Lamp (OSRAM)
•The UV-C wavelength is 253.7nm.
•Extremely long Life: up to 9,000 H
Features
•Disinfection time settings
•Fan speed settings
•Control panel with touch keys
•Remote control
•Control with APP
•Visual indicator lights
•Audio alarm
•Power switch
•Movable with wheels
•Fall protection
Product Type
•Commercial Air Purifier
Weight
•Net weight: 26.73 kg
12.Cleaning and Maintenance
1. To ensure the device remains in good condition and does not fail prematurely, regular
maintenance, cleaning and checks are required.
2. For cleaning of the device, please use a lint-free cloth.
3. To avoid damage to the device, never use detergent or solvents.
4. Never spray insecticide towards the device, it can discolor or damaged.
5. Should you need any spare parts, please order genuine parts from your local dealer.

USER MANUAL
18
13.Recycling
To protect the environment and human health, do not throw away the product with the
normal household waste at the end of its life, hand it to your local collection point for
recycling. Follow local rules for the separate collection of electrical and electronic products.
14.Service
For all service needs, please contact your local authorized dealer or Light Efficient
Design customer service. Our contact details are:
Light Efficient Design
188 S. Northwest Highway.Cary,IL 60013
TEL.(847)380-3540.FAX:(978)913-3317
E-mail:sales@led-llc.com
For more energy efficient products, visit us online: www. led-llc.com or
www.remphos.com
Table of contents
Popular Air Cleaner manuals by other brands

Sihon
Sihon SO-P20G Installation instruction

Tanis Technologies
Tanis Technologies MODULE-AIR AF-24 VT Series Operating instructions & parts manual

Honeywell
Honeywell F300A1620 installation guide

Genano
Genano 5200 manual

Purified Air
Purified Air UV-O 1000 Technical & operating instructions

Plasma Made
Plasma Made GUC 1314 Installation and user manual