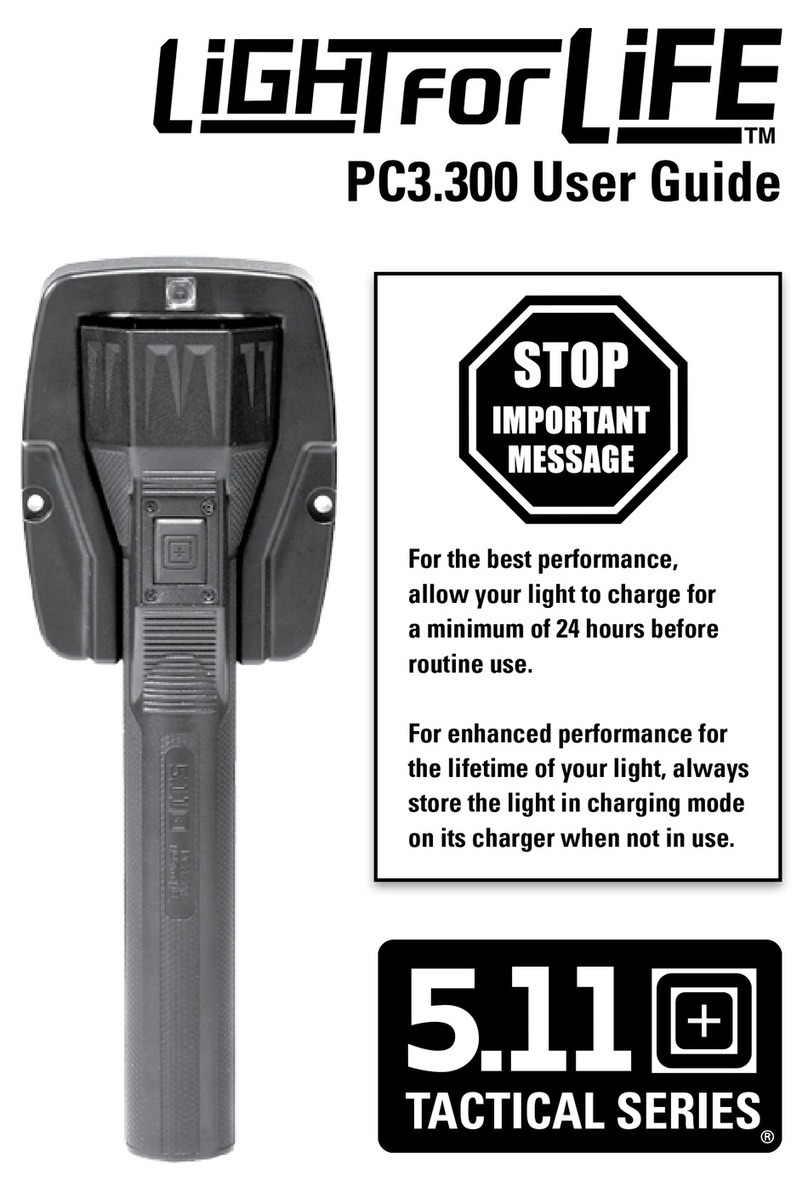
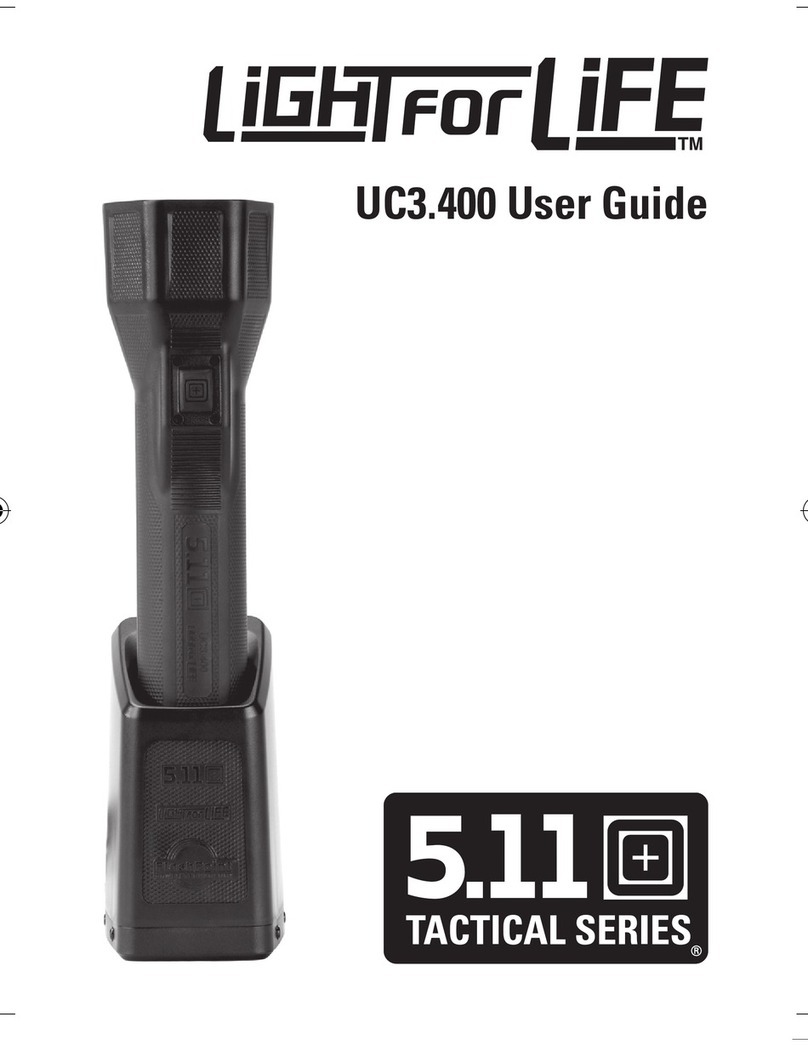
Light for Life 5.11 Tactical Series User manual

Hardwiring Instructions
TAC5378_LFL_VehicleInstall_Rev.indd 1 9/3/10 10:58 AM

25.11 Light For Life® Hardwiring Instructions
Important Notice:
This product requires very low resistance
connections. Most rechargeable products do
not require the same low resistance connections
because their power consumption is very low
during charging. The 5.11 Light for Life® charges
at 65 watts, and it is very important to follow these
directions. All connections need to be soldered
and crimped in order to reduce resistance in all
connections.
The base cigarette plug contains an 8 amp fast-blow
fuse that protects your vehicle’s electrical system.
If the fuse in the cigarette plug fails, there is likely
an issue with the base or flashlight, in which case
you should call customer service at 1-888-511-4LFL
(4535).
TAC5378_LFL_VehicleInstall_Rev.indd 2 9/3/10 10:58 AM

3
5.11 Light For Life® Hardwiring Instructions
If you plan to hardwire the base into the car, the
following instructions should be followed.
Do not hardwire the base without an 8 amp
fast-blow in-line fuse.
Do not splice into existing ground or power
wires.
Do not share crimp connectors with any other
electrical device.
Do not use multiple butt connectors on a single
run of wire.
The base positive wire should exist on its own
fuse. Do not share power with other devices.
TAC5378_LFL_VehicleInstall_Rev.indd 3 9/3/10 10:58 AM

45.11 Light For Life® Hardwiring Instructions
Your hardwire kit should contain the following:
(1) - 8 amp 3AG 1¼” x ¼” fast-blow fuse.
Littelfuse part number 0314008.HXP
(1) – 1¼” x ¼” in-line fuse holder with #14 AWG
wire leads. Littelfuse part number 01500079Z
(1) – Step-down butt connector for #14 AWG
to #18 AWG. Crimp, solder, and heat shrink
style. National Standard Parts part number
ML56-16.
(1) – #18 AWG ¼” stud ring terminal. National
Standard Parts part number ML116-14
(1) – #14 AWG #8 stud spade terminal. National
Standard Parts part number ML214-08
TAC5378_LFL_VehicleInstall_Rev.indd 4 9/3/10 10:58 AM

5
5.11 Light For Life® Hardwiring Instructions
In addition to the parts included in the kit, you
may need some of the following parts depending
the type of installation:
1. Wire strippers / cutters / crimpers for completing wire
connections
2. Step-down butt connectors for #14 AWG to #18 AWG.
Crimp, solder, and heat shrink style. National Standard
Parts part number ML56-16.
3. #14 AWG butt connector. Crimp, solder, and heat shrink
style. National Standard Parts part number ML5-14.
4. #18 AWG #10 stud spade terminal. National Standard
Parts part number ML216-10
5. #18 AWG #8 stud spade terminal. National Standard Parts
part number ML216-08
6. #14 AWG #10 stud spade terminal. National Standard
Parts part number ML214-10
7. #14 AWG #8 stud spade terminal. National Standard Parts
part number ML214-08
8. Butane torch or heat gun for heating solder and heat
shrink
9. #14 AWG primary wire for extended installation wire runs.
TAC5378_LFL_VehicleInstall_Rev.indd 5 9/3/10 10:58 AM

65.11 Light For Life® Hardwiring Instructions
Installation Instructions:
Please follow these steps to hardwire the base into your
vehicle. It is very important that these installation instructions
are followed and all provided and recommended equipment
is used.
1. Disconnect the Light For Life® base from the vehicle’s
cigarette receptacle if it is currently installed.
2. Disconnect both terminals from the vehicle’s battery.
3. Consult the vehicle’s user guide to select a suitable
positive 12 volt connection either on the positive battery
terminal or inside a fuse box. The circuit that you choose
must have a current rating of at least 10 amps. Also
choose a suitable ground connection either on the
vehicle chassis, on the negative terminal of the battery,
or inside a fuse box. The ideal 12 volt connection is one
that is hot at all times rather than one that requires the
key to be in ‘ACC’ or ‘START’ position to operate. *The
high performance of the UC3.400 is maintained if the
flashlight is allowed to remain in a powered-up base
when not in use.*
4. Cut the two wires connecting the base to the cigarette
plug. Cut these close to the cigarette plug.
TAC5378_LFL_VehicleInstall_Rev.indd 6 9/3/10 10:58 AM

7
5.11 Light For Life® Hardwiring Instructions
5. Pull the base wire ends apart and use wire strippers to
remove ¼” of insulation from each.
6. Cut the wire loop on the in-line fuse holder. Use the wire
strippers to remove ¼” of insulation from each end.
7. Observe the markings on the two base wires. The
positive wire has a rib running along its length. The
negative wire has text impressed onto its insulation.
8. Insert the positive base wire into the small side of a step-
down butt connector. Crimp this connection using the #18
AWG crimp tool. Pull lightly on the wire to ensure reliable
connection.
9. Insert one of the in-line fuse holder wires into the large
side of the same step-down butt connector. Crimp this
connection using the #14 AWG crimp tool. Pull lightly on
the wire to ensure a reliable connection.
a. If the base is to be located further from the 12 volt
connection than the factory base wire will allow, you
will need to connect an appropriate length of #14 AWG
primary wire to the positive base wire using a #14 AWG
butt connector. Crimp and heat this connection until the
heat shrink has closed around the connection and the
solder has melted. After it has cooled, pull lightly on the
wires to ensure a reliable connection.
b. Insert one end of the in-line fuse holder wire into a #14
TAC5378_LFL_VehicleInstall_Rev.indd 7 9/3/10 10:58 AM

85.11 Light For Life® Hardwiring Instructions
AWG butt connector. Insert the free end of the extended
primary wire into the same butt connector. Crimp these
connections with a #14 AWG crimp tool.
10. Heat the connection evenly with the torch until the heat
shrink tightens around the connection and the solder
inside the connection melts.
11. Insert the other end of the in-line fuse wire into
heat shrink end of the #14 AWG terminal connector
appropriate for the 12 volt connection point you selected
previously. Crimp the connection using the #14 AWG
crimp tool. Heat the connection until the heat shrink
tightens around the connection.
12. Insert the negative base wire into the heat-shrink end
of the #18 AWG terminal connector appropriate for the
ground connection you selected previously. Crimp the
connection using the #18 AWG crimp tool. Heat the
connection until the heat shrink tightens around the
connection.
a. If the base will be located further from the ground
connection than the factory base wire will allow, you
will need to connect an appropriate length of #14 AWG
primary wire to the negative base wire using a #14 AWG
to #18 AWG step-down butt connector. Crimp and heat
this connection until the heat shrink has closed around
TAC5378_LFL_VehicleInstall_Rev.indd 8 9/3/10 10:58 AM

9
5.11 Light For Life® Hardwiring Instructions
the connection and the solder has melted. After it has
cooled, pull lightly on the wires to ensure a reliable
connection.
b. Insert the free end of the extended primary wire into
the heat-shrink end of the #14 AWG terminal connector
appropriate for the ground connection you selected
previously. Crimp the connection using the #14 AWG
crimp tool. Heat the connection until the heat shrink
tightens around the connection.
13. Connect the negative terminal connector to either the
negative battery terminal, the vehicle chassis, or inside
a fuse box. If possible, secure the connection with a
washer and locknut.
14. Do not splice into existing ground or power wires.
15. Do not share crimp connectors with any other device.
16. Do not use multiple butt connectors on a single run of wire.
17. Connect the positive terminal connector to the 12 volt
post in your vehicle’s fuse box or on the positive battery
terminal. If possible, secure the connection with a
washer and locknut.
18. Do not splice into existing ground or power wires.
19. Do not share crimp connectors with any other device.
20. Do not use multiple butt connectors on a single run of wire.
TAC5378_LFL_VehicleInstall_Rev.indd 9 9/3/10 10:58 AM

10 5.11 Light For Life® Hardwiring Instructions
21. The base positive wire should exist on its own fuse. Do not
share power with other devices.
22. Route and secure all wires. Ensure that no electrical
connections are exposed. Wrap any exposed
connections with electrical tape.
23. Open the in-line fuse holder. Insert the 8 amp fuse and
close the fuse holder.
24. Re-connect the vehicle’s battery terminals.
25. Insert a flashlight into the charger. Verify that the blue
LED either blinks increasing fast or is solid.
a. If blinking does not increase in speed or is not solid, the
positive and negative wires may have been switched
during installation.
b. If blue LED does not light at all:
i. The fuse may be blown. Remove the 8 amp fuse and check
that it is not blown.
i. The selected circuit may not be energized or may require the
key to be in the ‘ACC’ or ‘START’ position.
ii. An electrical connection may be bad. Pull on wires at each
connection to ensure that they are properly held.
iii. The base may be damaged. Please call the service center.
26. After verifying that the base functions properly, do the
following:
a. Put the flashlight in the base and wait until the LED turns
solid blue.
TAC5378_LFL_VehicleInstall_Rev.indd 10 9/3/10 10:58 AM

11
5.11 Light For Life® Hardwiring Instructions
b. Pull the 8 amp fuse out of the dual fuse holder.
c. If the blue LED turns off, the circuit is correctly protected.
Put the 8 amp fuse back in the dual fuse holder.
d. Leave the flashlight in the base for four hours. This will
allow the flashlight time to maintain proper condition of
the cells and will maintain the best performance with the
flashlight.
TAC5378_LFL_VehicleInstall_Rev.indd 11 9/3/10 10:58 AM

5.11 Tactical
4300 Spyres Way
Modesto, CA, USA, 95356
www.511Tactical.com
Copyright © 2010, 5.11 Tactical, All rights reserved
Light For Life® Service Center Numbers:
USA Call: 1-888-511-4LFL (4535), Europe Call: +46 40 467 388 TAC5378
Rev 9.10
TAC5378_LFL_VehicleInstall_Rev.indd 12 9/3/10 10:58 AM
Table of contents
Other Light for Life Flashlight manuals