Direct Transfer Caller to Voice Mail
1. While on the Call, Press the Transfer Button on Top Screen.
2. Dial *4 and Dial their Extension Number. Then hang up.
Voice Mail — Can be set up from Desk or Cell
Voicemail Setup – From Desk Phone
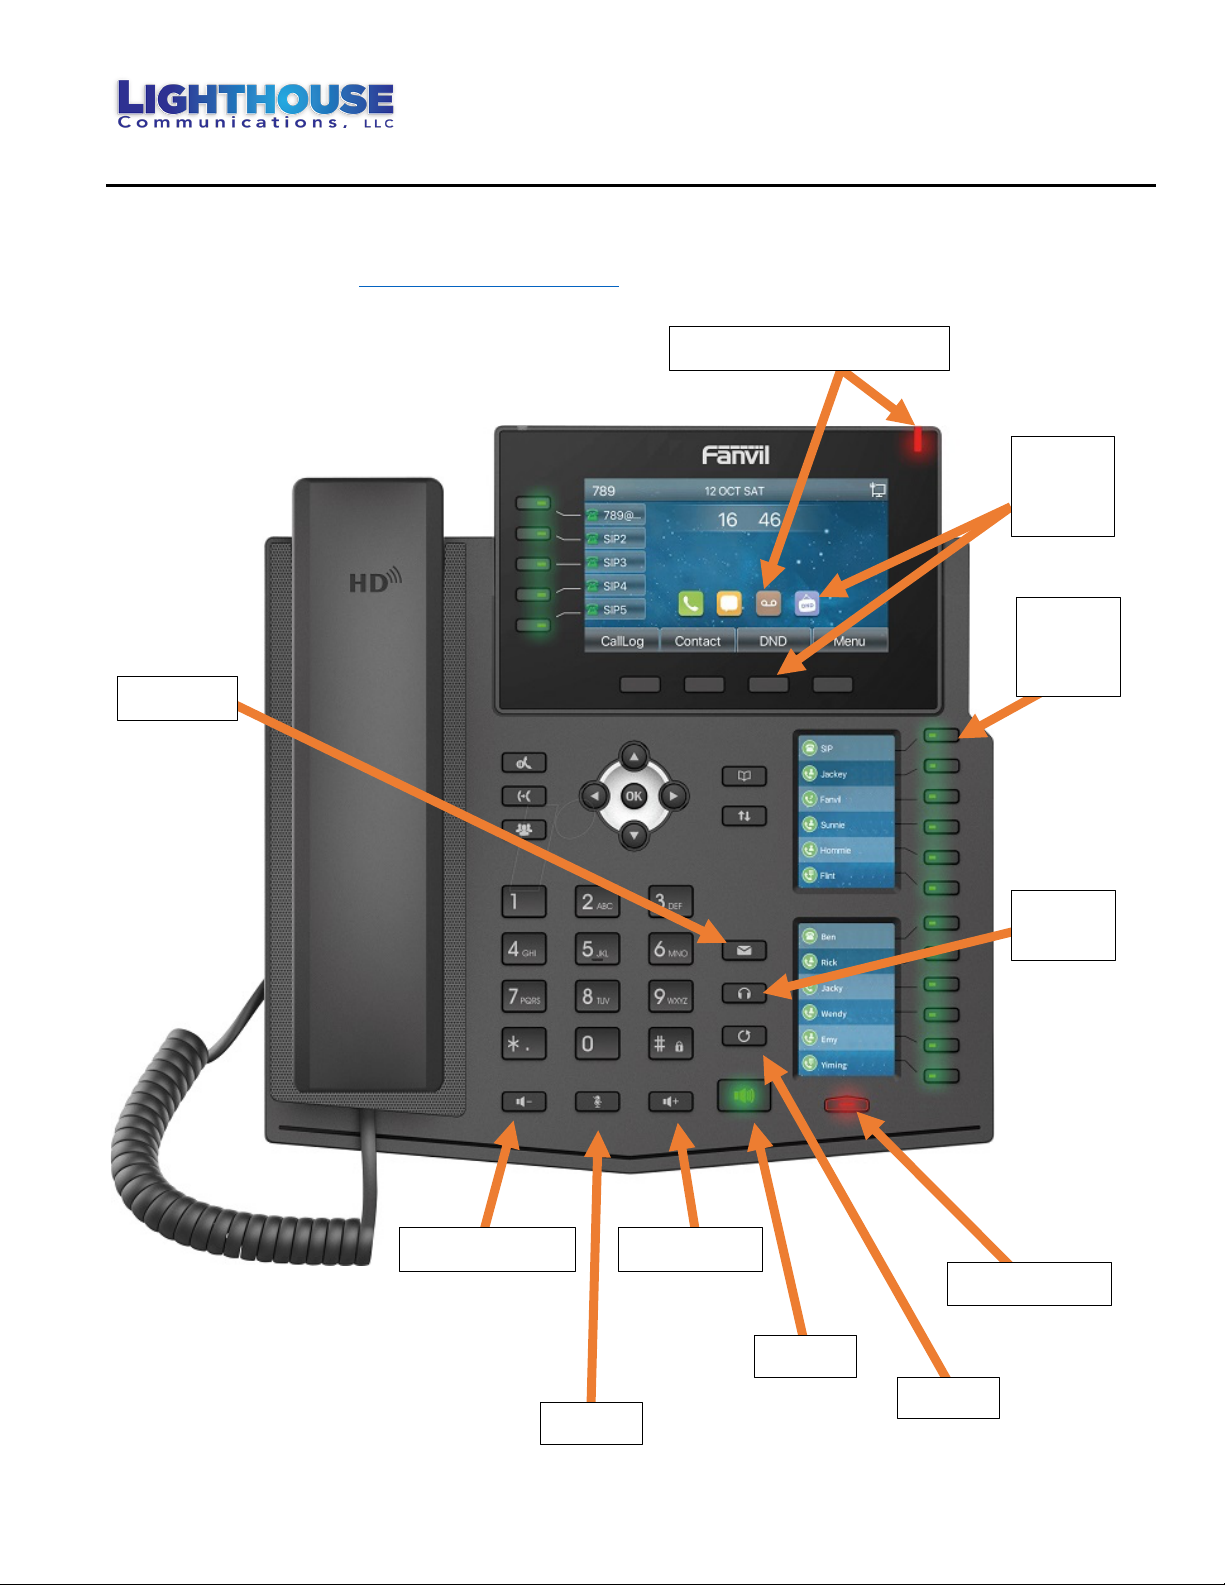
1. Press the White Envelope Key.
2. Enter Password – Default 1212 (Recommend Changing)
3. Press 9 – Options (Must Do Both)
a. Press 5 – Record Your Name
b. Press 8 – Record Your Greeting Message
4. Follow directions.
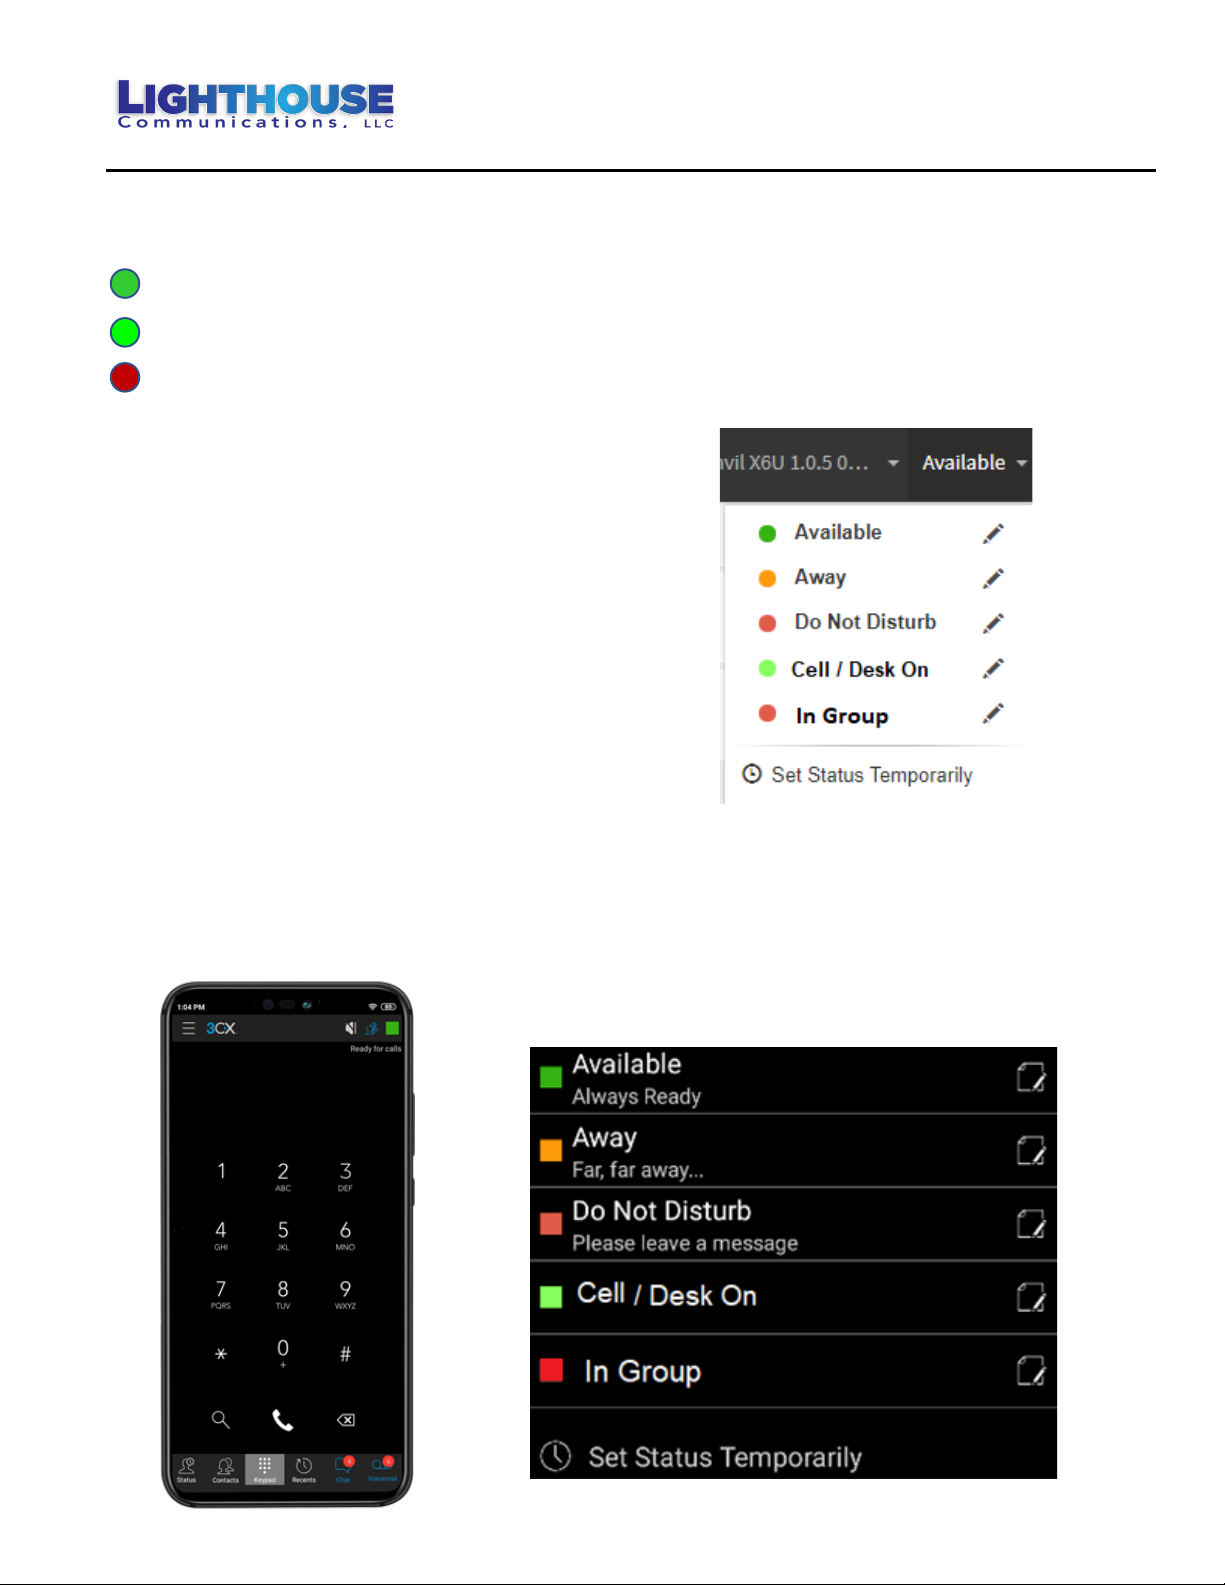
Voicemail Setup – From Cell Phone App
1. Dial 999, then press OK or Dial.
2. Enter Password – Default 1212 (Recommend Changing)
3. Press 9 – Options (Must Do Both)
a. Press 5 – Record Your Name
b. Press 8 – Record Your Greeting Message
4. Follow directions.
Sample Message:
Hi, this is Alice; I’m not able to take your call at this time. Please leave your name, phone number,
and a detailed message, and I will be glad to return your call.
Checking Voicemail – Desk Phone
1. Press the White Envelope Key.
2. Enter Password – Default 1212 (Recommend Changing)
3. Follow Directions. (You can also forward messages to other Extensions)
Note: Voice Mail to Email Can also be programmed.
Checking Voicemail outside the office
1. Dial into the office, when auto-attendant answers – Thank you for calling …
2. Dial 999, then your extension number.
3. Dial your password (Default 1212)