Lilitab Floor Basic Mount Assembly Instructions v6.0 5
ASSEMBLY INSTRUCTIONS
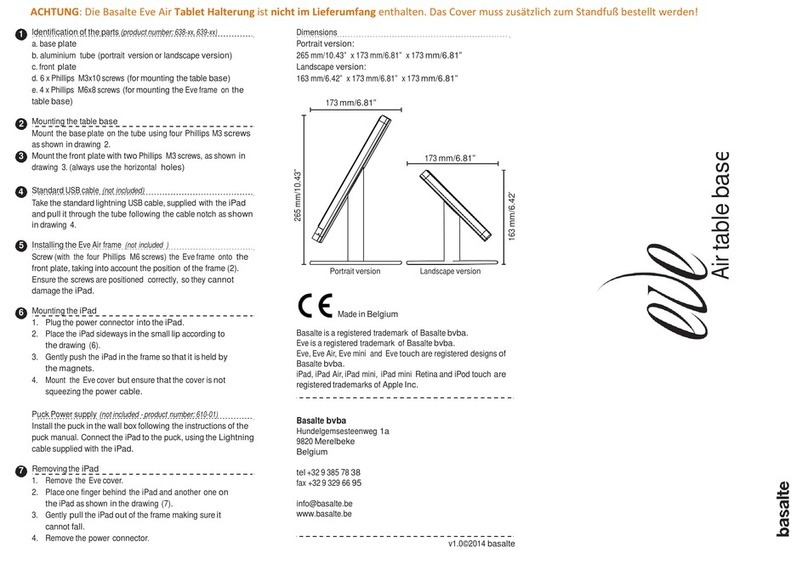
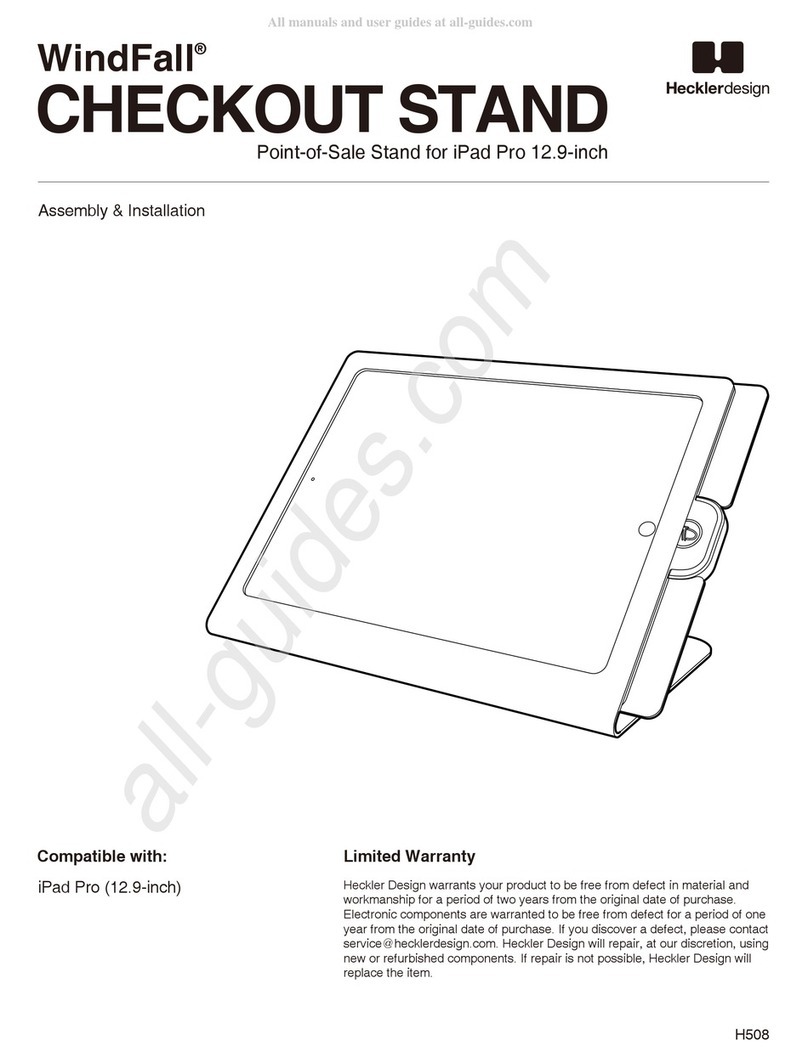
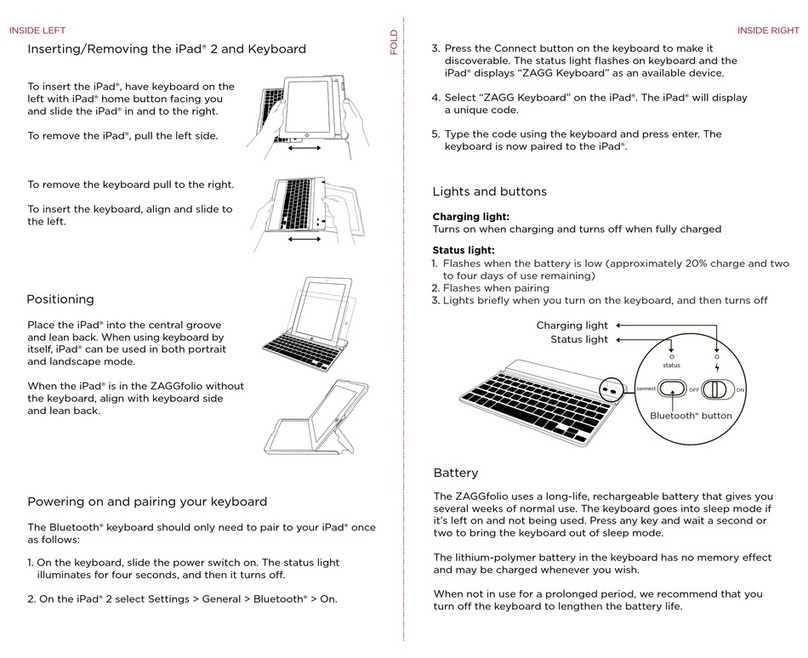
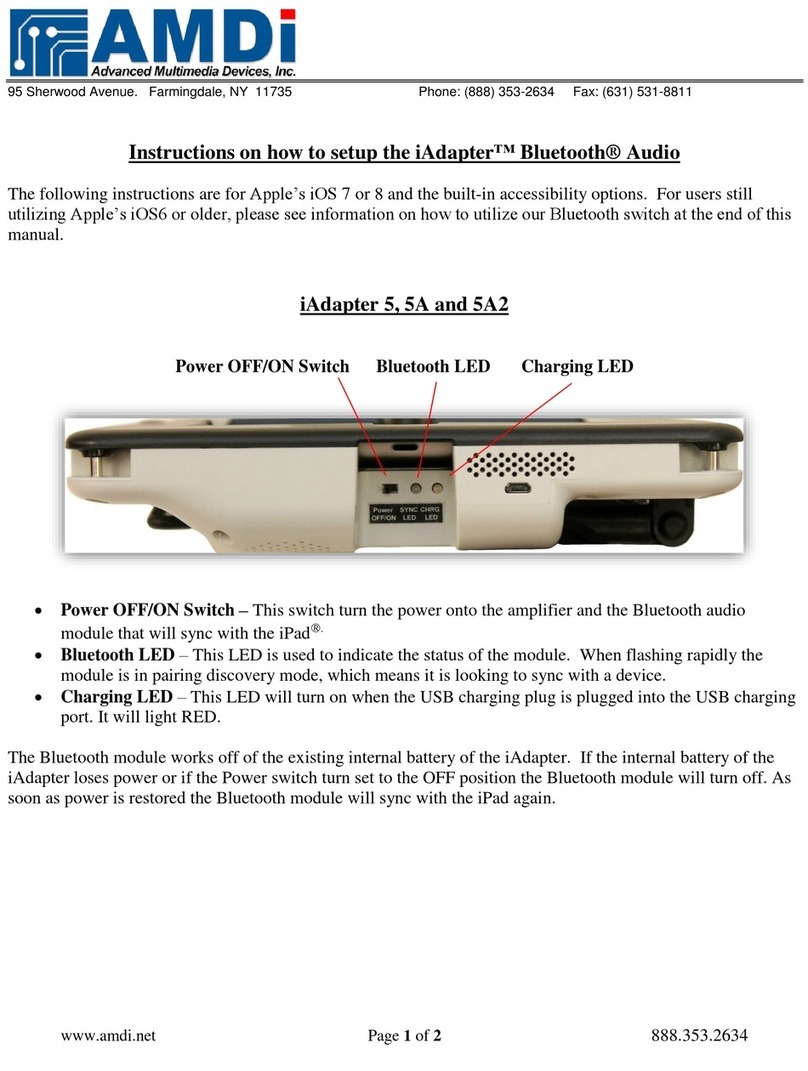
3. Connect and position cables:
1. Connect the charge cable to the tablet’s
AC adapter. Then connect the adapter
to the extension cord.
2 . Position both cables underneath the
base housing’s two plastic tabs. The
extension cord should exit the rear of
the housing.
3 . Screw down the base housing using the
two (2) M6x14mm long base screws.
4. Attach the base housing cover by sliding
it into place. Secure it using the two (2)
M3x6mm base security screws and
silver L key.
1. Thread the charge cable that came with
your kiosk through the top of the mount
pole. Insert the mount pole into the base
housing on an angle to clear the welded
flange, as shown.
2. Attach Floor Base. Line up the bottom of the
mount pole with the four screw holes. Using
the two (2) M6x12mm short base screws,
secure through the two rear-most openings
closest to the cable egress slot.
NOTE: You will need to hold the base housing up
and out of your way while bolting. If not using the
floor base, attach to floor surface using template on
page 6, and thread the cable through your substrate.
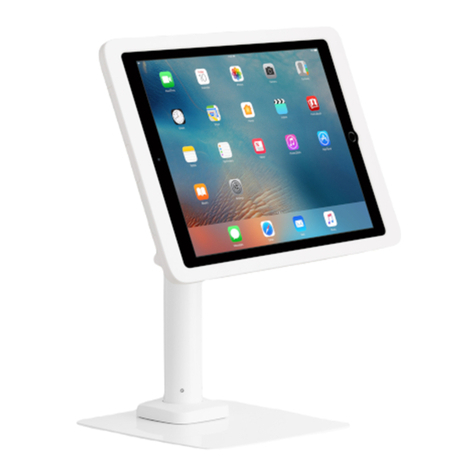
5. Attach the Head Unit using the four (4)
M3x7mm head mount security screws
and silver L key.
Refer to your Lilitab Head Unit owner’s
manual for tablet installation instructions.
6. Neck Security Cover. After you attach the
Head Unit, slide the security cover up and
secure in place using the two (2) M3x10mm
security cover screws and silver L key.
NOTE: The security cover screws should be
oriented such that they are parallel to the long
edge of the Head Unit, as shown. If they’re not,
simply rotate the security cover.
(iPad AC adapter shown, your AC Adapter
will vary depending on your tablet.)
