11
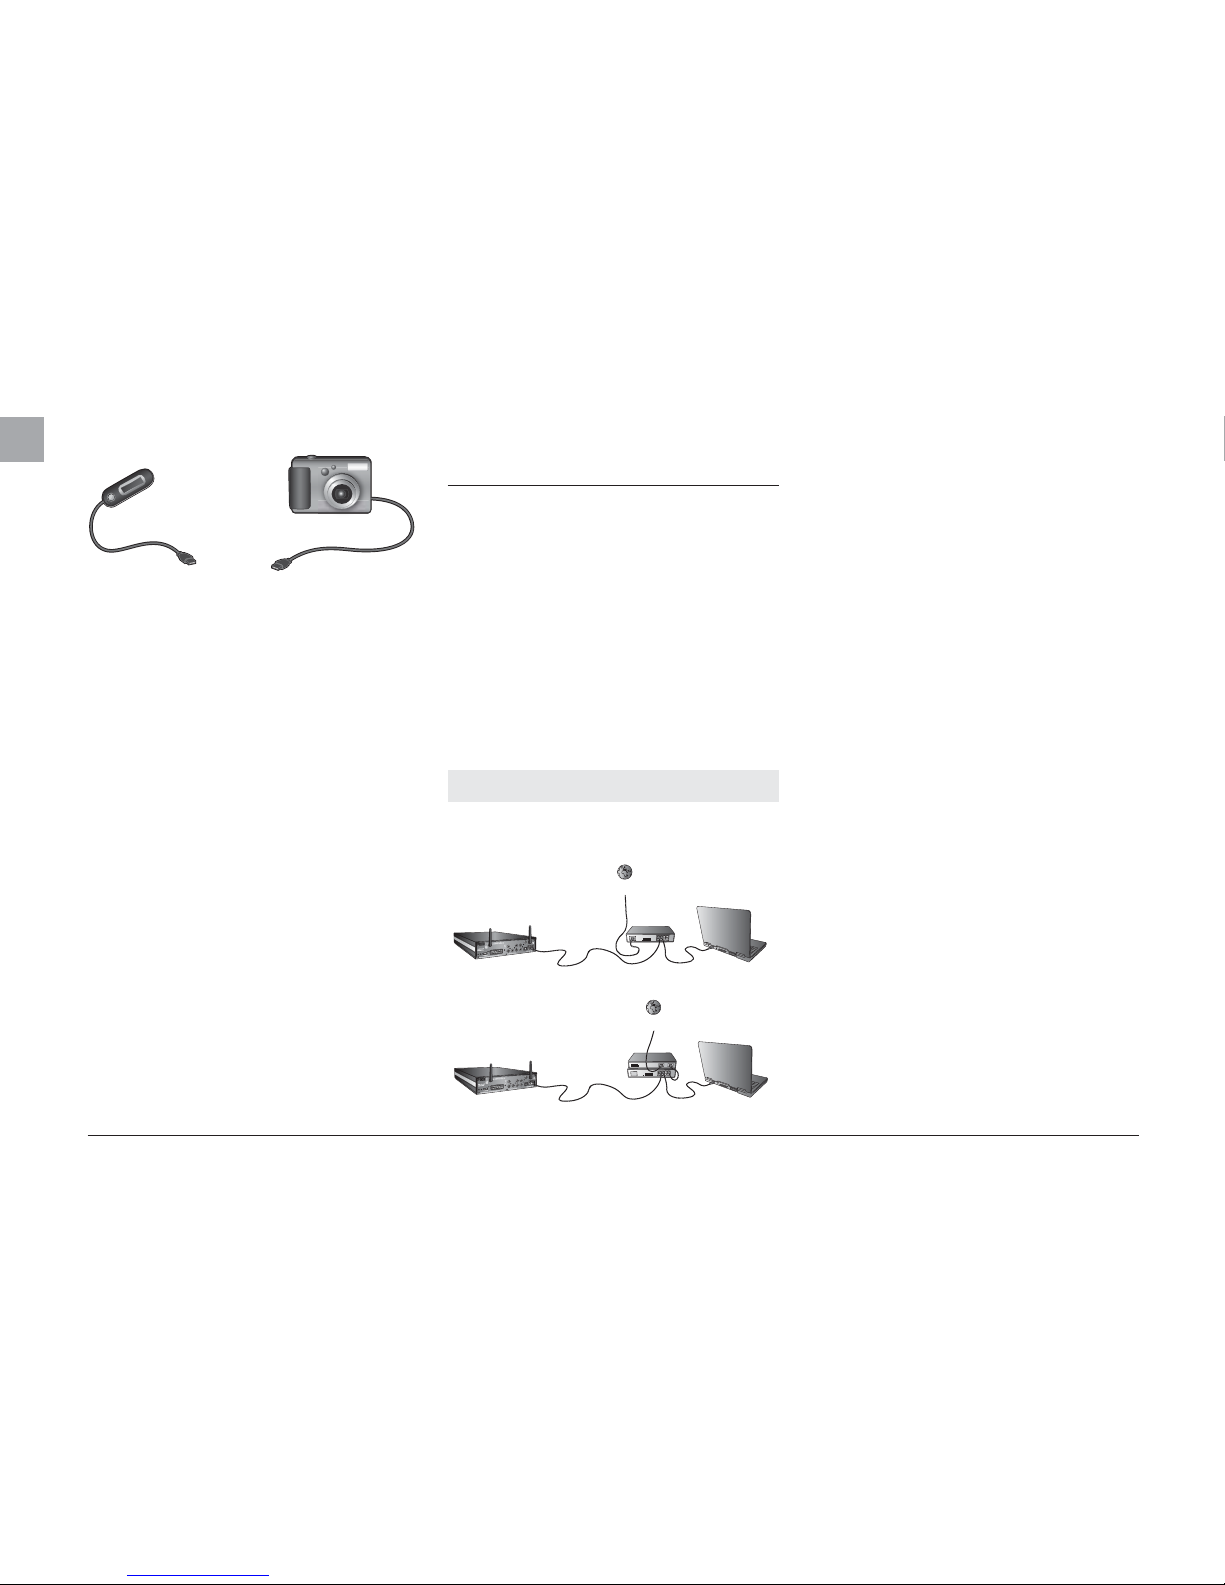
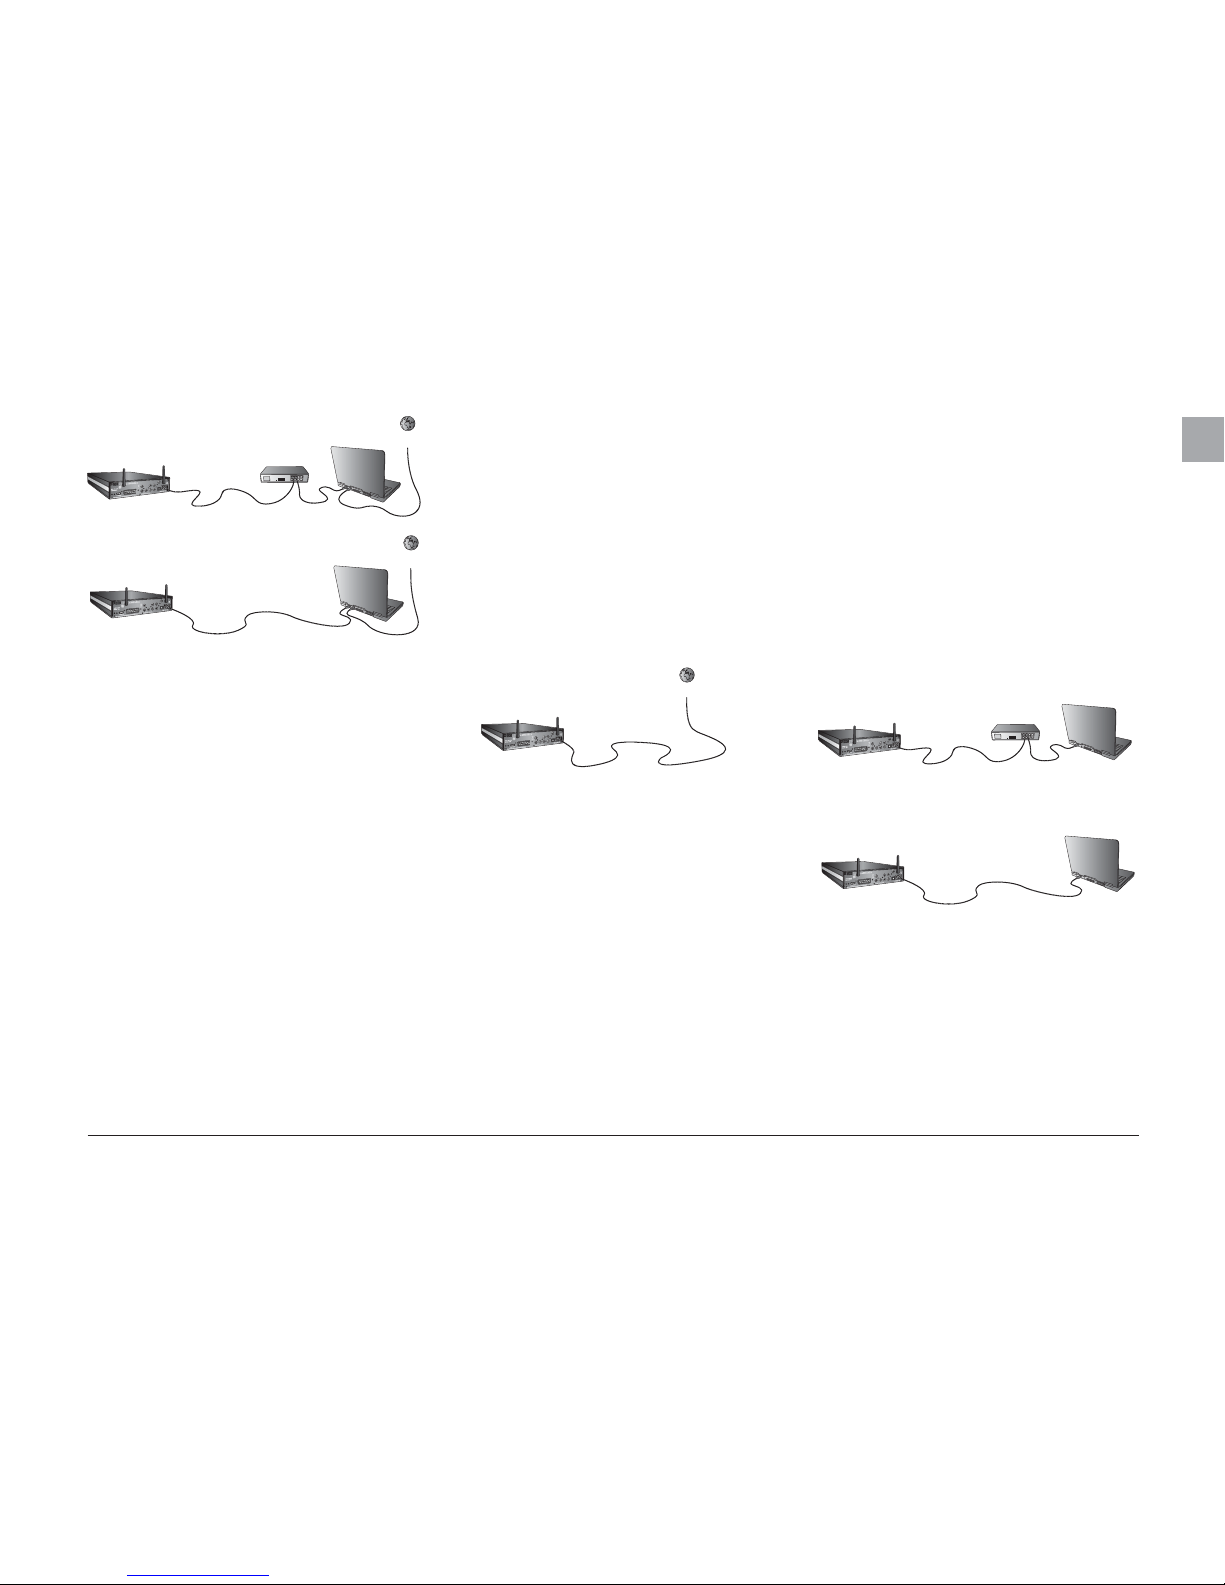
Equipment required
• A wireless ADSL modem.
Step-by-Step Guide
Note: With a direct Internet connection, you can only access
Online Services. KiSS PC-Link CANNOT be enabled.
1. Check that your Internet connection is currently working with
your computer. If you experience a problem with your Internet
connection, contact your ISP (Internet Service Provider).
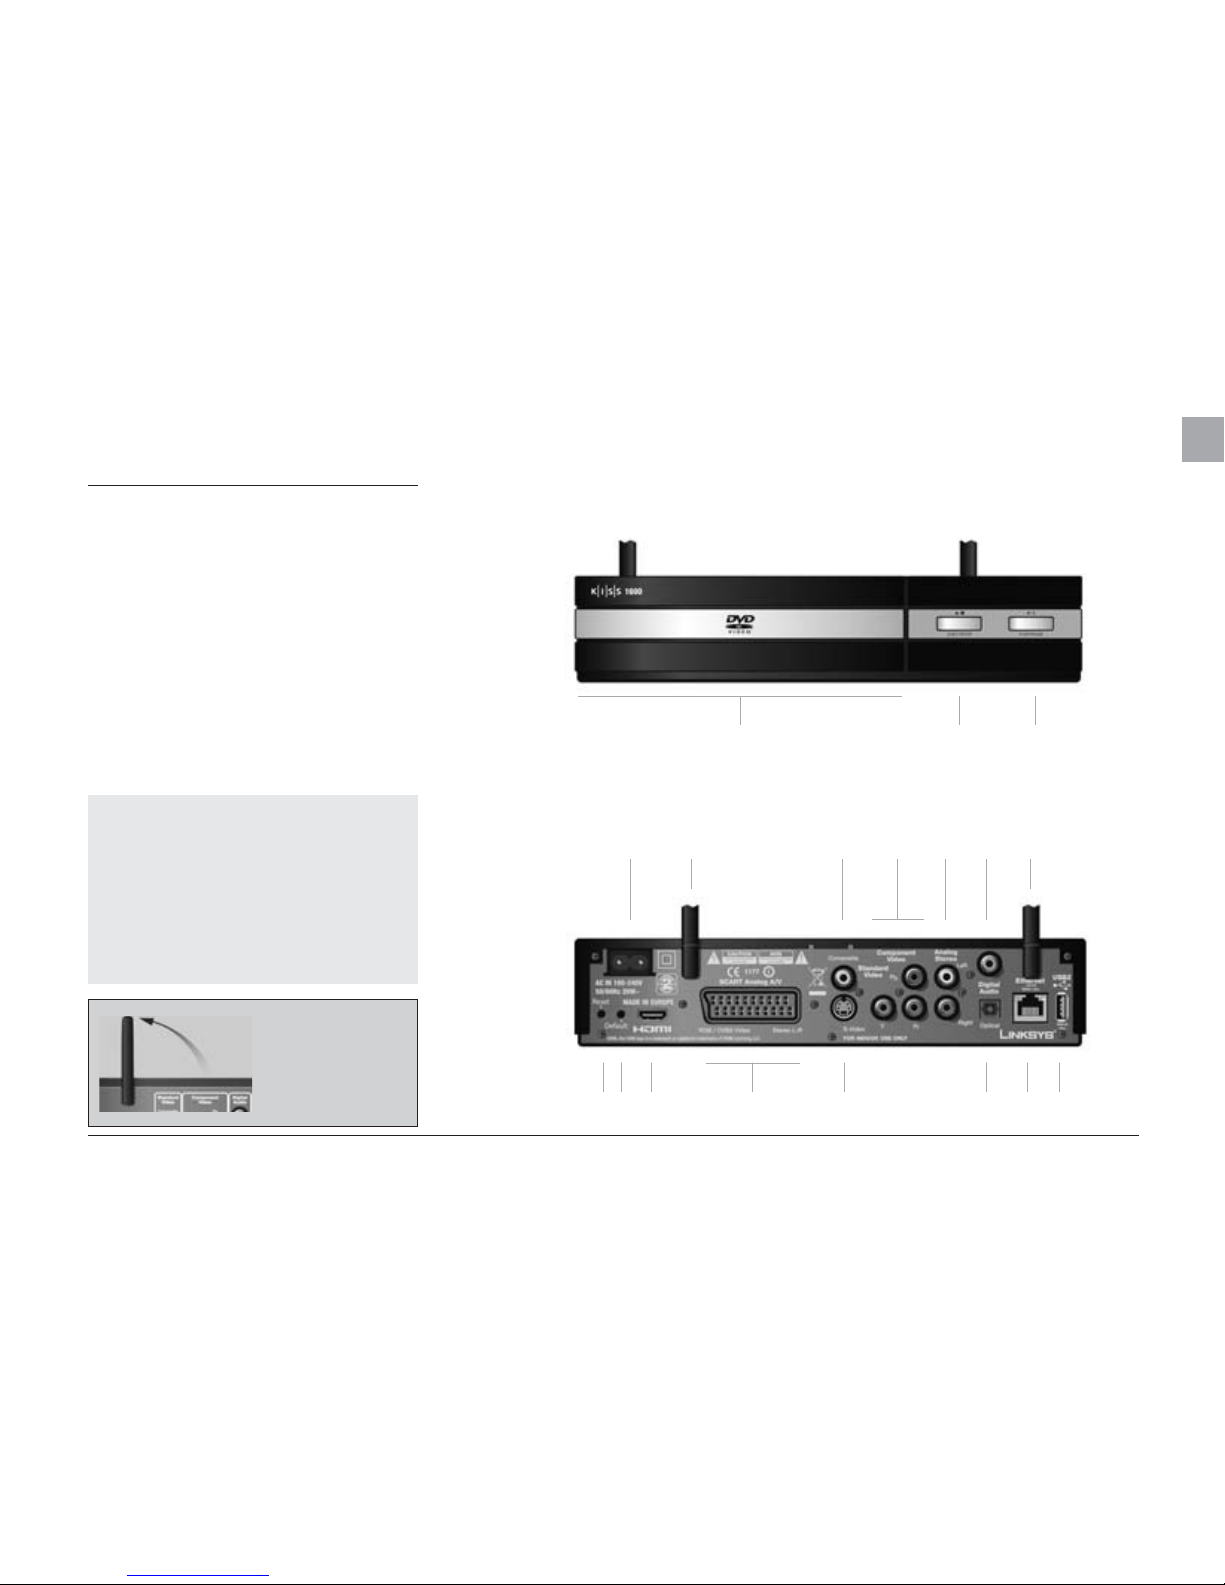
2. Deploy the player’s antennas (for better reception)
3. Plug your KiSS 1600 into the electrical socket to start it.
4. Wait up to 20 seconds for the KiSS 1600 to start loading.
During this period, the display will remain black until the
message “PLS WAIT” appears. Wait another 20 seconds for
loading to finish.
5. Proceed to the Quick Setup to set up the wireless connection
to your player. See Chapter 6 of this user guide.
6. If you experience a problem connecting, check the FAQ on
our website (www.linksys.eu; select your country, then Support,
Technical Support and Easy Answers).
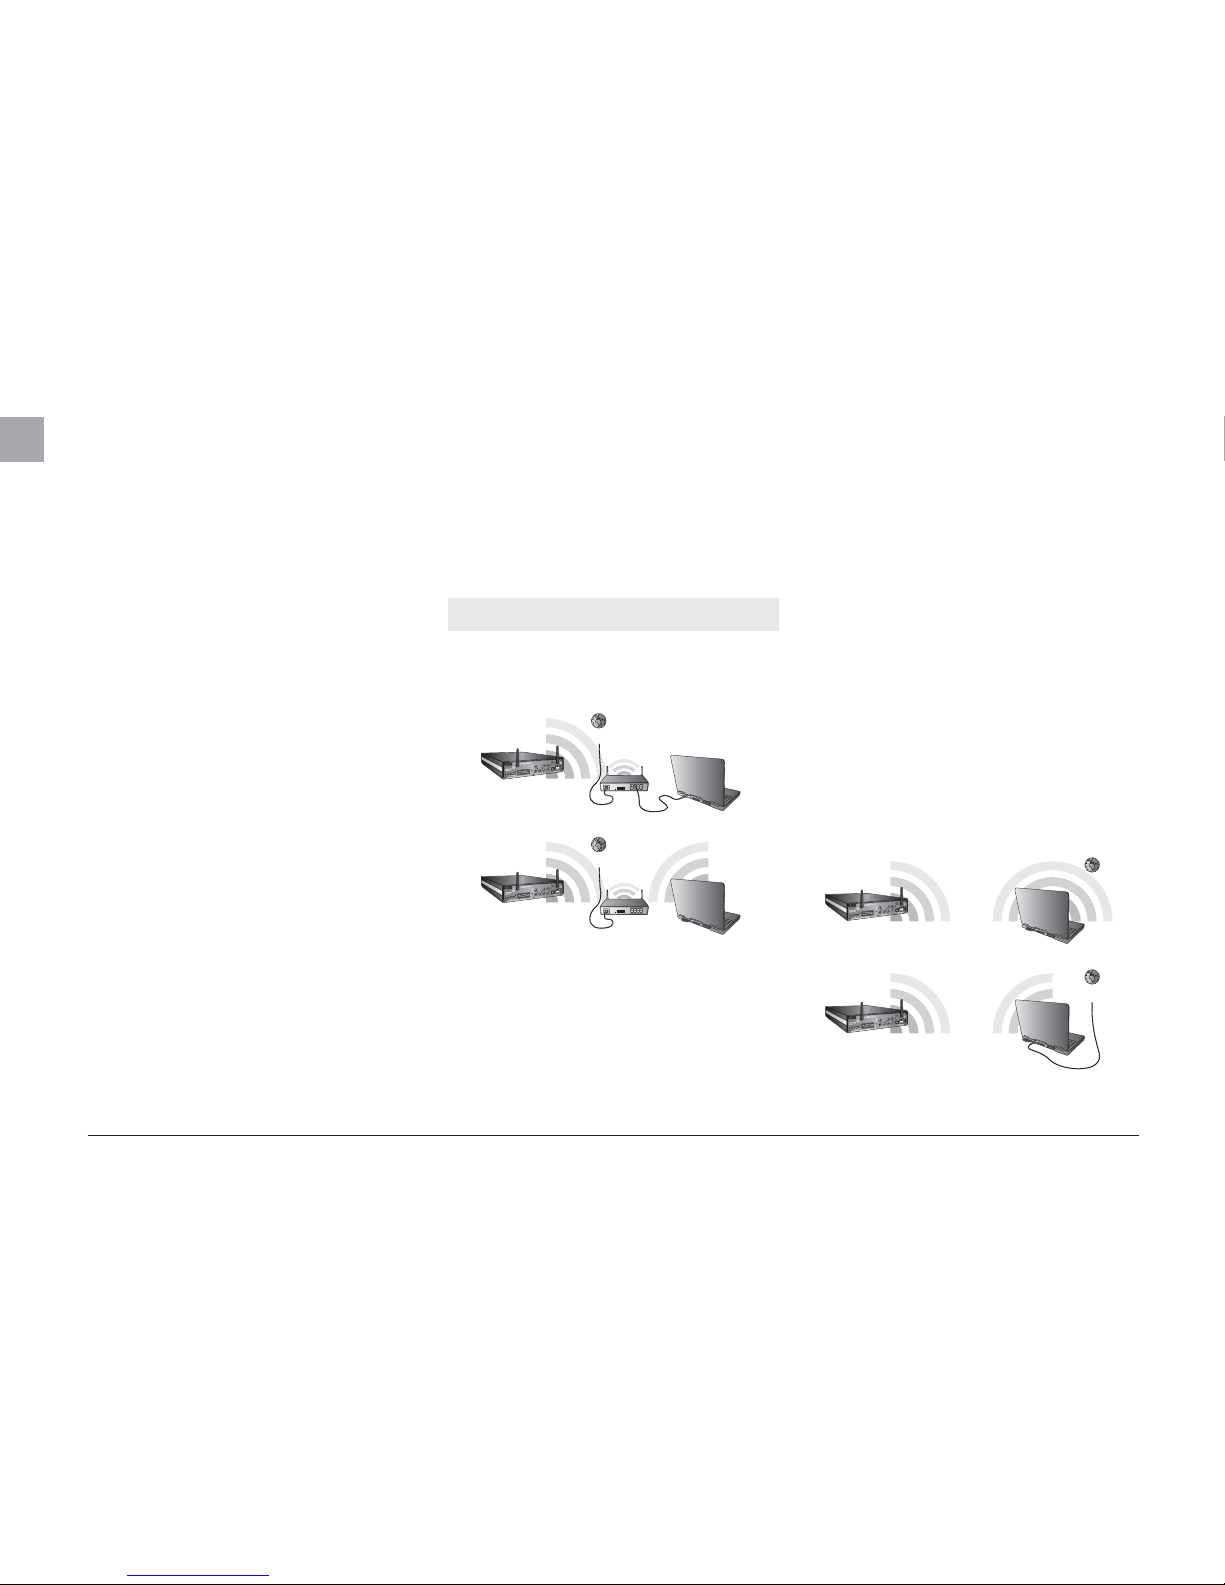
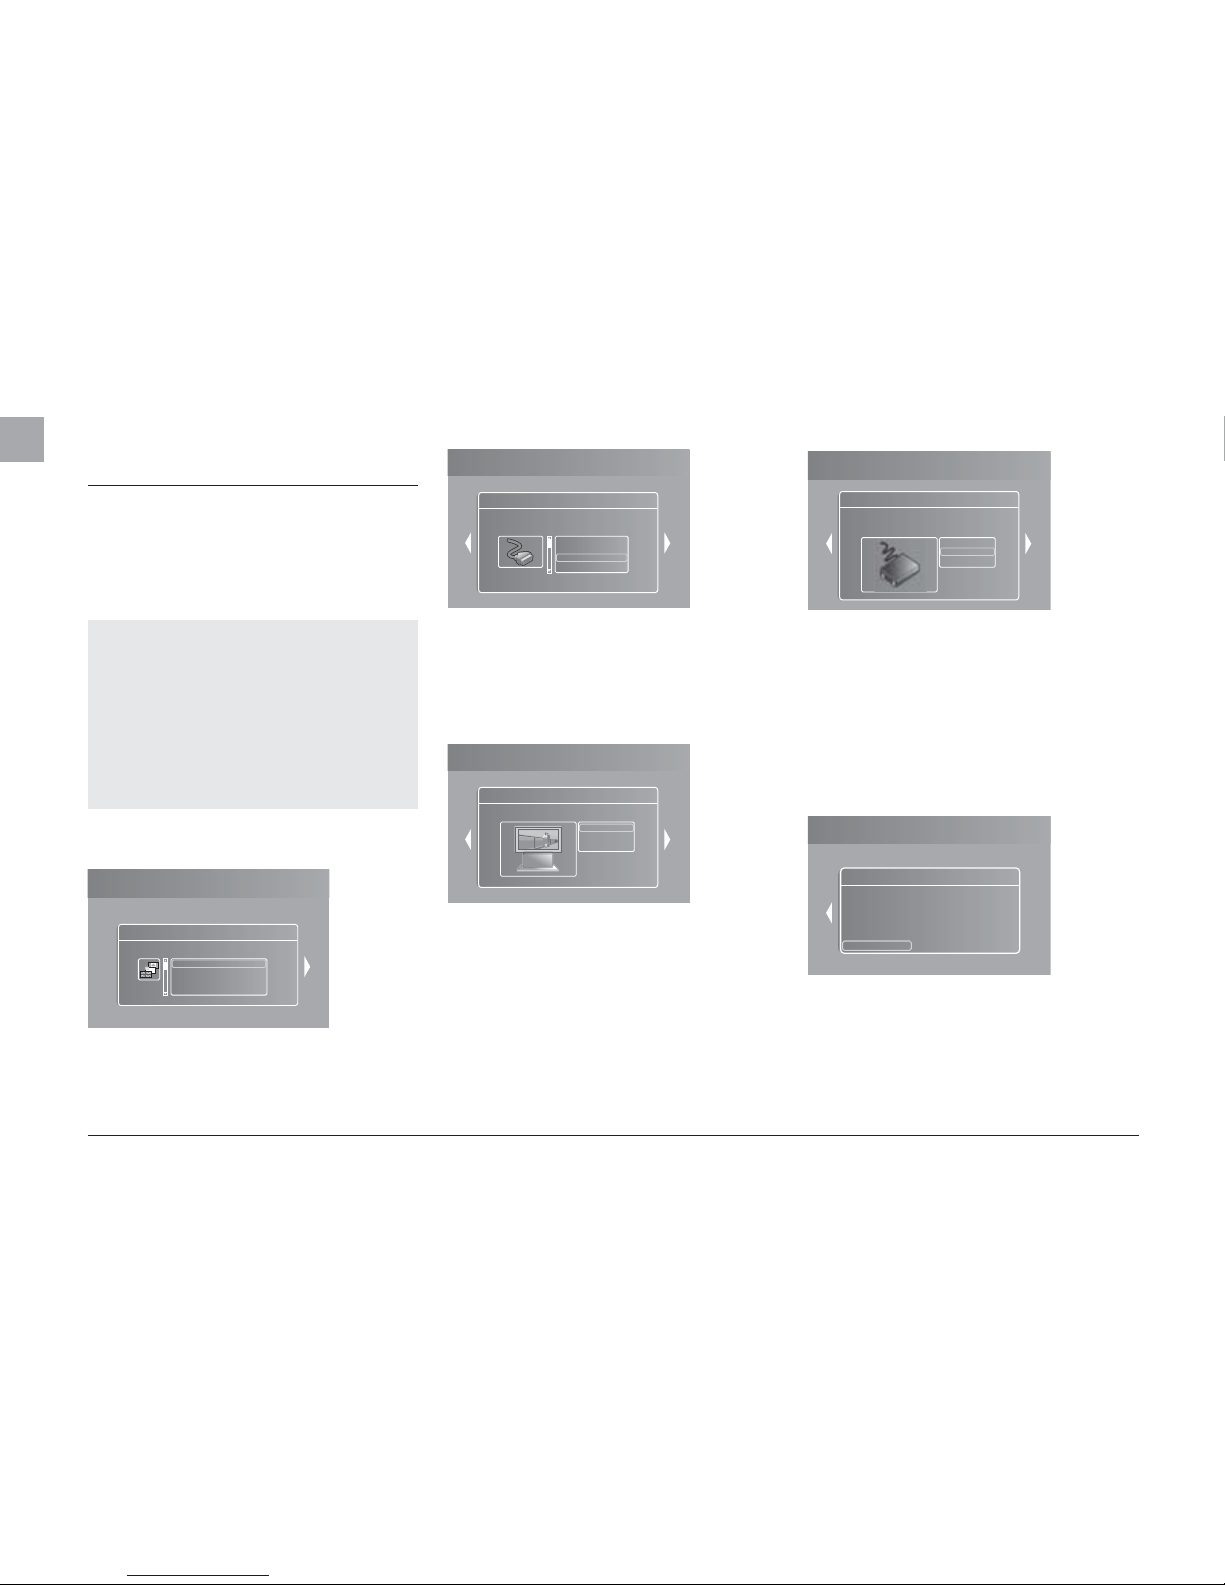
Setting up your WIRELESS connection at a later stage
After you have physically set up your player, you must configure
your wireless network in the player Setup menu in order to com-
municate with the rest of your network. To do this, start your KiSS
1600 and press the SETUP button to enter the SETUP MENU,
select the NETWORK SETTINGS tab in the menu and change the
settings according to the procedure described below:
Network Interface: Press this menu item to define how your
player is connected to your local network. Select WIRELESS.
Network protocol: For automatic configuration of the network
settings, it is recommended that this option is left enabled. With
the DHCP option enabled, you do not need to know how to set up
a network. Your player will have all its parameters (IP address,
subnet mask, DNS) automatically set by the router/PC point you
have connected it to.
Disabling the DHCP option will enable you to manually configure
the network details for your player. Go to the ADVANCED SETUP
Chapter to find out how to do this.
Search for Wireless Access Points: Use this menu option
to select one of the wireless networks available. The wireless
networks on the list may be labelled as either “Unlocked” (non-
encrypted networks) or “Locked” (networks that are available,
but require an encryption key). Select the network of your choice
to establish a connection. If you select a “Locked” network,
your player will display a Wireless Details Screen, prompting
you to select your associated WIRELESS ENCRYPTION and your
associated ENCRYPTION KEY.
Wireless Encryption: The Wireless Encryption menu item allows
you to set the type of encryption used on your wireless network.
Encryption is used to encrypt communication on your wireless
network. This prevents other wireless users in the vicinity from
gaining access to personal or confidential information.
For the player to be able to communicate with your wireless
network, the encryption settings in the player must be identical
to the settings on the wireless router or access point you will
be connecting to. If the wireless router/access point is operating
without encryption, your player must be set accordingly. However,
we recommend that you always use encryption on your wireless
network, so that (if possible) your router is set to WEP or WPA
encryption, and enable WEP or WPA/PSK TKIP (Personal), WPA/
PSK AES (Enterprise) encryption on your player accordingly. If you
do not know which encryption is enabled (if any) in your wireless
router/access point, please refer to the configuration instructions
in its manual. Encryption key: If you are running an encrypted
wireless network, all devices on your network must share the
same encryption key so that they can communicate. Please enter
this menu item to display the on-screen keyboard where you
will be able to enter the key that you are currently using in your
wireless router/access point. If you do not know which encryption
key is used on your wireless router/access point, please refer to
the configuration instructions in its manual.
Refer to point 5b SELECTING THE NETWORK (WIRELESS
NETWORK), of the QUICK SETUP Chapter for more information
about how to select your Wireless Access Point.
Wireless Network Configuration: Use this menu to manually
configure your Wireless Network Settings. See the above section
SEARCH FOR WIRELESS ACCESS POINT for more details.
Linksys Wireless PassPhrase: If you are using WEP and a
PASSPHRASE to connect to your wireless network, you can use
this menu to select your PassPhrase and get connected. Select
the type of key that you have set: 64-bit or 128-bit.After you have
selected the key type, go to WIRELESS PASSPHRASE. A keypad
will appear on your screen; simply use it to write your PassPhrase.
Press OK when you are finished. A list of 4 Passphrases will be
displayed on your screen, select the one that matches your
wireless computer settings, then press OK. If you are not sure
of your PassPhrase and PassPhrase Keys, please check your
wireless router settings on your computer.
Note: Video playback quality via wireless depends on the actual
bandwidth locally available and the bit stream of the video file.
EN