manuals.online logo
Brands
  1. Home
  2. •
  3. Brands
  4. •
  5. Linksys
  6. •
  7. Wireless Router
  8. •
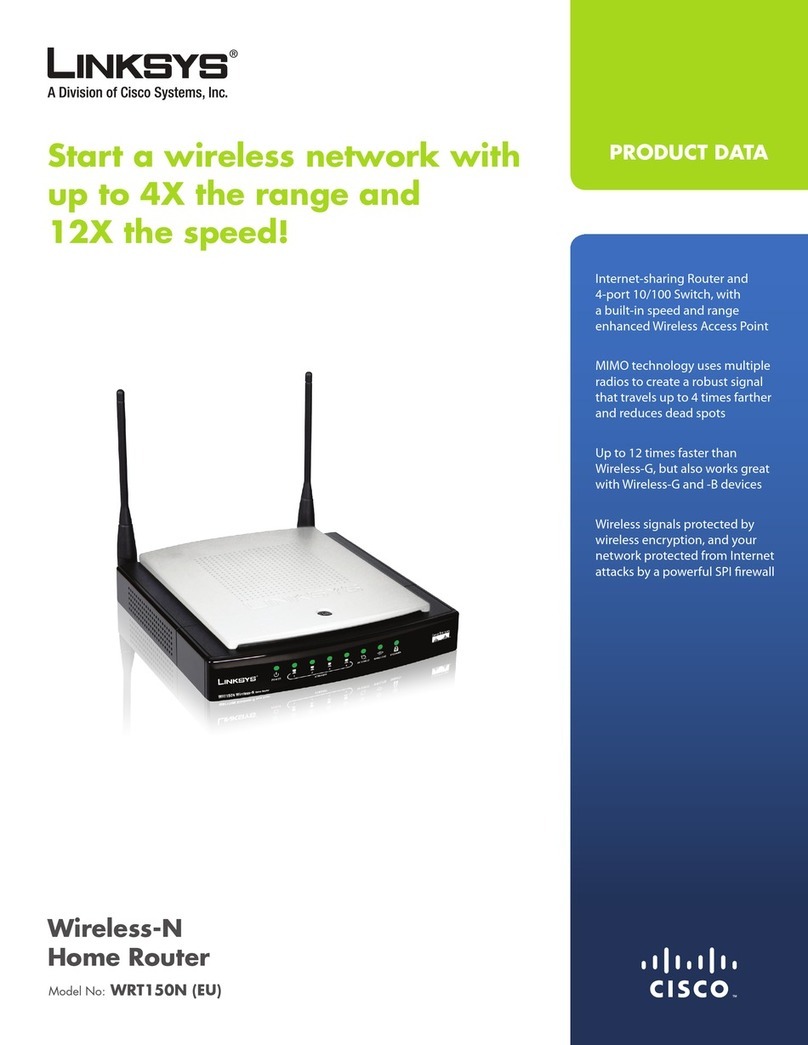
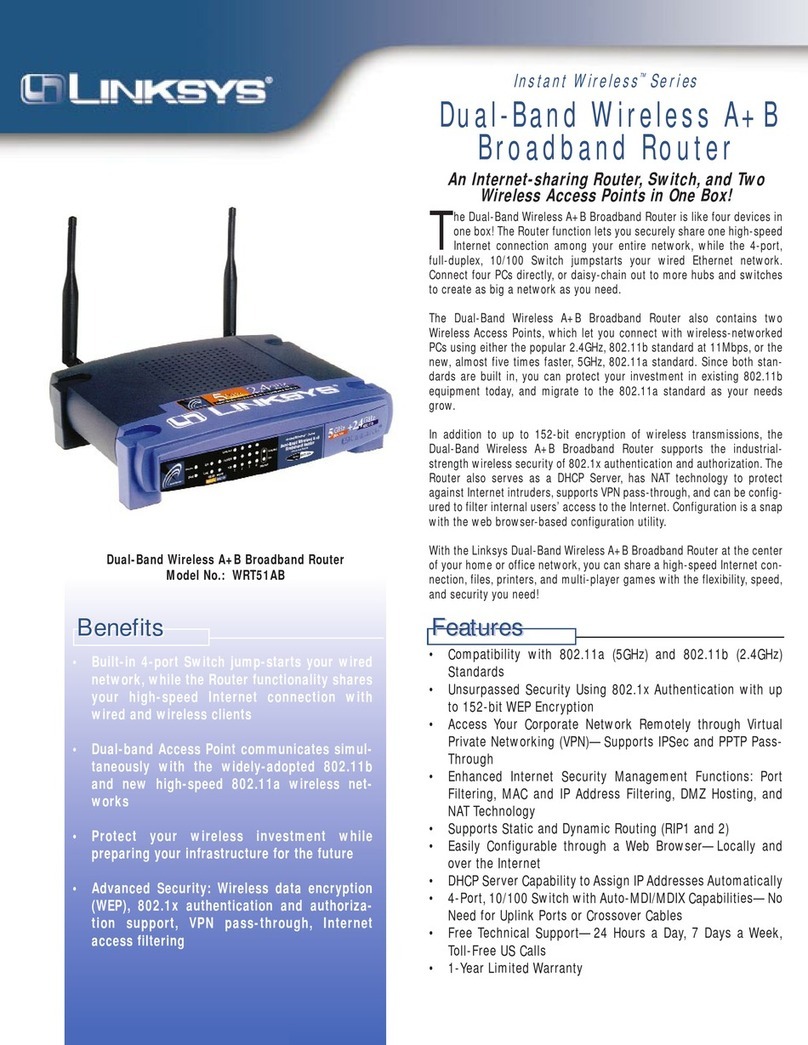
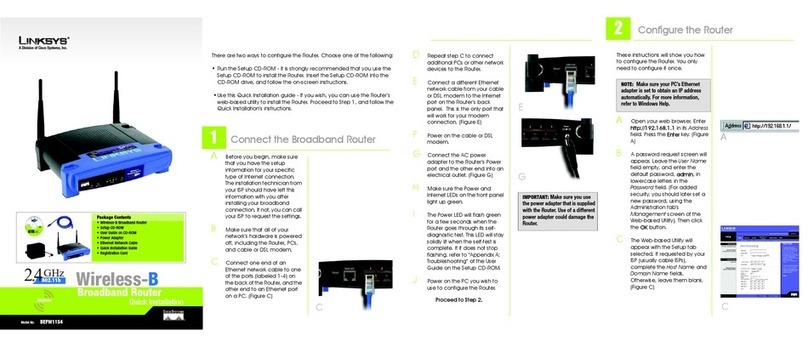
  9. Linksys WRT55AG - Wireless A+G Broadband Router Original operating instructions

Linksys WRT55AG - Wireless A+G Broadband Router Original operating instructions

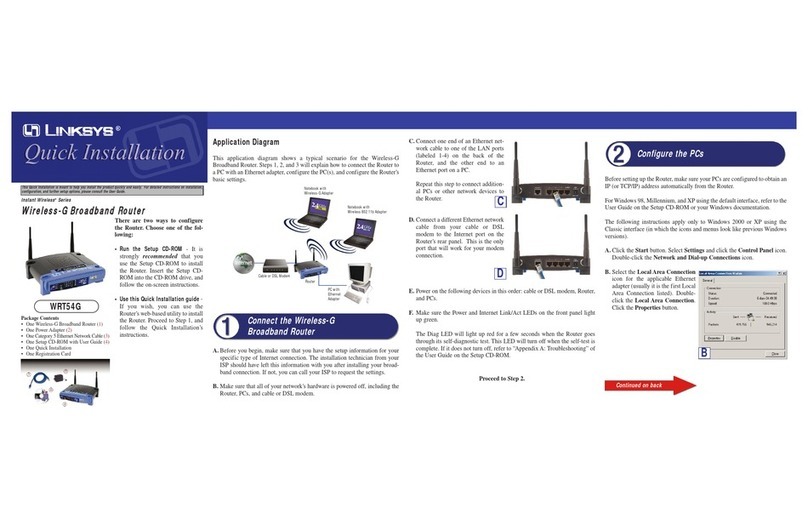
Before setting up the Router, make sure your PCs are configured to obtain an
IP (or TCP/IP) address automatically from the Router.
For Windows 98, Millennium, and XP using the default interface, refer to the
User Guide on the Setup CD-ROM or your Windows documentation.
The following instructions apply only to Windows 2000 or XP using the
Classic interface (in which the icons and menus look like previous Windows
versions).
A. Click the Start button and then the Control Panel icon. Click the
Network and Internet Connections icon. Then click the Network
Connections icon.
B. Select the Local Area Connection
icon for the applicable Ethernet
adapter (usually it is the first Local
Area Connection listed). Double-
click the Local Area Connection.
Click the Properties button.
WRT55AG
Continued on back
This Quick Installation is meant to help you install the product quickly and easily. For detailed instructions on installation,
configuration, and further setup options, please consult the User Guide.
Instant Wireless®Series
DDuuaall--BBaannddWWiirreelleessssAA//GGBBrrooaaddbbaannddRRoouutteerr
Application Diagram
This application diagram shows a typical scenario that uses the Dual-Band
Wireless A/G Broadband Router. Steps 1, 2, and 3 will explain how to connect
the Router to a PC with an Ethernet adapter, configure the PC(s), and config-
ure the Router’s basic settings.
A. Before you begin, make sure that you have the setup information for your
specific type of Internet connection. The installation technician from your
ISP should have left this information with you after installing your broad-
band connection. If not, you can call your ISP to request the settings.
B. Make sure that all of your network’s hardware is powered off, including the
Router, PCs, and cable or DSL modem.
Connect the Dual-Band Wireless A/G
Broadband Router
C. Connect one end of an Ethernet net-
work cable to one of the LAN ports
(labeled 1-4) on the back of the
Router, and the other end to an
Ethernet port on a PC.
Repeat this step to connect more PCs
or network devices to the Router.
D. Connect a different Ethernet network
cable from your cable or DSL
modem to the Internet port on the
Router’s rear panel. This is the only
port that will work for your modem
connection.
E. Power on the cable or DSL modem.
F. Connect the power adapter to the Power port on the rear panel of the Router,
and then plug the power adapter into a power outlet.
The Power LED on the front panel will light up green as soon as the power
adapter is connected properly.
The Diag LED will light up red for a few seconds when the Router goes
through its self-diagnostic test. This LED will turn off when the self-test is
complete. If it does not turn off, refer to “Appendix A: Troubleshooting” of
the User Guide on the Setup CD-ROM.
G. Power on one of your PCs.
Proceed to Step 2.
There are two ways to configure
the Router. Choose one of the fol-
lowing methods:
•Run the Setup CD-ROM - It is
strongly recommended that you
use the Setup CD-ROM to install
the Router. Insert the Setup CD-
ROM into the CD-ROM drive, and
follow the on-screen instructions.
•Use this Quick Installation guide -
If you wish, you can use the
Router’s web-based utility to install
the Router. Proceed to Step 1, and
follow the Quick Installation’s
instructions.
Note: You should always plug the Router’s power adapter into a power strip
with surge protection.
B
D
C
Cable or DSL Modem
Router
PC with
Ethernet
Adapter
Notebook with
Wireless Adapter
Notebook with
Wireless Adapter
Configure the PCs
Package Contents
• One Dual-Band Wireless A/G Broadband Router (1)
• One Power Adapter (2)
• One Category 5 Ethernet Network Cable (3)
• One Setup CD-ROM with User Guide (4)
• One Symantec Internet Security CD-ROM
• One Quick Installation
• One Registration Card
WWW.LINKSYS.COM
C. Make sure the box next to Internet
Protocol (TCP/IP) is checked.
Highlight Internet Protocol
(TCP/IP), and click the Properties
button.
D. Select Obtain an IP address auto-
matically. Once the new window
appears, click the OK button. Click
the OK button again to complete the
PC configuration.
E. Restart your computer.
Proceed to Step 3.
These instructions will show you how to configure the Router. You only need
to configure the Router once using any computer you have set up.
A. Open your web browser. Enter http://192.168.1.1 in its Address field. Press
the Enter key.
B. An Enter Network Password window will appear. Leave the User Name
field empty, and enter the default password, admin, in lowercase letters in
the Password field. (For added security, later you should change the default
to your own, using the Password tab of the web-based utility). Then click the
OK button.
C. The web-based utility will appear with the Setup tab selected. If requested
by your ISP (usually cable ISPs), complete the Host Name and Domain
Name fields. Other-wise, leave them blank.
D. For the Configuration Type setting, four connections types are offered
through the drop-down menu. Each Setup screen and available features will
differ depending on which connection type you select.
Internet Configuration Type
Automatic Configuration - DHCP: If you are connecting through DHCP
or a dynamic IP address from your ISP, keep this default setting.
Static IP: If your ISP assigns you a static IP address, select Static IP from
the drop-down menu. Complete the Internet IP Address, Subnet Mask,
Default Gateway, and DNS fields. You need to enter at least one DNS
address.
PPPoE: If you are connecting through PPPoE, select PPPoE from the drop-
down menu. Complete the User Name and Pas sword fields.
PPTP: PPTP is a service used in Europe only. If you are using a PPTP con-
nection, check with your ISP for the necessary setup information.
When you are finished entering your Internet connection settings, click the
Apply button to save your changes.
E. To configure the Router for your wireless network, select the appropriate
network mode.
Mode 802.11a
The default setting is Enable. To disable wireless networking for 802.11a,
select Disable.
Mode 54g
Mixed: If you have Wireless-G and 802.11b devices in your network, then
keep the default setting, Mixed.
G-Only: If you have only Wireless-G devices, select G-Only.
Disable: To disable wireless networking for 54g and 802.11b, select
Disable.
F. Customize the SSID and Channel settings as needed. For added security,
you should change the default SSID (linksys-a or linksys-g) to a unique
name and enable WEP encryption in step G.
G. To enable WEP encryption (recom-
mended), click the Enable radio
button next to WEP. Then click the
Edit WEP Settings button, and
customize the WEP encryption set-
tings as needed (see Figure G).
Click the Apply button to save
your settings. For more informa-
tion, refer to the User Guide on the
Setup CD-ROM.
H. On the Setup screen, click the Apply button to save your settings. Close
the web browser.
I. Restart your computers so that they can obtain the Router’s new settings.
J. Test the setup by opening your web browser from any computer and enter-
ing http://www.linksys.com/registration.
WRT54AG-QI-40227NC KL
Configure the Dual-Band Wireless A+G
Broadband Router
CA
C
J
D
For additional information or troubleshooting help, refer to the User Guide
on the Setup CD-ROM. You can also call or email for further support.
24-hour Technical Support 800-326-7114 (toll-free from US or Canada)
E-mail Support [email protected]
Website http://www.linksys.com or
http://support.linksys.com
RMA (Returh Merchandise http://www.linksys.com/support
Authorization
FTP Site ftp://ftp.linksys.com
Sales Information 800-546-5797 (800-LINKSYS)
G
Refer to the table below, if you need the default settings during configuration.
Default Settings for the Wireless A+G Broadband Router
Basic Settings________________________Default_______________
Internet Configuration Type Automatic Configuration - DHCP
Router’s IP Address 192.168.1.1
Router’s Subnet Mask 255.255.255.0
Router’s Password admin (lowercase)
DHCP Settings____________________________________________
DHCP Server Enable
DHCP Starting IP Address 192.168.1.100
Number of DHCP Client Users 50
5GHz Wireless Settings_____________________________________
SSID linksys-a
Channel 52
WEP (Encryption) Disable
2.4 GHz Wireless Settings___________________________________
SSID linksys-g
Channel 6
WEP (Encrytion) Disable
Other manuals for WRT55AG - Wireless A+G Broadband Router

5

This manual suits for next models

1

Other Linksys Wireless Router manuals

Linksys WRV200 Operation manual

Linksys

Linksys WRV200 Operation manual

Linksys WRT54G-TM Operation manual

Linksys

Linksys WRT54G-TM Operation manual

Linksys E8450 User manual

Linksys

Linksys E8450 User manual

Linksys WRT54GL - Wireless-G Broadband Router... User manual

Linksys

Linksys WRT54GL - Wireless-G Broadband Router... User manual

Linksys WRT1200AC User manual

Linksys

Linksys WRT1200AC User manual

Linksys WRT54GR - Wireless-G Broadband Router User manual

Linksys

Linksys WRT54GR - Wireless-G Broadband Router User manual

Linksys WRT54GS User manual

Linksys

Linksys WRT54GS User manual

Linksys WRT160NL - Wireless-N Broadband Router User manual

Linksys

Linksys WRT160NL - Wireless-N Broadband Router User manual

Linksys WRT54G3G-ST User manual

Linksys

Linksys WRT54G3G-ST User manual

Linksys WRT3200ACM User manual

Linksys

Linksys WRT3200ACM User manual

Linksys WRT54GS User manual

Linksys

Linksys WRT54GS User manual

Linksys 5G WiFi 6 User manual

Linksys

Linksys 5G WiFi 6 User manual

Linksys WRT3200AC User manual

Linksys

Linksys WRT3200AC User manual

Linksys FGMM1000 User manual

Linksys

Linksys FGMM1000 User manual

Linksys WRT54G3G-VN User manual

Linksys

Linksys WRT54G3G-VN User manual

Linksys WRT160NL - Wireless-N Broadband Router User manual

Linksys

Linksys WRT160NL - Wireless-N Broadband Router User manual

Linksys WRT54G3G - Wireless-G Router For Verizon Wireless... User manual

Linksys

Linksys WRT54G3G - Wireless-G Router For Verizon Wireless... User manual

Linksys WRTH54GS User manual

Linksys

Linksys WRTH54GS User manual

Linksys MAX-STREAM MR9600 User manual

Linksys

Linksys MAX-STREAM MR9600 User manual

Linksys Compact Wireless-G User manual

Linksys

Linksys Compact Wireless-G User manual

Linksys WRT300N - Wireless-N Broadband Router... User manual

Linksys

Linksys WRT300N - Wireless-N Broadband Router... User manual

Linksys WRT160N - Wireless-N Broadband Router... User manual

Linksys

Linksys WRT160N - Wireless-N Broadband Router... User manual

Linksys WRT54GC - Compact Wireless-G Broadband Router... User manual

Linksys

Linksys WRT54GC - Compact Wireless-G Broadband Router... User manual

Linksys RT41P2-AT - Broadband Router With 2 Phone Ports At&t Service... Operation manual

Linksys

Linksys RT41P2-AT - Broadband Router With 2 Phone Ports At&t Service... Operation manual

Popular Wireless Router manuals by other brands

Planex BLW-54PM user manual

Planex

Planex BLW-54PM user manual

SMC Networks BR24Q Quick installation guide

SMC Networks

SMC Networks BR24Q Quick installation guide

NetComm 3GM1WN quick start guide

NetComm

NetComm 3GM1WN quick start guide

Sitecom WLR-5001 datasheet

Sitecom

Sitecom WLR-5001 datasheet

PORODO PD-PT4GRV2-BK user manual

PORODO

PORODO PD-PT4GRV2-BK user manual

D-Link DSL-G604T user guide

D-Link

D-Link DSL-G604T user guide

TP-Link TL-WR810N user guide

TP-Link

TP-Link TL-WR810N user guide

ZyXEL Communications HC-WXF990 quick start guide

ZyXEL Communications

ZyXEL Communications HC-WXF990 quick start guide

Asus RT-N13 user manual

Asus

Asus RT-N13 user manual

Airlink101 AR670W Quick installation guide

Airlink101

Airlink101 AR670W Quick installation guide

CNET CBR-980 user manual

CNET

CNET CBR-980 user manual

Cerio eXtreme DT-100G user manual

Cerio

Cerio eXtreme DT-100G user manual

MikroTik NetBox 5 manual

MikroTik

MikroTik NetBox 5 manual

Belkin VISION N1 specification

Belkin

Belkin VISION N1 specification

Edimax BR-6524n Quick install guide

Edimax

Edimax BR-6524n Quick install guide

Inateck UA1004 instruction manual

Inateck

Inateck UA1004 instruction manual

Clear HOTSPOT TO GO quick start guide

Clear

Clear HOTSPOT TO GO quick start guide

Cradlepoint MBR90 quick start guide

Cradlepoint

Cradlepoint MBR90 quick start guide

manuals.online logo
manuals.online logoBrands
  • About & Mission
  • Contact us
  • Privacy Policy
  • Terms and Conditions

Copyright 2025 Manuals.Online. All Rights Reserved.