manuals.online logo
Brands
  1. Home
  2. •
  3. Brands
  4. •
  5. LINSY HOME
  6. •
  7. Indoor Furnishing
  8. •
  9. LINSY HOME LS209V1-A User manual

LINSY HOME LS209V1-A User manual

Assembly Instructions - Please keep for future reference
Dimensions
Width - 47.24inch
Depth-23.62inch
Height - 29.53inch
Computer Desk
1
MAX
30KGS
scratches, use a car polish.
following chemicals: acetone,
Do not clean it with cleaner with
dust to keep it clean.
you may use the dry cloth to clean the
you want to dump it.
local authority waste disposal centre if
with household waste. Take it to thein the unit from time to time.
Please check if there is any screws loosed
Only cleaning with a damp cloth and
responsibly.
Dispose of all packaging carefully and
hand screwdrivers we provided.
damage the unit. Only use
to insert screws, as it may
to use power drill or drivers
We do not recommend
before get start.
to put the parts out on the ground
may result in choken if swallow.
while you are installing, small parts
components and tools listed on the
Safety and Care Advice
– Please read these instructions fullybefore starting assembly
Check that if you have all the
front cover and pages 3 - 4.
Remove all ttings from the plastic
bags and separate them into their
groups.
Keep children and animals away
Make sure you have enough space
Do not stand or put weight on the
product, which could cause damage.
Assemble the item as close to its
nal position (in the same room) as
possible.
Do not place furniture directly in
front of radiators, res or any other
source of heat.
Parts of the assembly
will be easier with 2
people.
Assemble on a soft level surface
to avoid damaging the unit or your
oor.
mild detergent, do no use bleach or
abrasive cleaners.
This product should not be discarded
Clean marks with a damp cloth.
Do not allow spillages to stay on the
surface for long.
To remove stubborn stains, wipe
over with a damp cloth and washing
up liquid.
Do not use abrasive cleaners.
(e.g nail varnish remover), Ammonia
(e.g.bleach), or Sodium hydroxide
(e.g. Caustic soda, drain and oven
cleaners).
In the event of accidental contact
with aggresive cleaners, rinse
thoroughly with water.
To remove stains and small
Place mats to protect the
surface from moisture and heat.
1 2
General care and maintenance
Cleaning and care of high gloss surfaces
2
Important
Components
Please check you have all the pieces listed below
3
Part List
Reference Description Specications(mm) Quantity Material
Outer Frame 596*727*20 1 Steel
Middle Frame 596*727*20 1 Steel
Outer Frame 596*727*20 1 Steel
Connecting Tube 906*20*20 Steel
Reinforced Wire 1025*340*7 1
1
Steel
25*40*30 1 Steel
1200*600*15 1
Hanger
554*270*15 2
Desktop Particle Board
Particle Board
Shelf
8
7
6
5
4
3
2
1
Components
Please check you have all the pieces listed below
M6x10 x 5 pcs M6 x 6 pcs
4
M6x30 x 17 pcs
S4 x 1 pc Spare Parts x 1 pc
A B
ED
C
1 of 1
Assembly Instructions:Shelf on the left
Step 1
Bx 2 pcs
Dx 1 pc
B
B
2
3
4
6
Don’t screw tightly before all the screws
are put into the corresponding holes
Spare Parts
Assembly Instructions
5
Step 2
Step 3
D x 1 pc
B x 5 pcs
Dx 1 pc
Bx 2 pcs
Don’t screw tightly before all the screws
are put into the corresponding holes
DO NOT USE THE WRONG SCREWS.
The desktop can only be xed by the
screws B
DO NOT USE THE WRONG SCREWS.
The desktop can only be xed by the
screws B
B
B
B
B
B
7
B
B
1
Assembly Instructions
6
Step 4
Step 5
Dx 1 pc
Bx 8 pcs
Dx 1 pc
Ax 4 pcs
Cx 6 pcs
Don’t screw tightly before all the screws
are put into the corresponding holes
Don’t screw tightly before all the screws
are put into the corresponding holes
B
B
B
B
B
B
B
B8
8
A
A
A
A
C
C
C
C
C
C
5
C
D x 1 pc
Assembly Instructions
7
Step 6
Step 7
All screws should be tightly
screwed
The hanger can also be assembled
on the left side
Ax 1 pcs
Dx 1 pc
A
Spare Parts
4
B6
3
2
B
Components
Please check you have all the pieces listed below
M6x10 x 5 pcs M6 x 6 pcs
8
M6x30 x 17 pcs
S4 x 1 pc Spare Parts x 1 pc
A B
ED
C
1 of 1
Assembly Instructions:Shelf on the right
Step 1
Bx 2 pcs
Dx 1 pc
Don’t screw tightly before all the screws
are put into the corresponding holes
Assembly Instructions
9
Step 2
Step 3
D x 1 pc
B x 5 pcs
Dx 1 pc
Bx 2 pcs
Don’t screw tightly before all the screws
are put into the corresponding holes
DO NOT USE THE WRONG SCREWS.
The desktop can only be xed by the
screws B
DO NOT USE THE WRONG SCREWS.
The desktop can only be xed by the
screws B
B
B
B
B
B
7
B
B
1
Assembly Instructions
10
Step 4
Step 5
D x 1 pc
B x 8 pcs
Dx 1 pc
Ax 4 pcs
Cx 6 pcs
C
Don’t screw tightly before all the screws
are put into the corresponding holes
Don’t screw tightly before all the screws
are put into the corresponding holes
B
BB
B
B
B
BB
8
8
A
C
C
C
C
C
C
5
A
A
A
Assembly Instructions
Step 6
Step 7
The hanger can also be assembled
on the right side
Ax 1 pcs
Dx 1 pc
A
D x 1 pc All screws should be tightly
screwed

Other LINSY HOME Indoor Furnishing manuals

LINSY HOME LS200P1-A User manual

LINSY HOME

LINSY HOME LS200P1-A User manual
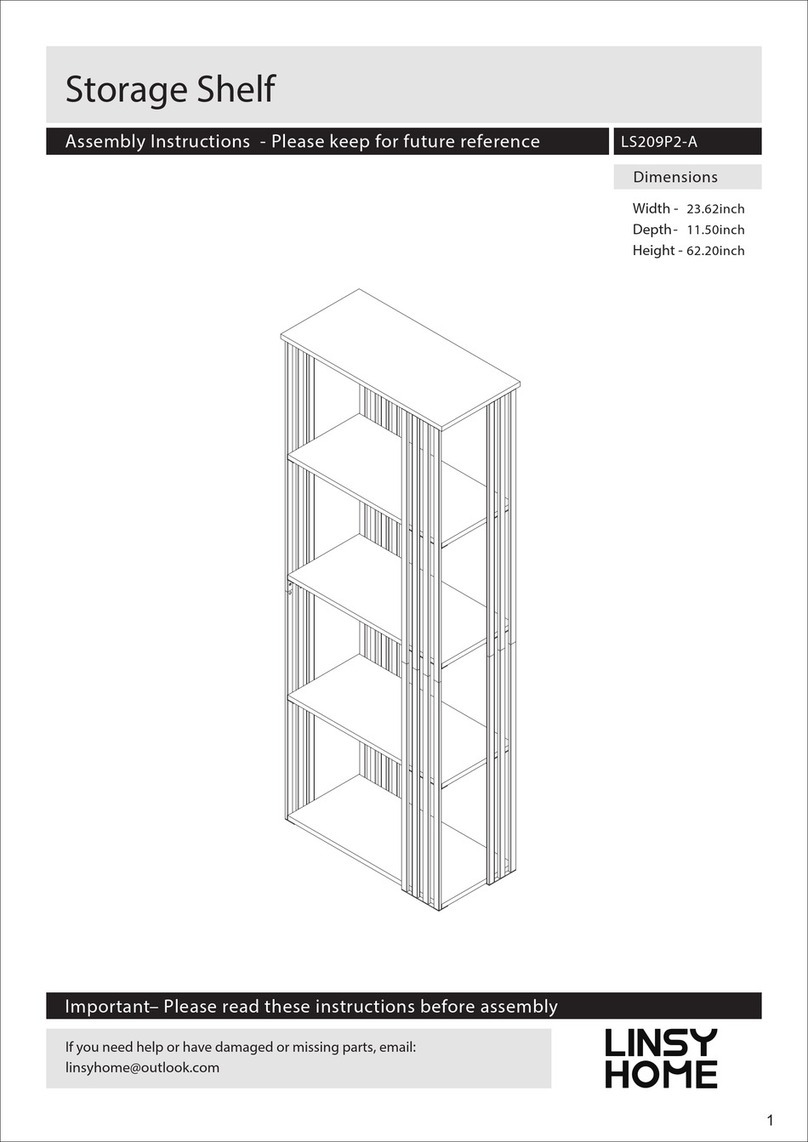
LINSY HOME LS209P2-A User manual

LINSY HOME

LINSY HOME LS209P2-A User manual
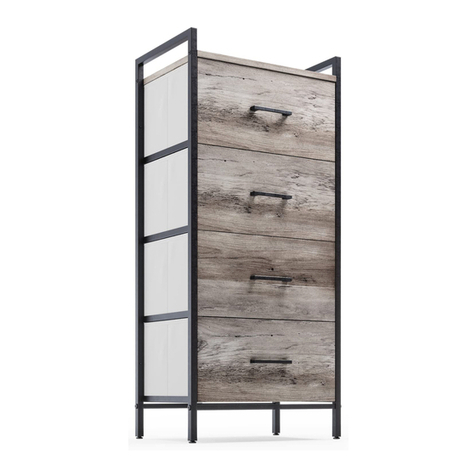
LINSY HOME LS200E2-A User manual

LINSY HOME

LINSY HOME LS200E2-A User manual
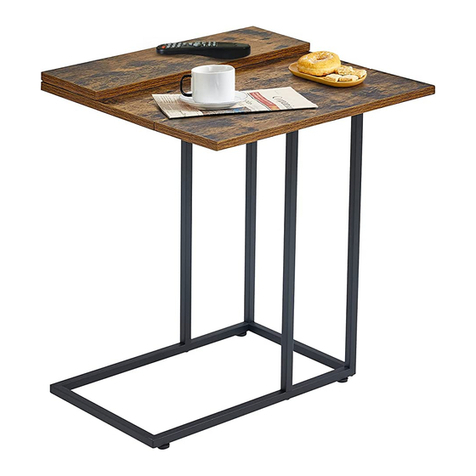
LINSY HOME LS200J2-C User manual

LINSY HOME

LINSY HOME LS200J2-C User manual
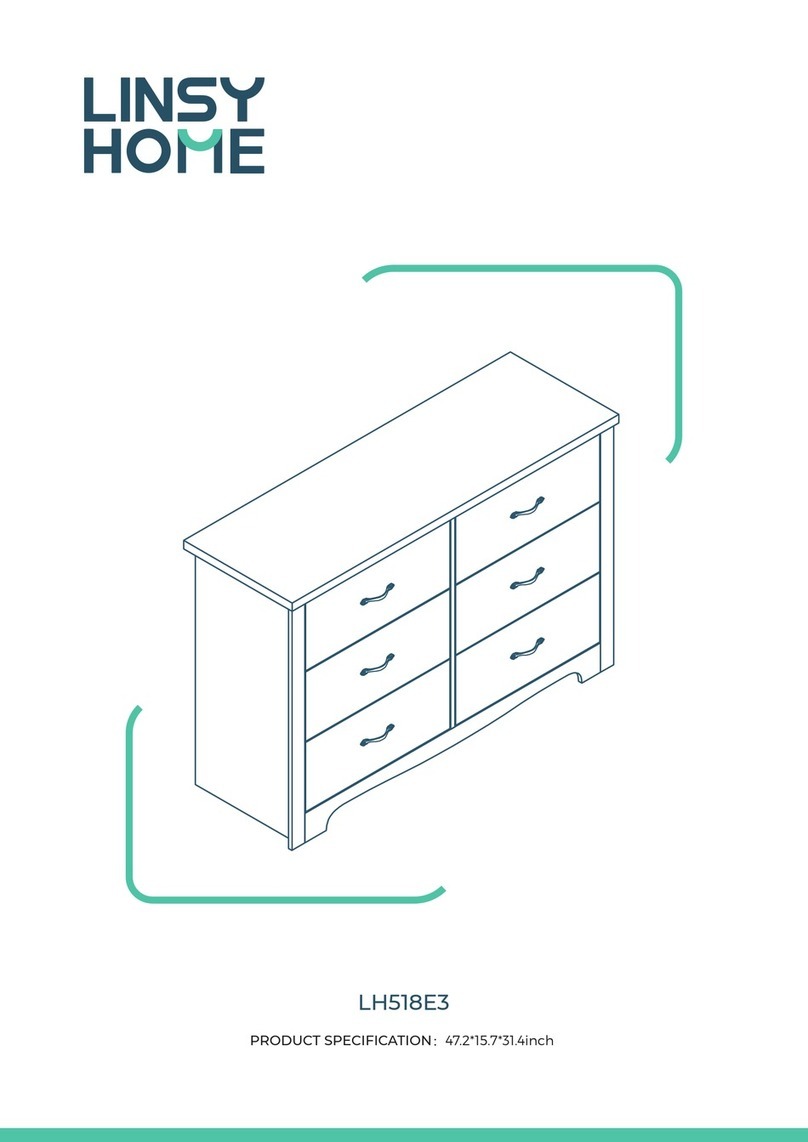
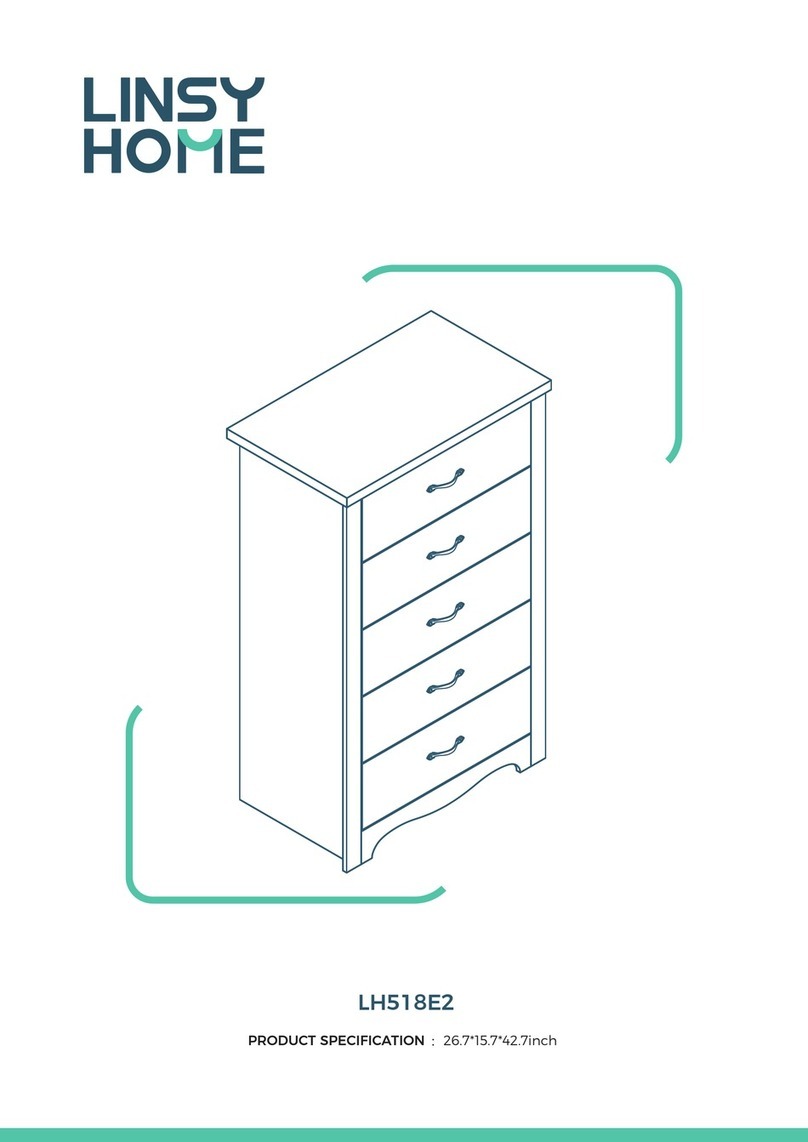
LINSY HOME LH518E3 User manual

LINSY HOME

LINSY HOME LH518E3 User manual
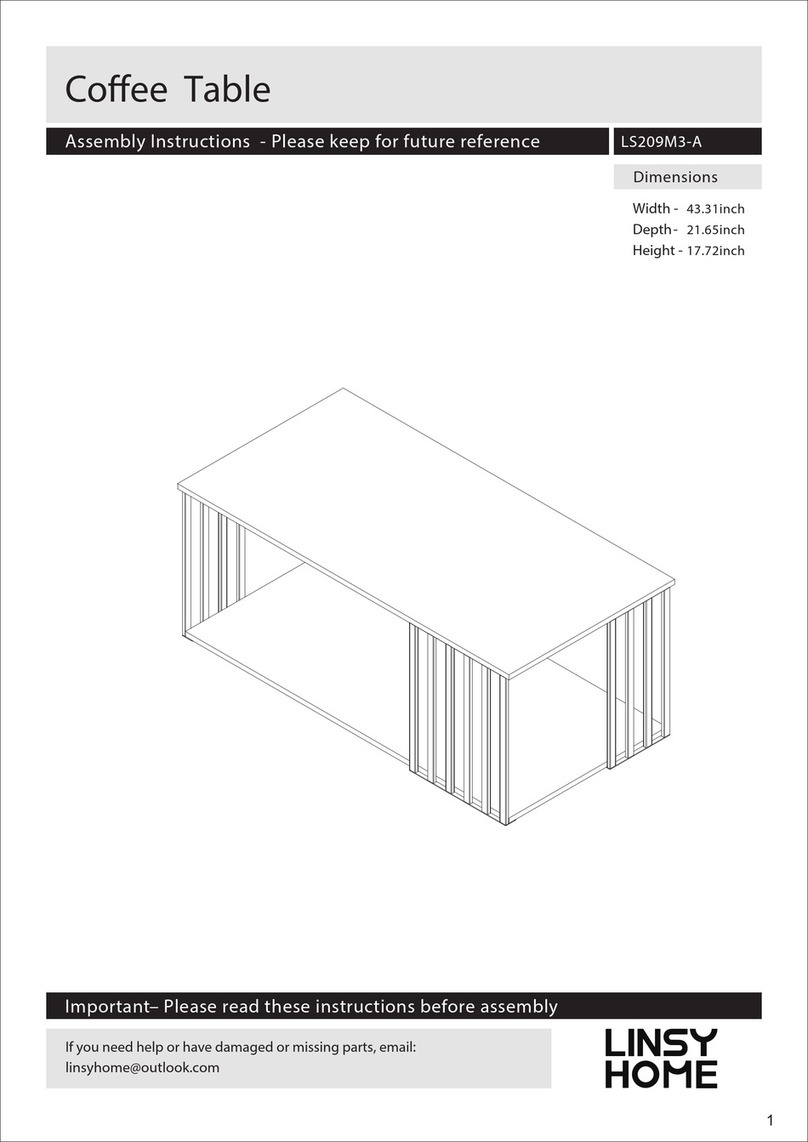
LINSY HOME LS209M3-A User manual

LINSY HOME

LINSY HOME LS209M3-A User manual

LINSY HOME LH618E4 User manual

LINSY HOME

LINSY HOME LH618E4 User manual
LINSY HOME LS200E7-A User manual

LINSY HOME

LINSY HOME LS200E7-A User manual
LINSY HOME LS212V2-B User manual

LINSY HOME

LINSY HOME LS212V2-B User manual
LINSY HOME LH518E4 User manual

LINSY HOME

LINSY HOME LH518E4 User manual
LINSY HOME LH022Y2-A User manual

LINSY HOME

LINSY HOME LH022Y2-A User manual
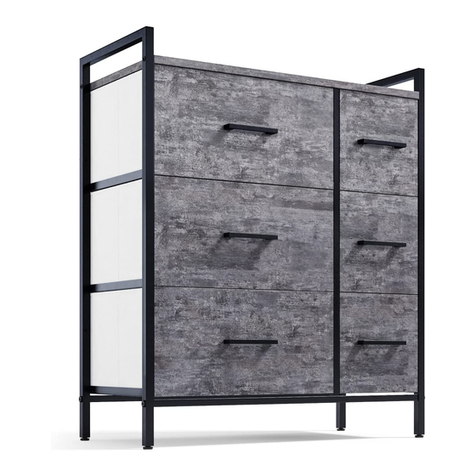
LINSY HOME LS200E4-A User manual

LINSY HOME

LINSY HOME LS200E4-A User manual
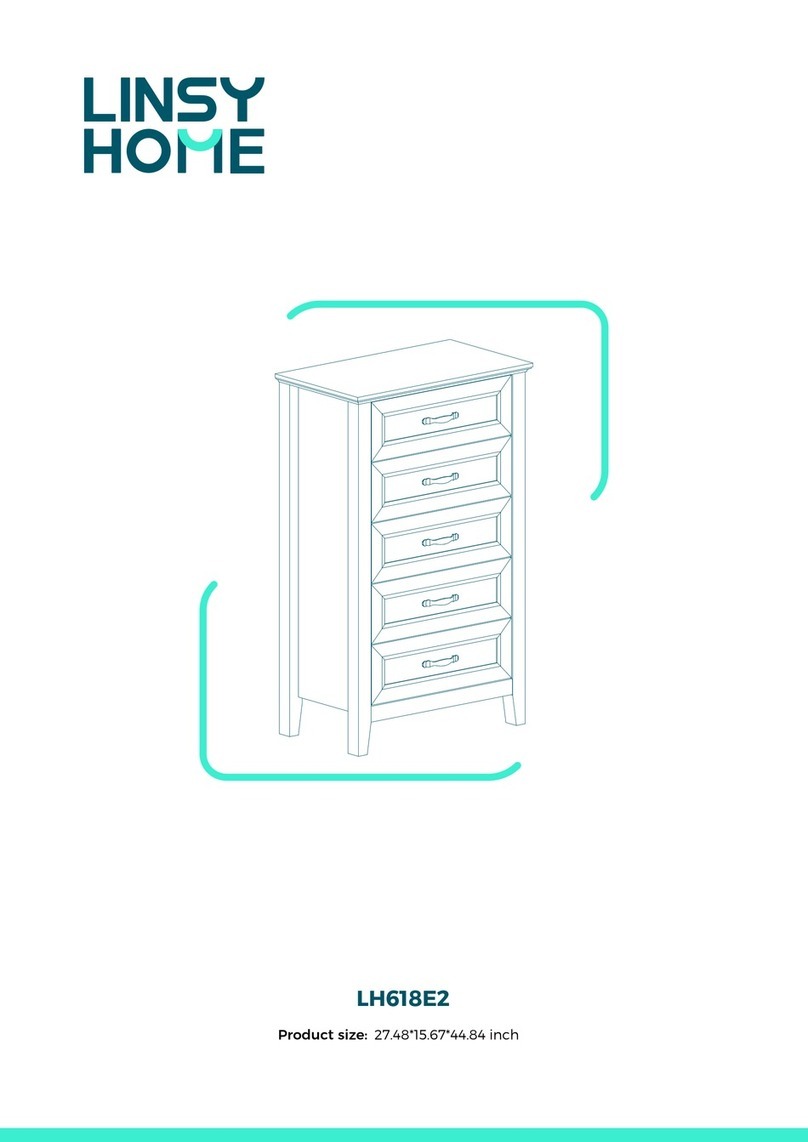
LINSY HOME LH618E2 User manual

LINSY HOME

LINSY HOME LH618E2 User manual

LINSY HOME LS209P1-B User manual

LINSY HOME

LINSY HOME LS209P1-B User manual

LINSY HOME LS200E2-A User manual

LINSY HOME

LINSY HOME LS200E2-A User manual

LINSY HOME LH618E1 User manual

LINSY HOME

LINSY HOME LH618E1 User manual

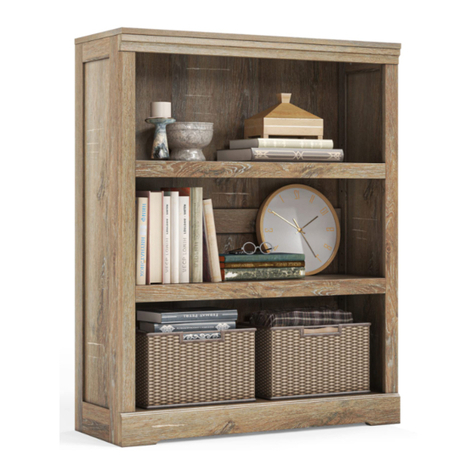
LINSY HOME DRESSER WITH 7 DRAWERS AE1E User manual
LINSY HOME

LINSY HOME DRESSER WITH 7 DRAWERS AE1E User manual

LINSY HOME LH027X2 User manual

LINSY HOME

LINSY HOME LH027X2 User manual
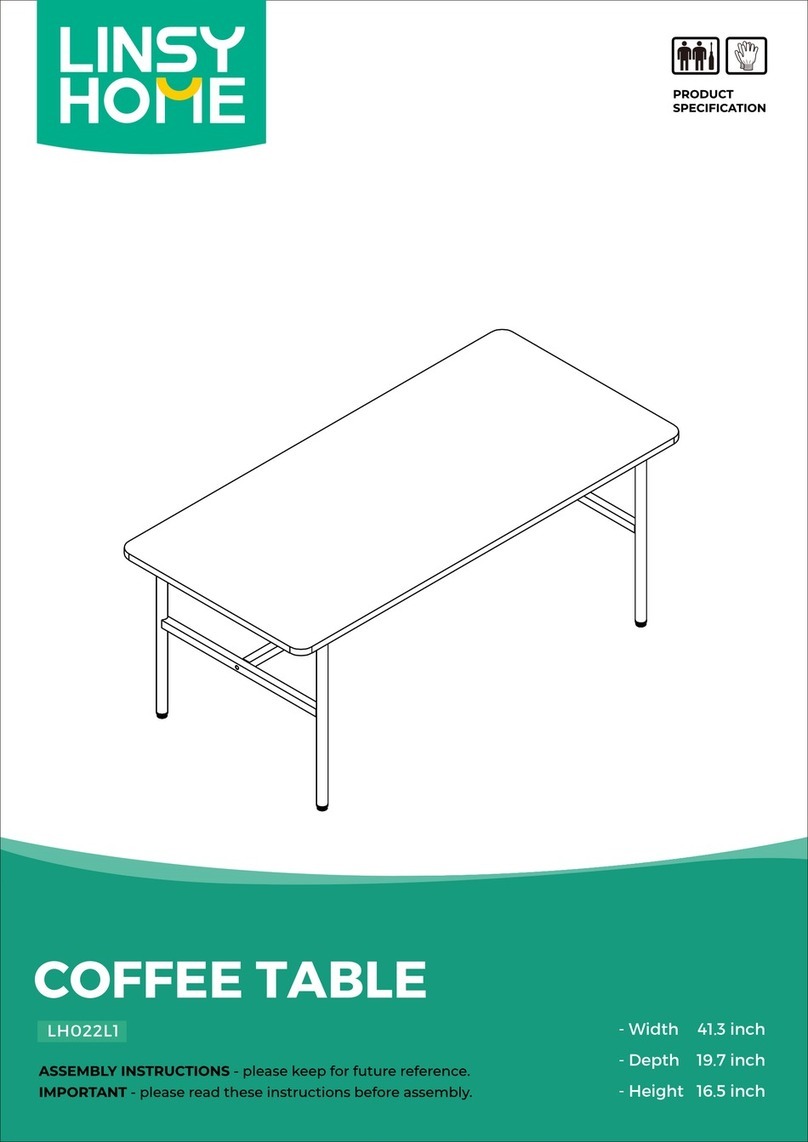
LINSY HOME LH022L1 User manual

LINSY HOME

LINSY HOME LH022L1 User manual
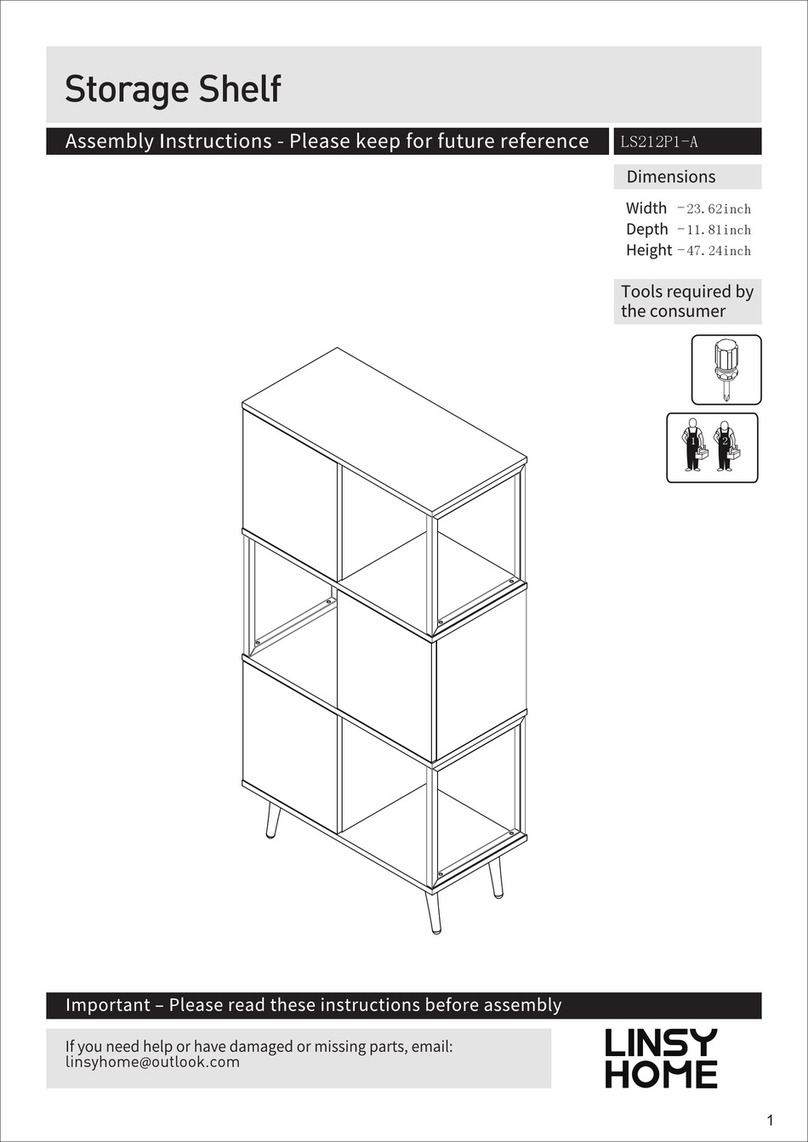
LINSY HOME LS212P1-A User manual

LINSY HOME

LINSY HOME LS212P1-A User manual

LINSY HOME LH518E2 Owner's manual

LINSY HOME

LINSY HOME LH518E2 Owner's manual

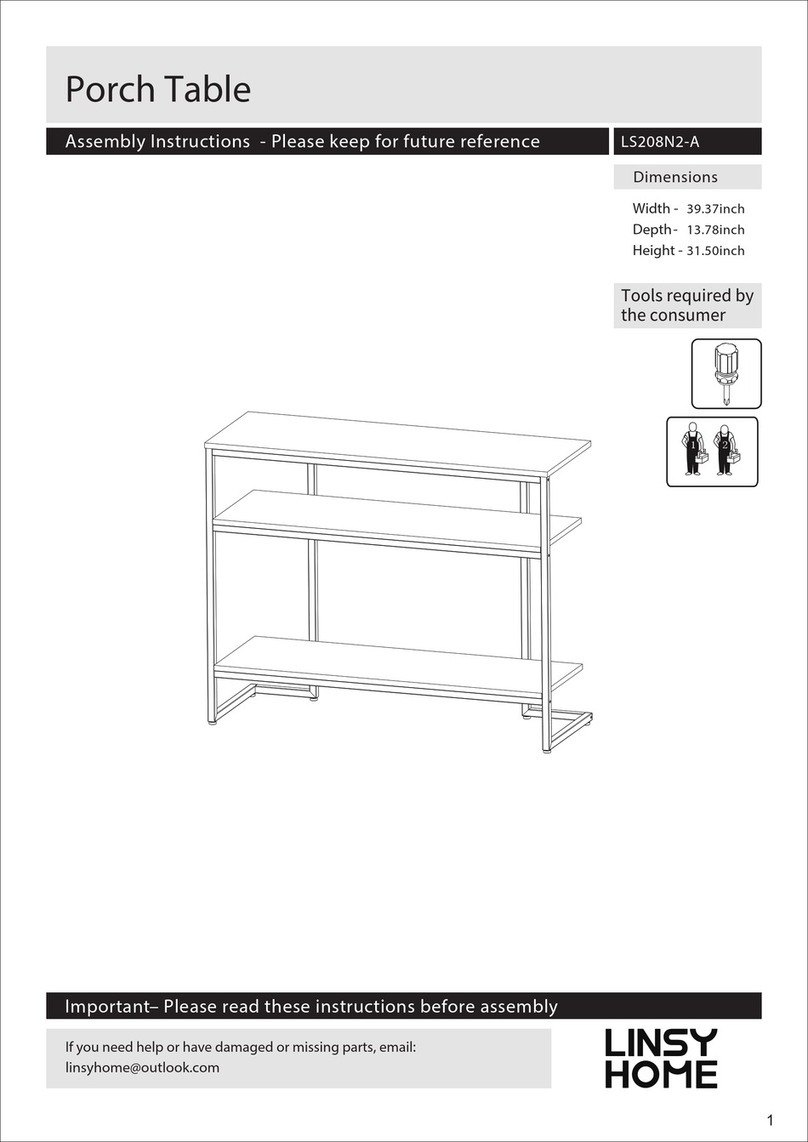
LINSY HOME LS208N2-A User manual

LINSY HOME

LINSY HOME LS208N2-A User manual

LINSY HOME LH022L4 User manual

LINSY HOME

LINSY HOME LH022L4 User manual

LINSY HOME LH618E3 User manual

LINSY HOME

LINSY HOME LH618E3 User manual

Popular Indoor Furnishing manuals by other brands
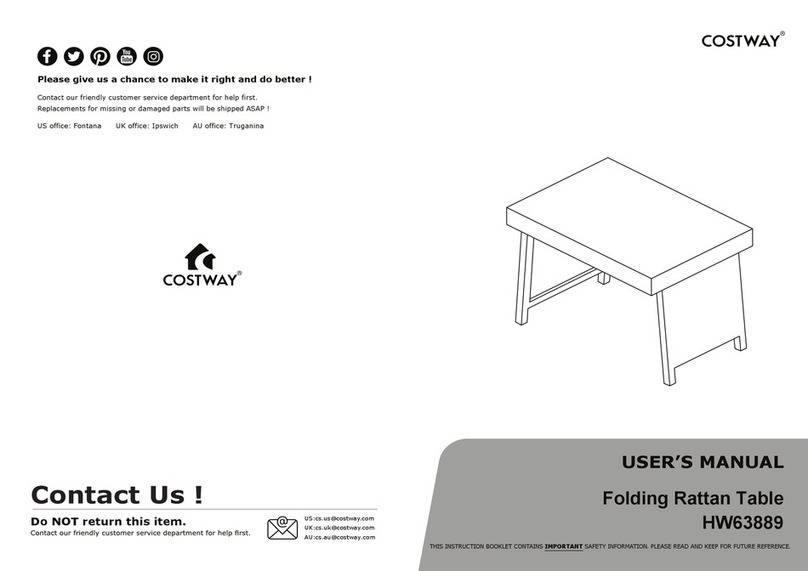
Costway HW63889 user manual

Costway

Costway HW63889 user manual

Nienkamper Vox Base installation guide

Nienkamper

Nienkamper Vox Base installation guide

Kangaroo K9605EL Assembly instructions

Kangaroo

Kangaroo K9605EL Assembly instructions

QABA 311-022 manual

QABA

QABA 311-022 manual

PADIMAT M1.30 Technical file

PADIMAT

PADIMAT M1.30 Technical file

Amisco 41495 quick start guide

Amisco

Amisco 41495 quick start guide

Metro DataVac M400LS quick start guide

Metro DataVac

Metro DataVac M400LS quick start guide

Furniture of America CM6211 Assembly instructions

Furniture of America

Furniture of America CM6211 Assembly instructions

ofichairs Birmington manual

ofichairs

ofichairs Birmington manual

RTA Products TECHNI MOBILI RTA-K462 Assembly instructions
RTA Products

RTA Products TECHNI MOBILI RTA-K462 Assembly instructions

Winners Only DC33878GT Assembly instructions

Winners Only

Winners Only DC33878GT Assembly instructions

BRW KENT ESZF 4d2s Assembly manual

BRW

BRW KENT ESZF 4d2s Assembly manual

SOS BM Seating System user manual

SOS

SOS BM Seating System user manual

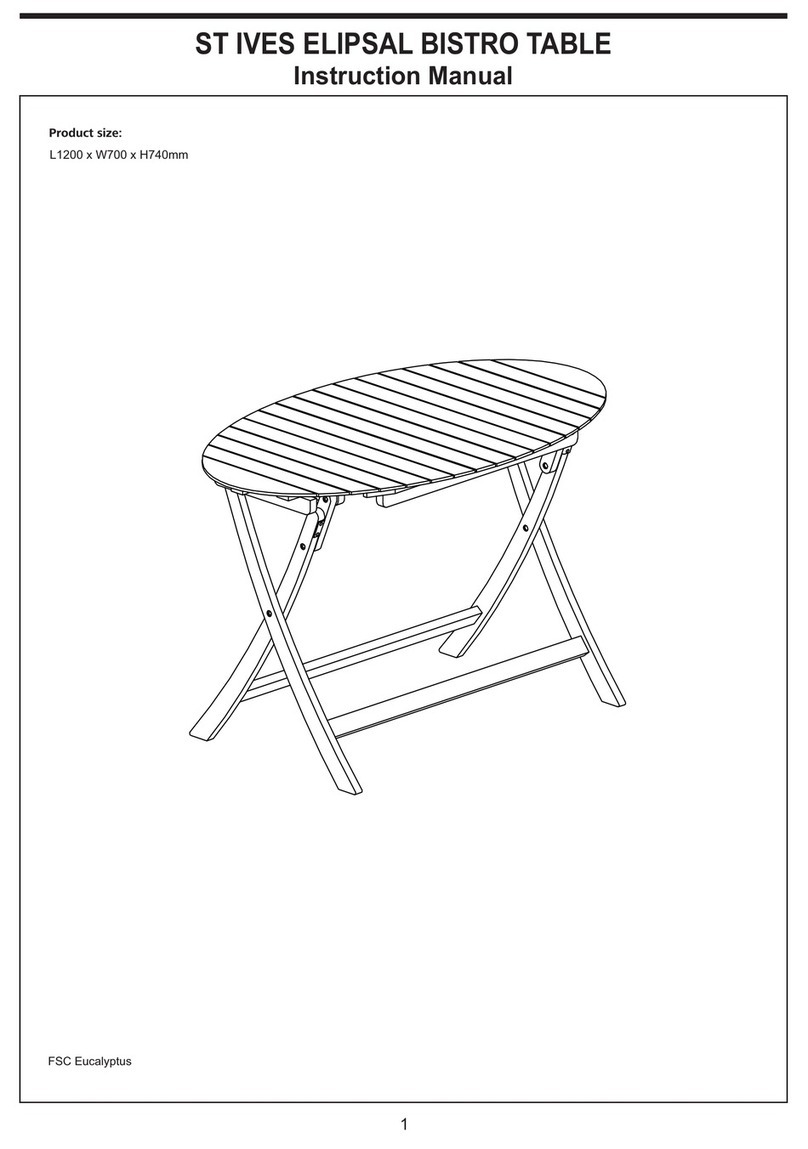
St Ives ELIPSAL BISTRO TABLE instruction manual

St Ives

St Ives ELIPSAL BISTRO TABLE instruction manual

Rosdorf Park LIM1176 Assembly instruction

Rosdorf Park

Rosdorf Park LIM1176 Assembly instruction

modway EEI-3335 Assembly instructions

modway

modway EEI-3335 Assembly instructions

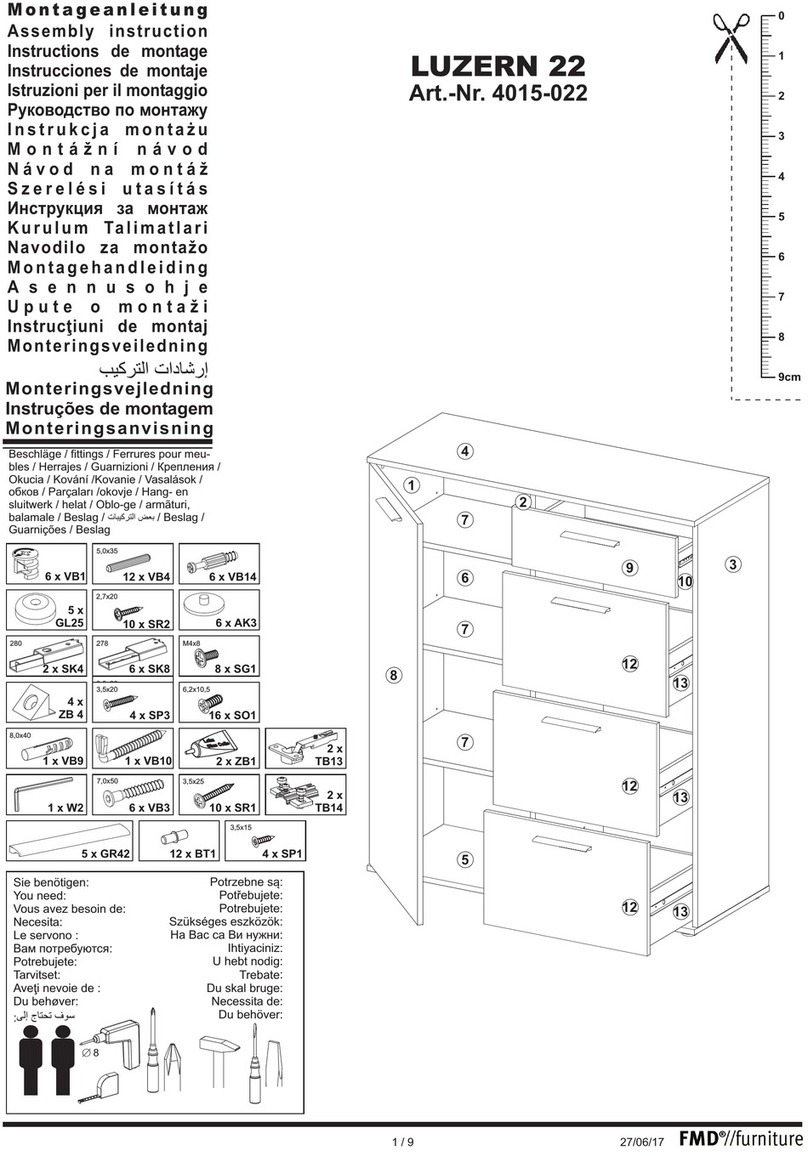
FMD Furniture LUZERN 22 4015-022 Assembly instruction

FMD Furniture

FMD Furniture LUZERN 22 4015-022 Assembly instruction

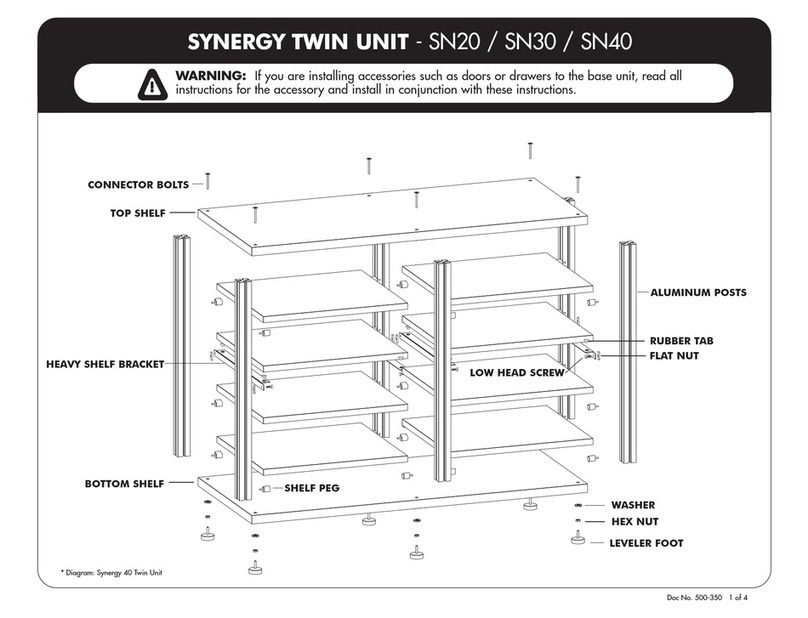
Salamander SN20 Assembly instruction

Salamander

Salamander SN20 Assembly instruction

manuals.online logo
manuals.online logoBrands
  • About & Mission
  • Contact us
  • Privacy Policy
  • Terms and Conditions

Copyright 2025 Manuals.Online. All Rights Reserved.