Page 6 of 7
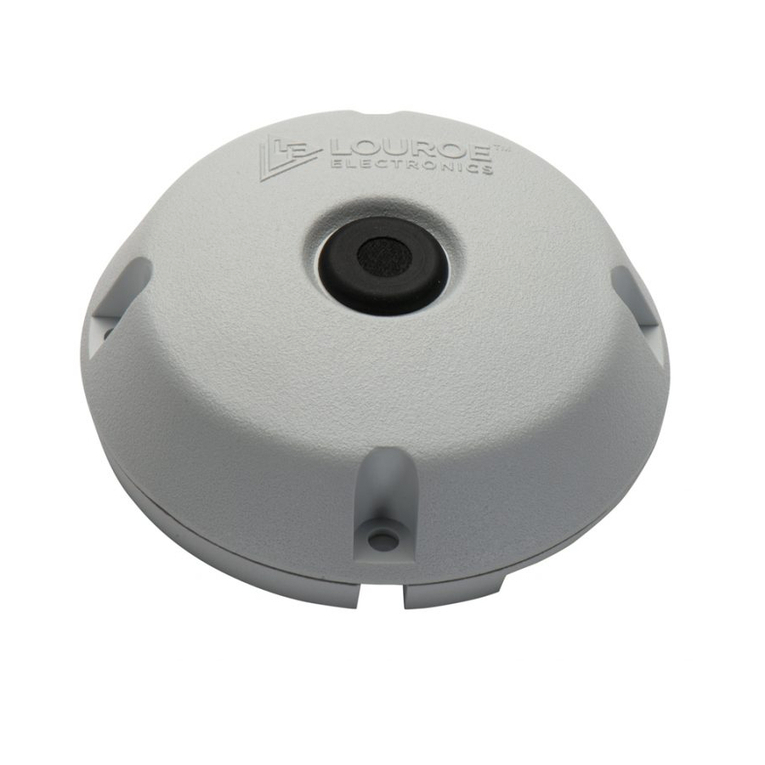
INSTALLATION OF TLM-W SPEAKER/MICROPHONE
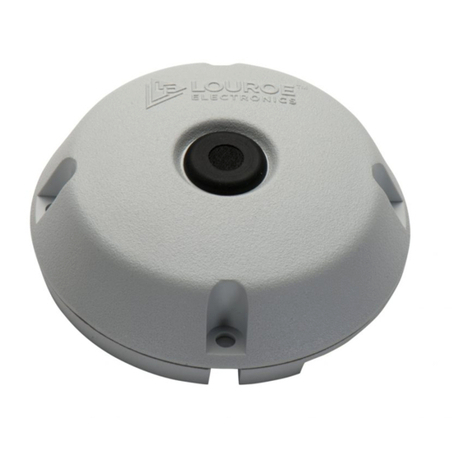
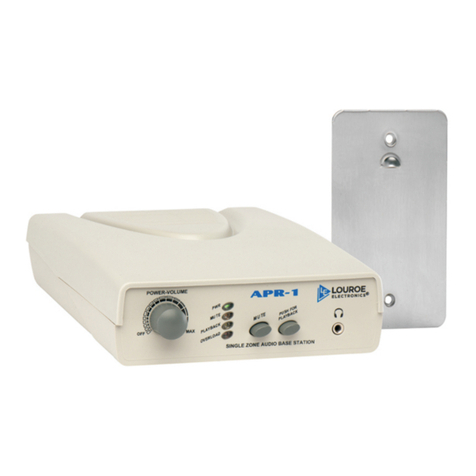
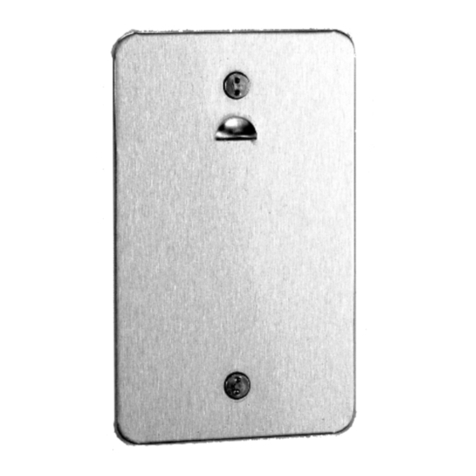
Model TLM-W is designed for mounting to a wall or flat surface. Included are two backboxes:
Lift and separate plastic back box from metal back box
1) a. Metal back box has 4 mounting holes for securing to wall (screws not supplied).
b. Drill an opening at top, bottom, side or back of backbox for passing wiring or connecting conduit.
c. Six small screws are supplied for attaching TLM-W face plate to backbox.
2) a. If plastic flush mount backbox is to be used:
b. Drill an opening at back side, as needed, to secure plastic backbox to proper position in wall opening.
c. Six plastic anchor bolts are supplied for securing TLM-W face plate to backbox, using the six screws supplied.
d. Drill an opening at a convenient location on backbox for passing wire or for conduit connection.
White plastic backbox is for flush mount
Beige metal backbox is for surface mount
OPERATION AND TEST
1) Applying Power To The System
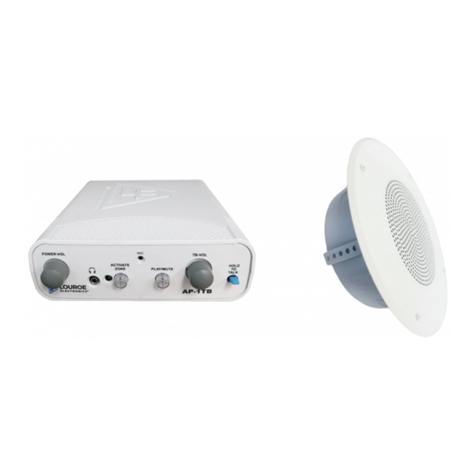
With all wiring connections complete, power up the system using the 24Vdc, 1A or 24 Vdc, 1.5A power supply included
with the kit. First connect the small end of power supply to the 24V DC IN jack [18] located on rear panel of AP-1TB
Base Station. Connect the large end with the 2-prong plug to a standard 120Vac wall outlet or power strip.
2) Press the Power Switch [17] located on rear panel of AP-1TB. The Power Indicator LED [12] will illuminate.
3) Testing For Listen And Talkback At The AP-1TB Base Station Listen Mode
Push in the Press to Activate Zone Switch [1] located on front panel of AP-1TB. Zone indicator [9] will illuminate.
Have someone create sound by talking (or use a radio) at the remote Model TLM-W Speaker/Microphone. Audio
should be present via the AP-1TB’s Monitor Speaker [13]. Adjust speaker volume by rapidly pressing and releasing
the Monitor Volume Up Control Switch [5] to increase volume, or monitor Volume Down Control Switch [4] to
decrease volume.
4) Talkback Mode
To speak out to the remote TLM-W, press and hold down Talkback Switch [3] of the AP-1TB. Another person is
needed to listen at the TLM-W location. If talkback volume needs adjusting, rapidly press and release the Talkback
Volume Up Control Switch [7] to increase volume. Rapidly press and release Talkback Volume Down Control
Switch [6] to decrease volume.
5) Audio Recording And Playback
Model AP-1TB contains an Audio Out Jack [16] and an Audio In Jack [15], located on rear panel. Included with kit is
a color coded dual RCA connector cable. RCA plugs are usually red and gray.
For recording take one end of dual RCA cable (red) and connect to Audio Out Jack [16] of AP-1TB. Connect other
end (same color) to Audio In of the recording device (DVR, VCR, etc.). For listening to recorded playback through the
AP-1TB, connect RCA plug into Audio Out of the recording device and the other end of RCA plug to Audio-In Jack [15]
of AP-1TB. Press DVR/VCR Playback Switch [2] to activate playback mode (Playback Indicator LED [10] will
illuminate) AP-1TB’s speaker will produce recorded audio playback.
As an option, recorded audio may also be played back through a CCTV monitor with built-in amplifier or through the
DVR’s built-in audio system.
WALL MOUNTING AP-1TB AUDIO BASE STATION (Optional)
Bottom of chassis contains four teardrop cut-outs for wall mounting, using #8 screws (not supplied).
LOUROE ELECTRONICS 6 9 5 5 VA L J E A N AVENUE, VAN NUYS, CA 91406 TEL (818) 994-6498 FAX 994-6458
(818)
INSTALLATION AND OPERATING INSTRUCTIONS
ASK 4 KIT 501-in 6/08
