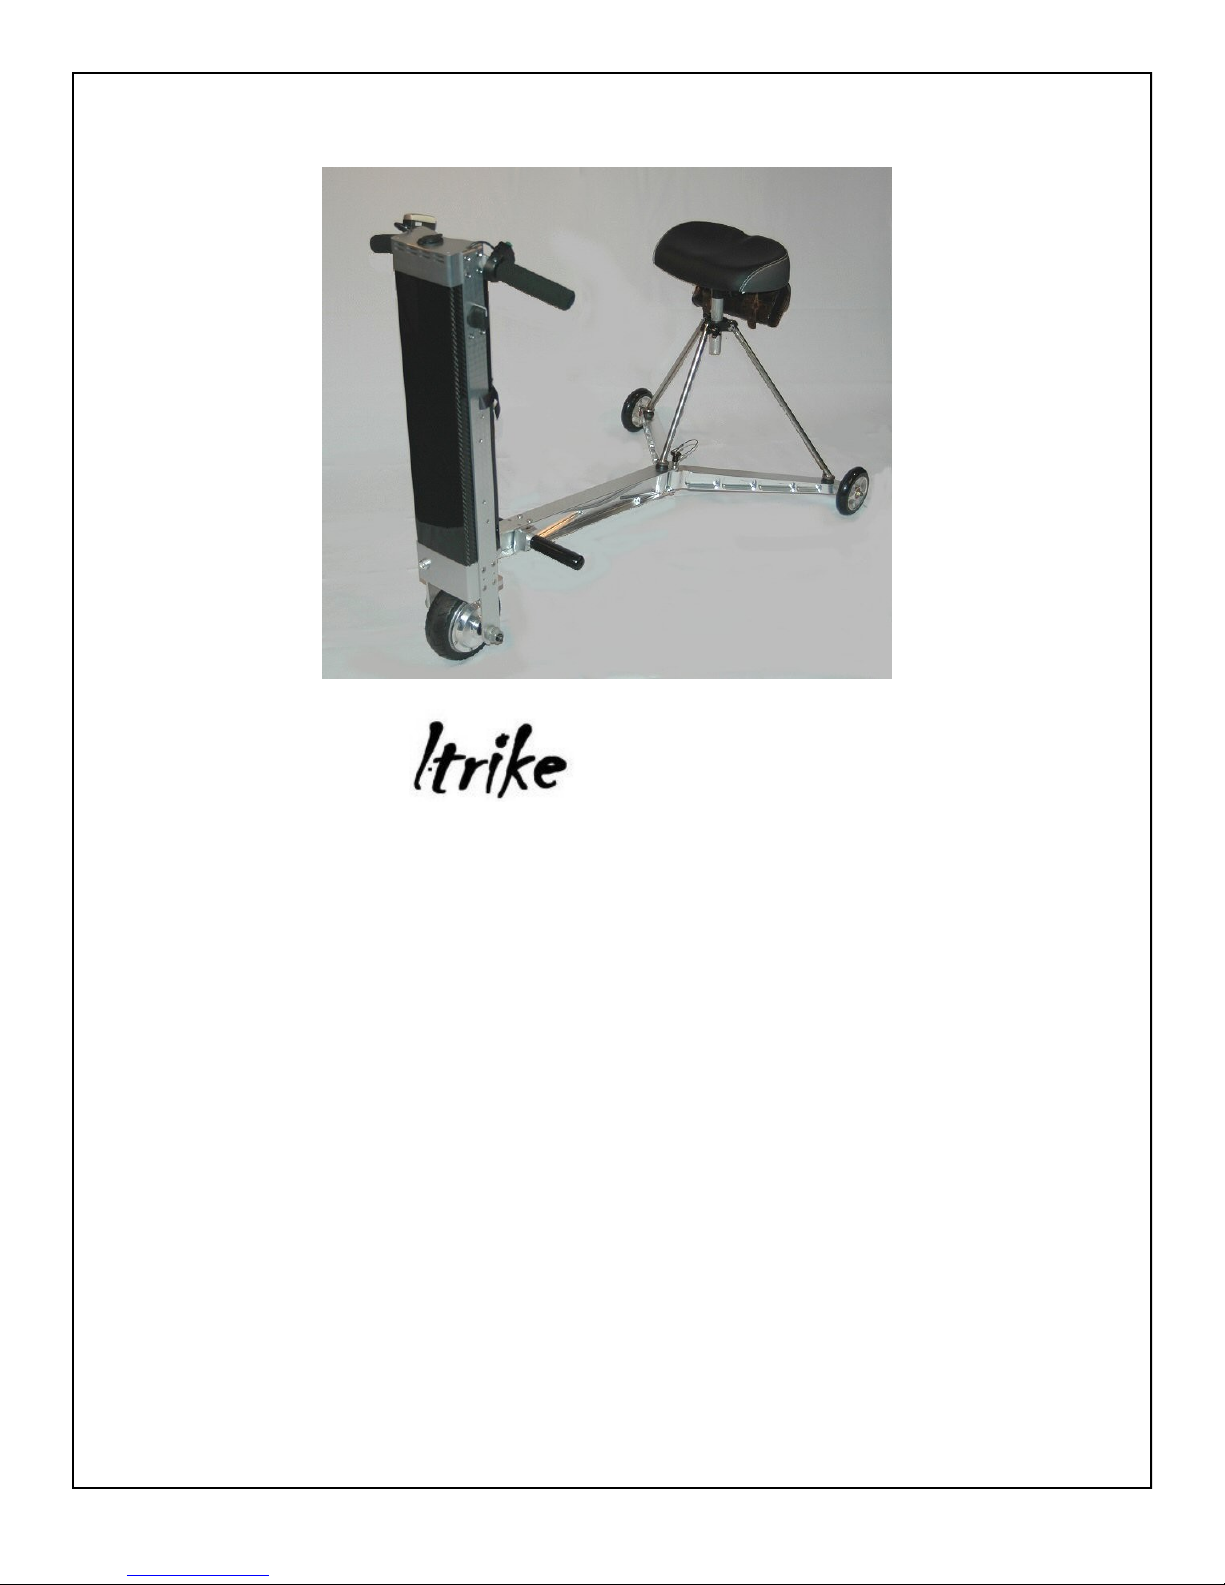
LTrike M10 User manual

M10
OPERATION MANUAL
REV 1.4
Congratulations on your purchase of the LTrike M10.
Please read this manual in its entirety in order
to familiarize yourself with the operation and care
of the M10.
NOTE:
This vehicle is not designed/recommended for persons who are
confined to a wheelchair and/or cannot move their
legs or stand and balance on their own.
Serial #

2
PLEASE READ FOR YOUR SAFETY!
This product is not a toy and is not recommended for use by persons
younger than 12 years of age.
Always
turn off the power
before getting on or off the seat for any reason.
Apply the brakes when sitting down on the LTrike and when standing up
from a sitting position. This will keep the LTrike from sliding out from under
you (especially on slippery surfaces).
The design is for use by one person only.
Insure the seat is inserted into the mounts before use.
Never stand on the foot pegs
.
They are for use only while sitting.
As with bicycles, it is
recommended
to wear a helmet.
Practice riding in a large, open area, free of vehicles, pedestrians and obsta-
cles.
Driving in very wet conditions is not recommended.
Always slow down
before
turning.
The
LTrike
should only be ridden on smooth, hard and flat surfaces. It is not
designed for off-road or off-road-like conditions.
Use common sense. Reckless driving can result in an accident!
The
LTrike
is designed for persons who have walking difficulties, but who are otherwise still fairly mobile,
able to lift 25 lbs, load and unload and able to set it up or fold it together. Persons who are confined to a
wheelchair and/or cannot move their legs or stand and balance on their own should not use the
LTrike.
Electric vehicles with more than two wheels and for one person only are considered handicapped vehicles and
you are permitted and entitled to use them wherever you would walk.
Before driving on public streets, check the law with your local authorities. The regulations for street use for such
vehicles may differ from state to state.

3
Contents Page
Safety statement. 2
Battery Isolation switch 4
Getting started 5
Preparing to use/folding and unfolding 6-11
Adjusting the seat height 12-16
Controls and Features 17
Charging the M10 18
State-of-Charge Indicator 19
Using the Dual USB Charging Station 20
Using the Cane/Fishing-Rod Holder 21
Mounting the Shopping Bags 22
Maintenance 23
IMPORTANT SAFETY INFORMATION 24-25
Specifications 26-27
WARRANTY 28
INDEX
LTrike/HEI
457 Olive Hill Way, Bldg. 5
Fallbrook, California 92028 USA
01-760-723-8071
http://www.ltrike.com

4
Battery Isolation Switch
The M10 is equipped with a keyed switch on the left hand (from the riders seat) side rail just below the
shopping bag mount post.
This switch when off, completely isolates the battery from the electrical circuits in the LTrike. In other
words, nothing will work. You cannot charge the M10, you cannot use the USB charging port, and the on-
off button does nothing. In other words, there is no electricity available to the unit. There are two keys
provided and they are located in the under seat bag.
The main purpose for this switch is to insure that the M10 is safe for air travel and complies with IATA 59-
2.3.2.4 Wheelchairs/Mobility Aids with Lithium Batteries which states:
Lithium-ion battery powered wheelchairs or other similar mobility aids for use by passengers whose mobility is restricted by
either a disability, their health or age, or a temporary mobility problem (e.g. broken leg), subject to the following conditions:
(a) the batteries must be of a type which meets the requirements of each test in the UN Manual of Tests and Criteria, Part III,
subsection 38.3;
(b) the operator must verify:
1. the battery terminals are protected from short circuits, e.g. by being enclosed within a battery container;
2. the battery is securely attached to the wheelchair or mobility aid (see 9.3.14.5 and Figure 9.3.C);
3. electrical circuits have been inhibited.
Please note that there is no watt hour limit for the battery installed in the device. There is a limit of 300w
if the battery is removable. This does not apply to the M10 as the battery is not removable.
We recommend that the switch be left on all of the time unless you are about to board an aircraft.

5
PLEASE NOTE:
The
LTrike
requires some skill to operate safely. Before entering crowded areas for the first time, familiarize yourself with the
operation of the vehicle in a large open area, free of vehicles, pedestrians and obstacles.
Throttle:
To become accustomed to operation and response, push down the thumb throttle gently until you are very
comfortable with the acceleration as the motor is quite powerful and will surprise you at first.
Whenever you are riding into confined spaces, like small elevators, approach them so that you can exit safely with a tight
turn or in reverse.
Indoor use:
In general you are permitted to use the
LTrike
inside of buildings such as airports, shopping malls, stores,
theaters, etc. However, you are obligated to adjust your speed to that of the walking traffic. Do not ride on escalators!
Outdoor use:
You may drive across short sections of grass or gravel surfaces as long as they are level and reasonably firm.
Approach them with moderate speed. Depending on your weight, you may not be able to restart on these types of
surfaces from a standstill. Also, keep in mind that prolonged riding under such conditions will quickly drain your battery.
The electric motor, wiring, and controls can be damaged if exposed excessively to water. Light rain is no problem. Avoid
driving the
LTrike
in heavy rain or through puddles of water. If you cannot avoid puddles, cross them at extremely low speed
in order to avoid splashing water
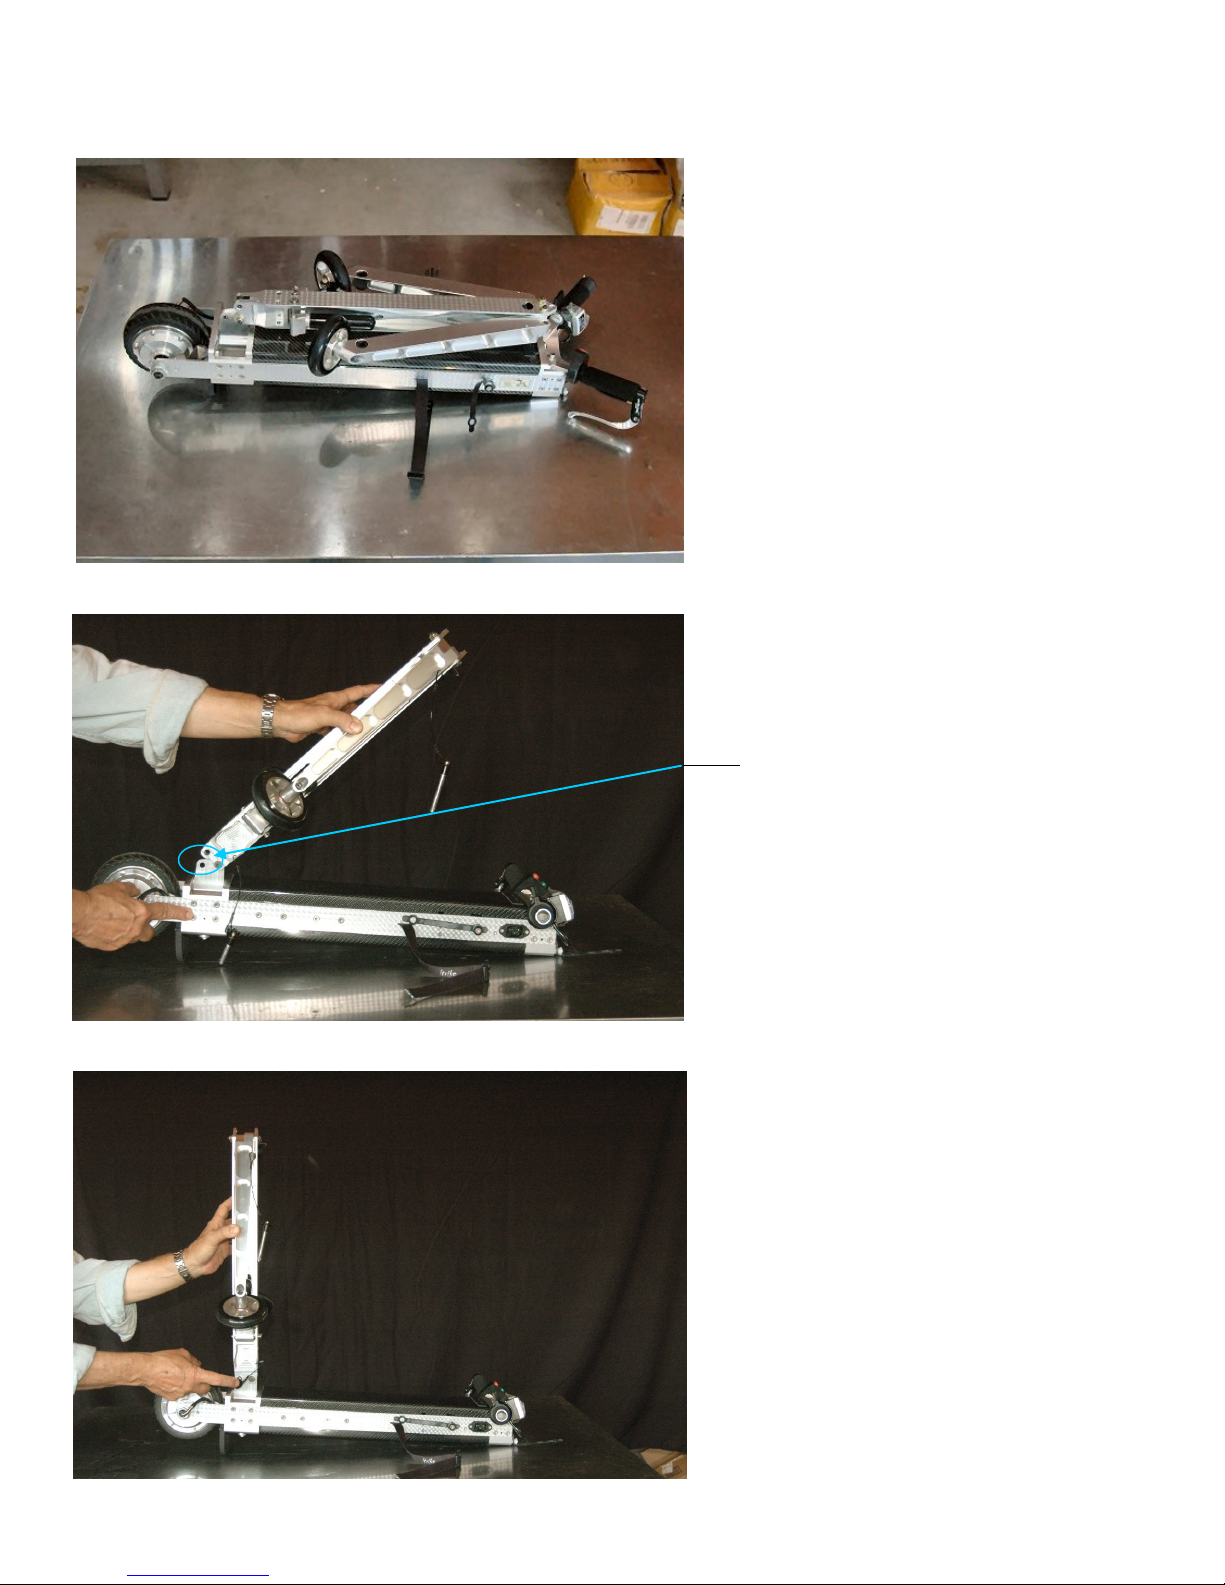
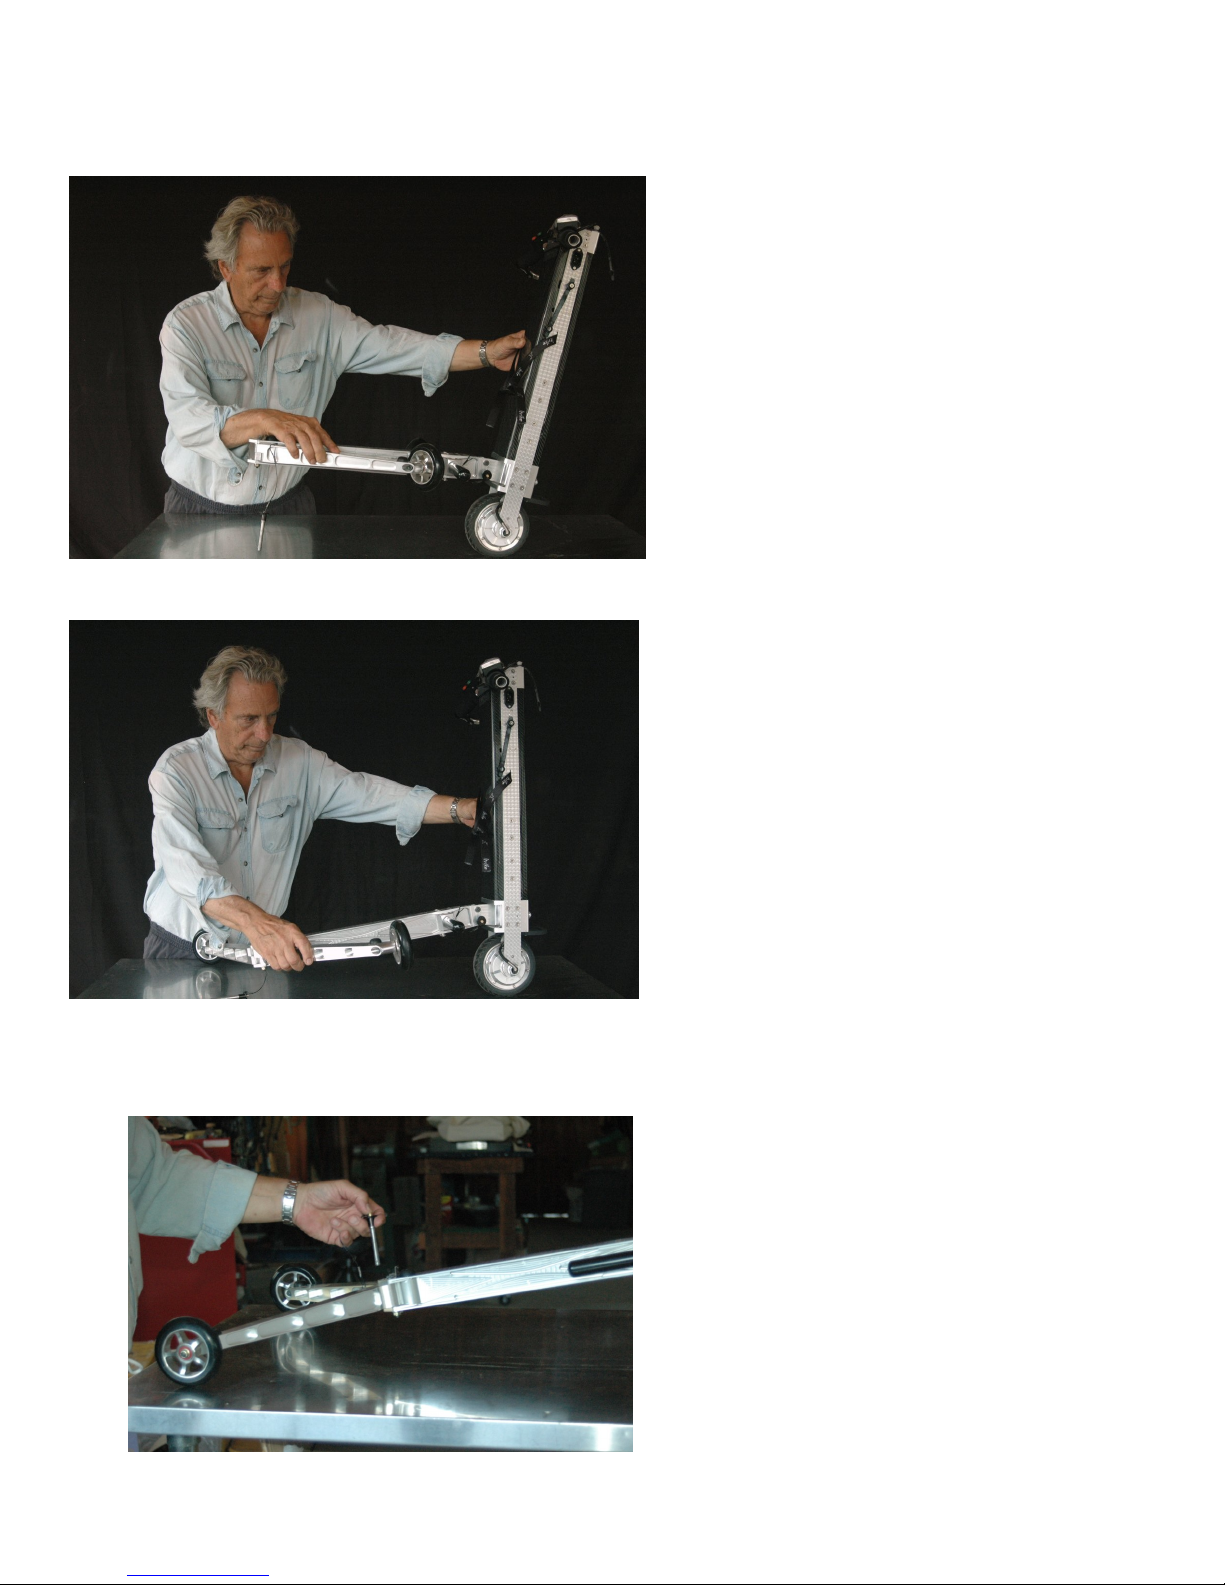
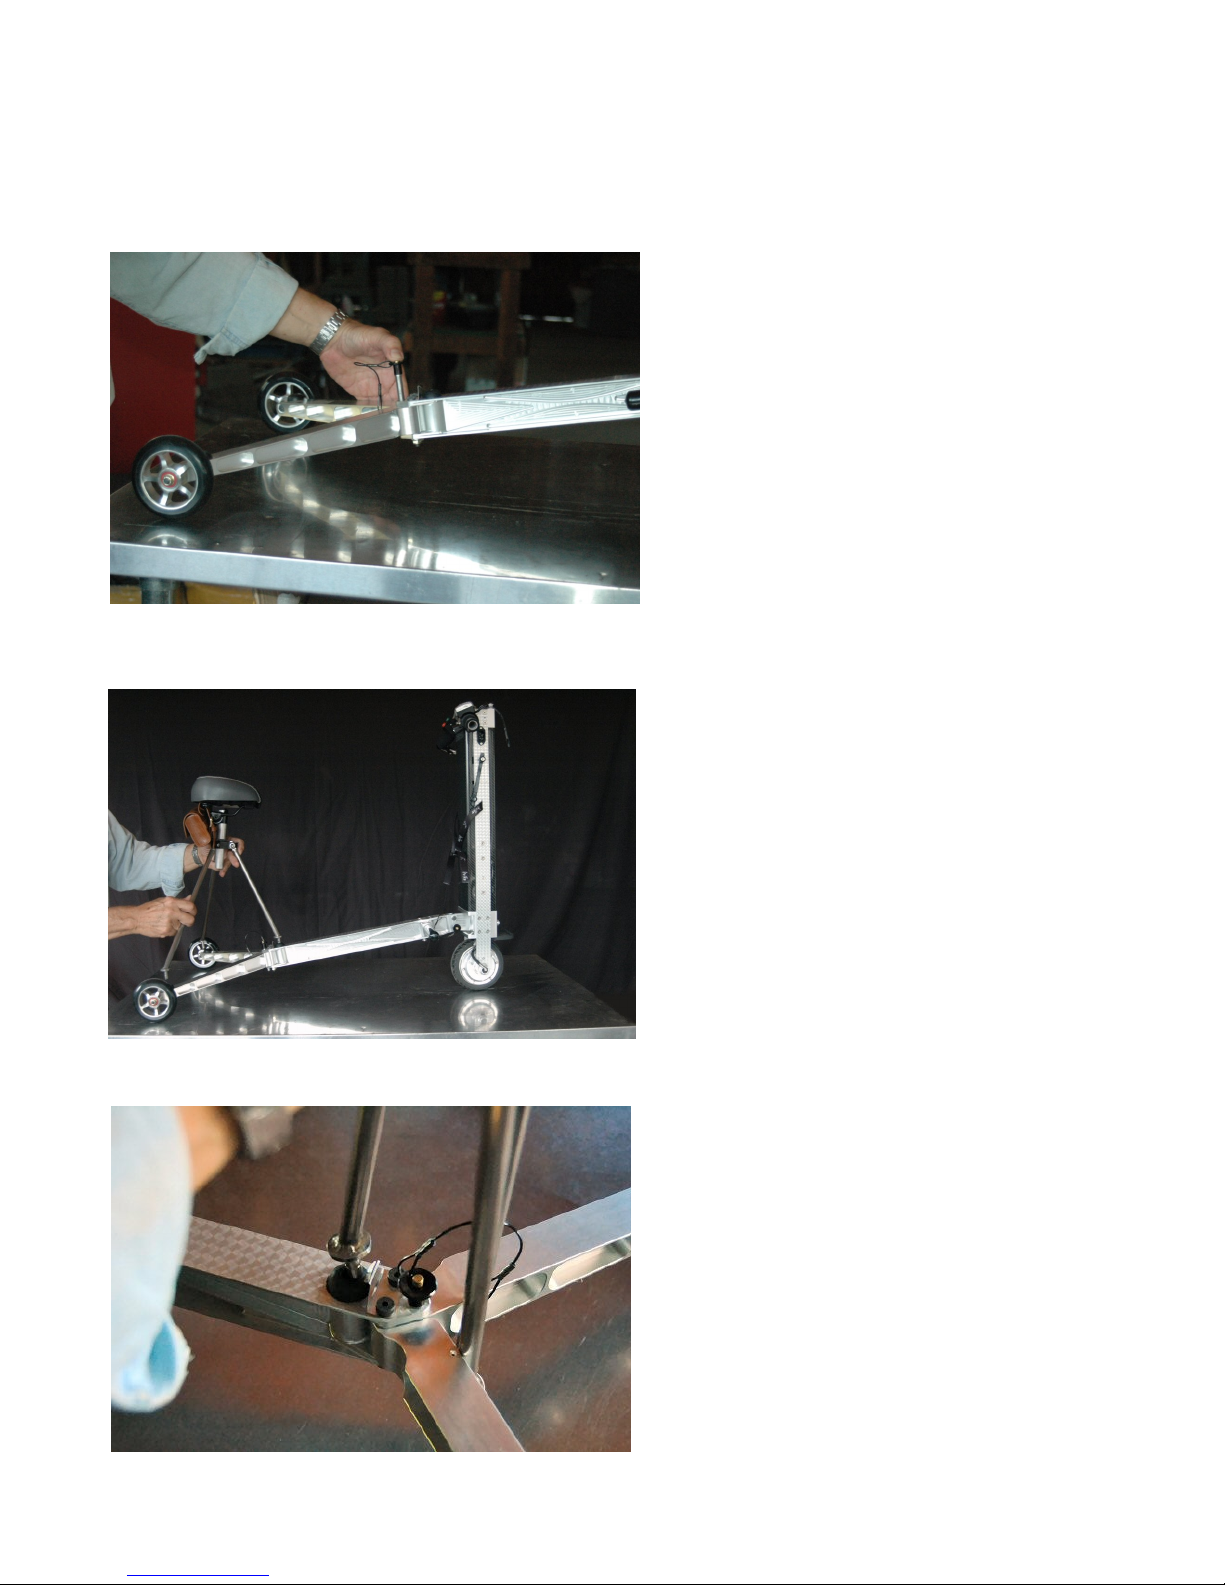
Getting Started
Before turning on the power, clamp the brake lever with your left hand to steady the LTrike and sit down in driving
position. Either with or without your feet on the footrests, always turn off power before leaving the seated position!
Press the ON-OFF button located on the center of the upper cross member. When the LTrike is on, the button lights up
blue. A fully charged battery will cause all three lights on the throttle light to illuminate.
The direction of travel is selected with the push-button switch above the thumb throttle. Push in to select reverse, and push in
again to release button outward to reselect forward.
Always actuate the throttle
gently
as acceleration is rapid. Avoid rapid opening of the throttle because it can cause the vehicle
to jerk forward suddenly
.
Take your time to get used to the operational characteristics of the LTrike and you will find that you can ride and
maneuver it in the most confined and restricted areas. You can pretty much fit anywhere one can walk
Brake Lever
Horn Button
Headlight Button
Battery Charge Level
Forward/Reverse Button
Thumb Throttle -- push
down to activate
On-Off Button

6
Taking your M10 out of the carry bag and making it ready to ride
LTrike in its canvas carry bag.
Unzipped, showing seat bag and cleaning towel.
After removing the seat and cleaning towel,
one can see the two tie downs.

7
After undoing the tie downs, just lay them to
either side of the opening.
Lift the LTrike out and set it down on the
ground or table where you are unpacking.
Now it is time to unfold the LTrike and install
the seat.
Taking your M10 out of the carry bag and making it ready to ride (cont.)

8
Release the snap latch on the straps
and lay the straps to either side.
Lift up the main chassis rail and legs
as shown until the lock-pin holes line
up.
Once the holes are aligned, insert
the aircraft locking pin into the hole.
You will have to depress the button
on the pin to allow it to slide in.
Note: Please push pin all the way in
until it seats completely.
Taking your M10 out of the carry bag and making it ready to ride (cont.)

9
Now tip the whole unit up as shown until
the main chassis touches the ground.
While holding the forward “tractor” section
as shown, rotate the two trailing chassis
legs aft, as pictured.
Note: This is very easy to do as you are
dealing with a very light assembly and
little muscle is required to perform this
task.
Once the trailing chassis legs are
rotated rearward completely, the
locking-pin holes will align and you can
then insert the aircraft locking pin into
the hole.
Taking your M10 out of the carry bag and making it ready to ride (cont.)

10
Insert front leg into the rubber grommet.
Push in until the pin is fully seated. Notice
that the flange will go past the locking clip
and this will secure the leg from being
inadvertently pulled out of the mount.
Position the seat over the mounting
area. You will be putting the forward leg
into its mount first.
Insert the aircraft locking pin into
the hole. You must push the locking
button in to allow the pin to slide into
the hole. Make sure that the pin seats
completely.
Taking your M10 out of the carry bag and making it ready to ride (cont.)

11
The LTrike M10 is now ready to ride.
Insert left-rear seat leg into grommet and
push down until it seats completely.
Insert right-rear seat leg into grommet
and push down until it seats completely.
Pop out the foot pegs until they lock
into the detents.
Taking your M10 out of the carry bag and making it ready to ride (cont.)

12
Adjusting the seat height and fore/aft position
The LTrike comes with the seat pre-adjusted to fit a 5’ 8’ tall person but you may wish to
alter the height and fore/aft location after riding and getting used to the seating position.
Seat and seat post showing the main clamp and the secondary height locking clamp.
Main Clamp
This clamps the seat
tube into the tripod.
Secondary clamp
secures the height of the
seat along with main clamp.

13
Adjusting the seat height
To raise the seat height, first loosen the main tripod clamp by turning the knob anti-clockwise to loosen the clamp.
Then raise the seat to the amount desired and tighten the clamp very firmly. Gently sit on the seat to ascertain if
the position is to your liking.
Now you must loosen the secondary clamp using the provided tools and slide it down until it contacts the top of the
tripod clamp.

14
To lower the seat you must loosen the tube-lock clamp using the
provided tools and raise the clamp so the seat tube can move
downward. Now you must loosen the main tripod clamp and
slide the seat down until you reach the desired height.
Now the tube-lock clamp must be tightened firmly against the top of the tripod clamp to lock the tube. This keeps the assembly
from sliding down through the tripod clamp while riding.
Adjusting the seat height
Once you are happy with the height, you can now tighten
the tube clamp as shown in the above photo and proceed
to ride the LTrike.

15
Adjusting the fore/aft position of the seat
The most basic fore/aft adjustment is done by loosening the cross bolt and sliding the seat forward or backward on the rails. This will give
you approximately 1/2 inch of variation from the seat post center position. Tools required are a 9/16 (14mm) wrench.

16
Adjusting the fore/aft position of the seat
For a greater range of seat fore/aft adjustment (up to 2 inches) the seat clamp needs to be oriented either forward or rearward as shown in
the below illustration. This is accomplished by removing the lock nuts and cross-bolt and rotating the clamp 180 degrees and reinstalling the
cross-bolt and lock nuts as shown below. Tools required are a 9/16 (14mm) wrench. With the seat post location as shown below left, the
seat location will accommodate a person 6’ 2” tall. With the location as shown on the right below, the seat location will accommodate a
person 4’ 10” tall. (Note: the seat must also be raised or lowered to match the riders height.
After you have the seat set to the position that you like it is very important to check the tightness of the cross-bolt as well as the alti-
tude clamp and locking clamp as shown on page 14.

17
The M10 Controls and Features
Amazingly simple to operate and use.
Power Switch
Push on (lighted)
Push off (no light)
Horn Button
(Momentary)
Thumb Throttle
Push down with thumb .
Progressive actuation.
The farther down you push,
the higher the speed.
Battery State-of-
Charge-Level Indicator
Note: Only works when main
power switch is activated.
USB Power Tap
Powers phones and other USB devices.
Headlight
Switch
Push on
Push off
Mounts to hold strap for cane,
fishing rod or other long devices
Brake Lever
Forward and Reverse Switch
(grey rectangular button)
Push in –reverse
Push again, button comes out - forward

18
Charging the M10
Insert supplied power cord into receptacle on right side
of the LTrike M10.
Note: If you have left your power cord at home or in
the car, you can use any NEMA 5-15P to IEC C13 cord.
These are used for most models of desktop
computers, HDTV, LED-lit monitor, ceiling-mounted
projector, powered speakers, laser printers and
many more standard devices.
Blue LED, when lit. indicates
that unit is plugged in and
charging.
Green LED, when lit, indicates
that the battery is fully charged
and can be unplugged.
If not lit, then further charging is
required to reach full capacity.
Make sure that power cord is fully seated in receptacle,
and then plug other end into a 110-120V wall socket.
Note: There is a universal power adaptor included that will allow
the LTrike to be charged virtually anywhere in the world. Please
see adaptor instructions that are in the adaptor case. The LTrike
can use 100-240 VAC supply.
IMPORTANT: Do not use the power cord
outdoors in the rain. The connection is
not waterproof and there is danger of
electric shock.

19
State-of-Charge Indicator on Throttle Body
Note: The lights are only accurate when the unit is being ridden and the throttle is pushed down.
It gives a false high reading otherwise.
Green LED ON = Fully charged to
70 % charge.
Orange LED ON = 70% charged to
40% charged.
Red LED ON Only—40% charged to
empty.
If you are out riding, we recommend that you stop
riding the M10 and charge until at least the orange
LED lights and then plug the unit in as soon as you
get home and fully charge for at least 8 hours.
Due to the characteristics of Li-Ion batteries, when
the state of charge gets very low, the built-in battery
management system will cut off the battery pack and the
LTrike cannot be ridden any further. This is to insure that
the batteries are not harmed due to excessive discharge.

20
Using the Dual USB Device Charging Station
The station has a 5V 1 Amp port and a 5V 2.1 Amp port.
Please insure that your device is compatible with the amperage outputs.
Open the protective cap to expose the ports. You will
notice that there are two ports. One 5V 1000 mA and
one 5V 2100 mA. The 1000 mA port is used for phones
and smaller devices. The 2100 mA port is used for
tablets and most other large power-hungry devices.
You must turn the main power switch on to
energize the station. A blue LED will light on the
left-hand side of the station to indicate power is
available to the ports.
Plug your device’s USB cable into the proper
amperage port. The device will begin to charge.
You can also now use a device that has a dead
battery. You can run your device from the
LTrike’s Li-Ion 15.6 ah battery for many hours
without depleting the charge and affecting your
riding time.
It is very important when finished, to close the
protective cap to keep the ports clean.
Table of contents