2
INHALTSVERZEICHNIS Seite 3 - 7
ENGLISH CONTENS Page 10 - 15
1. SICHERHEITSMAßNAHMEN........................................................................................................................... 3
1.1. WARNUNG VOR ELEKTRISCHEM SCHLAG......................................................................................... 3
1.2. WICHTIGE SICHERHEITSHINWEISE ..................................................................................................... 4
2. TFT LCD-BILDSCHIRM (OPTIONAL) ............................................................................................................ 4
2.1. DAS GERÄT................................................................................................................................................. 4
2.2. TECHNISCHE DATEN................................................................................................................................ 5
2.3. DIE BEDIENUNG........................................................................................................................................ 5
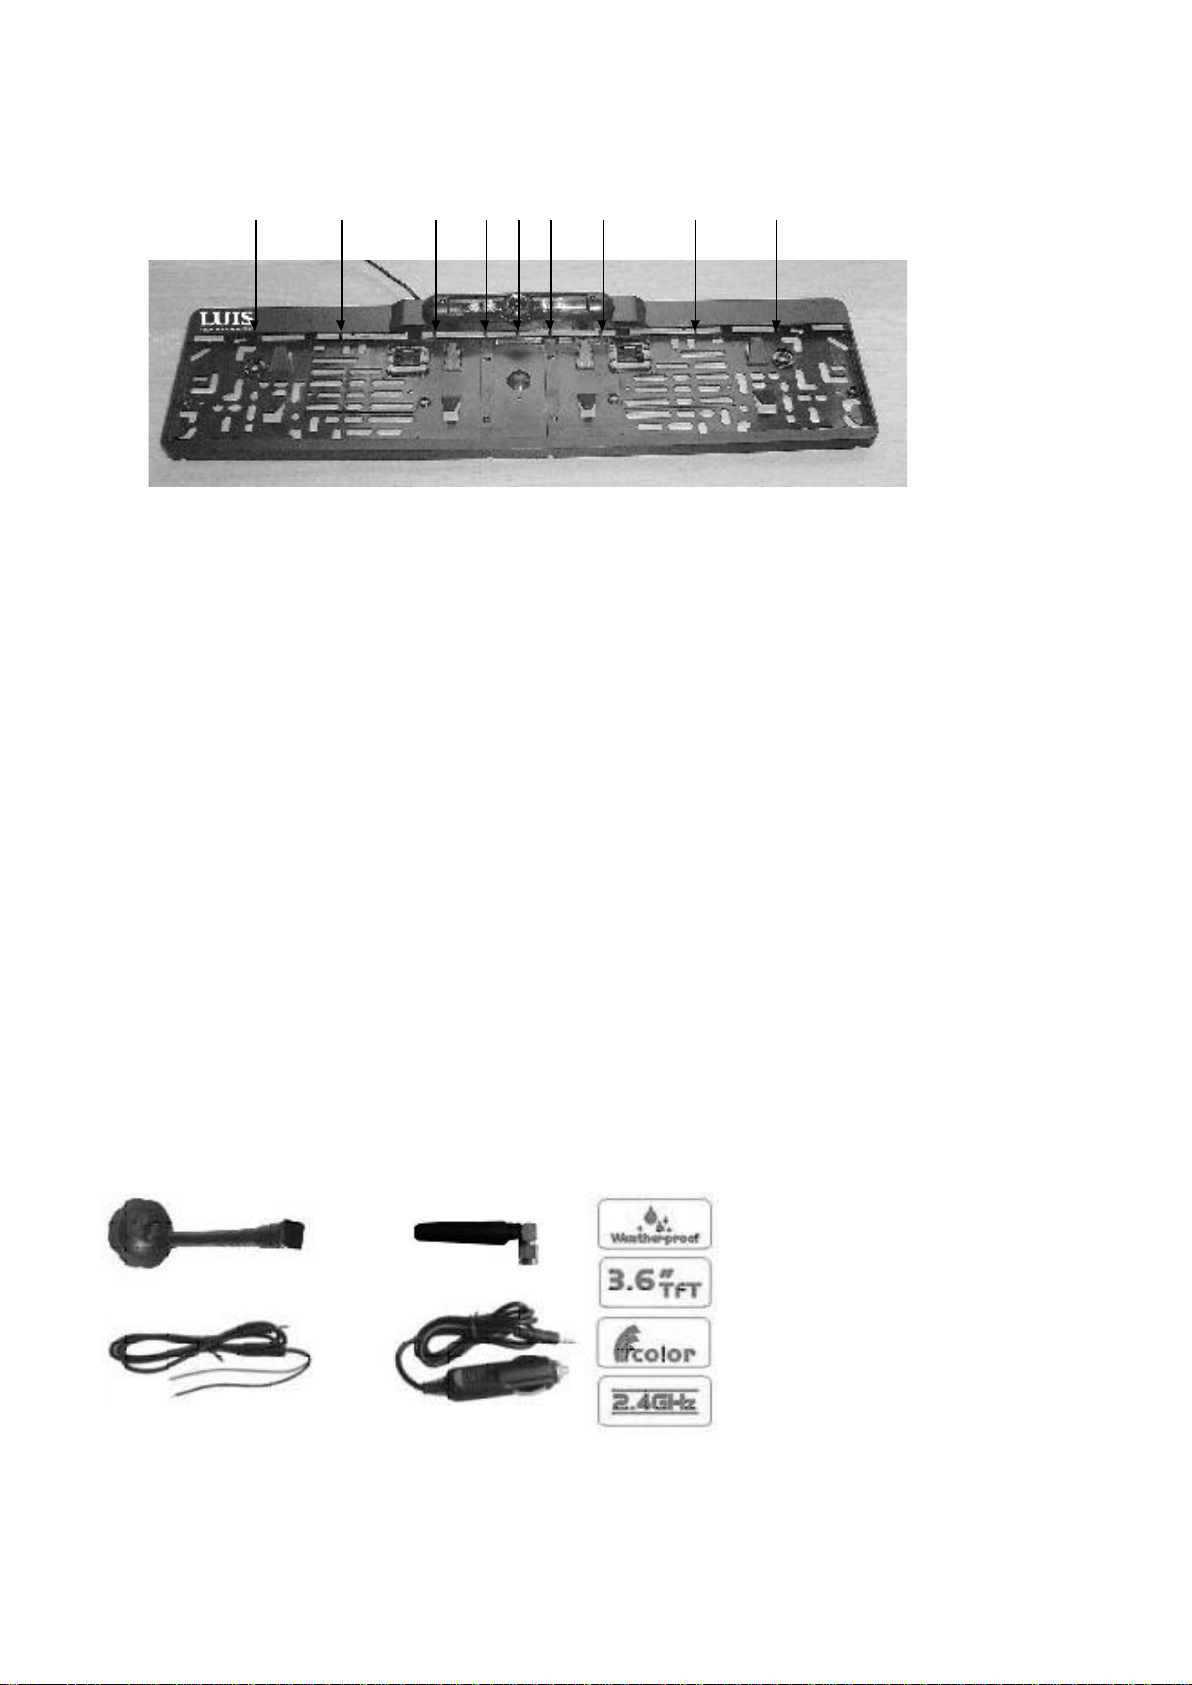
3. CCD FARBKAMERA ......................................................................................................................................... 5
3.1. ANSICHT...................................................................................................................................................... 5
3.2. TECHNISCHE DATEN................................................................................................................................ 6
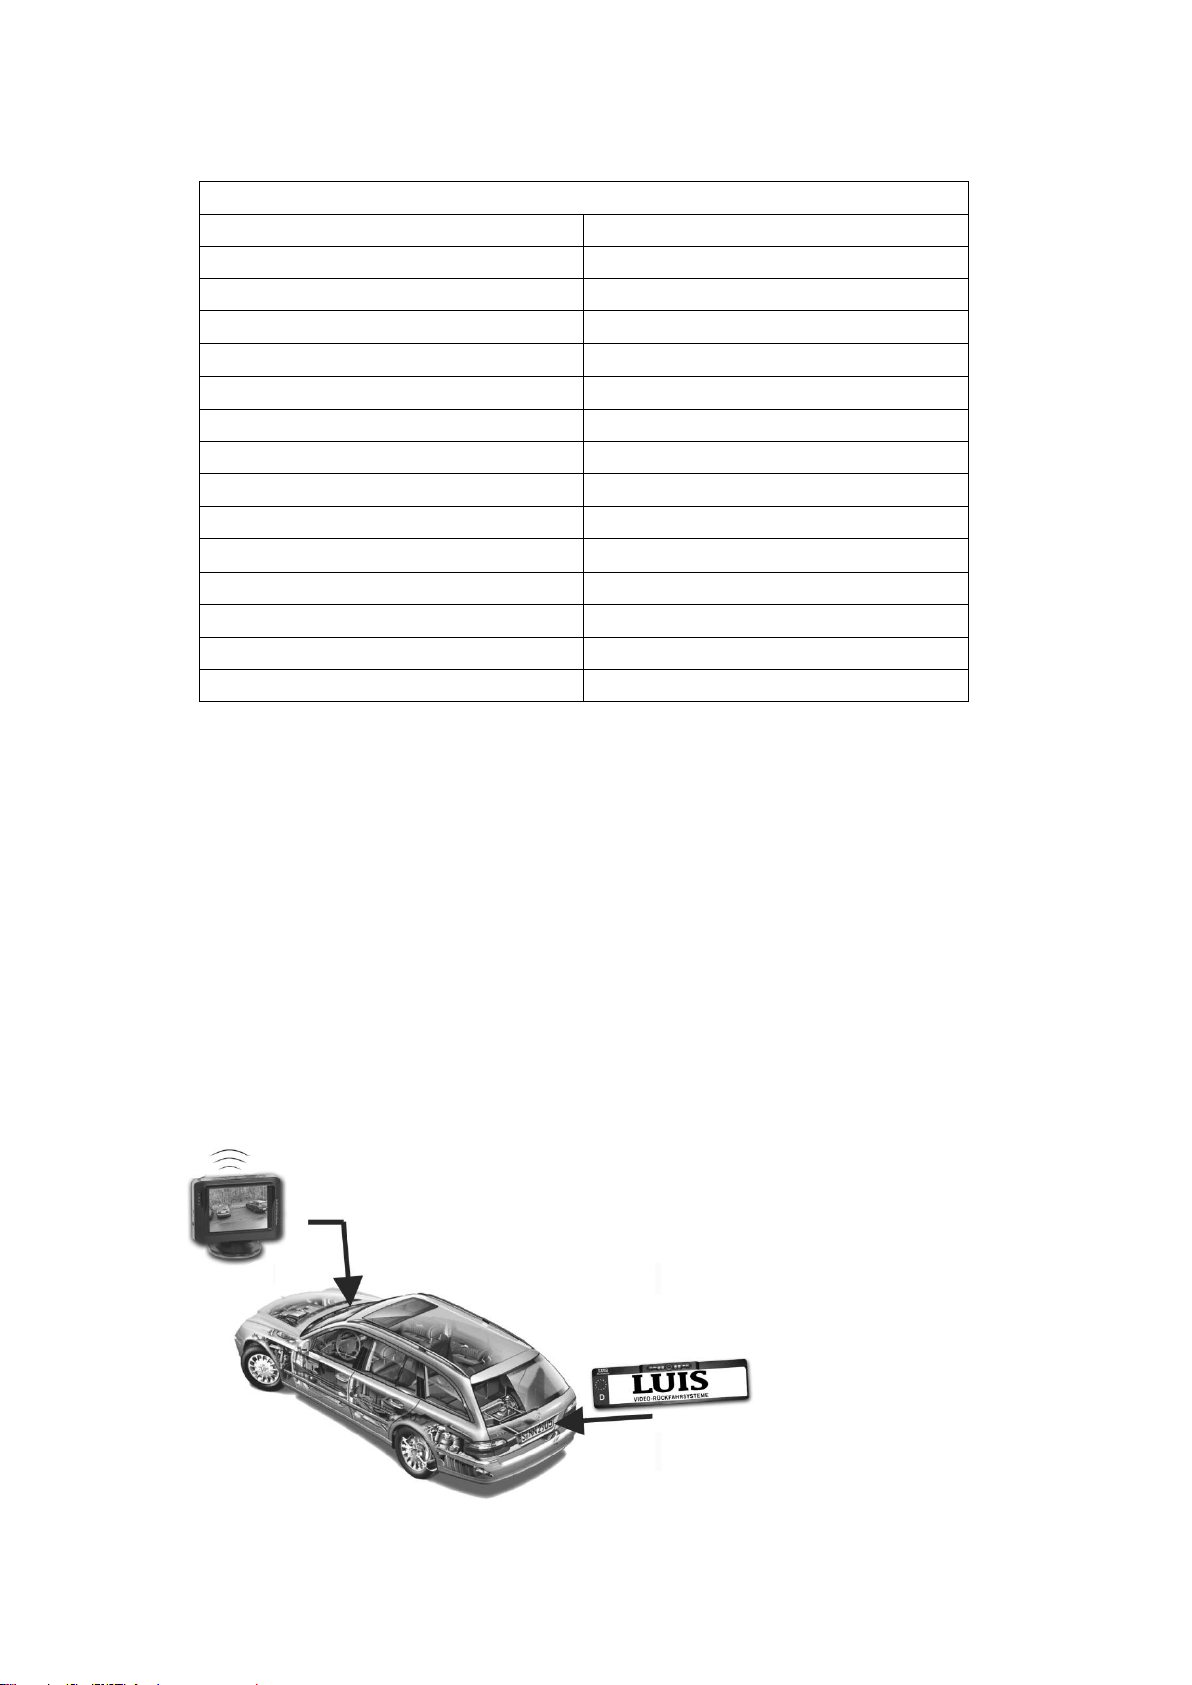
4. INSTALLATION................................................................................................................................................... 6
4.1. KAMERA INSTALLATION......................................................................................................................... 7
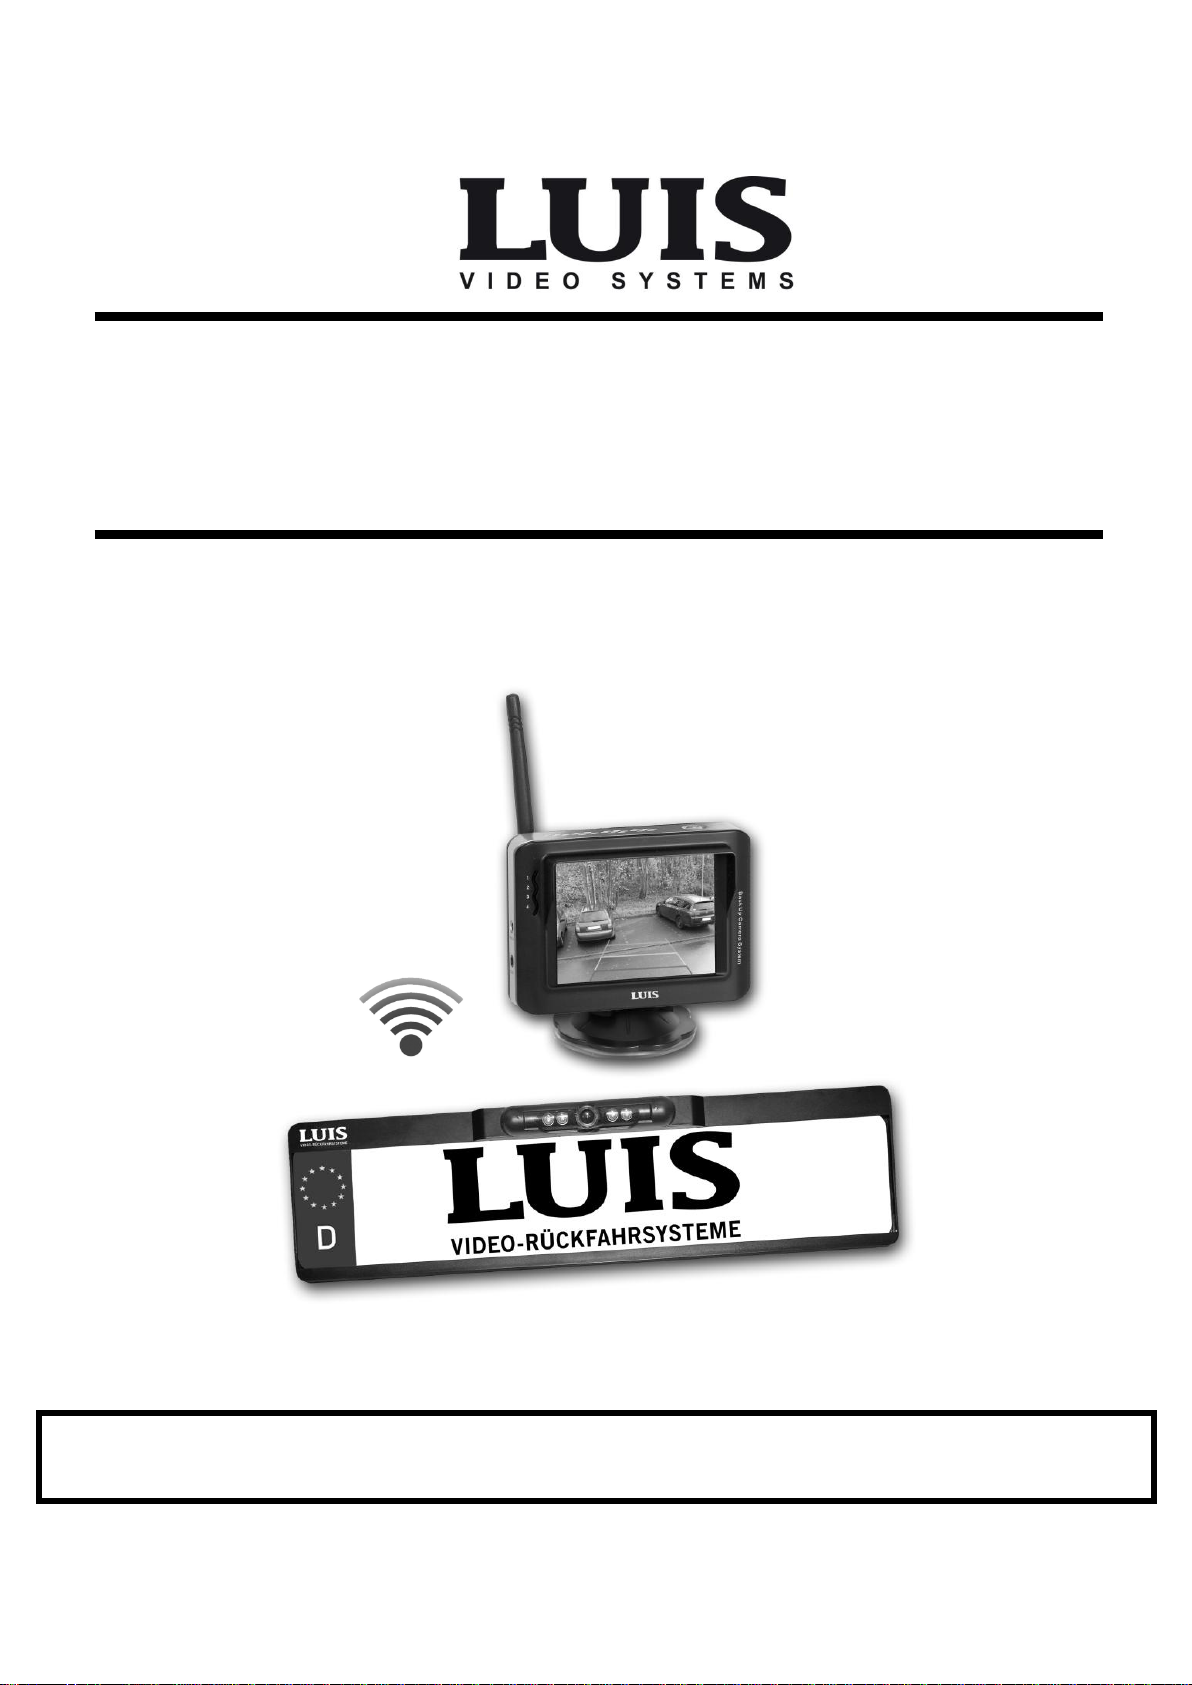
5. ANHANG.............................................................................................................................................................. 7
6. UMWELTINFORMATIONEN............................................................................................................................. 8
6.1 ENTSORGUNG IHRES ALTGERÄTES ..................................................................................................... 8
1. SAFETY MEASURES.......................................................................................................................................11
1.1 WARNING AGAINST ELECTRIC SHOCK ..............................................................................................11
1.2 IMPORTANT SAFETY.............................................................................................................................. 12
2. TFT LCD-SCREEN (OPTIONAL)................................................................................................................... 12
2.1 THE UNIT ......................................................................................................................................................... 12
2.2 TECHNICAL DATA................................................................................................................................... 13
2.3 THE OPERATION............................................................................................................................................. 13
3. CCD COLOR CAMERA................................................................................................................................... 13
3.1 VIEW................................................................................................................................................................. 13
3.2 TECHNICAL DATA................................................................................................................................... 14
4. INSTALLATION................................................................................................................................................. 14
4.1 CAMERA INSTALLATION....................................................................................................................... 15
5. ACSESSORIES LIST....................................................................................................................................... 15
6. ENVIRONMENTAL INFORMATION.............................................................................................................. 16
6.1 DISPOSAL OF YOUR OLD....................................................................................................................... 16