WARNING: Turn o all AC power to light xture and wait 30 seconds before connecting or removing
smartPARTM modules. Failure to do so may damage the smartPARTM module/xture, and void the warranty.
Getting Started
Disposal Instructions
1. Turn o all AC power.
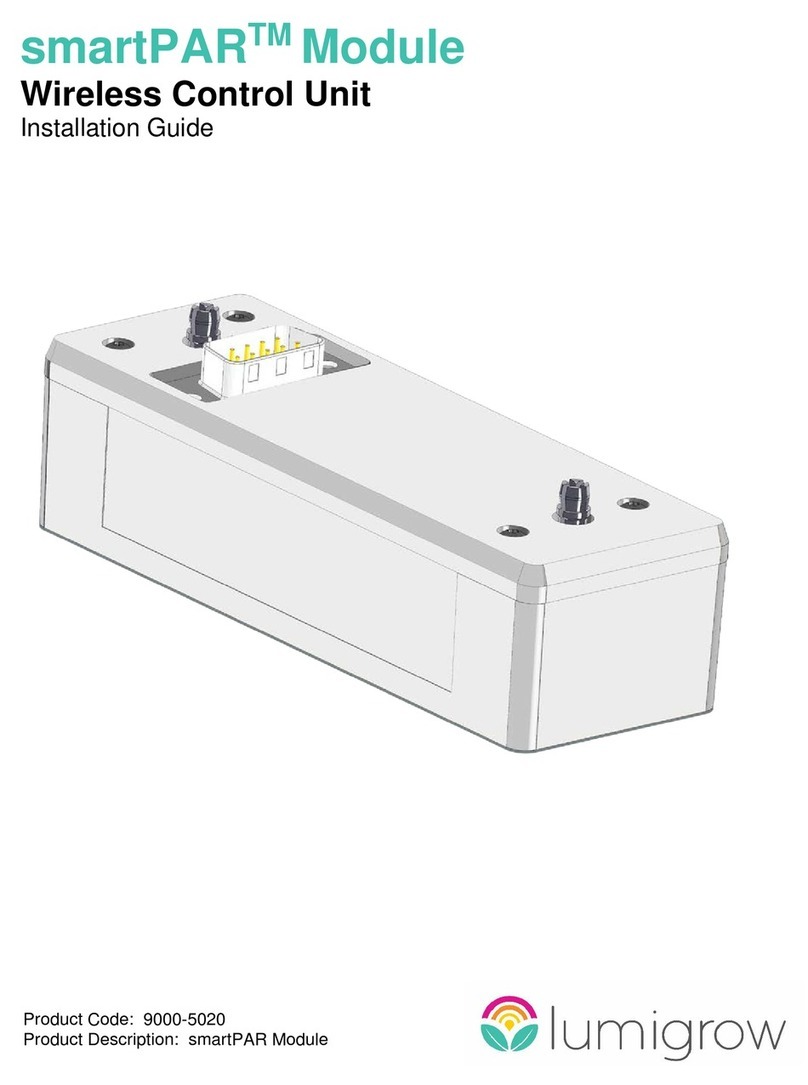
2. Carefully remove the dust cover over the DB-9
connector. A small screwdriver may be helpful.
3. Orient the two DB-9 connectors so that they line up
properly, and carefully insert the smartPARTM module.
The module has two broaching fasteners that lock
in place when the module is fully inserted. When
fully inserted, there should be no gap between the
smartPARTM module and xture.
4. Remove the adhesive backing from the underside of the
smartPARTM light sensor module and press the light sensor
onto the top of the xture . ** NOTE – the adhesive is
extremely strong and is single use only. Once the light
sensor is axed to the xture, it cannot be repositioned.
Hang your LumiGrow Pro Series E xture at the appropriate
height and spacing for your particular facility, or as specied
by a LumiGrow representative.
5. Hang the xtures according to the xture
installation guide that came with your xtures.
6. Power on AC mains. It may take a few minutes
for the xtures to connect to the network and
then turn on.
7. Log on to www.smartpar.lumigrow.com to
program the xtures and use the smartPARTM
light sensor. More details are at www.lumigrow.
com. Contact your LumiGrow representative
for additional assistance.
For additional information, visit www.lumigrow.com/support PN #810-00028
Contact your local waste management company or the nearest collection site to dispose of Electrical
and Electronic Equipment waste, per local and state requirements


