Fold Fold Fold
3Access and Setup
Default IP Address
The Epic 5’s default IP address is 192.168.0.1. This can be modified,
however, we recommend you retain the default IP address if possible
for hassle-free installation of other Luxul products.
nNOTE: In the event another device on your network shares the
192.168.0.1 address, you’ll need to reassign the device’s IP
address or remove it from the network.
Connecting a Client Device
Connect a client device to one of the router LAN ports or to a switch
that is connected to a router LAN port. The DHCP server on the router is
configured by default. If your client device is set to obtain an address auto-
matically, no further configuration is required and you’re ready to log in.
nNote: Visit http://luxul.com/ip-addressing to learn more about
changing your computer’s IP address and getting connected.
Logging In
To access the router web configuration, open your web browser and enter
the router’s default 192.168.0.1 IP address in the address field. Log in to the
router using the default user name and password:
Default IP: 192.168.0.1
Username: admin
Password: admin
Select the menu items on the left to view and/or modify the configuration.
For information on configuring the Epic 5 and routers in general, review
the Support Resources at luxul.com.
4Hardware Operation
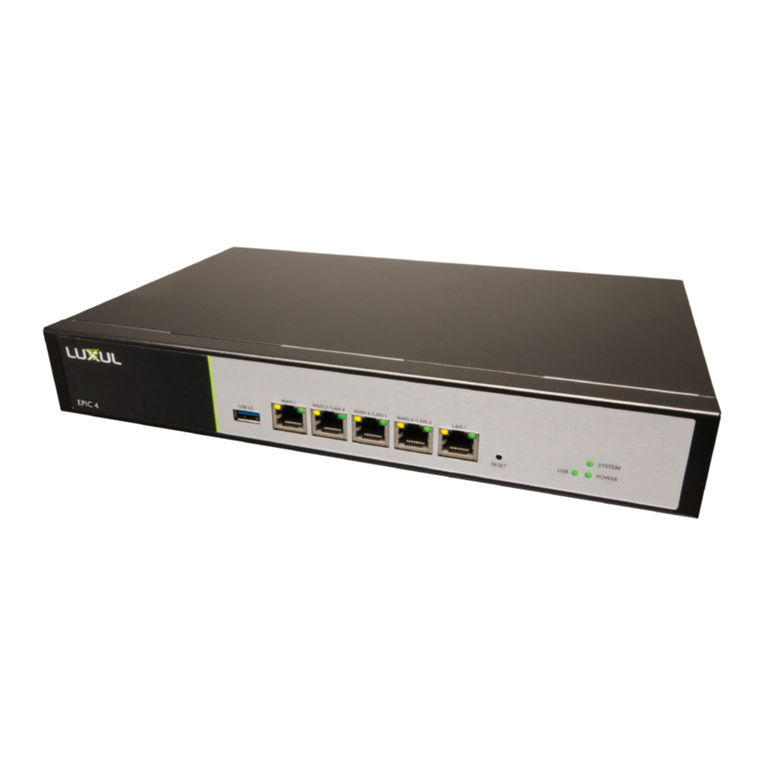
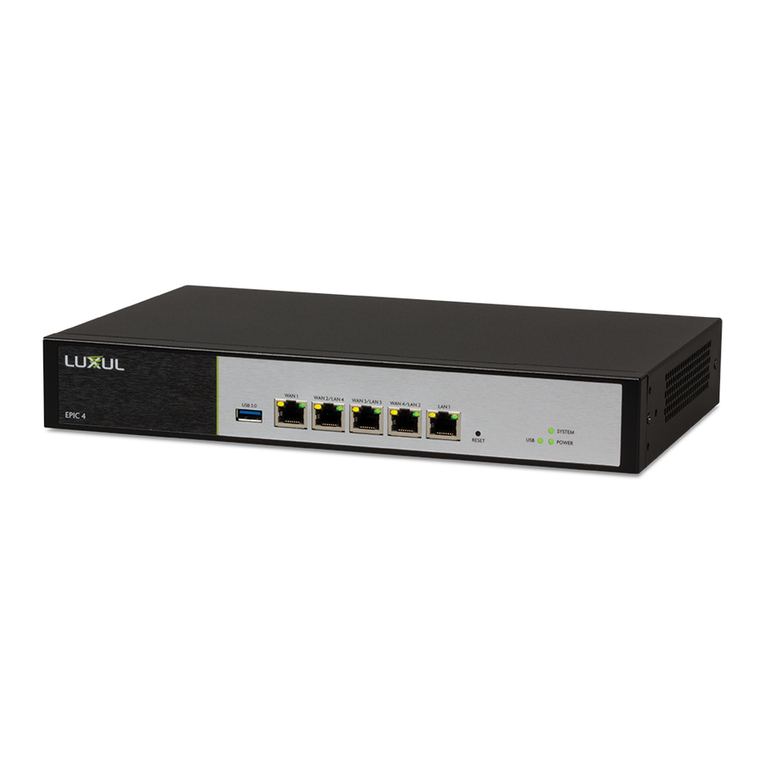
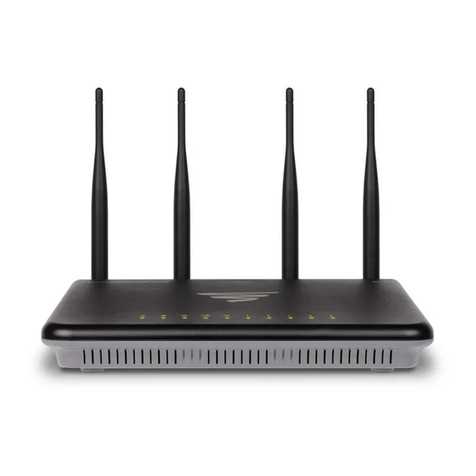
The front panel of the router features Power, System and USB LEDs, and port
status indicators for each of the router’s five built-in ports.
The rear panel of the router features five RJ-45 Ethernet ports: A single
dedicated WAN port, a dedicated LAN port, and three more ports which can be
configured as either WAN or LAN ports. Using the dedicated WAN port along
with all three shared WAN/LAN ports, the router can be connected to up to
four independent Internet connections simultaneously.
The rear panel also features a power switch and socket, recessed Reset button,
and a switch for selecting blue or green front-panel LED colors to match
other equipment in an audio/video rack. There is also a USB 3.0 port; plug a USB
flash drive or hard drive into the USB port and configure the built-in file/DLNA
server to serve files to LAN-connected devices.
Front Panel
Back Panel
Reset Button
The Reset button (located on the rear panel) can be used to reset (reboot) the
router, or to restore the router factory default settings.
XTo Reboot the Router: With the router powered on, press and release
the Reset button.
cCAUTION: Do not hold the button for more than a second. Doing so
could erase all settings and restore factory defaults.
XTo Restore the Default Settings: With the router powered on, press
and hold the Reset button for 15 seconds, then release the button. The
router automatically restores factory default settings. A factory reset may
take approximately a minute to complete. A successful factory reset is
indicated by all of the port LEDs flashing once. When the System LED begins
to flash, the unit is ready.
cCAUTION: Restoring default settings will remove any/all
custom configuration.
LED Indicators
Indicator State Description
POWER On The Router is powered and switched on.
SYSTEM Heartbeat
Blinking
O
Router is functioning.
Router is booting.
Router is not functioning correctly.
USB On A USB device is connected.
WAN/
LAN
Front
Top Row On/
Bottom Row On
Top Row On/
Bottom Row O
Top Row Flashing
Bottom Row O
1000 Mbps operation.
10/100 Mbps operation.
Network activity.
No network connection.
WAN/
LAN
Rear
Yellow On/
Green On
Yellow On/
Green O
Yellow Flashing
Yellow O/
Green O
1000 Mbps operation.
10/100 Mbps operation.
Network activity.
No network connection.
