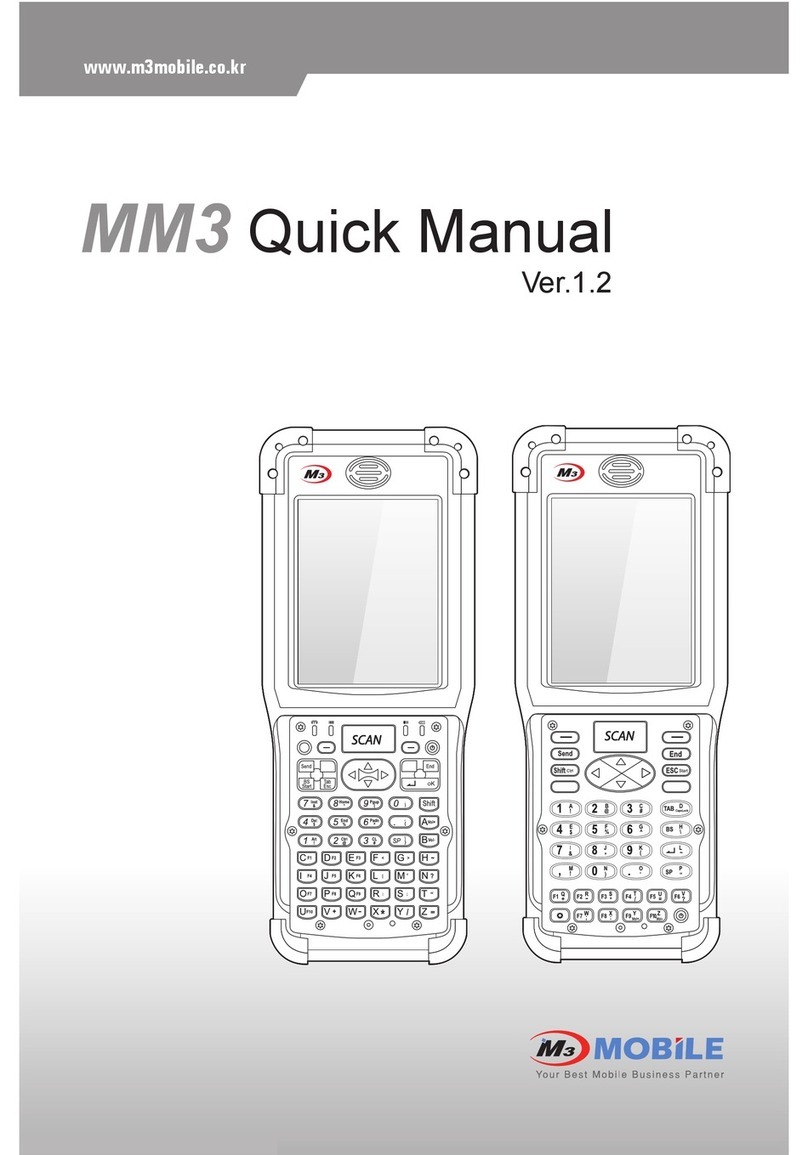
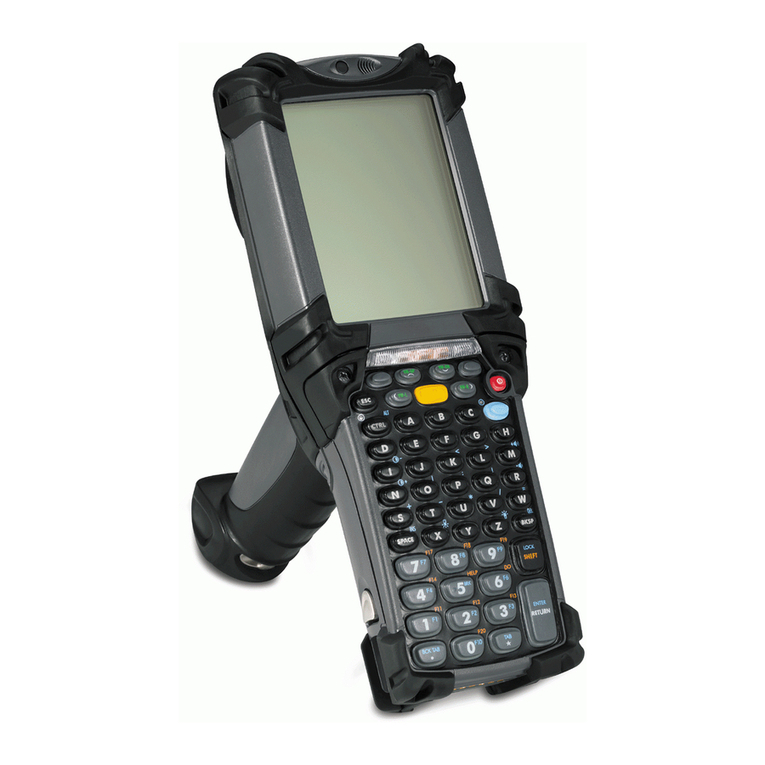
M3 Mobile MM3 User manual

MM3
All information of user manual and programs in CD
can be downloaded at www.m3mobile.net
User Manual
Please be sure to read the “Warnings and Safety Precautions”
in order to use the product safely and correctly.

2MM3 User Manual
This user manual provides the information that will help users quickly learn and more•
easily use this product.
The contents of this user manual were written based on the “current state” of the•
product, and the details of this manual are subject to change without prior notice due to
product improvements and changes in functions.
This user manual may contain technical and editing errors or omissions.•
M3 Mobile does not provide any guarantee including the implied guarantee on the•
product’s characteristics in this user manual and suitability for special purposes, and
any other guarantees not limited to them.
Among the contents of this manual, the optional devices ( , Bluetooth, Scanner,•
Camera, etc.) that are not installed in the MM3 for users cannot be used.
This user manual only includes contents that users need to understand to use this•
product.
This equipment is designed for home use and registered for electromagnetic suitability,•
and it can be used in any area, including residential areas.
Notice

User Manual MM3 3
All contents of this user manual are protected by the copyright laws, and M3 Mobile•
owns all rights related to them,
Any part of this document cannot be copied, reproduced, modified, or translated to•
other languages without the prior written consent of M3 Mobile. Unauthorized copying,
modification, or distribution of the software is considered as criminal action according to
the Software Copyright Law.
MM3 is a trademark of M3 Mobile.•
Microsoft, Windows, MS Office, Outlook, ActiveSync, Internet Explorer, Windows Logo,•
and Windows CE 5.0 Logo are registered trade marks or trademarks of Microsoft in the
USA or other countries. The license for OEM of Microsoft products was provided by
Microsoft Licensing Inc., subsidiary company of Microsoft.
All product names and services used in the manual and product are company names,•
service marks, trademarks, or registered trademarks of the corresponding right owners.
When separate application programs are developed and provided by the product•
providers using the product, refer to the program users manual provided by the product
providers.
The companies that produce separate application programs besides the basic•
installation programs must include the contact telephone number for inquiring about
these programs on the product, program, or product box separately when distributing
the equipment.
M3 Mobile does not guarantee the quality of the programs produced by third party•
software companies installed after the release from the factory of M3 mobile.
M3 Mobile may request programs from the program manufacturers in order to guarantee•
the quality of the product to meet the requests of mobile network service providers.
Copyright and Agreement on Usage
4MM3 User Manual
Customer Cautions
If the device is lost or stolen, then immediately report the incident to the service•
provider.
Do not lend the device to other people.•
Refrain from using the device while driving.•
When you need service for the product, request service from the designated place such•
as the service center of our company.
For inquires about the application programs and other work programs besides the•
hardware and the basic installation, directly contact the corresponding program
manufacturers.
Do not use any battery adapter or accessories other than the designated ones provided•
with the product.
Free warranty service may not be allowed if failures occur due to unauthorized use or•
misuse of the product.
Cautions in Carrying and Storing
Do not use the product in high temperature or high humidity environments as this may•
quickly cause damage to the product.
The product was designed to be suitable for work environments, but avoid impacts or•
dropping the product. This may cause fatal damage to the product.
Fully charge the battery before using the product for the first time.•
Warnings and Cautions for Safety

User Manual MM3 5
Do not modify the product
Do not try to modify the product by any means.•
Modifications may cause fire, injury, electric shock, or serious damage to the equipment•
and users.
The warranty service is not provided for troubles due to unauthorized modification.•

6MM3 User Manual
Specification and Characteristics
Used frequency bands Tri-Band(TX) : UMTS / HSDPA 850 / 1900 / 2100 MHz
Quad-Band(RX) : GPS 850 / 900 / 1800 / 1900 MHz
Band width 200 KHz (GSM) / 5MHz (3G)
External appearance 88 x 215 x 61mm (Width x length x height)
Weight 570g (battery included)
Operating
Temperature
Main body -20 ˚C ~ +50 ˚C
Adapter -20 ˚C ~ +50 ˚C
Relative Humidity 5% ~ 80%
Adapter Power Supply Input: AC 100 ~ 250V, 50 ~ 60Hz
Output: DC +5.2V, 5.0A

User Manual MM3 7
Table of Contents
Notice ............................................................. 2
Copyright and Agreement on Usage................ 3
Warnings and Cautions for Safety.................... 4
Specification and Characteristics..................... 6
Table of Contents ............................................ 7
MM3 Introduction ............................9
Product Configuration.................................... 10
Name and Function of Each Part................... 11
Inserting and Removing the Battery .............. 13
Charging ....................................................... 14
LED Information............................................. 15
Button Information......................................... 16
How to use Stylus Pen .................................. 18
How to connect to PC................................... 19
Soft Reset / Clean Boot ................................ 20
Basic Usage ..................................21
Calibration ..................................................... 22
Main Window ................................................ 24
Input Screen ................................................. 25
ActiveSync.....................................31
ActiveSync Introduction................................. 32
ActiveSync install / Connect .......................... 33
Synchronizing Data........................................ 34
Troubleshooting ActiveSync........................... 35
How to use Internet .......................37
Via HSDPA ................................................... 38
Via Wireless WLAN ....................................... 40
Browsing the Web Site ................................. 43

8MM3 User Manual
Table of Contents
How to use the Phone ..............................49
Init Screen ..................................................... 50
Phone Control ............................................... 51
Phonebook.................................................... 53
SMS send and receive................................... 54
Controls while on the phone .......................... 55
Phone setting ................................................ 56
Usage of Device .......................................57
To use the Camera ....................................... 58
Bluetooth Communication ............................ 62
BTExplorer .................................................... 66
To use the GPS ............................................. 69
To use the Scanner ....................................... 71

Product Composition
Name and Function of each part
Inserting and Removing the Battery
Charging
LED Information
Button Information
How to use Stylus Pen
How to connect to PC
Soft/Hard Reset
MM3 Introduction
1

10 MM3 User Manual
Product Configuration
Check if all following items are included when you open the box for the first time.•
MM3 Main Unit One Standard Battery + One
High Capacity Battery
Cradle USB Cable Portable Adapter
Earphone Stylus pen Manual CD +
ActiveSync
The product components may differ depending on the supplied products.•

11
User Manual MM3
Name and Function of Each Part
MM3 Main Unit
LCD Touch Screen
Scanner LED
Reset Switch
55Keys 41Keys
KeyPad
HSDPA LED
Charge LED
Scanner Button
Flash
Pistol grip
Battery Lock
Battery
IO Port
Camera
Barcode Scan
Window

12 MM3 User Manual
Name and Function of Each Part
Aux. Battery
Charging Slot
Main Unit
Charging Slot
Cradle Charging LED
(When Charging
Aux. Battery)
Cradle
USB Host and USB Ethernet are optional functions•
Optional functions or items that were not purchased cannot be used.•
USB CLIENT
Use for connecting (Active SYNC) PC with PDA
Ethernet:
Enables use of Ethernet function for Main Unit
When using Ethernet Cradle
5.2V DC:
Connect the adapter.
USB HOST
Connect the device that will connect to
USB HOST.
COM
Connect the serial cable.
H E (The switch on the top of USB HOST)
The switch that will choose either of them, USB
HOST or ETHERNET. (Cannot work both at
the same time)

13
User Manual MM3
Inserting and Removing the Battery
Attaching Battery
As picture shown, put the battery•
pack to back of PDA, and lock the
battery pack with locking device.
Detaching Battery
Press locking device to the right,•
then using upper notch, detach the
battery from main body.

14 MM3 User Manual
Charging
Connect plug-in from charger to charge jack of main body, or charge jack of cradle, and•
then place main body onto cradle.
Charging LED
Classification LED Status Description
Direct charging to main
body
Red Charging
Green Charging completed
Cradle Charging LED
(Extra battery charging)
Red Charging
Green Charging completed
Main Unit Charging
LED
Cradle Charging LED
(Aux. Battery
Charging)
Aux. Battery Slot
8BSOJOH
Do not use any other adapters except for the power supply device (5.2V/5A) that comes with•
the product.
Make sure to handle it gentle; damage with excessive force may cause no warranty.•
Risk of explosion if battery is replaced by an incorrect type.•
Dispose of used batteries according to the instructions.
When attached battery is completely discharged, plug charger to main body, then reset the•
device to check if screen is back on. To use, do at least 10 minute charging.
When charging, the status of the battery attached to main body can be confirmed•
by the LED left of upper corner of main body. Also the status of Sub-battery can be
confirmed by the LED right of low corner of Cradle.

15
User Manual MM3
LED Information
Classification LED Status Description
Charging LED
Red Charging
Green Charging completed
WWAN
Status LED
Blue Blinking WWAN Standby
(within range of phone / internet)
Blue On WWAN in use
(phone / SMS / internet in use)
Blue OFF WWAN is off or out of range
Scanner LED Green Scanner read barcode successfully
LED Alarm
Informs Charging, Scanner Status.•
Charging LED
Scanner LED
WWAN Status LED

16 MM3 User Manual
Button Information
8BSOJOH
Some key functions might not be supported, depending on the option.•
Button Name Function
Left, right func-
tion button
Run the left and right menus in the bottom
of Screen monitor.
Send button Run the mobile phone program.
End button After closing all programs that are imple-
menting, back to the main screen.
Shift
The same function as the shift key on the
keyboard. Press the button as pressing it,
and then a Capital letter will come out.
ESC Go back to the previous step, or delete
the pop-up.
Tab When entering the text, enter the space as
determined previously.
Bs Delete the text.
Enter Implement Command or move to the next
line when entering the text.
Button Name Function
Sp Keep a space when entering a text.
F1 ~ F10 Implement the function as determined previ-
ously. (a program or makin g a call, etc.)
Green button Enter English characters.
Yellow button
Enter the special characters.
Press 1: Empty circle – After entering it once,
restore to the original state.
Press 2: Circle – It’s available to keep enter-
ing English and special character.
Press 3: Go back to the original state.
* The different thing of two buttons is that you
should press the other key as pressing the
shift button, however, you should take your
finger off after pressing the green button, and
then press the other key.
41keys•

17
User Manual MM3
Button Information
Button Name Function
Left, right func-
tion button
Run the left and right menus in the bottom
of Screen monitor.
Send button Run the mobile phone program.
End button After closing all programs that are imple-
menting, back to the main screen.
Power button
Turn on the mobile in a state of turning off,
or make the mobile in Sleep-mode (short-
press), or turn the power off (long-press).
Light button Turn on / off back light of LCD
Green button Enter English characters.
Yellow button
Enter the special characters.
Press 1: Empty circle – After entering it once,
restore to the original state.
Press 2: Circle – It’s available to keep enter-
ing English and special character.
Press 3: Go back to the original state.
* The different thing of two buttons is that you
should press the other key as pressing the
shift button, however, you should take your
finger off after pressing the green button, and
then press the other key.
Button Name Function
Enter Implement Command or move to the next
line when entering the text.
Bs Delete the text.
Tab When entering the text, enter the space as
determined previously.
Start The same function as tapping the Start icon
on the left-top side of monitor.
Esc End the current menu, and move to the pre-
vious screen.
Green letters
on the Number
keypad
inst, del, alt, ctrl, end, home, pgup, and pgdn
have the same functions as keyboard.
CL – The same function as the Back-space.
(Delete a word right before the cursor one
by one.)
Sp Keep a space when entering a text.
Shift
The same function as the Shift key on the
keyboard. (It is used to enter the capital letter
in a state of a small letter or the special char-
acter operating with the number key.)
Yellow letter
on the English
keypad
F1 ~ F10 : Implement the function as deter-
mined previously. (Similar to Short-cut key)
Vol+, Vol- : Turn up/ down the volume
The rest : Output the special characters.
55keys•

18 MM3 User Manual
How to use Stylus Pen
Tap Drag Long Press
Tap the touch screen one time using a Stylus
pen to select and execute items and files.
It is used when you select the text. Please
drag the desired part with stylus pen at-
tached on the screen.
Lea
ve Stylus pen touching the screen for long
and you can select the menu on the pop-up
screen
.
You can also select functions available in the
designated item using the pop-up menu.
The function of the pop-up menu can be dif-
ferent according to the program

19
User Manual MM3
How to connect to PC
A cradle of MM3 supports charging and USB connection.•
Connecting step of cradle of MM3 is as following.•
Connect charger to USB cradle. (24pin connector)-
Connect charger to power source. (to wall)
-
Connect USB cable of USB cradle to USB port of desktop PC.
-
Place MM3 onto docking cradle then execute Synchronization with Desktop PC.
-
The location of USB port can be at the back, front or side of PC and the shape of USB•
port is identical on Desktop PC and Notebook.
USB host function is available by putting USB cable into USB port of Cradle.•

20 MM3 User Manual
Soft Reset / Clean Boot
Soft Reset
A soft reset allows your device to get a fresh start, similar to rebooting a computer.-
This restarts your device and adjusts memory allocation.-
All records and entries are retained after a soft reset.-
Unsaved data in open programs may in some cases be lost.
-
Clean Boot
- Power off the device by pressing the power button more than 10 seconds.-
- Hold and press the Send button and End button together then press the power button briefly.
"Clean boot" will be displayed on screen and press 1 to proceed clean boot.
-
8BSOJOH
Please mind that you need to set up the standard timezone date, and time. After power off.•
Device will be initialized after clean boot that is, clean boot deletes everything except data
stored in Flash disk.
-
Other manuals for MM3
2
Table of contents
Other M3 Mobile Handheld manuals

M3 Mobile
M3 Mobile MC-7100S Installation guide

M3 Mobile
M3 Mobile MM3 Installation guide

M3 Mobile
M3 Mobile SM20 Series User manual

M3 Mobile
M3 Mobile M3 POS User manual

M3 Mobile
M3 Mobile Orange User manual

M3 Mobile
M3 Mobile SL10 Installation guide

M3 Mobile
M3 Mobile M3 Sky MC-7500S User manual

M3 Mobile
M3 Mobile M3 T Installation guide

M3 Mobile
M3 Mobile Orange User manual

M3 Mobile
M3 Mobile MM3 User manual