Maag TAURUS User manual

Version 5.1 1
_________________________________________________________________________________
_________________________________________________________________________________
Envelope Sealing Machine
Model TAURUS
Instruction Manual
English
Copyright by MAAG MERCURE AG

Version 5.1 2
_________________________________________________________________________________
_________________________________________________________________________________
This Instruction Manual is valid for :
Type Order ID number
___________________________________________________
TAURUS ID / No 10023
Envelope sealing machine for envelopes up to 16mm thickness,
integrated stacked option for stacked envelopes. Large receiving tray L
(380mm), universal input voltage: 90...264VAC / 50...60Hz
TAURUS C ID / No 10024
Envelope sealing machine for envelopes up to 16mm thickness, with
integrated counter and stacked option for stacked envelopes. Large re-
ceiving tray L (380mm), universal input voltage: 90...264VAC /
50...60Hz
TAURUS IR ID / No 10025
Envelope sealing machine for envelopes up to 16mm thickness, with
automatic start/stop, integrated stacked option for stacked envelopes.
Large receiving tray L (380mm), universal input voltage: 90...264VAC /
50...60Hz
TAURUS IRC ID / No 10026
Envelope sealing machine for envelopes up to 16mm thickness, with
automatic start/stop, integrated counter and stacked option for stacked
envelopes. Large receiving tray L (380mm), universal input voltage:
90...264VAC / 50...60Hz
Document version: BA_MM_TAURUS_1707
Release: 5.1
Date: 20.07.2017

Version 5.1 3
_________________________________________________________________________________
_________________________________________________________________________________
CONTENTS
1 MANUFACTURER DETAILS ................................................................. 4
2 SAFTEY INSTRUCTIONS ..................................................................... 5
2.1 Symbols and reference key .................................................................. 5
2.2 Basic safety precautions ...................................................................... 6
2.3 Safety advice ..................................................................................... 6
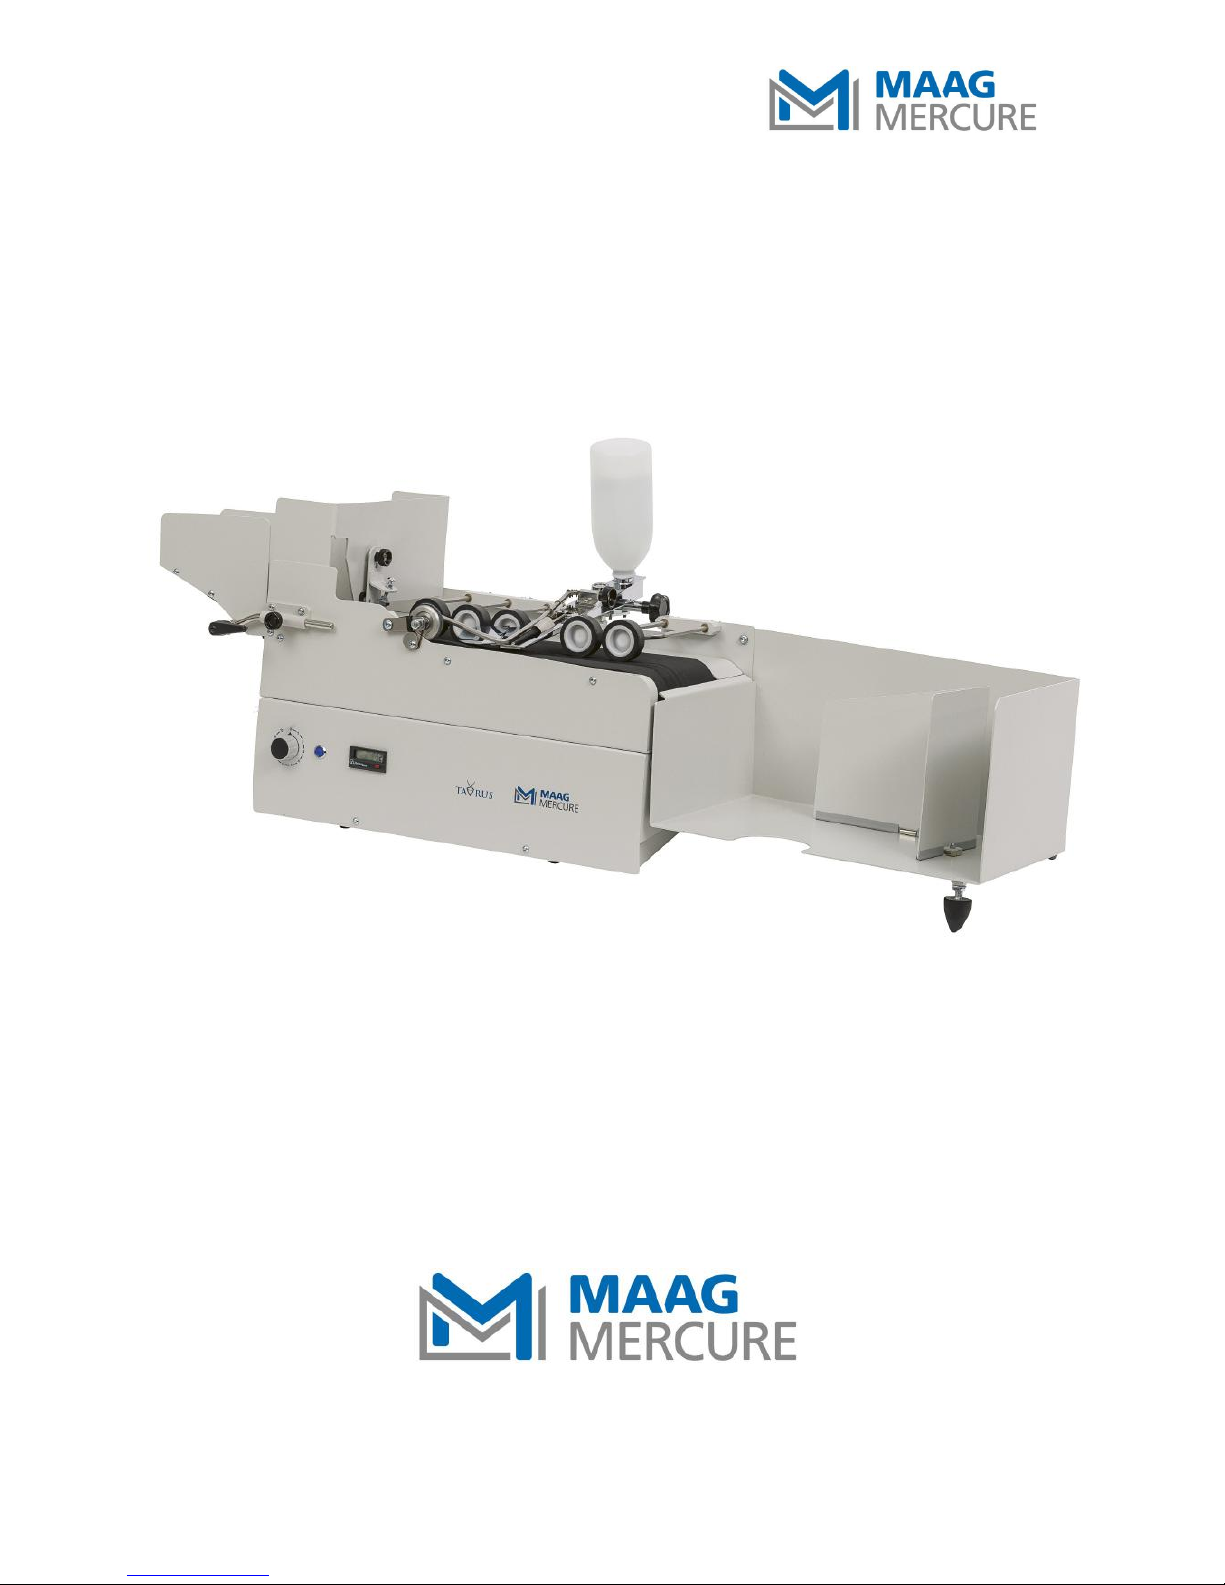
3 DESCRIPTION OF THE ENVELOPE SEALING MACHINE ........................ 8
3.1 General information ............................................................................ 8
3.2 Description of functions ....................................................................... 8
4 SET UP .............................................................................................. 8
4.1 Transportation/moving ........................................................................ 8
4.2 Setting up the envelope sealing machine ............................................... 9
4.3 Power supply .................................................................................... 10
5 INSTRUCTION FOR USE ................................................................... 11
5.1 Standard use, model: „TAURUS“ ........................................................ 11
5.2 Models „TAURUS IR / IRC“ …….…………………………..…………………………..………….. 12
5.3 Models „TAURUS C / IRC“ ……………….………………..………………...…………………….. 15
5.4 Setting up and regulating the basin .................................................... 16
5.5 Regulating the moistening of the envelope flap ..................................... 16
5.6 Setting and adjusting the conveyor belt ............................................... 17
6 SERVICING AND MAINTENANCE ...................................................... 17
6.1 Cleaning .......................................................................................... 18
6.2 Replacing the conveyor belt ................................................................ 18
6.3 Replacing the conveyor roller rubber rings ............................................ 19
6.4 Replacing the separating rubber .......................................................... 19
6.5 Replacing the moistening rubber ......................................................... 19
6.6 Replacement of the rocker switch ........................................................ 20
6.7 Maintenance of the motor-drive mechanism ......................................... 20

Version 5.1 4
_________________________________________________________________________________
_________________________________________________________________________________
6.8 Replacement of the fuse ................................................................... 20
7 DISPOSAL ....................................................................................... 20
8 SPARE PARTS .................................................................................. 21
9 PART DIAGRAM ………………….………...…....………….………...…………… 22
10 TECHNICAL DATA ……………….……………..………….………...…………… 23
1 MANUFACTURER DETAILS
Manufacturer details according to the EU Machine Directives 2006/42/
EG, Appendix II B
Manufacturer: MAAG MERCURE AG, Webereistrasse 59, CH-8134 Adliswil
www.maag-mercure.swiss — Phone: +41 (0)44 710 40 41
hereby declares that the Envelope Sealing Machine including all its models:
“TAURUS (IR / C / IRC)“
meets all the basic health and safety requirements of the Machine Directives
2006/42/EG Appendix I.
The technical documentation for this Envelope Sealing Machine is detailed in Ap-
pendix VII part B. The manufacturer agrees to transmit these technical
documents to the national authorities electronically upon request. This Envelope
Sealing Machine also adheres to following regulations:
Company, location:MAAG MERCURE AG, CH-8134 Adliswil,
Date: 15th February 2016
Name, Title: Hans E. Maag, CEO
Machine Directive 2006/42/EG
Low Voltage Directive 2006/95/EG
EMC- Directive 2004/108/EG

Version 5.1 5
_________________________________________________________________________________
_________________________________________________________________________________
2 SAFETY INSTRUCTIONS
2.1 Symbols and reference key
Symbols: Assembly and commissioning by qualified personnel in accordance with
operating instructions.
Please take heed of the following symbols and references. They are divided up
into safety steps and are classified under ISO 3864-2.
DANGER
WARNING
CAUTION
INFORMATION
This means there is an immediate threatening danger.
When instructions have not been followed, death or seri-
ous harm to the body (invalidity) can be caused.
This means there is a potentially dangerous situation.
When the instructions have not been followed, death or
serious harm to the body (invalidity) can be caused.
This means there is a potentially dangerous situation.
When the instructions have not been followed, damage to
objects as well as little or minor harm to the body can be
caused.
This means general advice: useful operator tips and ope-
rating recommendations which do not affect the safety
and health of personnel.

Version 5.1 6
_________________________________________________________________________________
_________________________________________________________________________________
2.2 Basic safety precautions
Before use :
Please read this instruction booklet thoroughly.
Important advice regarding the use, safety and the warranty of
the machine is given. The machine is radio-screened and
complies with technical specifications.
This instruction booklet allows the user to set up and operate this Envelope Seal-
ing Machine in complete safety. The instructions and especially the safety pre-
cautions should be respected by all who use this Envelope Sealing Machine. In
addition, further local rules and regulations must be adhered to for accident pre-
vention.
The operating instructions must always be kept near the Envelope Sealing
Machine .
Should the Envelope Sealing Machine be used for any
other purpose than the one for which is was intended,
used incorrectly or subjected to bad repair or maintenan
ce, no liability for any damages can be guaranteed!
2.3 Safety advice
Caution when on standby
—> The machine should be turned off when :
placing the water reservoir on the moistening tank
setting the guide plate and pile angle for size
replacing worn parts with new ones
the machine is jammed (such as an envelope or belt
track jam)

Version 5.1 7
_________________________________________________________________________________
_________________________________________________________________________________
WARNING
The envelope sealing machine must not be used:
in wet or damp areas.
in temperatures below 10°C or over 50°C
in areas containing highly flammable material
in areas with explosive material
in very dirty or dusty environments
in corrosive environments (e.g. where the air has a high salt
content)
Safety instructions when the machine is on or in use:
do not carry out any manipulations
do not touch the conveyor belt
do not put your hands on the transport system and the sealer
table
Keep hands, long hair or dangling jewelery etc. away from the
feed and moving parts .

Version 5.1 8
_________________________________________________________________________________
_________________________________________________________________________________
3 DESCRIPTION OF THE ENVELOPE SEALING MACHINE
3.1 General information
The fully automated Envelope Sealing Machine series „TAURUS (IR/C)“ seals all
standard envelopes with the format C6/5 to C5 as well as C4 Pocket envelopes
with flaps on the longer side both cleanly and quickly.
This machine allows for swift handling of your outgoing post, thanks to the as-
tounding closing mechanism. It is easy to install and use even in the smallest
spaces. The automatic functioning means you only have to tie the letter piles af-
ter they have been sealed. No manual opening of the flaps, handling or pressing
of the letter piles is necessary.
3.2 Description of functions
A large water reservoir with a controlled water level and automatic level regula-
tor make sure there is a smooth supply of water to the moistening tank. The mo-
istening roller is self-cleaning and the moisture level is variable.
The speed is adjustable from 0-100% using the knob.
4 SET UP
4.1 Transportation / moving
When moving the Envelope Sealing Machine first of all you must remove the wa-
ter reservoir and empty it of water with the suction rubber pear.
Remove the format slide from the machine and place both supplied support pins
in the format slide guide. Make sure the machine is supported by these pins.
Place the basin at the front between the underside and conveyor belt with bubble
wrap or something similar.
Whenever possible use the original packaging when moving or transporting.

Version 5.1 9
_________________________________________________________________________________
_________________________________________________________________________________
4.2 Using the envelope sealing machine
1. The Envelope Sealing Machine must be placed on a level and solid base. The
boxes must be placed on the surface.
2. The Envelope Sealing Machine must be connected to an earthed outlet (2-pin
plus earth) 230VAC or 115VAC according to the type plate.
When setting up, the machine must always be turned off
(the warning light must not be blinking!)
3. The machine can be centered by adjusting the two rear machine feet using
circular level on the basin.
4. Check whether the circular level has moved. If necessary, adjust the machi-
ne feet again.
5. The transparent water reservoir must be filled with tap water. If the tank we-
re to tip over quickly the valve closes off the water.
In hard water areas add 4 to 5 drops of cleaning fluid. This
way you will have a equally smooth and spot-free liquid!
6. The moistening basin should be topped up to the limit and the water reser-
voir (neck down) inserted into this position inside the ring of the moistening
basin until the neck completely rests inside.
7. The water must now reach the top of the moistening roller. Check for the op-
timal wetness manually when turning the moistening roller.
8. The correct amount of water will now automatically be supplied to
the moistening roller from the transparent water reservoir (vacuum
effect!)
The suction rubber pear is used to check the water level
and to empty the moisture basin.
When carrying out maintenance or moving the machine, the wa
ter basin and reservoir must be completely emptied.
9. The moisture basin must be topped up and the water reservoir taken out of
the ring-shaped holder .

Version 5.1 10
_________________________________________________________________________________
_________________________________________________________________________________
10. The rest of the water in the moistening tank can be sucked out via the suc
tion rubber pear through the ring-shaped hole and the moisture basin water
level will slowly go down.
In this way the water compartment is shut off and the
machine parts connected to electric power cannot come
into contact.
11. Take out the support pins from the format slide and insert the format slide
in both guides.
4.3 Power supply
The operating voltage required is as specified below:
100...120VAC/60Hz and 200...240VAC/50Hz
The switching power supply has been pre-selected by the
factory!
Always take notice of the type plate on the left side of the
Envelope Sealing Machine!

Version 5.1 11
_________________________________________________________________________________
_________________________________________________________________________________
5 INSTRUCTION FOR USE
5.1 Standard use, model "TAURUS"
Switch on with the main toggle switch next to the powercord input.
Turn the rotary control switch to approx. 70-100% (position 7 ... 10).
Set the five transport rollers by moving the axis of its lever arms in the
areas along the back side as close as possible to the envelope flap.
The flaps may under no circumstances pass under the
feed rollers!
In this way both narrow and wider envelopes with long
flaps can be transported and closed effortlessly.
Place all the envelopes of the same width together, place the flaps all on the
same side.
The format slide should be positioned with an additional 2mm space around
the edge of the envelope and for longer formats they should open to the
left.
Place the pile angles in the receiving tray according to the envelope size set.
With the left hand take a stack of envelopes, all with he same side facing up
and the envelopes staggered up towards the back.
Only place the letter stack on when the conveyor belt is
running so that the lowest envelope is always taken first!
Take the sealed envelopes out of the stack and press the top flap lightly.
More stacks of letters can be added during running.
When idle, adjust the speed control using the rotary knob to position "0"
and if necessary, turn the machine off completely.
The model TAURUS IR/IRC stops after a delay of 3 to 4 sec. automatically
after the last envelope has passed the conveying sytem.

Version 5.1 12
_________________________________________________________________________________
_________________________________________________________________________________
The model TAURUS comes with the piling option as standard.
This option allows to seal both normally stacked envelopes (see Picture 1, Page
13) as well as nested envelopes (see picture 2, Page 13)!
Settings for different letter thicknesses:
1. The position 1 (standard) of basin support and separate pressure-plate
unit can be used for thickness up to 8 mm (all formats). For thickness
above 8 mm up to 16 mm the basin support and separate pressure-plate
unit need to shift in position 2.
2. Therefore release the knurled nut on the bassin support slightly and lift the
bassin support together with the basin to the upper limit stop (5mm) and
fix the knurled nut again (picture 1+2, page 14). Same happens with the
separate pressure-plate unit (picture 3+4, page 14). Release knurled nut
slightly and shift the separate pressure-plate unit to the upper position (12
mm) and fix the knurled nut again.
The height adjustment of basin and separate pressure-
plate unit needs to be executed together obligatory!
5.2 Model „TAURUS IR / IRC:
This Envelope Sealing Machine Model TAURUS IS / IRC is equipped with the
additional integrated, photoelectric Infrared system (IR) and uses automatic
START/STOP function.
1. First adjust the format slide according to the envelope width leaving an ad-
dition of 2 mm gap and fix the pile angles in the receiving tray according to
the envelope size.
2. Then turn the machine on using the power switch (control light turns on,
but the conveyor belt is not running yet!)
3. Insert the stack and only now the engine is automatically switched
on. Once the last envelope has been processed, after approximately
3-4 seconds the machine will automatically turn off.
WARNING !
Do not touch once the conveyor belt is running! Do not
rest your hands on the machine! Take care with long hair
or dangling jewellery when near the moving parts.

Version 5.1 13
_________________________________________________________________________________
_________________________________________________________________________________
Nested envelopes:
Normally stacked envelopes:
>>>>>>>>>> direction of processing >>>>>>>>
Picture 1
Picture 2

Version 5.1 14
_________________________________________________________________________________
_________________________________________________________________________________
Adjustment of separate pressure-plate unit
Adjustment of basin support
8...16 mm
Up to 8 mm
Release knurled nut slightly and shift the separate pressure-plate unit to the up-
per position resp. slide down to the lower position. Fix the knurled nut again and
align the spring plate on the separation pad optionally.
Picture 3 Picture 4
Picture 1 Picture 2
Position 1 Position 2

Version 5.1 15
_________________________________________________________________________________
_________________________________________________________________________________
5.3 Model „TAURUS C / IRC:
The envelope sealing machine TAURUS C resp. IRC offers in addition an
integrated counter.
Pulse counter with 7-digit LCD, 48 Hz/8 kHz with integrated lithium battery,
without backlight.
Description of the counter
Scaling factor, factory-programmed
7-digit LCD-display, 8,6 mm high
Counting range 30Hz or 1 kHz / 0..99999999, no decimal point
Data storage on internal EEPROM
DIN-housing 48 x 24 mm, dark-grey
Power supply over internal battery
Functionality
When pushing the light-grey button on the front, the counter will be reseted.
Registration of the documents resp. letters has be effected by Ultrathin Photo-
electric Sensor with Built-in Amplifier.

Version 5.1 16
_________________________________________________________________________________
_________________________________________________________________________________
5.4 Setting up and regulating the basin
The correct water level for the moistening rollers is controlled by circular levels
on the moisture basin by raising or lowering the two rear machine feet.
Once the water reservoir has been filled, it must be inserted into the ring of mo-
isture basin so that the water reaches the top of the moisture roller, adjustable
by turning the rollers.
See also Paragraph 4.2, points 3...10
The water level in the moistening rollers is properly regulated, when it does not
reach the basin edge. By slow aspiration with the suction rubber pear from the
top of the moistening roller a correct continued flow of water from the reservoir
is controlled. The moistening roller top must always be in the water.
If the water level in the moistening rollers is too high, the mechanism must be
placed deeper and if the water level is too low, the mechanism must be positio-
ned higher, again by adjusting the two rear machine feet.
When the correct water level is set - also, for example, when replacing the mo-
isture tank - the circular level is recorded by means of its three fixing screws and
therefore the right water level is retained.
Despite correct regulation of the water level in moisture basin, the water may
overflow when the moistening rollers are in use.
This may be due to a leaking water reservoir (no longer airtight, e.g. as a result
of a crack). Thus, the required vacuum in the plastic container is no longer
present, and hence the water flows constantly into the moisture tank and over-
flows at the moistening rollers.
If this happens the transparent water reservoir should be replaced!
5.5 Regulating the moistening of the envelope flap
Depending on the quality of the paper, the shape of the flap and the flap adhesi-
ve, a lighter or stronger moistening of the flap may be required for sealing.
To regulate the moistening, the black knurled nut must be
displaced laterally on the moistening line.
A quarter turn clockwise results in a lighter wetting, a quarter turn counterclock-
wise results in a stronger wetting.
The ideal occlusive speed can be adjusted with the rotary knob adjustment from
0 ... 100% (range 0 ... 10).
Depending on the size and contents of the envelopes, the speed should be selec-
ted so that the envelopes can be properly ejected and stacked.

Version 5.1 17
_________________________________________________________________________________
_________________________________________________________________________________
5.6 Tuning and adjusting the conveyor belt
The lateral end of the conveyor belt on both rubber rollers is adjustable by me-
ans of two screws on the rear panel. By turning the screws during use to the
right, the belt runs forward. By turning the screws during use to the left, the belt
runs backwards.
The conveyor belt is properly controlled during the operation, provided that its
leading edge matches the front edges of the two belt rollers.
6 SERVICING AND MAINTENANCE
The machine should be covered after use with the
protective cover so that the rubber parts are not damaged
by external light, sun and heat sources!
First of all the power plug must be removed from the
power point in the wall (pull only on the plug, not the
power cord!)
Then:
Open or unscrew the electronic convering for mainte-
nance work.
Replace the fine-wire fuse in the fuse holder
(miniature fuse 5 x 20 mm, 230 VAC / 800 mA or 115
VAC / 1.6 A).
Replacement fuse is provided into the rocker switch
black with on/off switch and fuse holder.
Cleaning and maintenance work.
Damage to the power cable (to be replaced immedia-
tely)
Short circuit or other electical faults (an authorised
representative or technician should be consulted)
Only original spare parts must be used. For maintenance
and repair, contact the competent dealer. Not properly
carrying out repairs or maintenance may lead to the user
putting himself in considerable danger!

Version 5.1 18
_________________________________________________________________________________
_________________________________________________________________________________
6.1 Cleaning
The conveyor belt should be cleaned externally from time to time with a roller
cleaning agent, (as for all printers) and a lint-free cloth.
In this way a good adhesion and continual letter trans-
portation is guaranteed!
The moisture tank must be unscrewed with the axis from the star grip for
cleaning and rinsed under running water.
It is important to make sure that the moisture tank is not
deformed. It should rotate on its axis freely!
6.2 Replacing the conveyor belt
1. Remove the first format slide (left), loosen the front left thumb screw
M5x18.
2. Remove the second receiving tray box (right) at the rear 2xM6 with a knur-
led nut, remove 2xM6 spring washers and 2x M6 body discs.
3. Remove basin (loosen large star grip M10 to the right)
4. At the separating wall, loosen and remove the spring pressure plate with se-
parating rubbers and belt.
5. On the front wall to the left loosen M5x20 screw and U disc M5
(approximately 6-8 mm).
6. On the front panel loosen first the 2 M6x16 screws on the left and right (left:
through hole in top side panel, right at receiving tray).
7. Tilt the front panel slightly forward, remove the left side cover, or in IR plate
tilt to the left (hanging with IR sensor on the cable).
8. Remove body screws plus body discs completely M6x16 from the front panel
and pull the front panel forward.
9. Pull off the cogged belt right over pulley clockwise with a little effort.
10. Remove conveyor belt on both sides pulling forward over the drive rollers.
11. First place new conveyor belt right over the drive roller 5 cm, then left place
over roll, drive both back until the belt at the edge of the belt rolls. Now with
light pressure push right behind the drive pulley conveyor rollers (leave
space for cogged belt)
12. Insert cogged belt on the pulley to the right (rotate counterclockwise in
the pulley-groove)
13. Replace front panel (support rollers under the belt)
14. Replace 2 M6x16 fixing screws, on the left with 3 body discs and on the
right with 1 body disc, do not tighten fully! yet
15. Tilt the front panel slightly forward, hook left side panel.

Version 5.1 19
_________________________________________________________________________________
_________________________________________________________________________________
16. Fix the front panel to the left and right well with M6x16 screws.
17. On the dividing panel (left) fix with M5x20 screws and M5 discs.
Make sure that the front wall is in line with the main body
and the side cover is level with the front!
18. Assemble belt, separating rubbers and spring pressure plate on the panel,
tighten with a knurled nut M5 and fix firmly with disc M5.
19. Replace the basin in the stand, tighten star grip M10 (fully).
20. Slide format slide into place on the left and secure with M5x18 screw.
21. Replace receiving tray with one body disc M6, a M6 spring disc and knurled
nut M6 on the back.
6.3 Replacing the conveyor roller rubber rings
Depending on the degree of wear, these rubber rings of the conveyor rollers
should be replaced regularly. Always replace all 5 rubber rings at the same time!
These rubber rings can be easily removed by hand by raising the conveyor rol-
lers.
6.4 Replacing the separating rubber
Depending on the degree of wear, the separating rubber should be changed re-
gularly. Always replace together with the transparent slide plastic sheet!
The separating rubber is removed by unscrewing the knurled nut on the side pa-
nel.
When inserting, make sure that the transparent plastic
belt is put in first.
6.5 Replacing the moistening rubber
Depending on the degree of wear, moistening rubber should be replaced. This
should always be completed by replacing the axis and square top.
When inserting, make sure that the square top touches
the inner square of the axis so that the axis can not rota-
te!

Version 5.1 20
_________________________________________________________________________________
_________________________________________________________________________________
6.6 Replacement of the rocker switch
The new main rocker switch consists of a power socket, fuse holder and an in-
tegrated fuse element.
To replace the main rocker switch the the blade receptacles must be removed.
Then the main rocker switch unit need only be pressed on from inner surface
(straight plates needs to be pressed lightly).
6.7 Maintenance of the motor-drive mechanism
The motor-drive mechanism is basically maintenance free! The drive has auto-
matic belt tension and a safety clutch.
If the motor-drive mechanism is defective, the motor or the convoyer rubber
belt needs to be replaced!
Consult a technician or authorised representative!
6.8 Replacement of the fuse
The fuse is located in the main rocker switch. Can be opened with a small screw
driver. Remove the blown fuse and insert the new fuse according to the marked
specification (miniature fuse 5x20mm, 230VAC / 800mA or 115VAC / 1.6A).
Replacement fuse is provided into the rocker switch black
with on/off switch and fuse holder.
7 DISPOSAL
An envelope sealing machine that is no longer usable should not be disposed of
as a single part, rather in different sections depending on the material and then
dismantled and recycled. Non recyclable parts should be disposed of correctly.
Table of contents