mabe CHC7BPL1 User manual

©
●2017
All rightsreserved.Unauthorized copying and distribution is a violation of law.
Chest Freezer
SERVICE MANUAL
MODEL:
CHC7BPL1
This service information is designed for experienced repair technicians only and is not designed for use by the general public. It
dose not contain warnings and cautions to advice non-technical individuals of potential dangers in attempting to service a product.
Product powered by electricity should by serviced or repaired only by experienced professional technicians. Any attempt to service
or repair the product or products dealt with in this service information by anyone else could result in serious injury or death.
WARNING

2
●
Contents
Chapter 1 General Information .................................................................................................................. 3
1-1. General Guidelines............................................................................................................................. 3
1-2. Insurance Test .................................................................................................................................... 3
1-3. How to read this Service Manual ........................................................................................................ 4
Chapter 2 Product Feature ........................................................................................................................ 5
2-1. SPECIFICATIONS .............................................................................................................................. 5
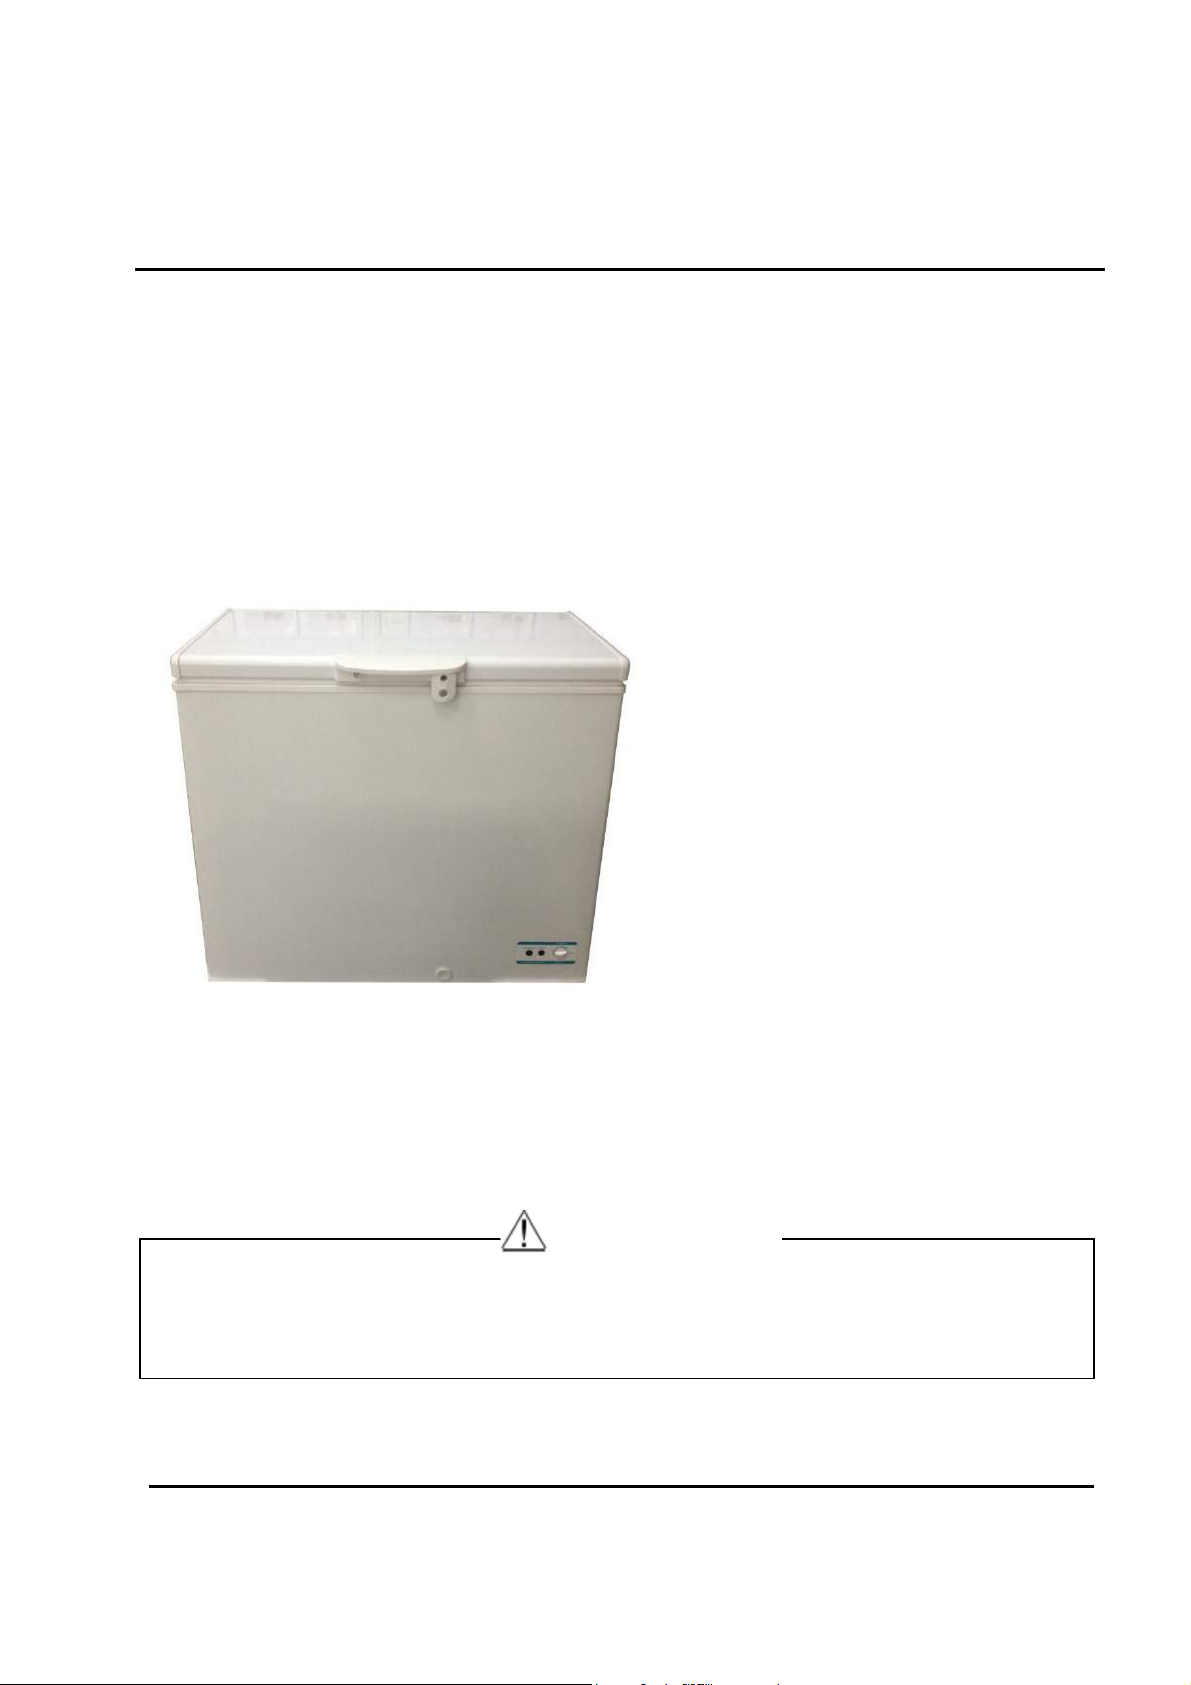
2-2. External view ...................................................................................................................................... 6
Chapter 3Installation, adjustments and maintenance ................................................................................. 7
3-1.Unpacking ........................................................................................................................................... 7
3-2.Adjusting ............................................................................................................................................. 7
3-3.Electrical Requirement ........................................................................................................................ 8
3-4.Defrost ................................................................................................................................................ 8
3-5. Cleaning............................................................................................................................................. 8
Chapter 4Disassembly ............................................................................................................................ 10
4-1. Door assembly (Door, hinge, hinge cover) ........................................................................................ 10
4-2. Compartment Grill assembly ............................................................................................................ 10
4-3. Control panel assembly
●(Panel, cover board, knob, indicator light) ..................................................... 11
4-4. Thermostat assembly
● ....................................................................................................................... 11
Chap
●ter 5Control and display system ...................................................................................................... 12
5-2. Starting the Freezer.......................................................................................................................... 13
Chapter 6System flow principle ............................................................................................................... 14
6-1.Refrigeration flow chart...................................................................................................................... 14
6-2. Refrigeration flow scenograph .......................................................................................................... 15
Chapter 7Circuit diagram
● ......................................................................................................................... 16
7-1. Briefprinciple diagram ....................................................................................................................... 16
Chapter 8Trouble shooting ...................................................................................................................... 17
8-1.Normal phenomena ........................................................................................................................... 17
8-2. Abnormal phenomena ...................................................................................................................... 19

3
●
Chapter 1 General Information
1-1. General Guidelines
When servicing, observe the original lead dress. If a short circuit is found, replace all parts which
have been overheated or damaged by the short circuit.After servicing, see to it that all the protective
devices such as insulation barriers, insulation papers shields are properly installed.After servicing,
make the following leakage current checks to prevent the customer from being exposed to shock
hazards.
1) Leakage Current Cold Check
2) Leakage Current Hot Check
3) PreventionofElectroStaticDischarge(ESD)toElectrostaticSensitive
1-2. Insurance Test
1. Check if there is any leak of current.
2. Cut out the power supply before the repair to avoid an electrical shock hazard.
3. In the case of a live
●-line test, insulating gloves should be worn to avoid potential electrical shock.
4. Confirm the rated current, voltage and capacity before testing with any kinds of instruments.
●
5.
● Watch if the upper door is open when you check something at a lower position.
6. Take out every part in the cabinet before moving the machine, especially things like panels (e.g. glass
shelf).
7. Please wear intact cotton gloves when repair any parts of the evaporator, so that scratches by the
sharp fins can be avoided.
8. If there is a breakdown with the refrigeration system, please
●surrender the machine to the service
center, else the leaked refrigerant may pollute the atmosphere.
9. The refrigerator use AC ofV with a frequency of 0Hz.
10. A big fluctuation of voltage may cause a start failure of the refrigerator,
a burn-out of the control panel and compressor, or an abnormal sound from the compressor in

4
●
operation.
11. Take care not to damage the supply line. Don’t yank at the line; pull the plug out gently from the
receptacle. Don’t press the line under the cabinet or step on it. Take care not to roll on or damage the
supply line when moves the machine from the wall.
12. In the case of leakage of inflammable gases like carbon monoxide, open the door and windows. Don’t
pull out or insert the plugs of the appliance.
13. Don’t touch the refrigeration surface of the freezing compartment when the refrigerator is in operation,
especially when your hand is wet, else you may be glued to the surface.
14. Pull out the plug of power supply during clearance or power outage. Wait at least five minutes to
resume the power supply in order to prevent damage to the compressor caused by continuous restart.
Photo used in this manual
TheillustrationandphotosusedinthisManualmaynotbaseonthefinaldesignofproducts,which may differ
from your products in some way.
1-3. How to read this Service Manual
1-3-1. Using Icons
Themeaningofeachicon is described in the table below:
●
Note:
A “note” provides inform
●ation that is not indispensable.
Caution:
●
A “caution” is used when there is danger, that through incorrect manipulation, may damageequipment,
loosedata,getanunexpectedresultorhastorestart(partof)aprocedure.
Warning:
● A “warning” is used when there is danger of personal injury.
Reference: A “reference” guides us to other places in this binder or in this manual, where we
will findadditionalinformationonaspecifictopic.

5
●
Chapter 2 Product Feature
2-1. SPECIFICATIONS
1.
Type Model CHC7BPL1
Commercial brand / Mabe
Product description / Chest Freezer
Type of appliance (FS=free
standing / BI= built-in) / FS
Climate class (N=16-32℃
ST=16-38℃ T=18-43℃) / ST
2.
Key features
Gross capacity l 198
Total net capacity l 203
Freezing capacity(kg/24h) kg/24h 10
Energy consumption/year kWh/year 180
Max storage time at breackdown
h 37
Defrosting (Manual-Automatic)
/ Manual
Kind of coolant (R134a/R600a) / R600a/56g
3.
Technical data /
Voltage / frequency V/Hz 115 / 60
Input power / currency W /A 100/1.25
Lenght of cable / incl. plug cm 150/155
Temperature range
●(from>to) °C -12~-26
4.
Product net dimensions
Unit dimensions (H / W / D) cm 84.5/94/55
Height with open lid
● cm 134.5
Net weight kg 42
7.
Packing dimensions & loadability
Packing dimensions (H / W / D)
cm 89/99.5/58.5
Gross weight kg 45
8.
Service / /
User instruction (languages) / EN

6
●
2-2. External view
CHC7BPL1
Door
Cabinet
Control
penel

7
Chapter 3Installation, adjustments and maintenance
3-1.Unpacking
●
1. Remove all packaging material; this includes the foam base and all adhesive tape holding the
freezer accessories inside and outside.
2. Inspect and remove any remains of packing, tape or printed materials before powering on the
freezer.
3-2.Adjusting
1. Thefreezeris designed for freestanding installation only. It should not be recessed or built-in.
2. Place the freezer on a floor strong enough
●to support it fully loaded.
3. When moving freezer, never tilt it more than a 45-degree angle. This could damage the compressor
and the sealed system.
4. If freezer is tilted let it stand in an upright position for at least 24 hours prior to plugging. This is to
allow the refrigerant to settle.
5.Proper Air Circulation
●
To assure the freezer works at the maximum efficiency it was designed for, you should install it in a
location where there is proper air circulation, Plumbing and electrical connections.
The following are recommended clearances around the freezer:
Sides…………..2”(50mm)
●
Top. ……………2”(50mm)
Back…………..2”(50mm)
Do not over fill
●freezer for proper internal air circulation.

8
3-3.Electrical Requirement
Make sure there is a suitable power
●Outlet with proper grounding to power the freezer.
Avoid the use of cutting off the third grounding, this is a dangerous practice since it provides no
effective grounding for the freezer and may result in shock hazard.
3-4.Defrost
Defrosting and Draining the Freezer
1. Defrost whenever the frost becomes 5MM thick. Never use a sharp or metallic instrument to remove
the frost as it may damage the cooling coils.(A punctured coil will void the warranty)
2. Unplug the unit. Fordraining, place a tray beneath the outer drain plug. Pull out the drain dial and
rotate it so that the arrow points down
●ward. This will let the water flow out into the tray.
3. Remove the drain plug from the inside of the freezer. Defrosting usually takes a few hours. To
defrost faster keep the freezer door open. Whendone, push the drain dial in and turn the arrow to
the up position. Re-plug the drain plug inside the freezer compartment. Note: monitor the container
under the drain to avoid overflow.
·Rest the temperature
●control to the desired setting.
3-5. Cleaning
Outside.
● Protect the paint finish. The finish on the outside of the freezer is a high quality
baked-on paint finish. With proper care, it will stay new-looking and rust-free for years. Apply a coat of
appliance polish wax when the freezer is new and then at least twice a year. Appliance polish wax also
works well to remove tape residue from freezer surfaces.
●
Keep the finish clean. Wipe with a clean cloth lightly dampened with appliance polish wax or
mild liquid dishwashing detergent. Dry and polish with a clean, soft cloth. Do not wipe the freezer with
a soiled dishwashing cloth or wet towel. Do not use scouring pads, powdered cleaners, bleach, or
cleaners containing bleach.

9
Inside. Clean the inside of the freezer at least once a year. We recommend that the freezer be
unplugged before cleaning. If this is not practical, wring excess moisture out of sponge or cloth when
cleaning in the vicinity of switches, lights or controls.
●
An open box of baking soda in the freezer will absorb stale freezer odors. Change the box ever y
three months.
Care should be taken in moving the freezer away from the wall. All types of floor coverings
can be damaged particularly cushioned coverings and those with embossed surfaces.

10
Chapter 4Disassembly
4-1. Door assembly
● (Door, hinge, hinge cover)
1.Unscrew the hinge cover screw with screwdriver, take away the top and bottom cover by pull it,
and then unscrew the screws on the hinge, so the whole hinge could be moved.
4-2. Compartment Grill assembly
Unscrew the two screw of grill,
●we can take away the grill.
Top hinge cover
Bottom hinge cover

11
4-3. Control panel assembly(Panel, cover board, knob, indicator light)
Stretch your arm into the compartment, push the connector inside, when the clip falls off the
●
cabinet, and take off the control panel and the connective wire cord with an acutilingual plier.
4-4. Thermostat
●assembly
First take off the knob, Use
●turnbuckle spanner or acutilingualplier, unscrew the turnbuckle, then
thermostat can be moved from back of panel.
Note: When assembly thermostat you should placed thermostat in originallydirection.

12
Chapter 5Control and display system
To prevent temperature being accidentally modified, the control is
●
intentionally resistant to turning. To vary the setting, please use a
coin or screwdriver.
●
1. To switch on: Turn the control to the right adjust temperature to
2. the level you require, between:
Min(slight cooling) and
●max (Lowest temperature)
If the appliance is equipped with indicator
●-lights, the following
guide explains what is meant by each light up:
●
-Green = CONTROL
The appliance is under current and operating
The green control light must always be on when the appliance is
connected to the mains and switched on. It is very important to
pay attention to this, because in the event of a power failure,
the red and yellow lights stop operating and do no longer provide
a warning.

13
5-2. Starting the Freezer
1. Clean the inside of the freezer with a mild solution of baking soda and water
2. Connect cord to power outlet.
3. On models with a Temperature Monitor or High-Temp Alarm Switch, set the switch to the
OFFposition.
4. Make sure the temperature control is set at 4.
5. Allow freezer to operate for at least four hours before placing food inside.
●
6. On models with a Temperature Monitor or High-Temp Alarm Switch, set the switch to the
ONposition.

14
Chapter 6System flow principle
6-1.Refrigeration flow chart
The refrigerationsystem of direct cooling single
●-system cooler belongs to the category of a
single-temperature and single-control refrigerating system with one evaporators and is controlled by a
single temperature control.

15
6-2. Refrigeration flow scenograph

16
Chapter 7Circuit diagram
7-1. Briefprinciple
● diagram

17
Chapter 8Trouble shooting
8-1.Normal phenomena
Freezer does not
operate or
Power-On Light is
not on
Temperature control in OFF or
Min or 0 position. Move the control to a temperature setting.
Freezer is unplugged. Push the plug completely into the outlet.
The fuse is blown/circuit
breaker is tripped.
● Replace fuse or reset the breaker
Freezer
starts/stops too
frequently
Door/lid left open. Check to see if package is holding door/lid
open.
Too frequent or too long to
door/lid openings. Reduce the time of opening the door/lid
Temperature control set too
cold. See About the operation of the freezer
Freezer operates
●
too long
Door/lid left open. Check to see if package is holding door/lid
open.
Too frequent or too long
door/lid openings. Reduce the time of opening the door/lid
Temperature control set too
cold. See About the operation of the freezer
Inadequate air circulation
space around cabinet. See Preparing to install the freezer
Fast Freeze switch is in the
●
ON position (on some
●
models)
●
See About the operation of the freezer
Noisy operation or
cabinet vibrates
Floor may be weak, causing
freezer to vibrate when
compressor is on.
Placing 2 X 4s (51 mm X 102 mm) under the
length of the freezer will help support it and
may reduce vibration.
Cabinet is not positioned
solidly on floor
See Preparing to install the freezer Or use
shims for uneven floor
Freezer
temperature too
warm
Door/lid left open. Check to see if package is holding door/lid
open.
Too frequent or too long
door/lid openings. Reduce the time of opening the door/lid

18
Foods defrosting
Foods defrosting
Temperature control OFF or
Min or 0 positions. Move the control to a temperature setting.
Freezer is unplugged. Push the plug completely into the outlet.
The fuse is blown/circuit
breaker is tripped. Replace fuse or reset the breaker
Door/lid left open.
● Check to see if package is holding door/lid
open.
Too frequent or too long
door/lid openings.
● Reduce the time of opening the door/lid
Freezer
temperature too
cold
Temperature control set too
cold. See About the operation of the freezer
Fast Freeze switch is in the
ON position or has run for too
long (on some models)
About the operation of the freezer
Moisture forms on
outside of cabinet
●
Not unusual during periods of
high humidity Wipe surface
Interior light does
not work (on some
models)
No power at outlet. Replace fuse or reset the breaker
Freezer is unplugged. Push the plug completely into the outlet.
Light bulb burned out.
● Replace bulb.
Door/lid wont fully
close by itself
Package holding door/lid
open. Store only corrects quantity of food.
Slow starting time
after being off
Built-in overload product. Store only corrects quantity of food.
Excessive frost
build-up
Door/lid left open. Check to see if package is holding door/lid
open.
Too frequent or too long
door/lid openings. Reduce the time of opening the door/lid
Not unusual during periods of
high humidity Put the freezer to suitable place

19
8-2. Abnormal phenomena
8-2-1. Compressor doesn’t start
Compressor
doesn’t start
Whether lighting
●
and display system is
●
normal
Whether the
●
grade of therm ostat is
on
●0
Whether the
resistance of com pressor is
infinite or 0
Whether the
starting current is
about 5A
抯Whether PTC starter
resistance between running jack
and starting jack is 16-50 O
Measure whether
two ends of heat protector
is through
Whether the finger
of multimeter sw ing to 0 quickly
and then swing back slowly
when measuring two
poles of capacitance
Whether
抯compressor pin is tight,
contact
is good
Whether input
and output voltage of main
control board is norm al
Whether each
contact of main control board
is normal
Tighten each
contact and test m achine
again
Y
Trouble of lighting and display system
Adjust the grade according to fact
Compressor is open circuit or short
circuit
Inner trouble of compressor
If it is infinite or 0, then the starter is
out of work.
Heat protector is out of work
Capacitance is out of work
Insert again, electrify and test
Main control board is out of work
C
●
hange for a new compressor
Y
N
N
N
Y
Y
Y
Y
Y
N
Y
Y
Y
N
N
N
N
N
Compressor doesn’t start
som etimes because the
temperature in case is
between starting and stop
tem perature, should pay
attention when do test
Adjustment of therm ostat
Tem perature of
environment
>30℃ 1-3 grade
16-30℃ 3-5grade
<16℃ 5-7grad

20
8-2-2.Poor cooling
Table of contents
Other mabe Freezer manuals

mabe
mabe FMM515HPWWY0 User manual

mabe
mabe FMM138HPWWY0 User manual

mabe
mabe ALASKA520B2 User manual

mabe
mabe FMM249HPWWY0 User manual

mabe
mabe FMM300HEWWX1 User manual

mabe
mabe FMM140HEWWXR User manual

mabe
mabe FDM200HSYBB User manual

mabe
mabe FMM200HSBSY0 User manual

mabe
mabe FMM200UESX0 User manual

mabe
mabe Cycle 320l User manual