Maco A-TS User manual

www.maco.eu
TECHNOLOGY IN MOTION
PROTECT DOOR LOCKS
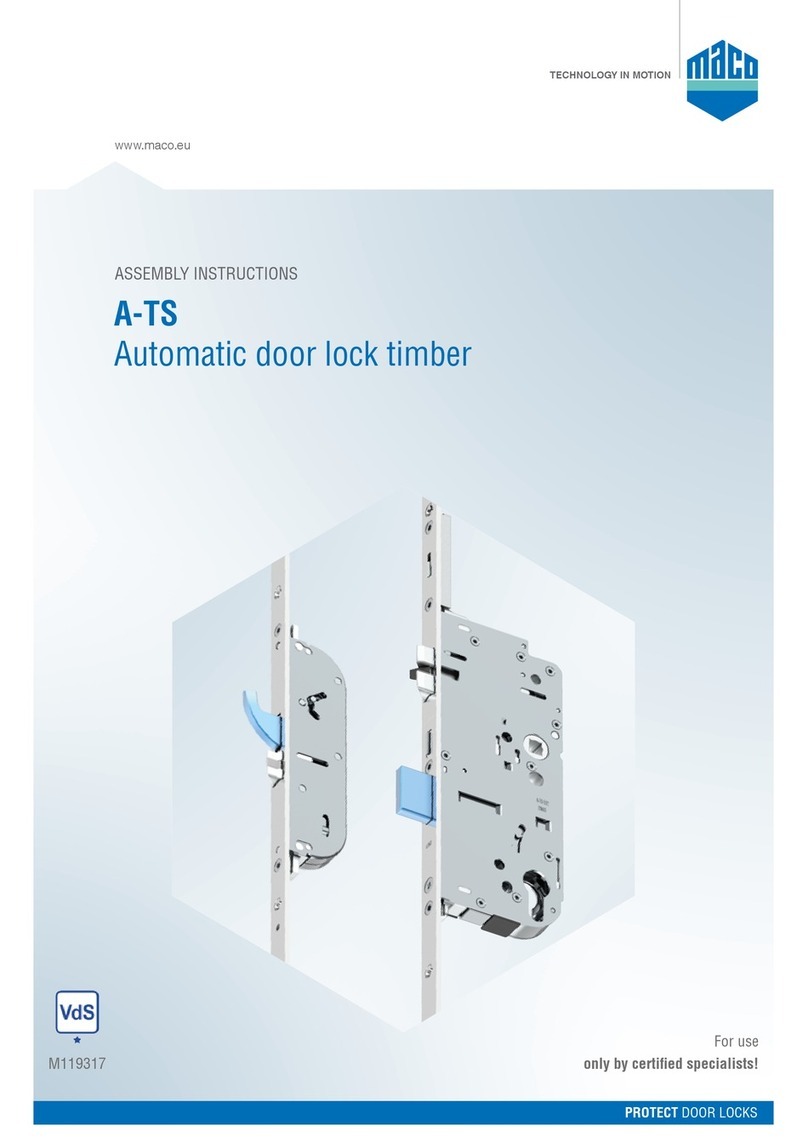
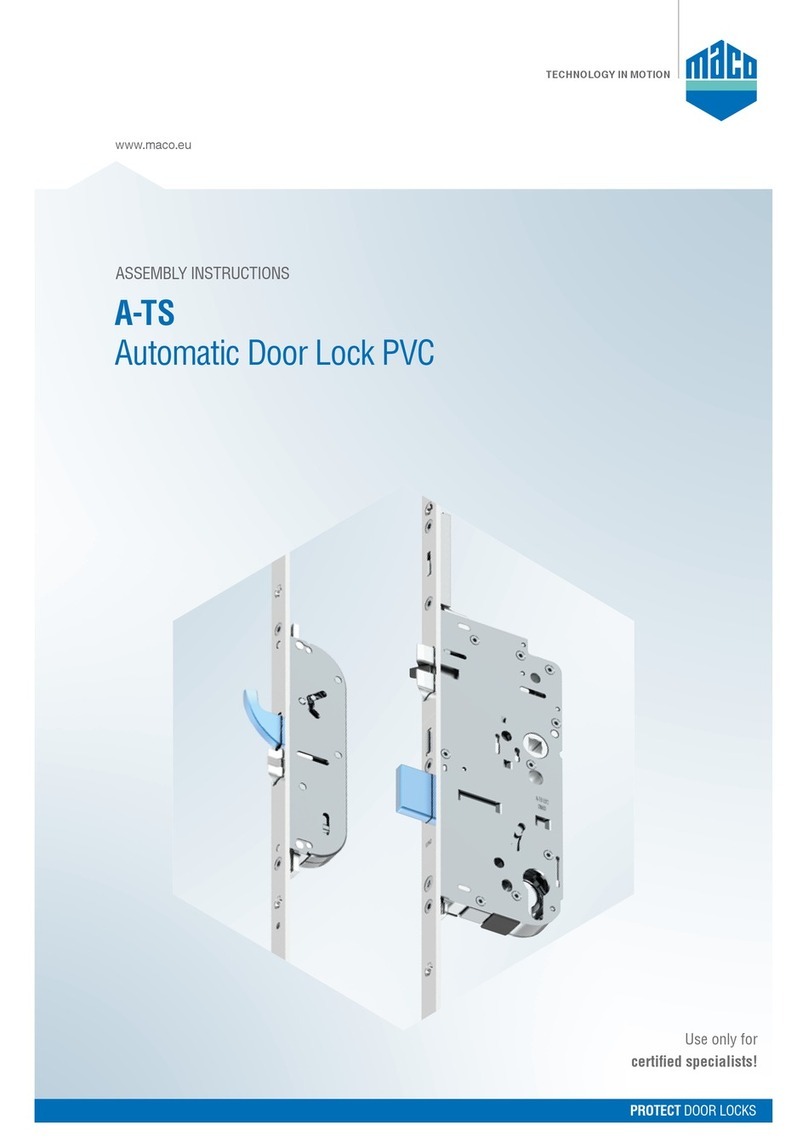
A-TS
Automatic Door Lock Alu
ASSEMBLY INSTRUCTIONS
EXCLUSIVELY
FOR CERTIFIED SPECIALISTS!

2WINDOWS · DOORS · SLIDING DOORS
Table of Contents
Item Page
Important Information 4
Key 5
Use of transportation protection devices 6
Instructions for use 7 - 11
Installation instructions 12 - 17
Set lock for day release function (assembler) 13
Day release element assembly on the lock (assembler) 14
MACO day release opener assembly on the striker plate (assembler) 15
Operating instructions day release (end-customer) 16
Positions 17
Drill and Routing patterns 18 - 22
Lock case and multi-function latch with hook lock 18
Latch and deadbolt striker plate 3 mm 19
Multi-function hook striker plate 3 mm 20
Latch and deadbolt striker plate 6 mm 21
Multi-function hook striker plate 6 mm 22
Positioning of striker plates 23 - 34
2 Multi-function latches with hooks
Standard K+730, 1-sash, 3 mm 23
Standard K+730, 2-sash, 3 mm 24
Low K+605, 1-sash, 3 mm 25
Low K+605, 2-sash, 3 mm 26
High K+980, 1-sash 3 mm 27
High K+980, 2-sash 3 mm 28
Standard K+730, 1-sash, 6 mm 29
Standard K+730, 2-sash, 6 mm 30
Low K+605, 1-sash, 6 mm 31
Low K+605, 2-sash, 6 mm 32
High K+980, 1-sash 6 mm 33
High K+980, 2-sash, 6 mm 34

3
WINDOWS · DOORS · SLIDING DOORS
Table of Contents
Item Page
openDoor Access Control Solutions 35 - 46
Overview 35
A-TS Transponder Plus 36
A-TS Transponder Keypad and Touchkey 37
A-TS Somfy GU Controller 38
Circuit diagram frame-side 39
Circuit diagram button impulse 40
Circuit diagram toggle switch 41
Routing pattern transponder 42
Routing pattern Keypad / Touchkey BT 43
Routing pattern drive motor incl. connecting plate and motor assembly 44
Cabletransitionforopeningangle≤110°,Alu12Air 45
Cabletransitionforopeningangle≤180°,Alu4Air,12Air 46

4WINDOWS · DOORS · SLIDING DOORS
Important Information
Target audience
Thisdocumentationisintendedexclusivelyforspecialistcompaniesandcertiedspecialists.
Thework-stepsdescribedhereinmayonlybecarriedoutbycertiedspecialists.
Instructions for use
• Unless otherwise indicated, measurements are made in millimetres.
• Assemble all hardware parts professionally as described in these instructions and observe
all safety instructions.
• All diagrams are only symbolic.
• With the spacer-block setting, observe the technical guideline No. 3 of the glazier trade
"Blocking of glazing units".
• Observe the "Guidelines and Instructions for Product and Liability (GIPL)".
• Inform the end-user about the contents of the "Guidelines and instructions for End Users
(VHBE)".
• Printing errors, mistakes and changes are reserved.
Material notes
• The hardware parts described in this guide are made of stainless steel or galvanised
passivated steel and sealed in accordance with DIN EN 12329. They must not be used in
environments with aggressive, corrosive air content.
• Do not use acid-curing sealants, as these can lead to corrosion of the hardware parts.
• The door lock elements may only be surface-treated before the hardware is installed.
Any subsequent surface treatment may restrict the functionality of the hardware. In this case,
no warranty claims can be made against the hardware manufacturer.

5
MF
EV
FFH
K+
K-
WINDOWS · DOORS · SLIDING DOORS
Backset DM
Distance E
Handle height GM
Prolefrontedge
Multi-function latch
End lock
Important Information
Key
Sash Rebate Height
Case height top
Case height bottom

6
A
A
WINDOWS · DOORS · SLIDING DOORS
Simple transport protection devices, wedges or blocks ensure a safe transport of the entire
door element. Remove only after installation.
Use of transportation protection devices
ATransport protection devices position

7
WINDOWS · DOORS · SLIDING DOORS
Instructions for use
Remove shavings from milled pocket!
Drill all holes before installing the lock! Do not force the handle pin through the
lock nut!
Never open the lock case!

8WINDOWS · DOORS · SLIDING DOORS
Instructions for use
Do not turn the key using force (external
lever)!
Do not turn the handle and key at the same
time!
Close the lock only with the associated key! Do not use force when assembling the
cylinder!

9
WINDOWS · DOORS · SLIDING DOORS
Instructions for use
Only apply load to the handle in the normal
direction! Apply a maximum force of 15kg in
the direction of actuation (on the handle)!
As soon as traces of forced use are visible,
the lock must be replaced
Double sash doors must not be forced past
the inactive leaf!
Do not activate the lock when the door is
open!

10 WINDOWS · DOORS · SLIDING DOORS
Instructions for use
Do not carry the door by the handle!
Do not paint over the latch or deadbolt!

11
WINDOWS · DOORS · SLIDING DOORS
Instructions for use
The door lock (lock case) is delivered with an intensive lubrication of high-performance
greases and must NOT be re-greased!!
Lubricate the MF-HO locking element 1x annually!
* Spray grease (455341), ** Rust remover
Do not use lubricating oil, rust remover, silicon spray etc!
Lubricate only with grease or technical Vaseline! Grease the latch and
deadbolt 1x annually!

12
2
3
1
4
ab
c
d
a
e
2
3
3
1
4
2
3
1
4
ab
c
d
a
e
2
3
3
1
4
2
3
1
4
ab
c
d
a
e
2
3
3
1
4
WINDOWS · DOORS · SLIDING DOORS
a= faceplate
c= latch
d= latch insert
e= insert leg of latch insert
1Release the screw and
push forward using the
screwdriver!
2Remove the latch!
3Turn the latch over and
place it on the faceplate
(a) so you can press
the insert leg (e) of the
latch insert (d) under the
faceplate recess (b).
Only then press the
latch in completely!
4Screw in the screw
(Torque min. 1.5 Nm to
max. 2 Nm)!
Crank Multi-function latch
Perform function test!
Installation Instructions

13
2
3
1
WINDOWS · DOORS · SLIDING DOORS
1Lock
2Remove the day release screw
(2.5mm hex socket)
3Unlock
When the day release is pre-set, the main latch is not operated on
motorised operation (door does not automatically spring open)!
Set day release function Manufacturer delivery state
1Lock
2Insert the day release screw
(2.5mm hex socket)
3Unlock
Installation Instructions
Set lock for day release function (assembler)

14
1
2
3
4
WINDOWS · DOORS · SLIDING DOORS
1Remove the faceplate cover.
2Position the day release element on the back of the faceplate (directly on the latch above
the lock case)
3and push onto the lock case.
4Screw on the day release element with the attached TX20 M4x10 screw on the front of the
faceplate!
Installation Instructions
Day release element assembly on the lock (assembler)

15
12
3
WINDOWS · DOORS · SLIDING DOORS
1Demount the latch element.
2Mount the MACO day release opener.
3Activate the mechanical unlocking using the lever on the day release opener*.
* The mechanical unlocking can remain active as the day release is controlled via the day release actuator on the lock
(see “Day Release” operating instructions P.16).
Installation Instructions
MACO day release opener assembly on the striker plate (assembler)

16
1
2
1
2
1
2
1
2
WINDOWS · DOORS · SLIDING DOORS
Activate day release Deactivate day release
Installation Instructions
Day Release operating instructions (end-customer)
1Press the handle so that the locking
element and the multi-function latch are
pulled in!
2Push the day release actuator upwards,
release the handle!
1Press the handle so that the locking
element and the multi-function latch are
pulled in!
2Push the day release actuator
downwards!
The A-TS basic function, automatic locking,
is again active!

17
WINDOWS · DOORS · SLIDING DOORS
Position of latch and
deadbolt striker plate
Position of striker plate and
multi-function latch with hook
Pressure adjustment:
+/- 2 mm with latches and deadbolt striker plate
+/- 1,5 mm with MF-HO striker plate
Positioning of notch faceplate = notch striker plate
A rebate clearance of 2-6 mm must be adhered to in the installed state!
Installation Instructions
Positions

18
15,5
38
71
45DM
≤2
12*
46
150
4
15,5
41,5 ≤2
12*
∅
4**
17,5
DM - 1
∅
4**
38
30
6,5
8
1,5
***
21,5
6,5
E
GM
9,5
1
1
WINDOWS · DOORS · SLIDING DOORS
1Notch faceplate
Recommended
cable position for access control
Lock case
Drilling and routing patterns
Lock case and multi-function latch with hook locking

19
105
80,5
125
60
28
26
97
250
X=
20
18
13
12
24
R3
3
30
22
11
R3
115
WINDOWS · DOORS · SLIDING DOORS
Drilling and routing patterns
Latches and shootbolt striker plate 3 mm
X
2 MF-HO
+726
0
-764

20
85
7070
85
55 55
190
25
20
12
12,5
25
3
R3
WINDOWS · DOORS · SLIDING DOORS
Drilling and routing patterns
Multi-function hook striker plate 3 mm
Other manuals for A-TS
2
Table of contents
Other Maco Door Lock manuals

Maco
Maco SMART DEADBOLT User manual

Maco
Maco ML196 User manual

Maco
Maco PROTECT STABLE DOOR LOCK User manual

Maco
Maco INSTINCT User manual

Maco
Maco INSTINCT User manual

Maco
Maco A-TS User manual

Maco
Maco A-TS Series User manual
Maco
Maco RAIL-SYSTEMS HS Profine PremiDoor 88 PVC Quick start guide

Maco
Maco PROTECT Manual
Popular Door Lock manuals by other brands

Onward
Onward Richelieu FY1270 manual

Esco
Esco systeQ-M-SLM-ESC quick start guide

Schlage
Schlage L9000 Series installation instructions

Spectrum
Spectrum 49503 / 02 BP Quick installation guide

Assa Abloy
Assa Abloy Yale Assure Lock SL Installation and programming instructions

Schlage
Schlage B660 installation instructions