10
COMMERCIAL COFFEE GRINDER
EK43 | EK43 S | EKK43
Contents
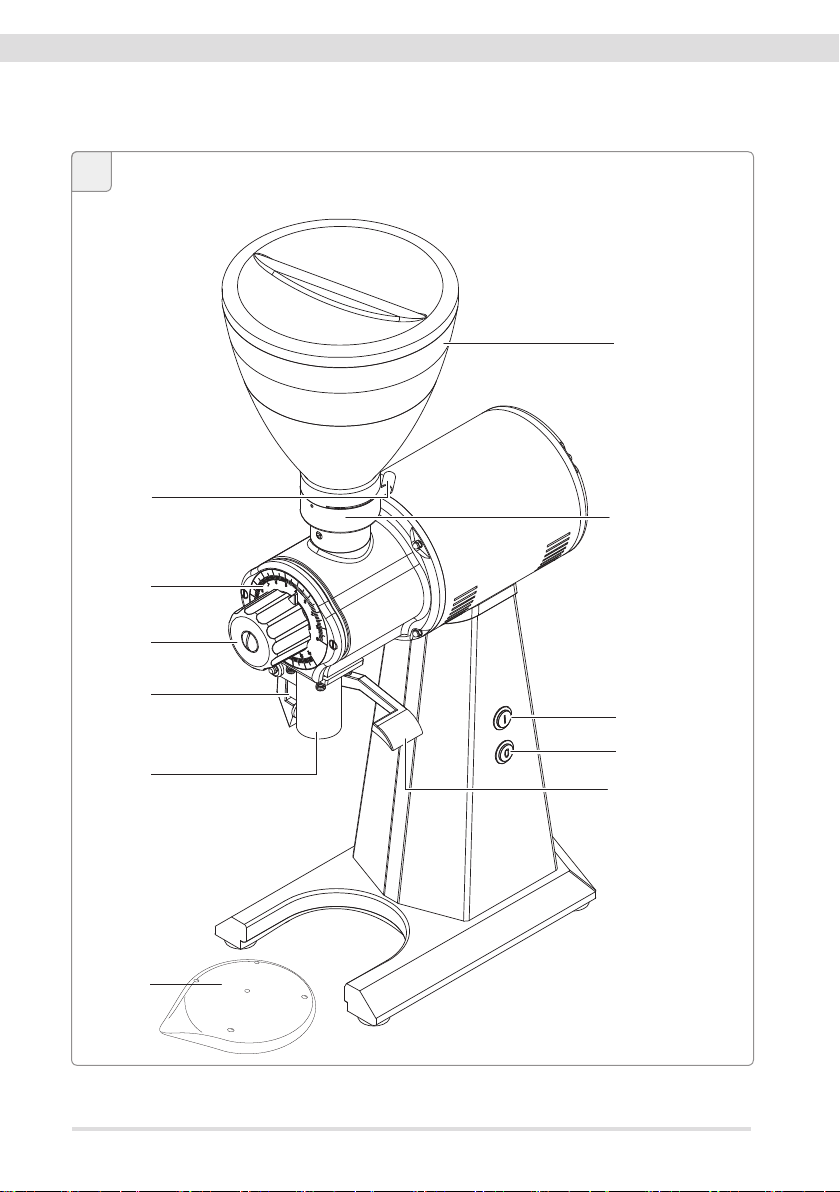
Overview ............................. 2
Scope of delivery ................. 9
General informaon .......... 11
Reading and storing the instrucon
manual ........................................ 11
Explanaon of symbols used ...... 11
Safety................................. 13
Intended use ............................... 13
Safety informaon ...................... 13
Before first use .................. 16
Checking the grinder and scope of
delivery........................................ 16
Seng up the grinder................. 16
Connecng the potenal
equalizaon................................. 17
Operaon .......................... 18
Adding the coffee beans ............ 18
Switching on the grinder and adjust-
ing the grinding degree .............. 19
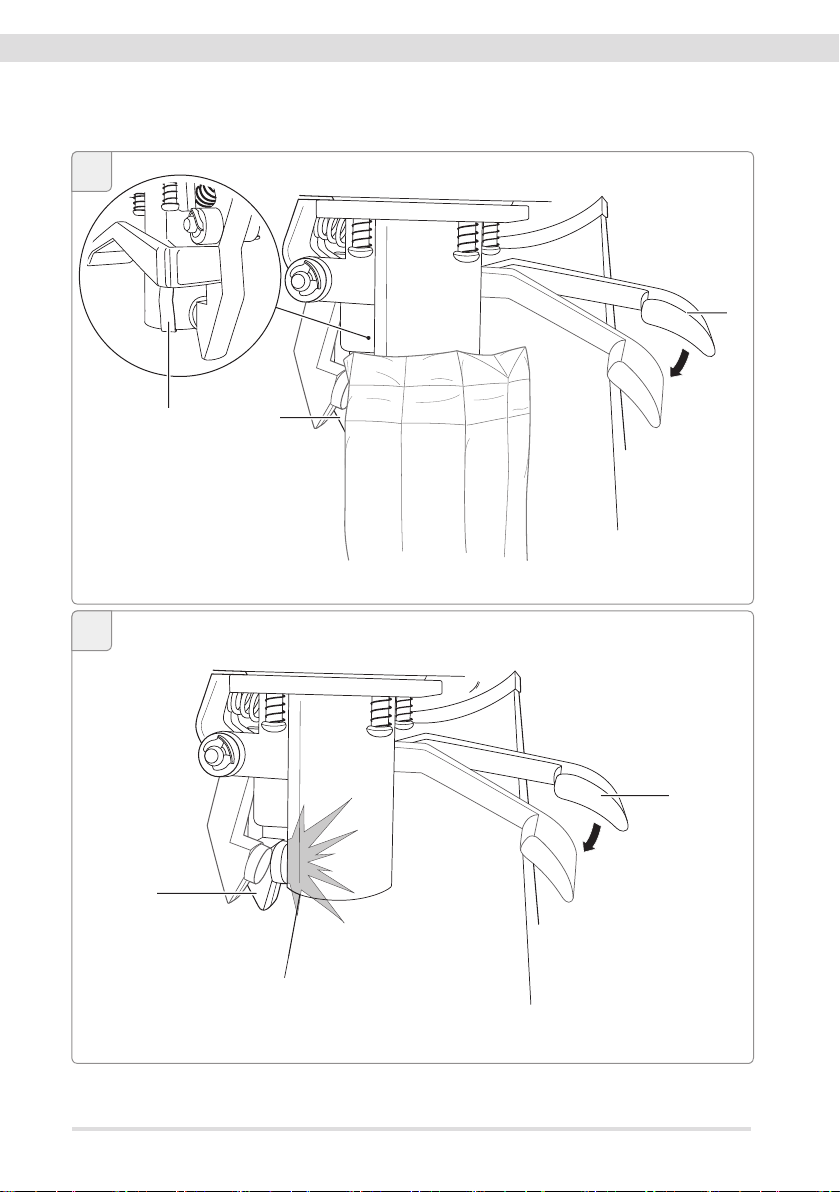
Clamping the coffee bag or grounds
container..................................... 19
Starng the grinding process...... 20
Aer the grinding process .......... 20
Changing the coffee variety........ 20
Cleaning............................. 22
Cleaning the surface underneath
the grinder .................................. 23
Cleaning the casing..................... 23
Cleaning the bean hopper .......... 23
Cleaning the grinding mechanism. 24
Troubleshoong ................ 26
Technical data.................... 28
Disposal ............................. 29
Disposing of the packaging......... 29
Disposing of the grinder ............. 29
Maintenance and service .. 29
CE Declaraon of Conformity30
Notes ................................. 34