Major tech MT1875 User manual
Other Major tech Multimeter manuals

Major tech
Major tech MT915 User manual
Major tech
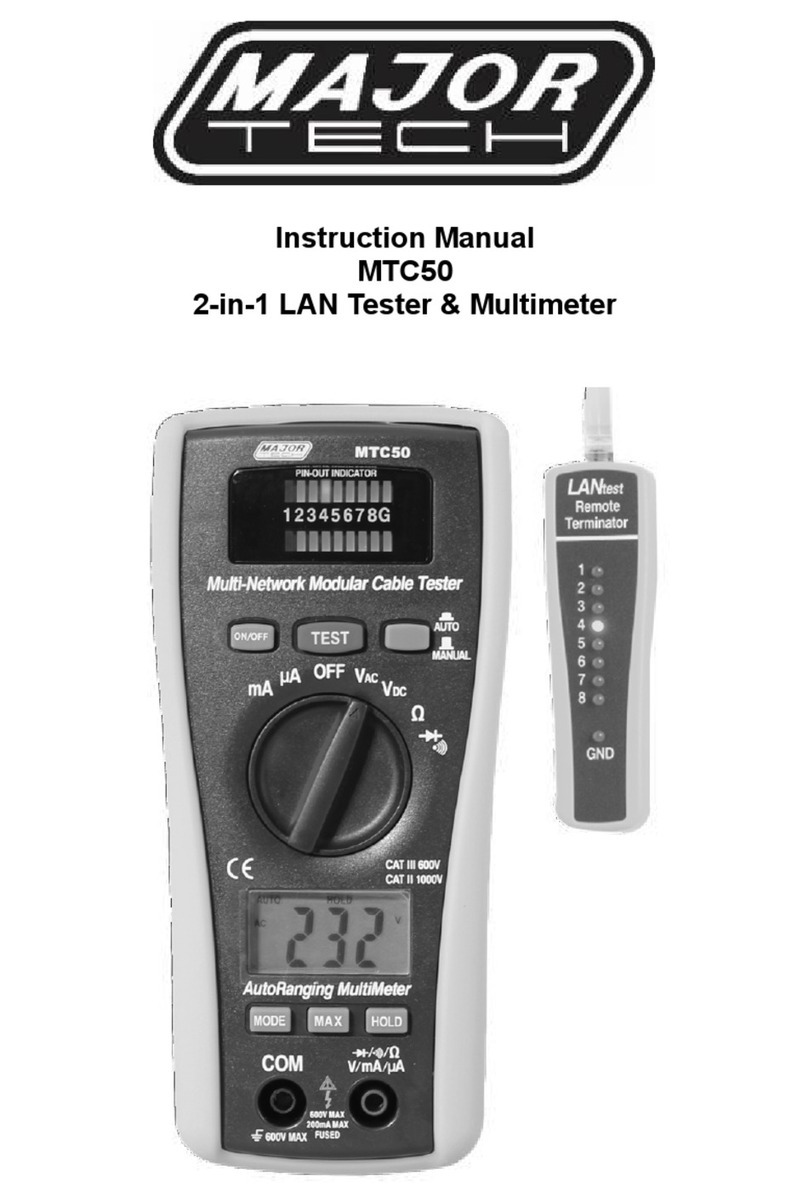
Major tech MTC50 User manual
Major tech
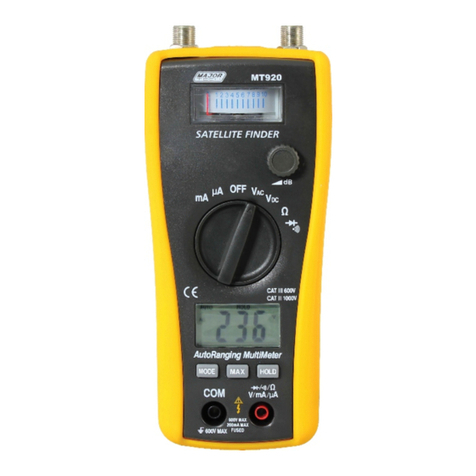
Major tech MT920 User manual
Major tech
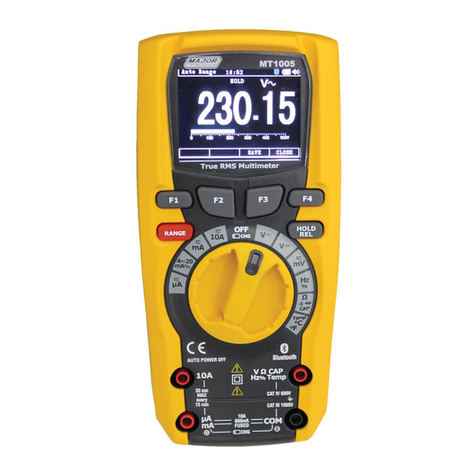
Major tech MT1005 User manual
Major tech
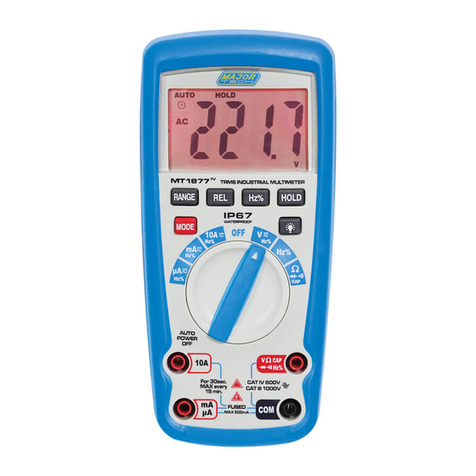
Major tech MT1877IV User manual
Major tech
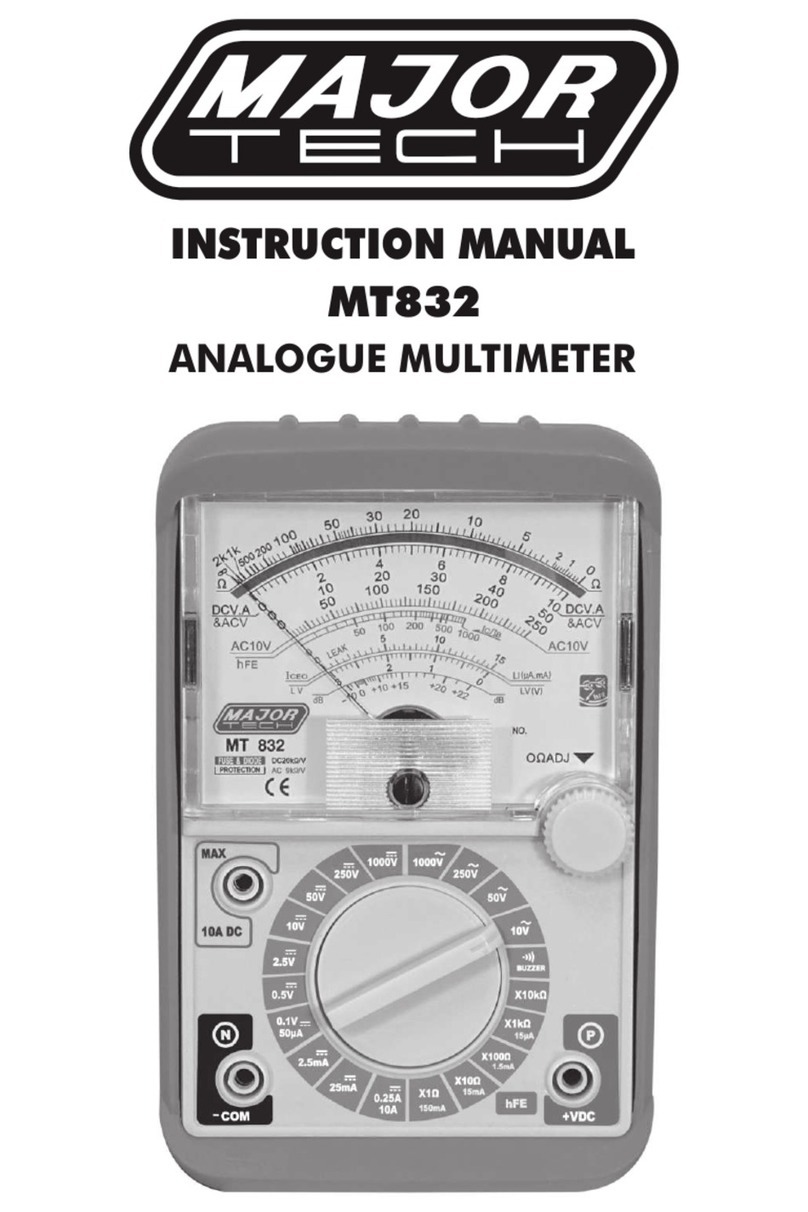
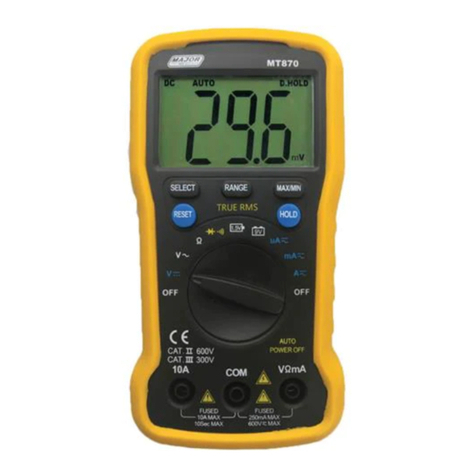
Major tech MT832 User manual
Major tech
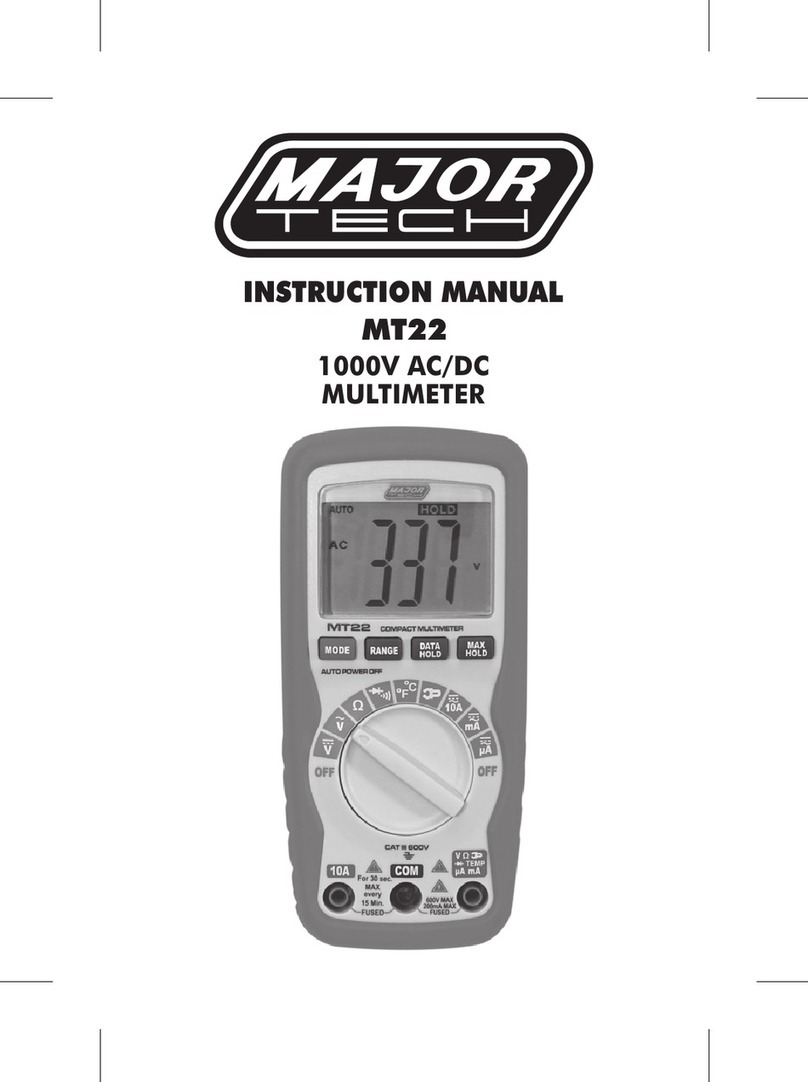
Major tech MT870 User manual
Major tech
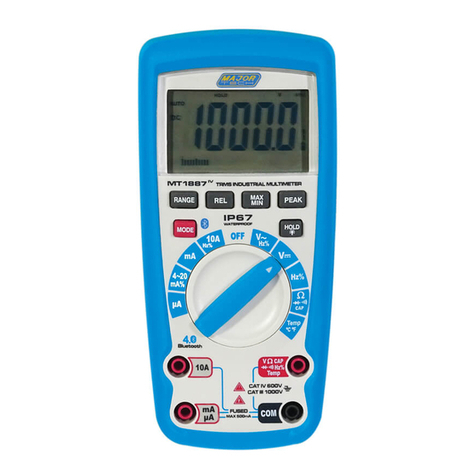
Major tech MT22 User manual
Major tech
Major tech MT1887 User manual
Major tech
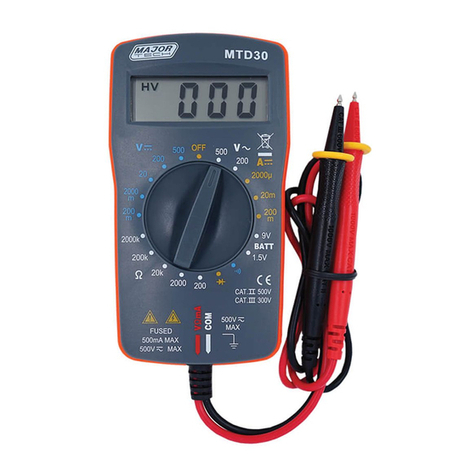
Major tech MTD30 User manual
Major tech
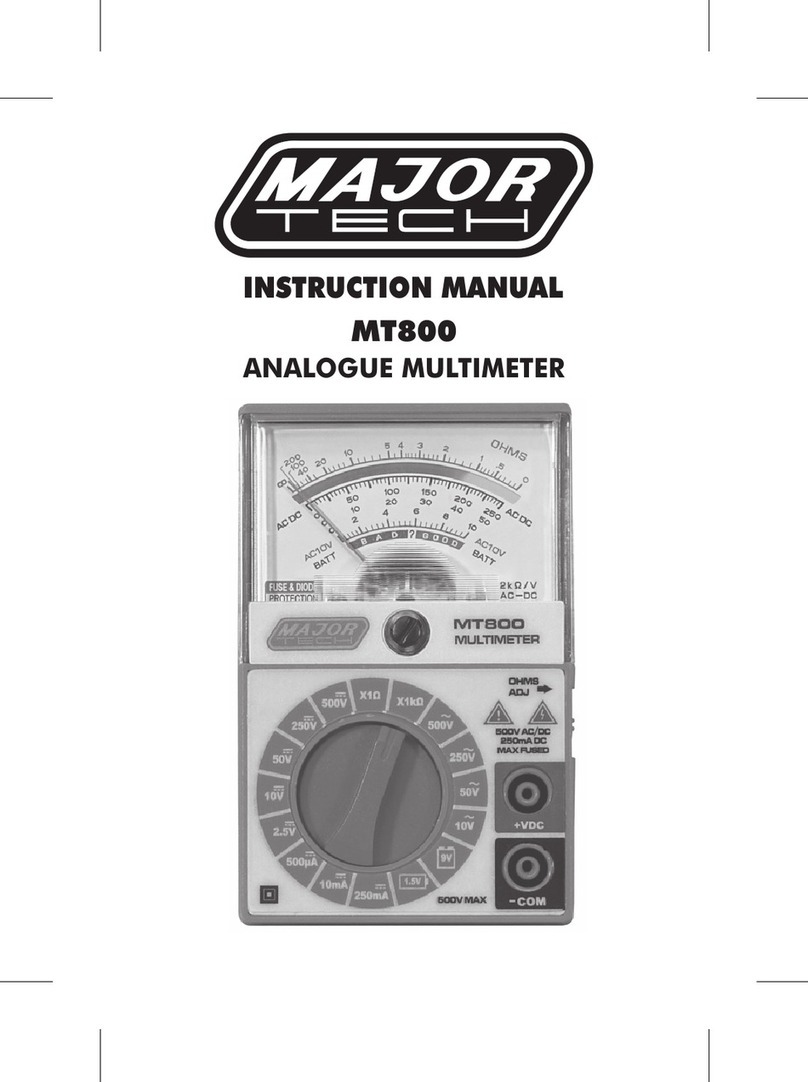
Major tech MT800 User manual
Major tech
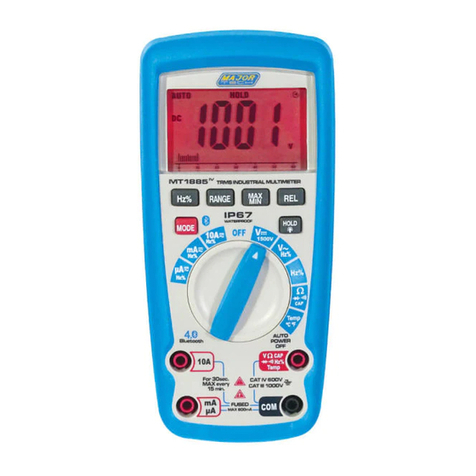
Major tech MT1885 User manual
Major tech
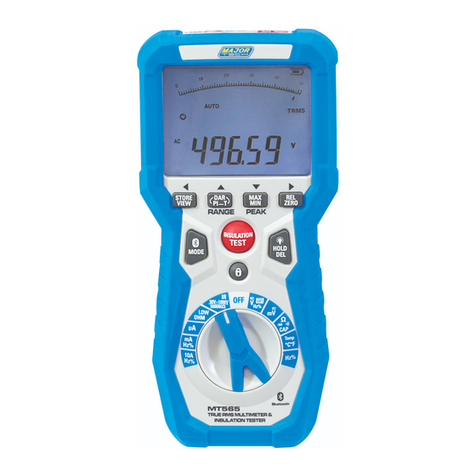
Major tech MT565 User manual
Major tech
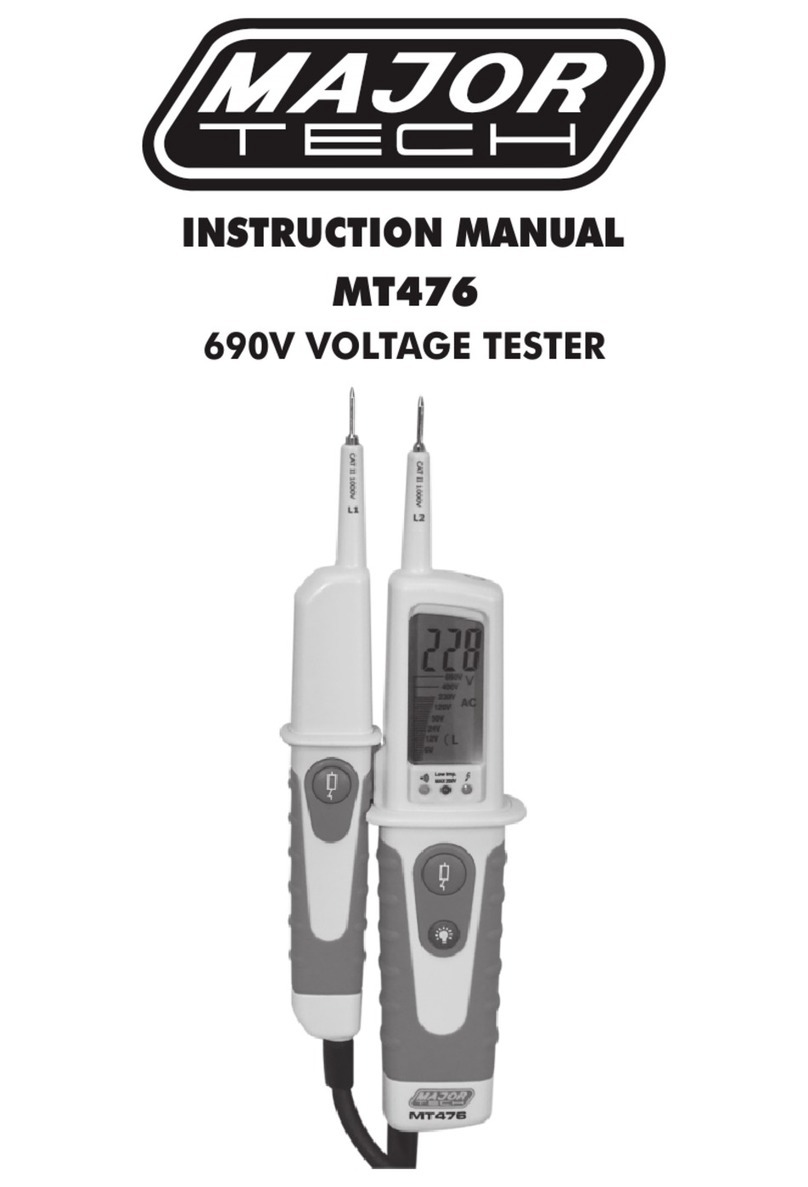
Major tech MT476 User manual
Major tech
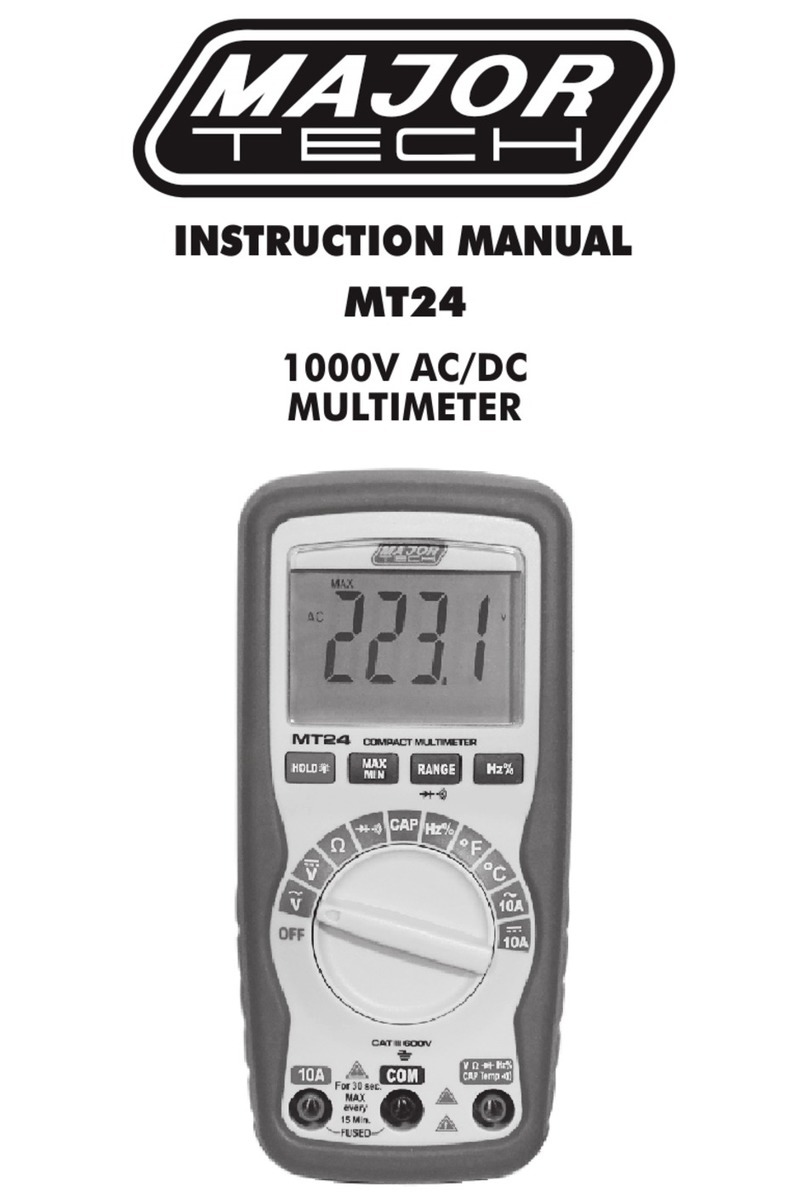
Major tech MT24 User manual
Major tech
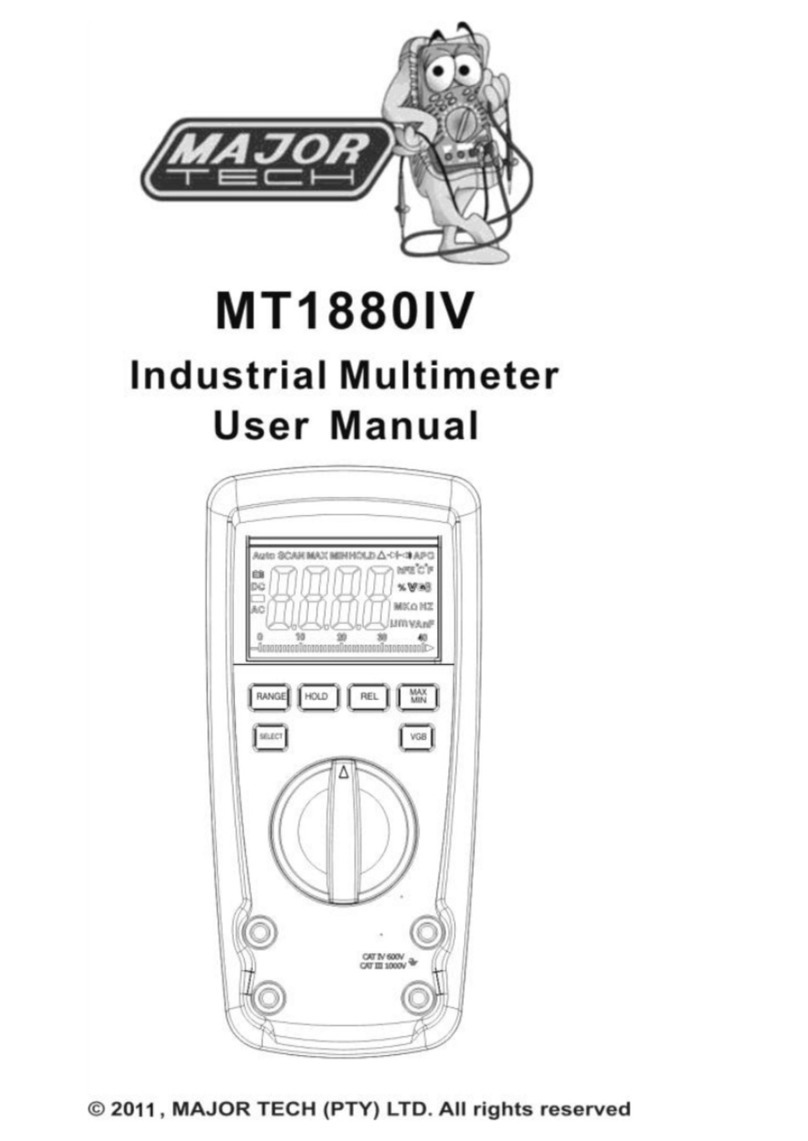
Major tech MT1880IV User manual

Major tech
Major tech MT1003 User manual
Major tech
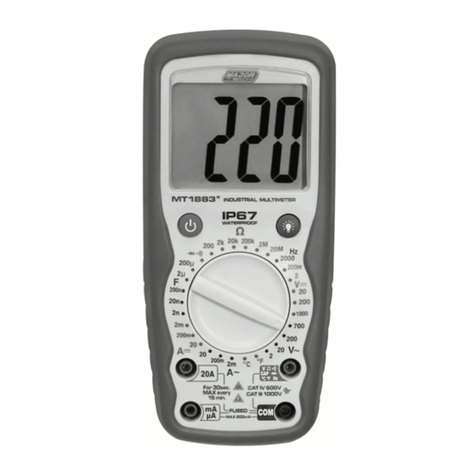
Major tech MT1883 User manual
Major tech
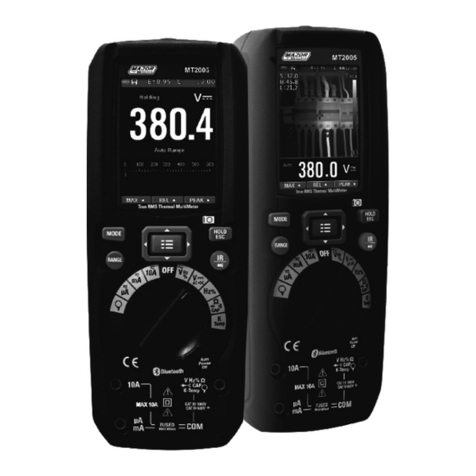
Major tech MT2005 User manual
Major tech
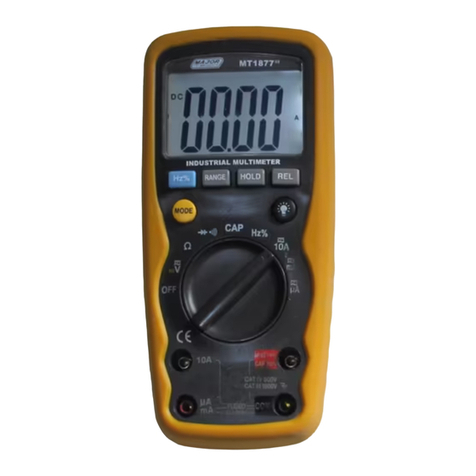
Major tech MT1877 User manual
Popular Multimeter manuals by other brands

Gossen MetraWatt
Gossen MetraWatt METRAmax 6 operating instructions

PeakTech
PeakTech 4000 Procedure of calibration

YOKOGAWA
YOKOGAWA 90050B user manual

Gossen MetraWatt
Gossen MetraWatt METRALINE DMM16 operating instructions

Fluke
Fluke 8846A Programmer's manual

Tempo Communications
Tempo Communications MM200 instruction manual
