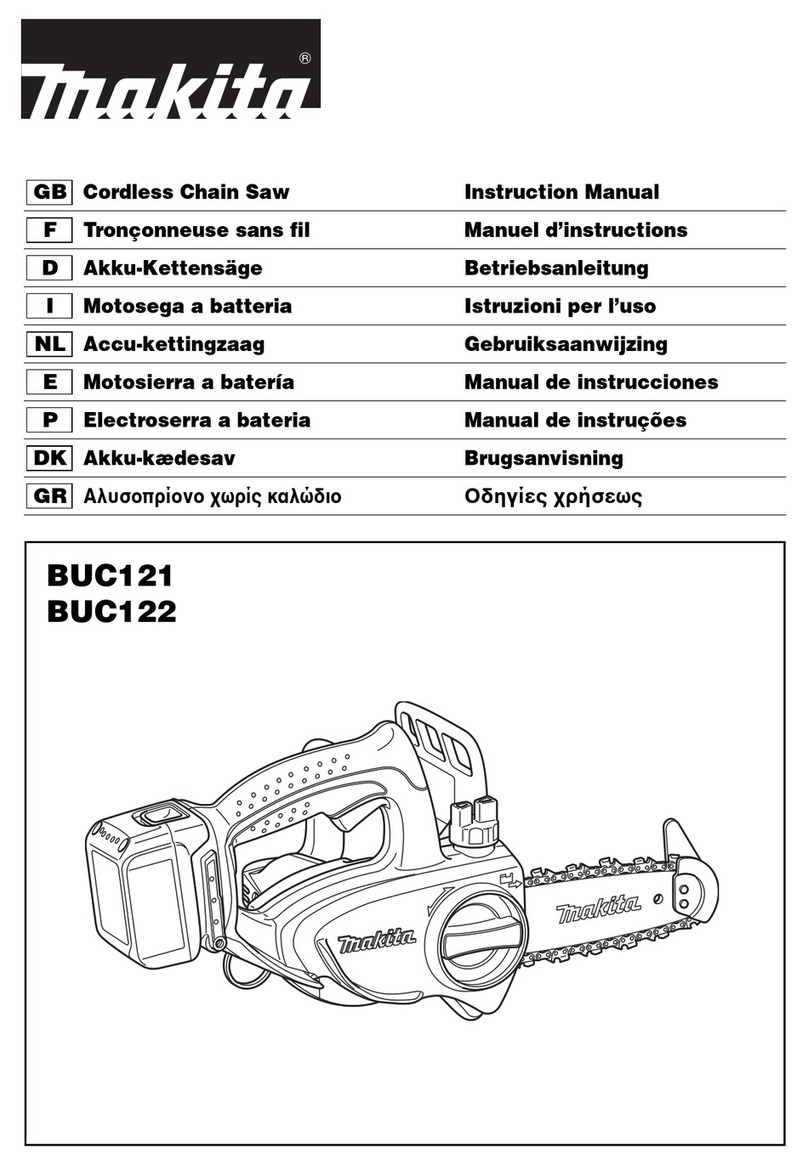
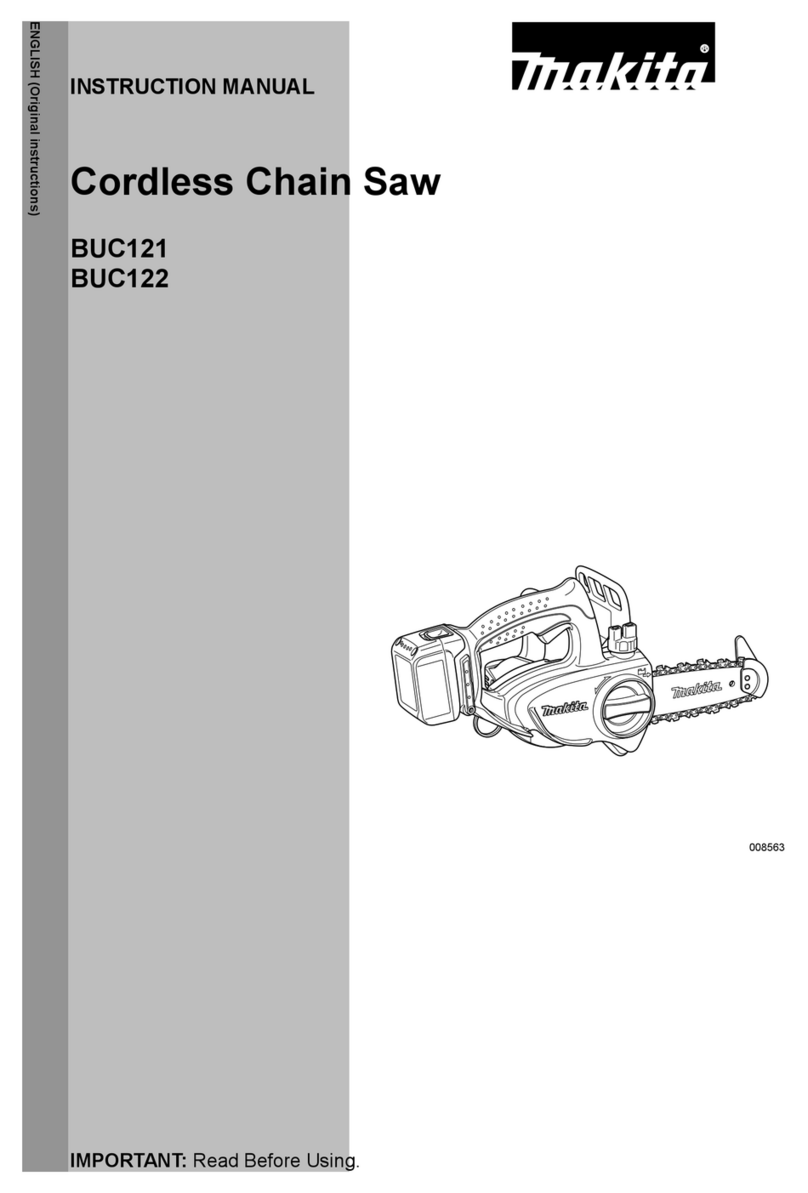
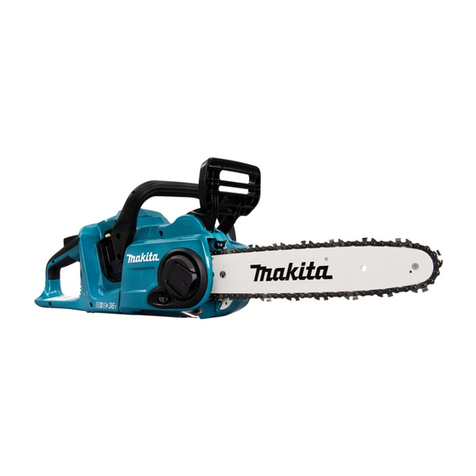
Makita DUC121 Manual

P 1/ 8
Model No.
Description
PRODUCT
CONCEPT AND MAIN APPLICATIONS
DUC121/ DUC122
14.4V/ 18V Cordless Chain Saw 115mm (4-1/2)
Models DUC121 and DUC122 are cordless chain saws powered by
the following Li-ion battery;
DUC121 (14.4V): BL1415N (1.5Ah), BL1415NA (1.5Ah), BL1430 (3.0Ah),
BL1430A (3.0Ah), BL1440 (4.0Ah) and BL1450 (5.0Ah)
DUC122 (18V): BL1815N (1.5Ah), BL1820 (2.0Ah), BL1830 (3.0Ah),
BL1840 (4.0Ah) and BL1850 (5.0Ah)
These models feature higher operation efficiency and more convenience
than the current 12V Model UC120D.
Note: These products are not compatible with 1.3Ah battery BL1415/ BL1815.
Dimensions: mm (")
Width (W)
Height (H)
Length (L) 422 (16-5/8)
195 (7-5/8)
215 (8-1/2)
TECHNICAL INFORMATION
Specification
Standard equipment
Optional accessories
Note: The standard equipment may vary by country or model variation.
*4 Battery, Charger and Plastic carrying case are not supplied with “Z” model
*5 Supplied with the same quantity of extra battery
Battery*4
Battery cover*5
Charger*4
Plastic carrying case*4
File
Oil supply (containing 100ml of chain oil)
Guide bar cover
Chain blade 25AP-42E
Guide bar
Pruning extension set
Battery
Specification
Weight according to
EPTA-Procedure 01/2003*1: kg (lbs)
Capacity: Ah
Cell
Voltage: V 18
Chain speed: m/s (m/min.)
2.6 (5.7)*3
14.4
2.5 (5.4)*2
1.5, 3.0, 4.0, 5.0 1.5, 2.0, 3.0, 4.0, 5.0
Charging time (approx.): min.
Energy capacity: Wh 27, 36, 54, 72, 9022, 44, 58, 72
15, 22, 36, 45 with DC18RC 15, 24, 22, 36, 45 with DC18RC
Li-ion
115 (4-1/2)
5.0 (300)4.8 (290)
*1 With Guide bar, Saw chain
*2 With Battery BL1430, BL1440 or BL1450
*3 With Battery BL1830, BL1840 or BL1850
Cutting length: mm (")
Yes (Electric brake)Chain brake
Model DUC121 DUC122
Pitch
Chain blade Type
1/4"
25AP-42E
L
H
W
Fast charger DC18RC
Charger DC18SD/DC24SC
Automotive charger DC18SE
Four port multi charger DC18SF
Two port multi fast charger DC18RD
For DUC121
Battery BL1415N
Battery BL1415NA
Battery BL1430
Battery BL1430A
Battery BL1440
Battery BL1450
For DUC122
Battery BL1815N
Battery BL1820
Battery BL1830
Battery BL1840
Battery BL1850
OFFICIAL USE
for ASC & Sales Shop

P 2 / 8
worktable
Sprocket
cover
Knob 60
Fig. 1 Fig. 2
Flat washer 6 depression of
Sprocket cover
hooks of Knob 60
protrusion of
Sprocket cover
for fitting to Handle R
groove of
Sprocket cover
DescriptionCode No. Use for
1R237 Round bar for arbor 8-100
1R263 Bearing extractor
1R280 Round bar for arbor 6-50
Bearing setting plate 12.21R034
Installing Push nut
Correcting the deformed Push nut
Removing Helical gear 50 with Spindle
Removing Spindle from Helical gear and Ball bearings
Removing Spindle from Helical gear 50
Repair
[1] NECESSARY REPAIRING TOOLS
CAUTION: Repair the machine in accordance with “Instruction manual” or “Safety instructions”.
[2] LUBRICATION
[3] DISASSEMBLY/ ASSEMBLY
[3]-1. Disassembling/ Assembling Sprocket Cover Section
DISASSEMBLING
ASSEMBLING
To protect parts and product from unusual abrasion;
1)
apply 7g of Makita grease FA No. 2 to Gear room.
Note: Be sure to apply a little amount of the above grease to the inner periphery of Crank.
2)
apply a little amount of Lubricant VG100 to O-ring 1.5 and insert the O-ring 1.5 to Oil pump complete.
3) apply sealing lubricant to the both surface of Flat washer 6 under Knob 60.
1) Remove Sprocket cover section by turning Knob 60 counterclockwise.
2) Put Sprocket cover section on worktable and turn Knob 60 counterclockwise (Fig. 1) while holding Sprocket cover
so that the one of Knob 60’s hook can be placed in the depression in Sprocket cover section. (Fig. 2)
Note: The hooked portions are very fragile. Therefore, turn Knob 60 carefully.
3) Remove the hooks of Knob 60 from the groove of Sprocket cover, and Knob 60 can be removed.
1) Apply sealing lubricant to the both side of Flat washer 6. (Fig. 2)
2) Set Knob 60 and Flat washer 6 on Sprocket cover, then fit the hooks of Knob 60 into the groove of Sprocket cover by
turning Knob 60 clockwise carefully.
3) Insert the protrusion of Sprocket cover into Handle R and assemble Sprocket cover section to Handle L by tightening
Knob 60.

P 3 / 8
Fig. 3 Fig. 4
Leaf springSpindle
Bearing housing
4x18 Tapping screws (4 pcs.)
Fig. 5
Fig. 7
Fig. 6
Stop ring E-8 hooked
to Spindle’s groove
Lock
washer 12
Sprocket 9 Round shaped Spindle end
Oval shaped
Spindle end
put in the hole
of 1R034
Ball bearing
696ZZ
Ball bearing
609LLB
Cam Helical gear 50
Arbor press
1R263 (2 pcs.) 1R034
1R034
Oval shaped
Spindle end
1R280
Arbor press
1) Remove Stop ring E-8 from Spindle then remove Sprocket 9 and Lock washer 12.
2) Loosen four 4x18 Tapping screws (Fig. 3) then strike Spindle end using plastic hammer. (Fig. 4)
Bearing housing can be removed.
Note: Do not strike Leaf spring near Spindle.
[3] DISASSEMBLY/ ASSEMBLY (cont.)
[3]-2. Disassembling/ Assembling Gear Section
DISASSEMBLING
3) Install Lock washer 12 and Sprocket 9 to Spindle, and hook Stop ring 8 to the groove of Spindle to prevent Lock
washer 12 and Sprocket 9 from being removed.
Note: It is not necessary to set Stop ring 8 in place in this step.
4) Hook Lock washer 12 with two 1R263. Gear section can be removed from the machine. (Fig. 5)
5) Put Gear section on 1R034 as illustrated in Fig. 6, and press down round shaped Spindle end slightly to relieve
the press-fit.
6) Mount 1R280 on round shaped Spindle end (Fig.7) and push out Spindle from Gear section using arbor press.
Repair

P 4 / 8
ASSEMBLING
Chain oil
Normal condition
(If Chain oil is not delivered from the exit
after completing repairing, there is the possibility
that Filter in chain oil exit is clogged. Therefore,
clean Filter with kerosene.
Filter in Oil tank is clogged.
After removing Handle L, pick the filter out of
Tank. And Clean Filter with kerosene.
Then check the delivery of oil again.
Not delivered Delivered
Delivered
Not delivered
After removing one end of Connector from
the chain oil exit on Handle R, check if
the oil can be delivered to the end.
After removing the other end of Connector from
Oil pump, insert the pin portion of Crank into
the bottom of Oil pump several time and check if
the oil can be delivered to the open end of Oil pump.
Not delivered
Not delivered
Take the reverse step of disassembling.
Note:Do not damage Connector and rubber tube to Oil tank when connecting them with Oil tank/ Handle R/ Oil pump.
Connect the above parts securely to prevent the oil leaking.
Delivered
Remove the rubber tube end to Oil tank from
Oil pump end under the condition that the oil
occupies a half in Oil tank.
Oil pump is out of order.
Replace Oil pump by the new, then check
the delivery of oil again.
Fig. 10
chain oil exit
Fig. 8 Fig. 9
Stepped portion of Helical gear 50
Ball bearing 696ZZ
Ball bearing 609LLB
CamSpindle
Stop ring E-8Sprocket 9Lock washer 12
groove of Spindle
Repair
1) As illustrated in Fig. 8, press-fit the components of Gear section.
Note:* Helical gear 50 is directional. Therefore, press-fit Helical gear 50 so that its stepped portion can face the
direction of Ball bearing 609LLB. (Fig. 8)
* Cam is not directional. Press-fit Cam to the position that is in contact with Helical gear 50.
2) Insert Gear section straight into Handle R, and then fix Bearing housing to Handle R by tightening 4x18 Tapping
screws (4 pcs. ...Refer to Fig. 3)
3) Mount Lock washer 12 and Sprocket 9 to Spindle, and secure them by pinching Stop ring E-8 completely to the groove
of Spindle. (Fig. 9)
When Chain oil is not delivered, check the cause in accordance with the following flowchart and repair the machine.
1) Remove Gear section. (Refer to [3]-3.)
2) Pull off Crank and check if O ring 1.5 on its end of pin portion has damaged or not.
3) Pour approx. 30cc of Makita genuine chain oil (Refer to LUBRICANT) or
commercial oil VG32-100 to Oil tank. Rise and fall Crank by hand while checking
if Chain oil is delivered from chain oil exit designated by arrow in Fig. 10.
Note: Filter in Oil tank has to be dipped into chain oil during checking.
[3] DISASSEMBLY/ ASSEMBLY (cont.)
[3]-3. Disassembling/ Assembling Gear Section
[3]-4. Disassembling/ Assembling Oil Pump Section
ASSEMBLING
DISASSEMBLING
P 5 / 8
Repair
[3] DISASSEMBLY / ASSEMBLY (cont.)
[3]-5. Disassembling/ Assembling Filter in Handle R
[3]-6. Disassembling/ Assembling Motor Section
1) Strike the center of Push nut gently using Phillips screwdriver No.2 (Fig. 11),
Push nut can be removed, and Filter can be picked out of chain oil exit of
Handle R.
Note: Do not deform Push nut hard by strong shock.
2) Try operation without Filter and check if the delivery of oil is normal
or not. If it is normal, there is not problem with Oil pump.
3) Wash Filter with kerosene oil when finding the attached dirt on Filter.
1) Remove Carbon brushes.
2) Remove 4x18 Tapping screws and 4x30 Tapping screws to separate Front hand guard, Handle L and Motor housing
in order. (Fig. 13)
3) Pull Armature out of Motor housing.
Note: It is not needed to remove 4x18 Tapping screws (4 pcs.) for fixing Motor housing R and L when replacing
Armature only.
If Armature is left in Motor housing, grab Fan carefully and remove Armature with Fan from Motor housing.
When replacing Yoke unit or Endbell complete, remove the above 4x18 Tapping screws (4 pcs.) to separate Motor
housing L and R.
The removed Push nut can be reused.
Note:1) Correct the deformed Push nut so that its concave can be reduced
by striking on 1R034 or solid worktable. (Fig. 12)
2) Do not reuse the wrong Push nut that has curved or broken tabs.
Install Filter in chain oil exit of Handle R, and insert Push nut using 1R237.
DISASSEMBLING
DISASSEMBLING
ASSEMBLING
chain oil exit
Push nut
Push nut
Expand its dia-
meter to reduce
the depression.
Phillips
screwdriver No. 2
Fig. 11
Fig. 12
Fig. 13
4x18 Tapping screws
Front hand guard
Front handle
4x18 Tapping screws (4 pcs.)
for fixing Motor housing L and R.
Handle L
Motor housing L
Motor housing
Long-nose screwdriver
is needed to remove
this screw.
4x30 Tapping screws
Motor housing R

P 6 / 8
[3] DISASSEMBLY / ASSEMBLY
[3]-6. Disassembling/ Assembling Motor Section (cont.)
Repair
1) When mounting Yoke on Motor housing R, fit the notch of Yoke into
the protrusion of Motor housing R. (Fig. 14)
2) Insert Armature gear shaft to gear room of Handle R, and fix Motor housing to
Handle R by tightening 4x30 Tapping screws (4 pcs.).
Note: Magnetic force pulls Motor housing with Yoke and Armature. Therefore,
Do not pinch finger and Lead wires (Fig. 14) in this step.
3) Set Ring 30, Switch lever and Lock-off button in place, then Match Handle L
with Handle R and tighten Tapping screws. (Fig. 13)
Note: Magnetic force pulls Motor housing with Yoke and Armature. Therefore,
Do not pinch Lead wires (Fig. 15) in this step.
ASSEMBLING Notch of Yoke
Protrusion of
Motor housing R
Fig. 14
Fig. 15
Lock-off button
Switch lever
Ring 30
Do not pinch finger and Lead wires between
Motor housing and Handle.
Do not pinch finger and Lead
wires in this area.

P 7 / 8
Wiring diagram
Fig. D-2
Lead wire holder
Endbell complete
Fix Lead wires for Endbell complete
with Lead wire holders.
Motor housing
Circuit diagram
Fig. D-1
Yellow
White
Color index of lead wires' sheath
Black
Red
1 2 3
Endbell complete
Controller
Switch
Terminal
Line filter (if used)
Pass Lead wires through
Line filter one by one.

P 8 / 8
Wiring diagram
Fig. D-3
Fix Lead wires from Endbell complete and
Lead wires between Switch and Terminal
in each Lead wire holder as drawn below.
Switch
Terminal
Controller
Pass Lead wires through
Line filter one by one.
Lead wire holders
Lead wire
holder
Motor housing
Line filter (if used)
Other manuals for DUC121
6
This manual suits for next models
1
Table of contents
Other Makita Chainsaw manuals

Makita
Makita EA3501F User manual

Makita
Makita DUC302Z User manual

Makita
Makita DUC307 User manual

Makita
Makita UC002G User manual

Makita
Makita UC002G User manual

Makita
Makita UC3020A User manual

Makita
Makita DUC307ZX1 User manual

Makita
Makita EA3200S User guide

Makita
Makita UC3020A Manual

Makita
Makita DCS540 Instruction Manual

Makita
Makita UC3041A User manual

Makita
Makita 5012B User manual

Makita
Makita UC3030A User manual

Makita
Makita DUC304 User manual

Makita
Makita EA3500F Instruction Manual

Makita
Makita BUC121 User manual

Makita
Makita EA3200S User manual

Makita
Makita DUC405 User manual

Makita
Makita DUC204 User manual

Makita
Makita EA5600F User manual