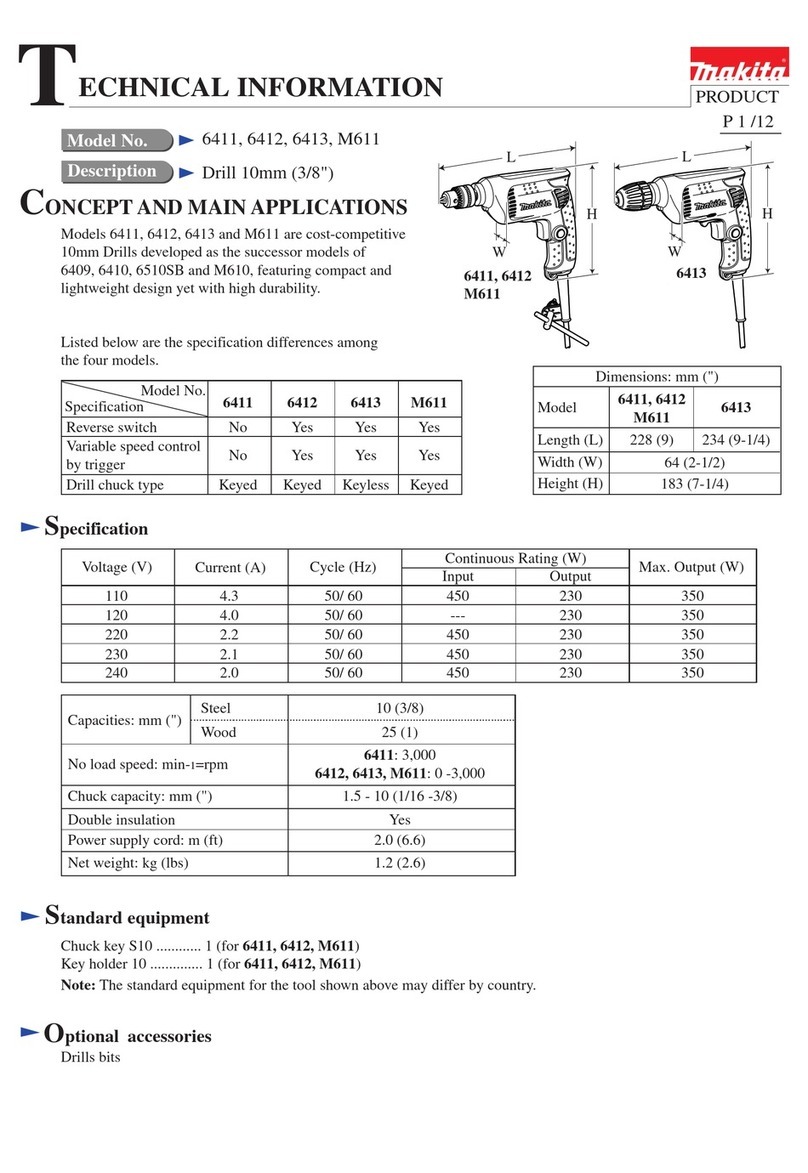
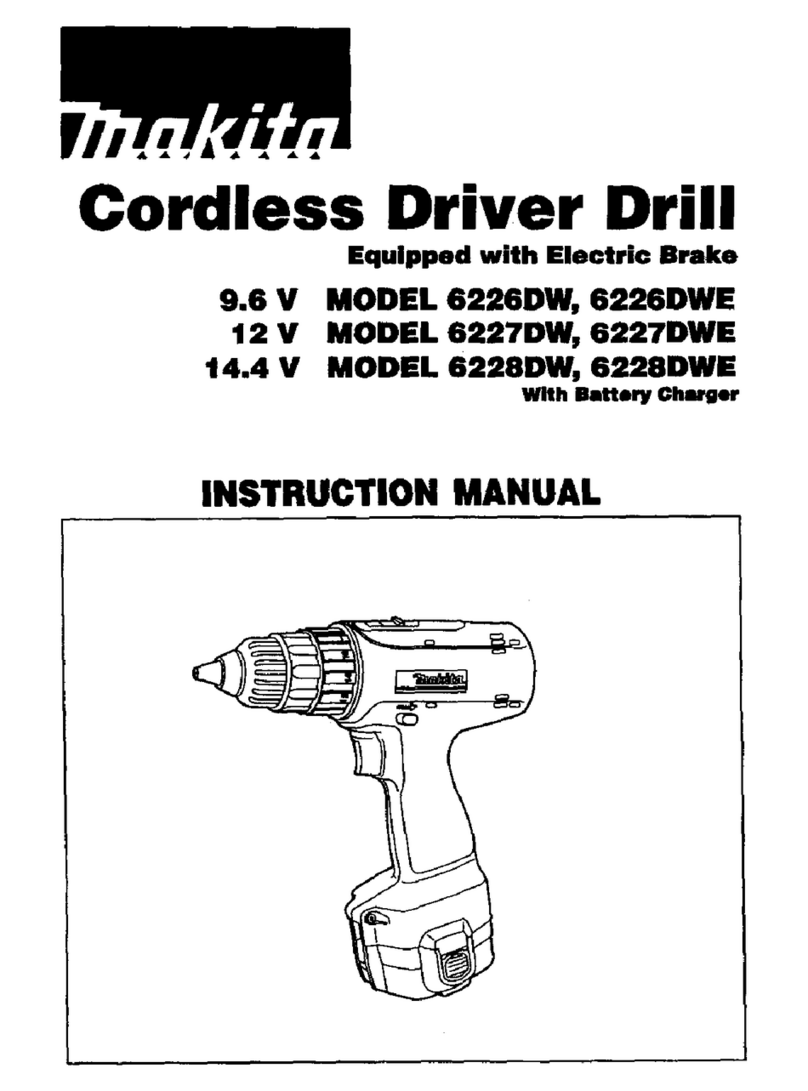
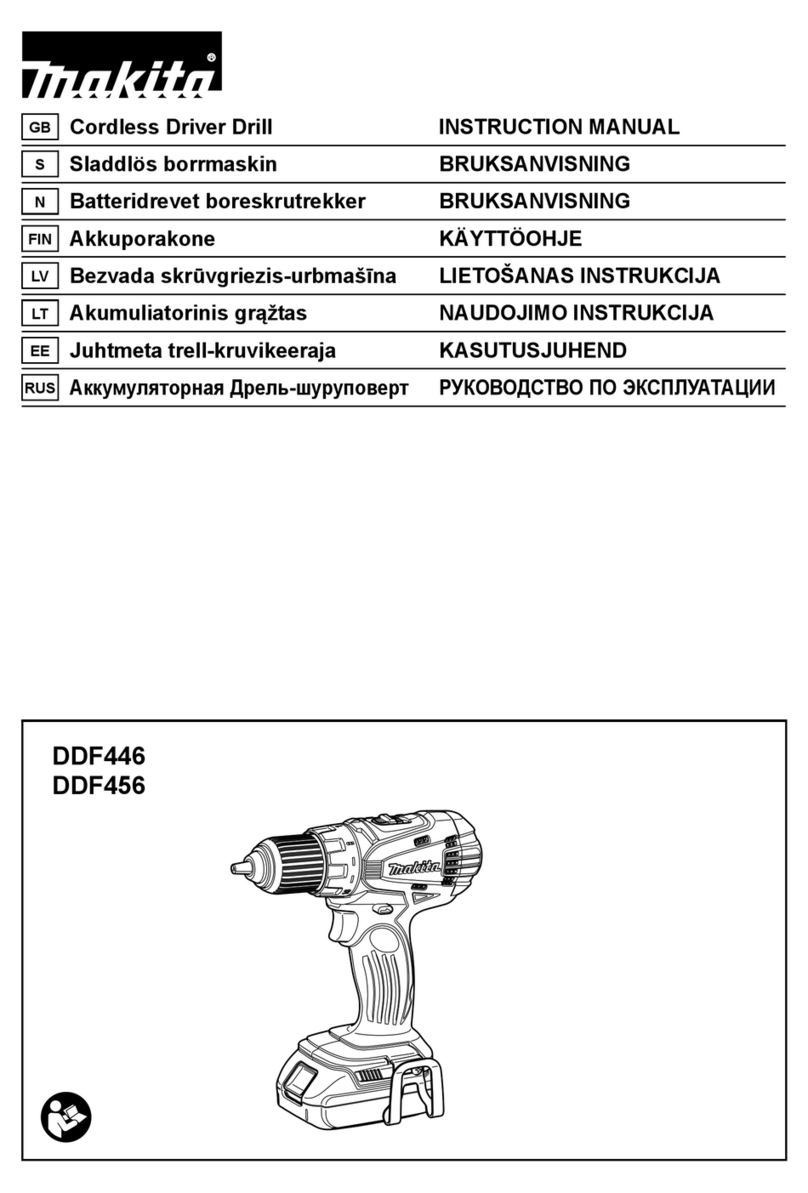
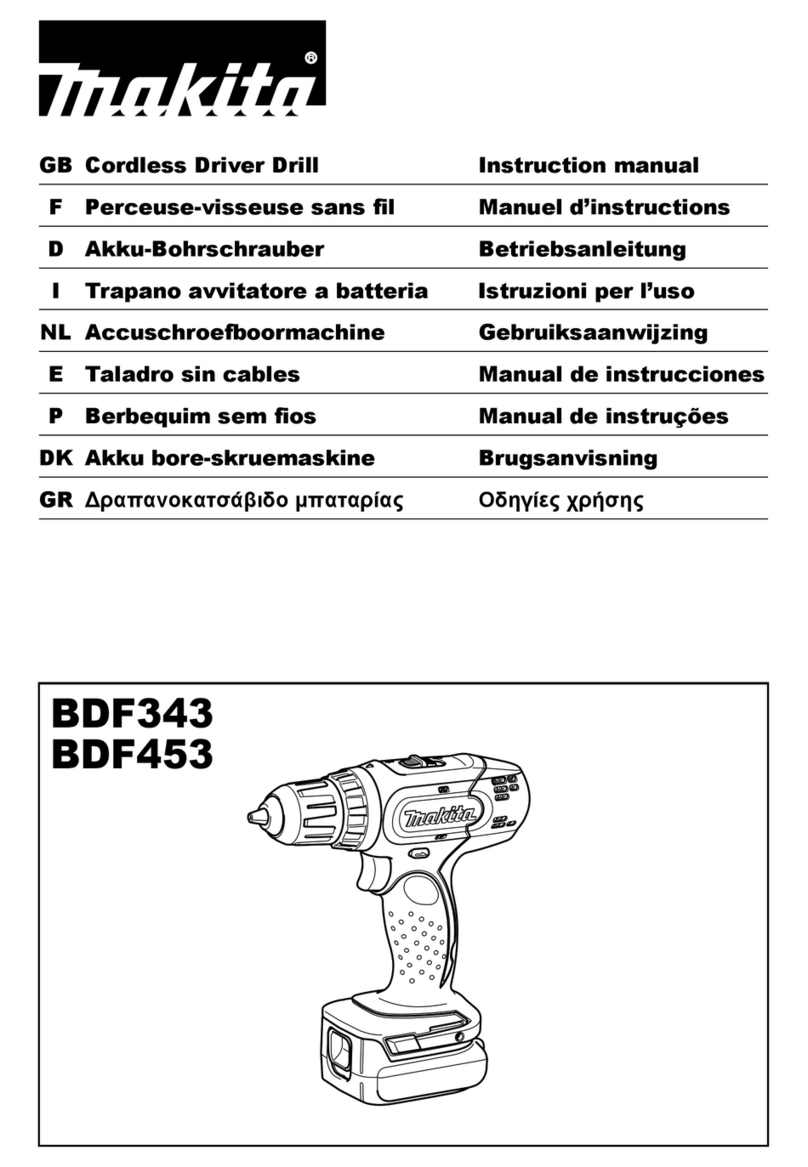
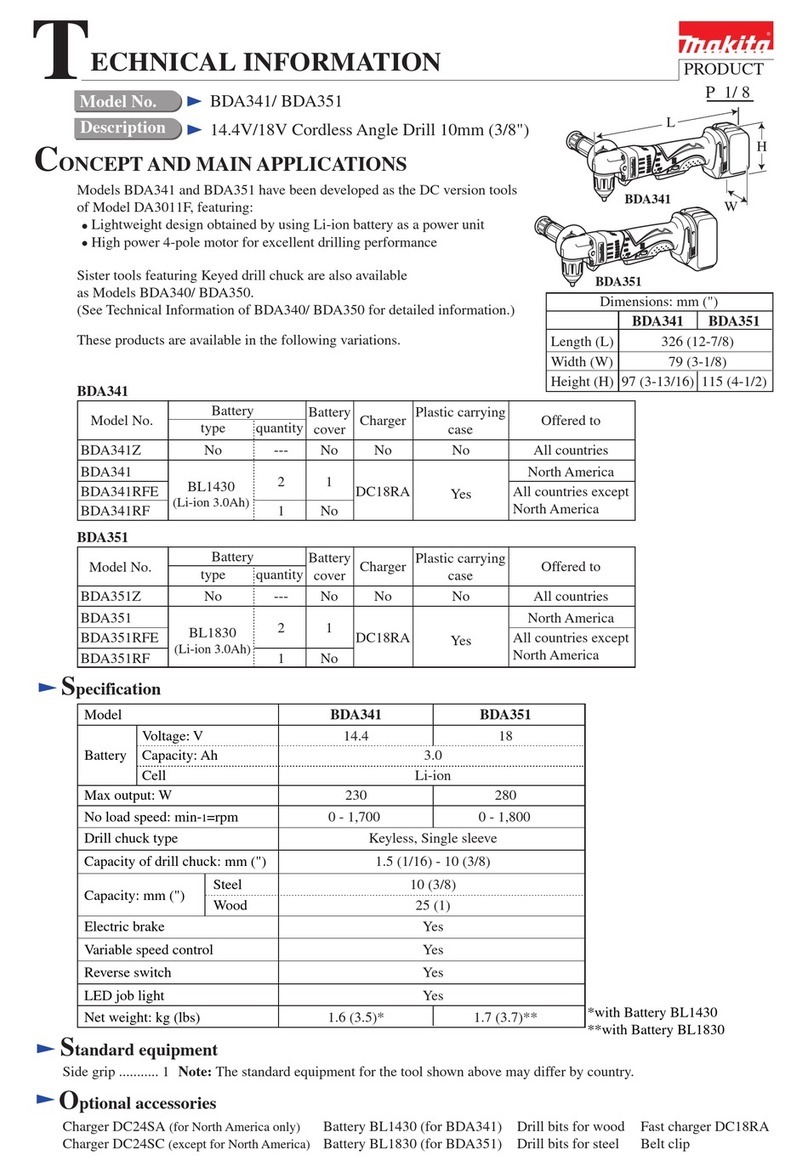
Makita 6013B User manual

Drills
MODEL
13
mm
(1/2")
MODEL
6013B
13
mm
(1/2")
MODEL
6013BR
-
Reversing
-
Drilling capacities Continuous rating
No
load
Overall
Power
speed
I
length
I
d:ht
I
r:Ep2
Wood
I
lnDut
I
Outout
Std
1
INSTRUCTION MANUAL
INSULATION
SPEC1
FlCATlONS
6013B
1
::/;y
1
36"
I
650w
1
430w
4
550
I
340"
I
2.8kg
I
2.5m
6013ER (1-3/8")
620
360
Rlmin. (13-3/8") (6.2
Ibs)
(8.2
ft.)
*
Manufacturer reserves the right to changespecificationsof partsand accessories without notice.
*
Note: Specifications
of
parts and accessories may differ from country
to
country.

IMPORTANT
SAFETY
INSTRUCTIONS
(For All
Tools)
WARNING:
WHEN USINGELECTRICTOOLS,
BASIC
SAFETY
PRECAUTIONSSHOULDALWAYS BE FOLLOWEDTO REDUCE
THE RISK OF FIRE, ELECTRIC SHOCK, AND PERSONAL
INJURY, INCLUDINGTHE FOLLOWING:
READ ALL INSTRUCTIONS.
1.
2.
3.
4.
5.
6.
7.
8.
9.
IO.
11.
12.
13.
2
KEEP WORK AREA CLEAN. Cluttered areas and benches invite injuries.
CONSIDER WORK AREA ENVIRONMENT. Don't use power tools in damp
or wet locations. Keep work area well
lit.
Don't expose power tools to rain.
Don't use tool in presence of flammable liquids or gases.
KEEP CHILDREN AWAY. All visitors should be kept away from work area.
Don't let visitors contact tool or extension cord.
STORE IDLETOOLS. Whennotinuse, toolsshould be stored
in
dry, andhigh
or locked-up place
-
out of reach of children.
DON'T FORCETOOL.
It
willdo thejob betterand safer atthe rate for which
it
was intended.
USE RIGHT TOOL. Don't force small tool or attachment to do thejob of a
heavy-duty tool. Don't use tool for purpose not intended.
DRESS PROPERLY. Don't wear looseclothing or jewelry. They can be caught
in moving parts. Rubber gloves and non-skid footwear are recommended
when working outdoors. Wear protective hair covering tocontainlonghair.
USE SAFETY GLASSES. Also use face or dust mask if cutting operation is
dusty.
DON'T ABUSE CORD. Never carry toolby cordor yank
it
todisconnect from
receptacle. Keep cord from heat, oil, and sharp edges.
SECURE WORK. Use clamps or a vise to hold work. It's safer than using
your hand and
it
frees both hands to operate tool.
DON'T OVERREACH. Keep proper footing and balance at all times.
MAINTAIN TOOLS WITH CARE. Keep tools sharp and clean for better and
safer performance. Follow instructionsfor lubricating and changing acces-
sories. Inspecttoolcords periodicallyandif damaged, have repairedby autho-
rized service facility. Inspect extension cords periodically and replace if
damaged. Keep handles dry, clean, and free from oil and grease.
DISCONNECTTOOLS. When not
in
use, before servicing, and when chang-
ing accessories, such as blades, bits, cutters.

14.
REMOVE ADJUSTING KEYS AND WRENCHES. Form habit of checking to
see that keysand adjusting wrenches are removedfromtool beforeturning
it
on.
15.
AVOID UNINTENTIONALSTARTING. Don't carry plugged-intool withfinger
on switch. Be sure switch is OFF when plugging in.
16.
OUTDOOR USE EXTENSIONCORDS. When tool is used outdoors, useonly
extension cords intended for use outdoors and
so
marked.
17.
STAY ALERT. Watch what you aredoing, usecommon sense. Don't operate
tool when you are tired.
18.
CHECK DAMAGEDPARTS. Before further use of the tool, a guard or other
part that is damaged should be carefully checked to determine that
it
will
operate properly and performitsintended function. Check for alignment of
moving parts, binding of moving parts, breakage of parts, mounting, and
any other conditions that may affect its operation. A guard or other part
that is damaged should be properly repaired or replaced by an authorized
service center unless otherwise indicated elsewhere in this instruction
manual. Havedefectiveswitches replacedby authorizedservicecenter. Don't
use tool
if
switch does not turn
it
on and off.
19.
GUARD AGAINST ELECTRIC SHOCK. Preventbody contact with grounded
surfaces. For example; pipes, radiators, ranges, refrigerator enclosures.
20.
REPLACEMENTPARTS. When servicing, useonly identicalreplacementparts.
21.
POLARIZEDPLUGS. To reducethe riskof electric shock, this equipment has
a polarized plug (one blade is wider than the other). This plug will fit in a
polarized outlet only one way.
If
the plug does not fit fully in the outlet,
reversethe plug. If
it
stilldoes notfit, contacta qualifiedelectriciantoinstall
the proper outlet. Do not change the plug in any way.
VOLTAGE WARNING: Beforeconnectingthe tooltoa power source (receptacle,
outlet, etc.) be sure the voltage supplied is the same as that specified on the
nameplateof the tool. A power source with voltage greater than that specified
for the tool can result
in
SERIOUS INJURY to the user
-
as well as damageto
the tool.
If
indoubt, DO NOT PLUG IN THE TOOL. Using a power source with
voltage less than the nameplate rating is harmful to the motor.
SAVE THESE INSTRUCTIONS.
3

Drill
&
Standard Equipment
I
0
Tool
@Chuck @Grip
How
to use
Chuck
When installing
a
drill bit with the chuck
key, notice that there are three holes
in the chuck where the bit should be
tightened, not just one. Tighten evenly
at
all
three holes in order.
(as
you would
mount
a
tire).
4

Drillingin
wood
Indrilling holes inwood using
a
wooddrill with
a
guide screw, there
is
no need to bear
downon the tool. The guide screw makes
it
bore naturally
by
itself.
Ingeneral, use
a
cuttinglubricantwhen drilling metal. (Butnotwith iron or brass).
0
Drillinginmetal
Switch action
"Model 60138:
To
start the tool, simply pull the trigger.
Release
the trigger to stop.
For
continu-
ous operation without having to keep
your finger on the trigger, just pull the
trigger and then push in the lock button
with your thumb.
To
stop the tool from
the lock position, simply pull the trigger
again and release
it.
*Model 6013BR,
The switch
is
reversible, providing either
clockwise or counterclockwise rotation.
Pulling the lower part of the trigger puts
the wrench on inthe clockwisedirection.
Pullingthe upper part
of
the trigger puts
the tool on inthe counterclockwisedirec-
tion. Simply releasing either end
of
the
trigger turnsthe tool off.
Warning:
It
is
dangerous and injurious to the tool
to
reverse the rotation by rapid
switching without waiting for the motor to stop. Put the tool off, then wait
for completestop beforeswitching direction of rotation.
MAINTENANCE
Carbon brushes
Replace carbon brushes when they wear
down to about
5
mm (3/16") or sparking
will occur. Both brushes should
be
changed
at
the same time.
5

Optional
Accessories
CAUTION:The use
of
any other accessories not specified inthis manual
.TYPE
43
Bench Drill Stand
might
be
hazardous.
Part
NO.
122190-0
(For
Model
60138)
oh
ikita ngle Attachment
(For
h
)del
60138)
(Idealfor drillingintightcornersor difficult access area).
Part
No.
122177-2
Angle Joint Sleeve Wrench
0
Depth
Rod
Assembly
Part
NO.
122236-2
6

Aug.-20-'84
US
13
mm
(1/2")
DRILL
Model
6013BR
Note:The switch and other part configurations
may differ from country to country.
7

Sep.-19-’84
US
‘;\M
AtD
DESCRIPTION
‘k\M
AtD
DESCRIPTION
1
1
1
1
1
1
1
1
1
1
1
1
1
4
1
1
1
1
1
1
1
1
1
1
1
1
MACHINE
~
Flat
Head
Screw
M6x22
Drill
Chuck
513
Spindle
Key
5
Bearing
Retainer
25-36
Ball
Bearing 6202LLB
Gear Housing
Cover
Needle
Bearing
609
Fiber
Washer
6
Gear
Complete
7-41
Ball
Beating 626LLB
Rubber
Pm
4
Gear Housing
Pan
Head Screw M5x35
[With Washer)
Ring 15
SpurGesr47
Retaining Ring S-14
Needle Bearing 810
Flat
Washer
14
Rubber
Pin
4
Ball Bearing 608L8
Insulation
Washer
ARMATUREASSEMBLY
[With
Item
21
-
261
Fan
62
Dust Seal
8
Ball Bearing 608LLB
1
2
3
4
5
6
7
8
9
10
11
12
13
14
15
16
17
18
19
20
21
22
23
24
25
26
-
MACHINE
27
28
29
30
31
32
33
35
36
37
38
39
40
41
42
43
44
45
46
47
48
49
100
-
1
2
1
1
1
1
2
4
2
1
1
1
1
4
1
1
2
2
2
1
1
1
1
-
Rubber Pin 4
Hex Bolt M5x55
(With Washer)
Baflle
Plate
FIELD ASSEMBLY
Switch
Switch
Handle Cover
Set
[With
Item
471
Pan Head
Screw
M4x28
[With Washer)
Pan Head Screw M5x28
[WithWasher)
Pan
Head
Screw
M4xl8
[WithWasher)
Strain
Relief
Cord
Guard
CORD ASSEMBLY
IArrembledCord. Plug
&
Item
381
Motor Housing
Pan Head
Screw
M4x28
[WithWasher)
Handle
Set
[With
Item
481
Name
Plate
Rivet
0-
5
Carbon Brush
Brush
Holder Cap
Switch
Handle
Cover
Set
[With
Item
321
Handle
Set
[With
Item
421
Dust
Cover
Grip 37
Note: The switch and other parl specifications may differ from country to country
r
1
MAKFA
LIMm
ONE
YEAR
WARRANTY
Warranty
Policy
Every Makita tool
is
thorou ly inspectedand tested beforeleavingthe factory. It
is
warranted to
be
free of defects from
workish~
and materials for the period of
ONE YEAR
from the date of
original purchase. Should any troubi develop during this oneyear period,return the
COMPLETE
tool, freight prepaid, to one of Makits’s
Factory
or
Authorized
Service
Centers. If inspection
shows
the trouble
is
caused by defective workmanship
or
material, Makita
will
repair (or at
our
option,
replace) without charge.
This
Warranty does not apply where:
repairs have
been
made
or
attempted by others:
repairs are required
because
of normalwear and tear:
The tool
has
been abused,
miad
orimproperlymaintained;
alterationshave
been
made
to
the tool.
IN NO EVENT SHALL MAKlTA BE LIABLE FOR ANY INDIRECT, INCIDENTAL OR CON-
SEQUENTIAL DAMAGES FROM THE SALE OR USE OFTHE PRODUCT. THIS DISCLAIMER
APPLIES BOTH DURING AND AFTER THE TERM OF THISWARRANTY.
MAKlTA DISCLAIMS LIABILITY FOR ANY IMPLIED WARRANTIES, INCLUDING IMPLIED
WARRANTIES OF “MERCHANTABILITY” AND “FITNESS FOR A SPECIFIC PURPOSE,”
AFTER THEONE-YEAR TERM OFTHISWARRANTY.
This
Warranty
gives
you specific le@ rights, and you may
also
have other rights which vary from
state to state. Some states do not &ow the exclusion
or
limitationof incidentalor consequential
damagss,
so
the above limitation or exclusion may not apply to you.
Some
states do not allow
limitation
on
how long an implied warrantylasts,
so
the abovelimitationmay not apply to you.
-
_.
Makita Corporation
3-11
-8,
Sumiyoshi-cho,
Anjo, Aichi
446
Japan
883096A066 PRINTED IN JAPAN
1992
-
8
-
N
Other manuals for 6013B
7
This manual suits for next models
1
Table of contents
Other Makita Drill manuals

Makita
Makita DHP484 User manual

Makita
Makita DHP481RME User manual

Makita
Makita HP1620 User manual

Makita
Makita DDF486 User manual

Makita
Makita DHP489 User manual

Makita
Makita HP332D Manual

Makita
Makita HP1630 User manual

Makita
Makita DDA450 User manual

Makita
Makita BHP444 User manual

Makita
Makita DF488D002 User manual

Makita
Makita BDF440 User manual

Makita
Makita HP1640 User manual

Makita
Makita HP2070 User manual

Makita
Makita 6510LVR User manual

Makita
Makita HP2050 User manual

Makita
Makita DA4030 User manual

Makita
Makita 6300LR User manual

Makita
Makita HP2042 User manual

Makita
Makita BDF460 User manual

Makita
Makita DF330D User manual