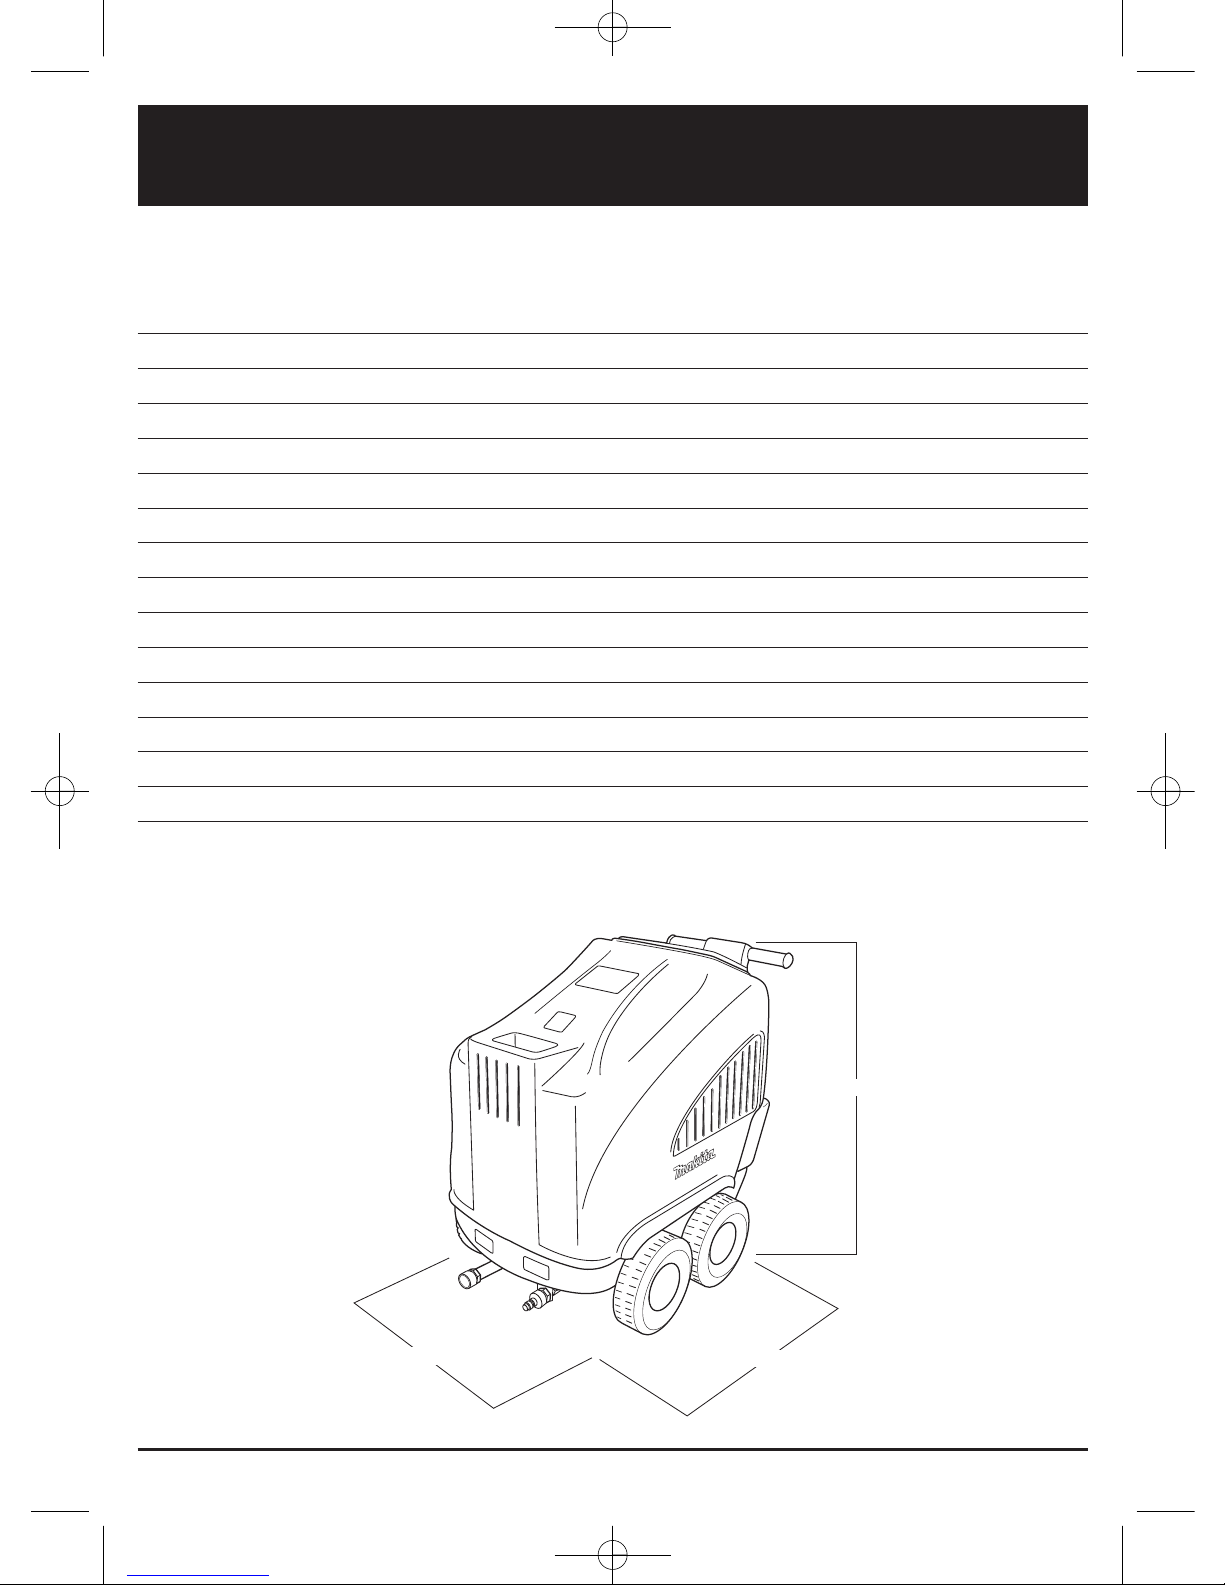
Makita HW120 User manual
Other Makita Pressure Washer manuals

Makita
Makita DHW080 User manual

Makita
Makita DOLMAR HP-135 User manual

Makita
Makita HW1300 User manual

Makita
Makita DHW080 User manual

Makita
Makita DHW080 User manual

Makita
Makita HW 121 User manual

Makita
Makita DHW080ZK User manual

Makita
Makita HW1200 User manual

Makita
Makita HW1200 User manual

Makita
Makita HW 140 User manual

Makita
Makita HW 151 User manual

Makita
Makita DHW080 User manual

Makita
Makita HW001G User manual

Makita
Makita HW001GZ User manual

Makita
Makita HW001G User manual

Makita
Makita EHW120 Quick start guide

Makita
Makita hw 111 User manual

Makita
Makita HW001GT201 User manual

Makita
Makita HW1200 User manual

Makita
Makita Dolmar HP-400 User manual