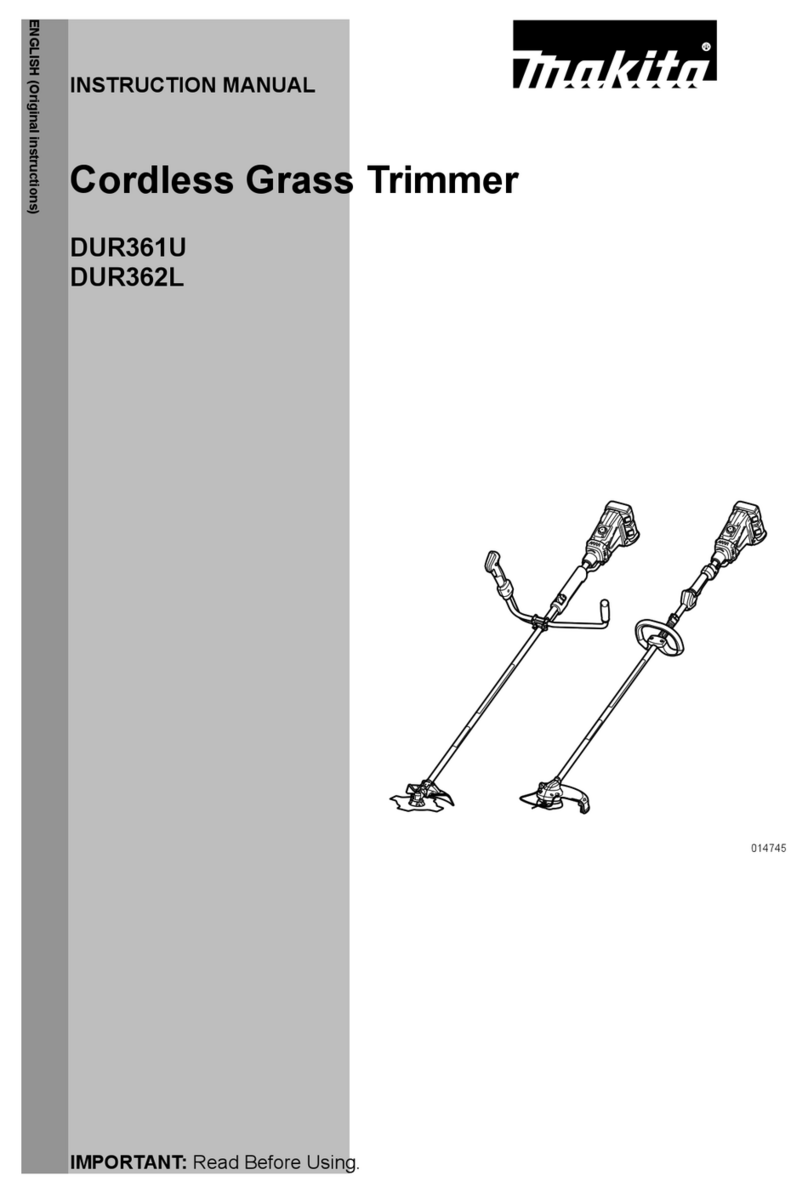
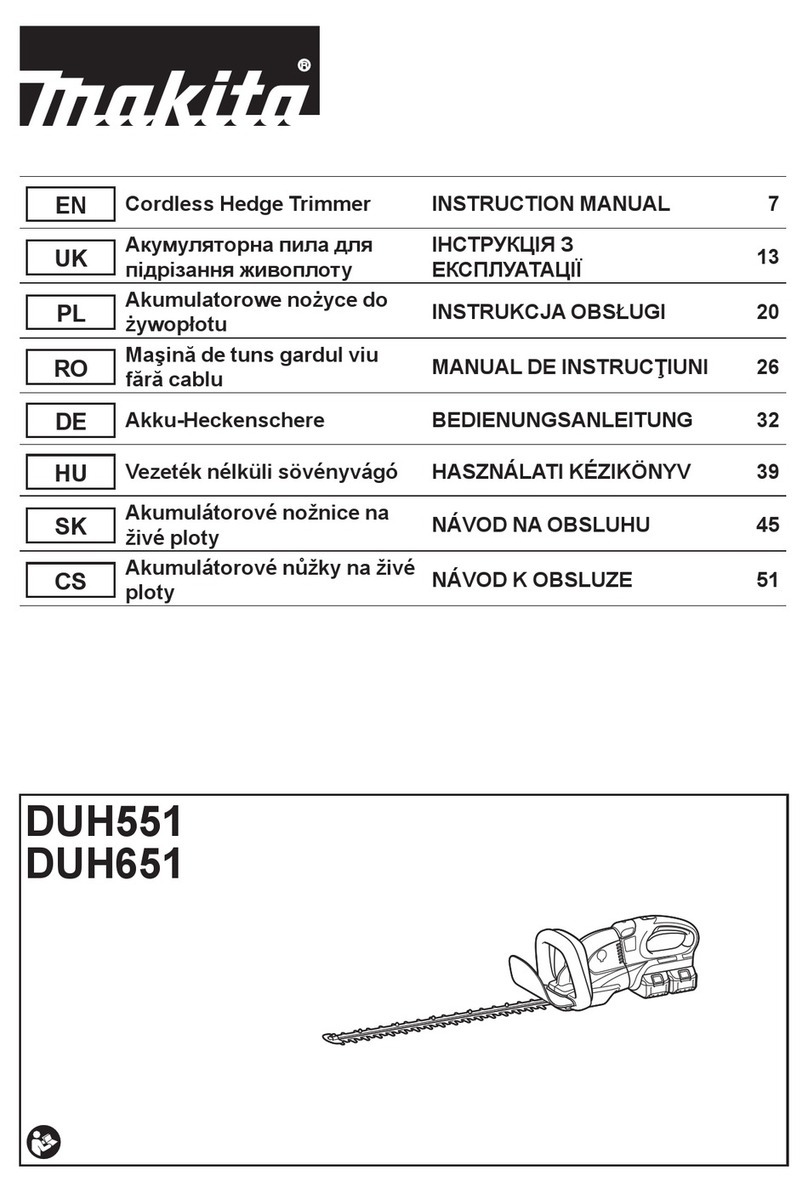
Makita DUH551 User manual

INSTRUCTION MANUAL
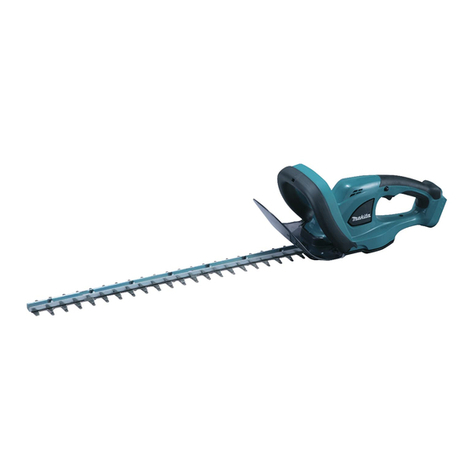
Cordless Hedge Trimmer
DUH551
DUH651
ENGLISH: Original instructions
Read before use.

2ENGLISH
SPECIFICATIONS
Model DUH551 DUH651
Blade length 550mm 650 mm
Strokes per minute (min-1)1,000 - 1,800
Overall length 1,065 mm 1,135 mm
Rated voltage D.C. 36 V
Net weight 5.1 kg 5.2 kg
-
out notice.
Noise Sound pressure level Sound power level
standard or
directive
Model L
L
DUH551 81.5 2.1 91 1.5
DUH651 82 91.1 1.5
• Wear ear protection.
Vibration Declared emission
2)
2)
or directive
Model
1.5
NOTE:
been measured in accordance with the standard test
another.
NOTE:
exposure.
WARNING:
use of the power tool can differ from the declared
tool is used.
WARNING:
to protect the operator that are based on an estima-
tion of exposure in the actual conditions of use (taking
the times when the tool is switched off and when it is
running idle in addition to the trigger time).
Symbol
-
use.
Read instruction manual.
Do not expose to rain.
Ni-MH
Li-ion
material!
and their implementation in accordance
reached the end of their life must be col-
-
Intended use
For European countries only
EC Declaration of Conformity
We Makita Corporation as the responsible manufac-
turer declare that the following Makita machine(s):
Designation of Machine:
are of series production and
Conforms to the following European Directives:
standards or standardised documents:

3ENGLISH
Model DUH551
Model DUH651
8.8.2013
Director
Makita Corporation
General Power Tool Safety Warnings
WARNING Read all safety warnings and all
instructions.-
Save all warnings and instruc-
tions for future reference.
(cordless) power tool.
Work area safety
1. Keep work area clean and well lit. Cluttered or
dark areas invite accidents.
2. Do not operate power tools in explosive atmo-
liquids, gases or dust.
3. Keep children and bystanders away while
operating a power tool. Distractions can cause
Electrical safety
Power tool plugs must match the outlet. Never
modify the plug in any way. Do not use any
adapter plugs with earthed (grounded) power
tools.
reduce risk of electric shock.
5. Avoid body contact with earthed or grounded
surfaces such as pipes, radiators, ranges and
refrigerators.-
6. Do not expose power tools to rain or wet con-
ditions. Water entering a power tool will increase
the risk of electric shock.
Do not abuse the cord. Never use the cord for
carrying, pulling or unplugging the power tool.
Keep cord away from heat, oil, sharp edges
or moving parts. Damaged or entangled cords
increase the risk of electric shock.
8. When operating a power tool outdoors, use an
extension cord suitable for outdoor use. Use of
a cord suitable for outdoor use reduces the risk of
electric shock.
9. If operating a power tool in a damp location is
unavoidable, use a ground fault circuit inter-
rupter (GFCI) protected supply.
reduces the risk of electric shock.
Personal safety
10. Stay alert, watch what you are doing and use
common sense when operating a power tool.
Do not use a power tool while you are tired or
-
ication.
11. Use personal protective equipment. Always
wear eye protection.
hearing protection used for appropriate conditions
12. Prevent unintentional starting. Ensure the
switch is in the off-position before connecting
to power source and/or battery pack, picking
up or carrying the tool.
that have the switch on invites accidents.
13. Remove any adjusting key or wrench before
turning the power tool on.
Do not overreach. Keep proper footing and
balance at all times.
of the power tool in unexpected situations.
15. Dress properly. Do not wear loose clothing or
jewellery. Keep your hair, clothing, and gloves
away from moving parts.-
16. If devices are provided for the connection of
dust extraction and collection facilities, ensure
these are connected and properly used. Use of
dust collection can reduce dust-related hazards.
Power tool use and care
Do not force the power tool. Use the correct
power tool for your application.
rate for which it was designed.
18.
Do not use the power tool if the switch does not turn
it on and off.
with the switch is dangerous and must be repaired.
19. Disconnect the plug from the power source
and/or the battery pack from the power tool
before making any adjustments, changing
accessories, or storing power tools. Such pre-
20. Store idle power tools out of the reach of chil-
dren and do not allow persons unfamiliar with
the power tool or these instructions to operate
the power tool.
hands of untrained users.
21. Maintain power tools. Check for misalignment
or binding of moving parts, breakage of parts
and any other condition that may affect the
power tool’s operation. If damaged, have the
power tool repaired before use.
22. Keep cutting tools sharp and clean.
maintained cutting tools with sharp cutting edges

4ENGLISH
23. Use the power tool, accessories and tool bits
etc. in accordance with these instructions, tak-
ing into account the working conditions and
the work to be performed. Use of the power tool
for operations different from those intended could
result in a hazardous situation.
Battery tool use and care
the manufacturer.
25. -
nated battery packs.
26. When battery pack is not in use, keep it away
from other metal objects, like paper clips,
coins, keys, nails, screws or other small metal
objects, that can make a connection from one
terminal to another.-
Under abusive conditions, liquid may be
ejected from the battery; avoid contact. If con-
liquid contacts eyes, additionally seek medical
help.
irritation or burns.
Service
28.
repair person using only identical replacement
parts.
tool is maintained.
29. Follow instruction for lubricating and chang-
ing accessories.
30. Keep handles dry, clean and free from oil and
grease.
CORDLESS HEDGE TRIMMER
SAFETY WARNINGS
1. Keep all parts of the body away from the cut-
ter blade. Do not remove cut material or hold
material to be cut when blades are moving.
Make sure the switch is off when clearing
jammed material.
2. Carry the hedge trimmer by the handle with
the cutter blade stopped. When transporting or
-
ting device cover.
the cutter blades.
3. Hold the power tool by insulated gripping
surfaces only, because the cutter blade may
contact hidden wiring. Cutter blades contacting
electric shock.
waterproof.
hedge trimmer user show them how to use the
trimmer.
under the supervision of an expert.
-
third parties.
of alcohol, drugs or medication.
9. Work gloves of stout leather are part of the basic
shoes with anti-skid soles.
10. Before starting work check to make sure that the
-
ing operation.
the cutter for damage, and if damaged repair
15. Before checking the cutter, taking care of faults,
cartridge.
-
with the cutter running. Never grasp the cutter with
-
ter after use, and before putting the trimmer into
unit can be hung on the wall, providing a safe and
room. Keep it out of reach of children. Never store
the trimmer outdoors.
SAVE THESE INSTRUCTIONS.
WARNING: DO NOT let comfort or famil-
iarity with product (gained from repeated
use) replace strict adherence to safety
rules for the subject product. MISUSE or
failure to follow the safety rules stated in
this instruction manual may cause serious
personal injury.

5ENGLISH
IMPORTANT SAFETY
INSTRUCTIONS
FOR BATTERY CARTRIDGE
1. Before using battery cartridge, read all instruc-
tions and cautionary markings on (1) battery
charger, (2) battery, and (3) product using
battery.
2. Do not disassemble battery cartridge.
3. If operating time has become excessively
shorter, stop operating immediately. It may
result in a risk of overheating, possible burns
and even an explosion.
If electrolyte gets into your eyes, rinse them
out with clear water and seek medical atten-
tion right away. It may result in loss of your
eyesight.
5. Do not short the battery cartridge:
(1) Do not touch the terminals with any con-
ductive material.
(2) Avoid storing battery cartridge in a con-
tainer with other metal objects such as
nails, coins, etc.
(3) Do not expose battery cartridge to water
or rain.
A battery short can cause a large current
breakdown.
6. Do not store the tool and battery cartridge in
locations where the temperature may reach or
exceed 50°C (122°F).
Do not incinerate the battery cartridge even if
it is severely damaged or is completely worn
8. Be careful not to drop or strike battery.
9. Do not use a damaged battery.
10. Follow your local regulations relating to dis-
posal of battery.
SAVE THESE INSTRUCTIONS.
Tips for maintaining maximum
battery life
1. Charge the battery cartridge before completely
discharged.
Always stop tool operation and charge the bat-
tery cartridge when you notice less tool power.
2. Never recharge a fully charged battery car-
tridge.
Overcharging shortens the battery service life.
3. Charge the battery cartridge with room tem-
perature at 10°C - 40°C (50°F - 104°F). Let a hot
battery cartridge cool down before charging it.
Charge the battery cartridge once in every six
months if you do not use it for a long period of
time.
FUNCTIONAL
DESCRIPTION
CAUTION:
-
ing or checking function on the tool.
Installing or removing battery
cartridge
1
2
3
1. Red indicator 2. Button 3.
CAUTION:
•
when installing or removing battery car-
tridge.
hands and result in damage to the tool and
while sliding the button on the front of the cartridge.
CAUTION:
-
NOTE:
cartridge.

6ENGLISH
Tool/ battery protection system
-
conditions. In some conditions, the indicators light up.
Overload protection
When the tool is operated in a manner that causes it to
tool off and stop the application that caused the tool to
Overheat protection for tool/ battery
start even if pulling the switch trigger. In this situation,
NOTE:
1
1. Star marking
Overdischarge protection
1
1.
lights up about 10 seconds. In this situation, charge the
Handle mounting positions
CAUTION:
the desired position before operation.
12
1. Knob 2. Housing
turn the handle, pull the knob and turn the handle as
and turn the handle more.
Switch action
CAUTION:
position when released.
1
2
3
1. Switch trigger B 2.3. Lock-off
button
when pulling the both switch triggers.

7ENGLISH
Speed change
1
1.
speed).
Refer to the table below for the relationship between the
per minute.
Number on adjusting dial Strokes per minute (min )
-1
6
5
4
3
2
1
1,800
1,750
1,650
1,500
1,300
1,000
CAUTION:
far as 6 and back to 1. Do not force it past 6 or
work.
OPERATION
CAUTION:
NOTICE: Do not attempt to cut branches thicker
than 10 mm in diameter with the tool. Cut branches
to 10 cm lower than the cutting height using branch
cutters before using the tool.
(1)
(2)
(1) Cutting height (2) 10 cm
CAUTION:
Hold the trimmer with both hands and pull the switch
1
2
3
1.2. Hedge surface to be
trimmed 3.
-

8ENGLISH
desired hedge height and to trim along it, using it as a
reference line.
tool when trimming the hedge straight can avoid cut off
-
ation. Refer to the section titled “Handle mounting
position”.
bottom upwards.
Installing or removing chip receiver
(optional accessory)
CAUTION:
or removing chip receiver.
NOTE:
before installing the chip receiver.
can be installed on either side of the tool.
1
2
3
4
1.2. Chip receiver 3. Nut 4. Shear blade
time, make sure that the chip receiver does not contact
branch catcher at the top of the shear blades.

9ENGLISH
1
2
1. Nut 2. Branch catcher
1
2
3
1. Hooks 2.3. Grooves
sides so that the hooks are unlocked.
1
2
1.2. Unlock the
hooks
CAUTION:
with the chip receiver being installed. Before
and then install the blade cover to avoid blade
exposure.
NOTE:
• Check the chip receiver for secure installment
before use.
excessive force with its hooks locked in the
blade unit grooves. Using the excessive force
MAINTENANCE
CAUTION:
-
ing to perform inspection or maintenance.
• Never use gasoline, benzine, thinner, alcohol
or the like. Discoloration, deformation or cracks
Cleaning the tool
dipped rag.
Blade maintenance
Smear the blade before and once per hour during oper-
ation using machine oil or similars.
NOTE:
• Before smearing the blade, remove the chip
receiver.
blade with wired brush, wipe it off with a rag and then
CAUTION:
Removing or installing shear blade
CAUTION:
• Before removing or installing shear blade,
gloves without removing blade cover so that
NOTE:
• Do not wipe off grease from the gear and crank.
shear blades refer to the reverse of a package

10 ENGLISH
Removing the shear blades
Reverse the tool and loosen four screws.
12
1. Blade cover 2. Screws
NOTE:
is applied in the shear blade driving area.
Remove the under cover.
1
2
3
1. Under cover 2. Blade cover 3. Screws
Remove the plate.
1
1.
slotted screwdriver.
1
1. Crank
Remove two screws from the shear blades and the
shear blade unit will be taken out.
1
2
1. Screws 2. Shear blade
CAUTION:
• Return the gear to the original position in such
a manner as it was installed if it should be taken

11 ENGLISH
Installing the shear blades
blades.
1
1. Crank
Overlap the oval hole in the upper blade with that in the
lower one.
1
1. Oval hole of shear blade
replacement of blades.
holes in the shear blades with the screw holes in the
tool and then secure them with two screws.
1
2
3
1. Oval hole of shear blade 2. Crank 3. Screws
Check the crank for smooth turn with a slotted
screwdriver.
1
1. Crank
NOTE:
bottom of the plate.
Remove the blade cover and then turn on the tool to
check it for proper movement.
NOTE:
• When the shear blades does not operate prop-
crank. Redo from the beginning.

12 ENGLISH
Replacing carbon brushes
1
1. Limit mark
the carbon brushes clean and free to slip in the holders.
Both carbon brushes should be replaced at the same
12
1. Holder cap cover 2. Slotted screwdriver
Insert the top end of slotted screwdriver into the notch in
1
2
1. Brush holder cap 2. Slotted screwdriver
Use a slotted screwdriver to remove the brush holder
ones and secure the brush holder caps.
Reinstall the holder cap cover on the tool.
Storage
-
venient for hanging the tool from a nail or screw on the
wall.
on the shear blades so that the blades are not exposed.
Store the tool in the place not exposed to water and
rain.
-
using Makita replacement parts.

13 ENGLISH
OPTIONAL
ACCESSORIES
CAUTION:
-
its stated purpose.
-
Center.
• Blade cover
• Chip receiver
NOTE:

14

15

Ma kita Co rp o ra tio n
3-11-8, Sumiyoshi-cho,
Anjo, Aichi 446-8502 Japan
www.makita.com
Other manuals for DUH551
10
This manual suits for next models
1
Table of contents
Other Makita Trimmer manuals

Makita
Makita RBC230 User manual

Makita
Makita EE400MP User manual

Makita
Makita ER2650LH User manual

Makita
Makita RT0702C User manual

Makita
Makita BUH550 User manual

Makita
Makita DUR183L User manual

Makita
Makita 3709 User manual

Makita
Makita UH7580 Manual

Makita
Makita UH004G User manual

Makita
Makita UH4261 Manual

Makita
Makita 3710 User manual

Makita
Makita UH4570 User manual

Makita
Makita DUN501W User manual

Makita
Makita DUR36UZ User manual

Makita
Makita UH6570 Manual

Makita
Makita DUH551 User manual

Makita
Makita HTB7600 User manual

Makita
Makita DUR364L User manual

Makita
Makita DRT50ZJ User manual

Makita
Makita DUH506 User manual