SPECIFICATIONS
Inspection
Requirements
Mounting
For Additional Information See PR-282 Data Sheet
INSTALLATION
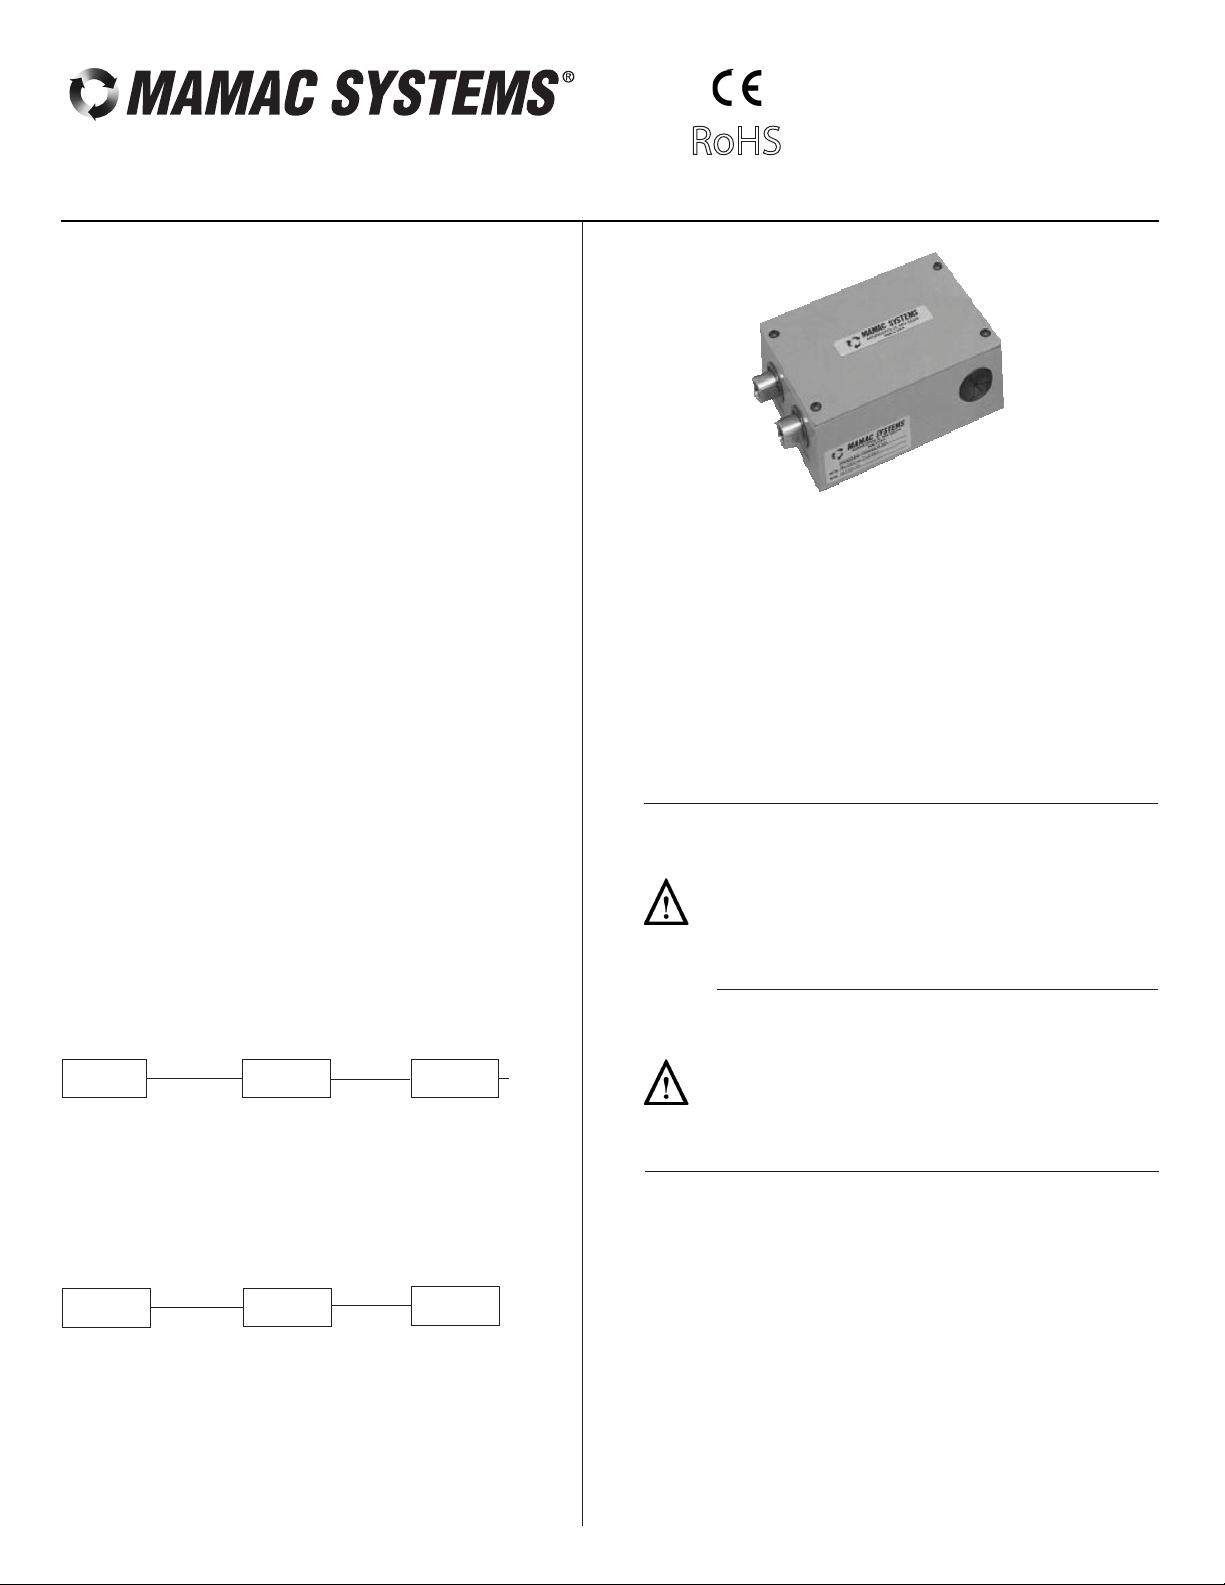
Model PR-282
Technical Information
TI.282-04
DIFFERENTIAL PRESSURE SENSOR
Inspect the package for damage. If damaged, notify the appropriate
carrier immediately. If undamaged, open the package and inspect
the device for obvious damage. Return damaged products.
Warning:
•Do not use on oxygen service, in an explosive/hazardous
environment, or with flammable/combustible media.
•Disconnect power supply before installation to prevent
electrical shock and equipment damage.
•Make all connections in accordance with the job wiring
diagram and in accordance with national and local
electrical codes. Use copper conductors only.
Caution:
•Use electrostatic discharge precautions (e.g., use of wrist
straps) during installation and wiring to prevent equipment
damage.
•Avoid locations where severe shock or vibration, excessive
moisture or corrosive fumes are present.
•Do not exceed ratings of the device.
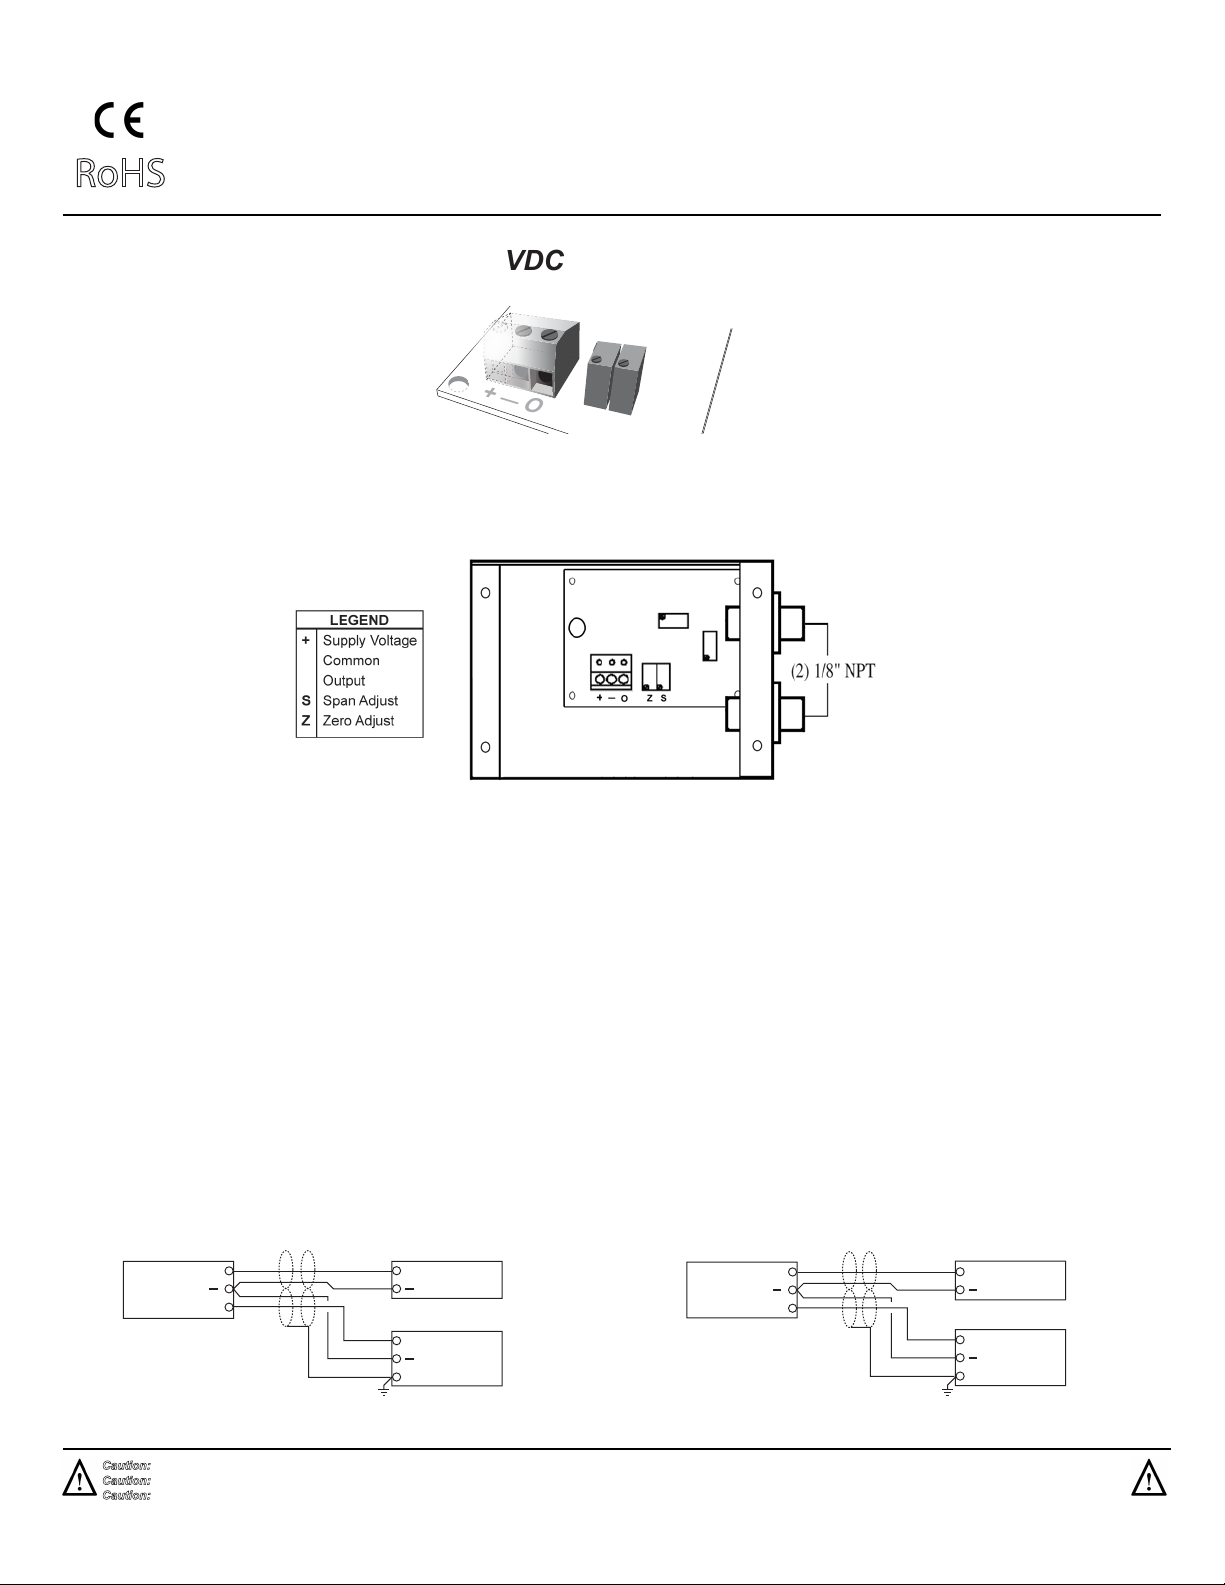
Refer to Figure 5 for mounting dimensions.
1. Remove the transducer cover using a Phillips head
screwdriver.
2. Select the mounting location.
3. Mount transducer on a vertical surface with four #8 self-tapping
screws (not provided).
4. Pull wires through bottom of enclosure and make necessary
connections.
5. Replace cover and make pneumatic connections.
•Tools (not provided)
- Digital Volt-ohm Meter (DVM)
- Appropriate screwdriver for mounting screws
- Appropriate drill and drill bit for mounting screws
•Appropriate accessories
•Four #8 self-tapping mounting screws (not provided)
•Training: Installer must be a qualified, experienced technician
Wiring Use maximum 12 AWG wire for wiring terminals. Refer to
Figures 1, 2, 3, & 4for wiring information.
(Wiring Instructions continued on pages 2 and 3.)
RoHS
Accuracy*: ±1% FS
Overpressure: 300% of rated range
Burst Pressure: 500% of rated range
Maximum Static Pressure: 200% of DP range
Supply Voltage: 12-40 VDC
12-35 VAC (VDC output units only)
Supply Current: VDC Units - 10 mA max.
mA Units - 20 mA max.
Load Impedance: 3K ohms max. at 40 VDC (mA output units)
1K ohms min. (VDC output units)
Enclosure: 16 Ga Steel - NEMA 1
Finish: Baked on Enamel - PMS2GR88B
EMC Conformance: EN 55022, 55024, 61000-3-3,
61000-4-2, 3, 4, 5, 6 & 11
Compensated Temp Range: 0°F - 180°F (-18°C-82°C)
T.C. Error: ±0.025%/°F (.03%/°C)
Media Compatibility: Liquid/gases compatible to 316L SS
Port Connection: 1/8” NPT
Environmental: 10-90%RH Non-Condensing
Termination: Unpluggable screw terminal block
Wire Size: 12 Ga max.
Weight: 1.7 lbs. (.75 kg)
*Includes linearity, repeatability, hysteresis, stability and temp compensation
U.S. PATENT NO. 6484587
ORDERING INFORMATION: PR-282-
OUTPUT
OUTPUT
TYPE
SUPPLY
VOLTAGE
PRESSURE
RANGE
1) 0-1 VDC
2) 0-5 VDC
3) 0-10 VDC
4) 4-20 mA
(2-wire)*
1) 0-20 psid
2) 0-30 psid
3) 0-50 psid
4) 0-100 psid
5) 0-200 psid
6) 0-300 psid
7) Custom
A) 24 VDC
B) 24 VAC
1) Direct
OUTPUT
AVERAGING
OUTPUT
CLIPPING
2) Without B) Without
* Available with 24VDC supply voltage only