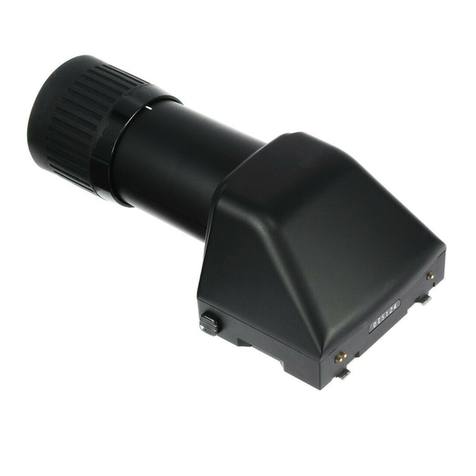
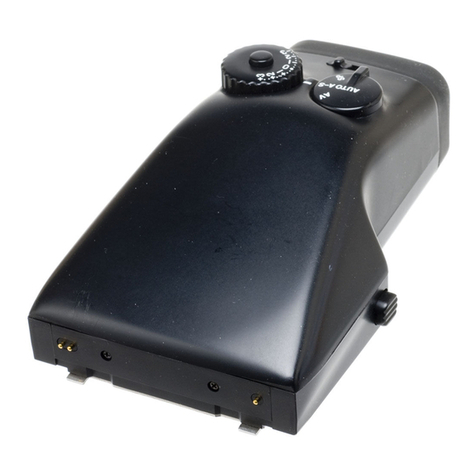
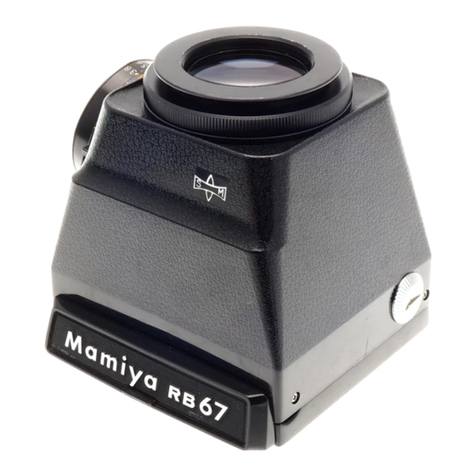
Mamiya M645 Super User manual
Other Mamiya Camera Accessories manuals

Mamiya
Mamiya 645 User manual
Mamiya
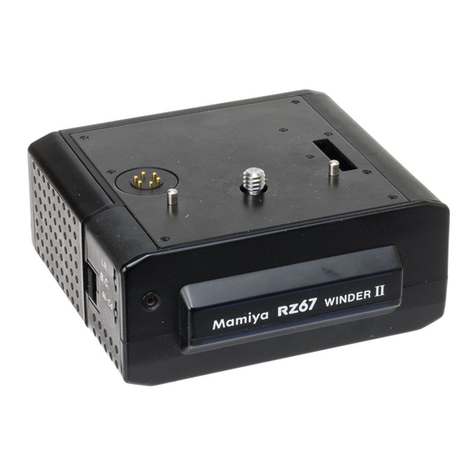
Mamiya Power Winder II RZ User manual
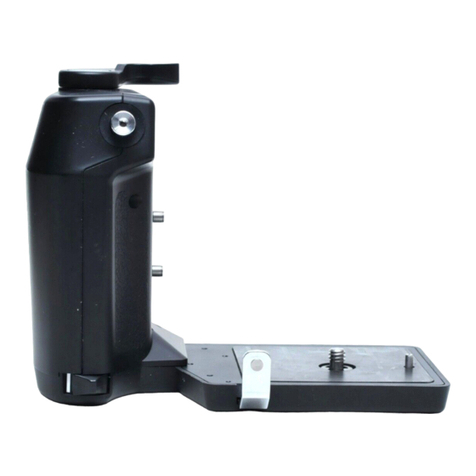
Mamiya
Mamiya 645E User manual
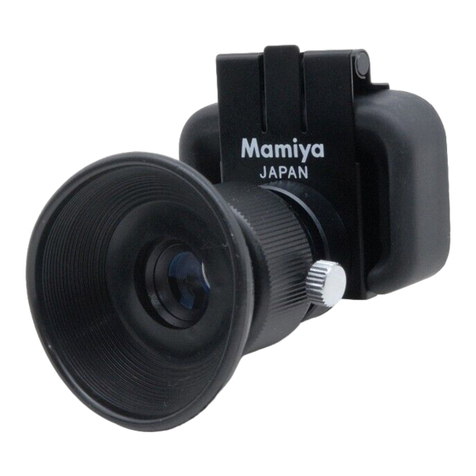
Mamiya
Mamiya FD-401 User manual
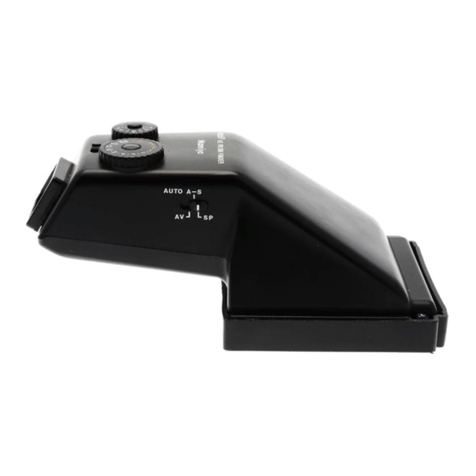
Mamiya
Mamiya RZ67 AE User manual
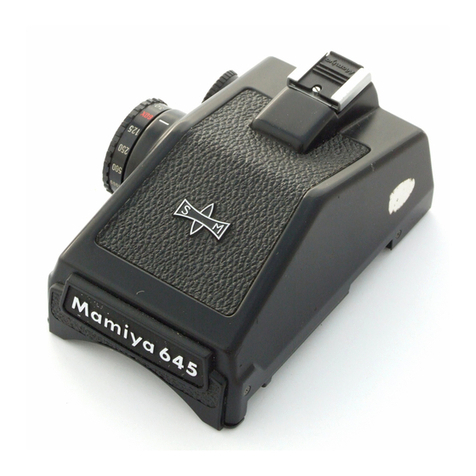
Mamiya
Mamiya PD Prism Finder S User manual
Mamiya
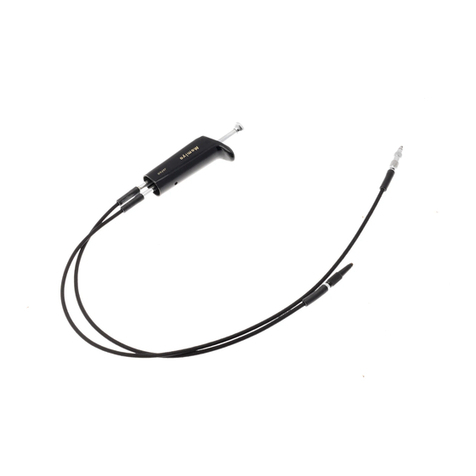
Mamiya Mirror-up Cable Release User manual
Mamiya
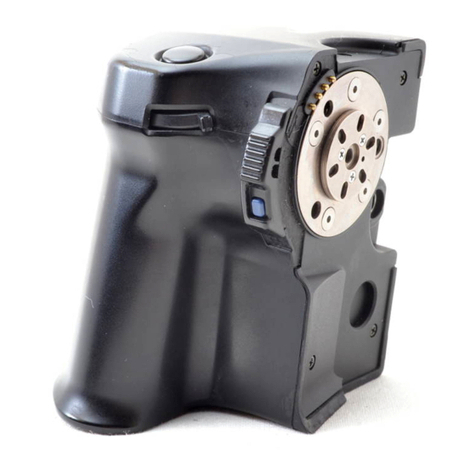
Mamiya 645 User manual
Mamiya
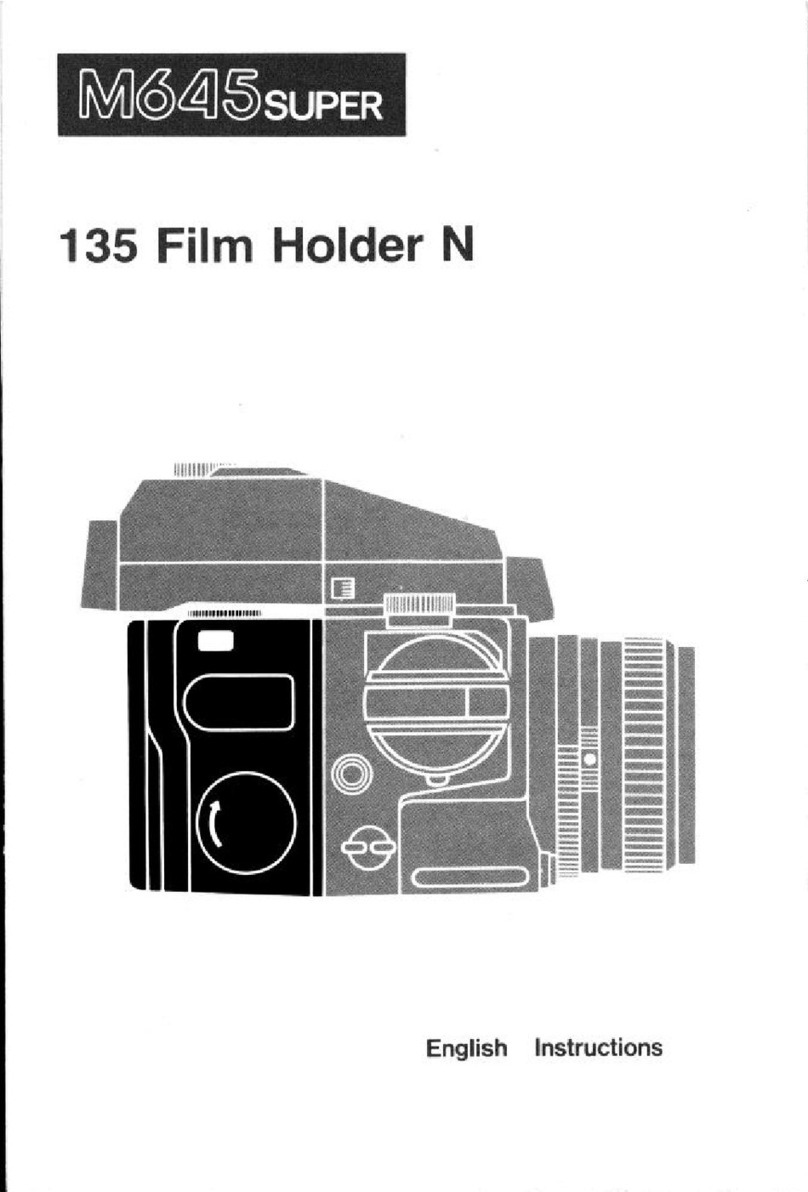
Mamiya M645super User manual

Mamiya
Mamiya Power Drive N User manual

Mamiya
Mamiya HP402 User manual
Mamiya
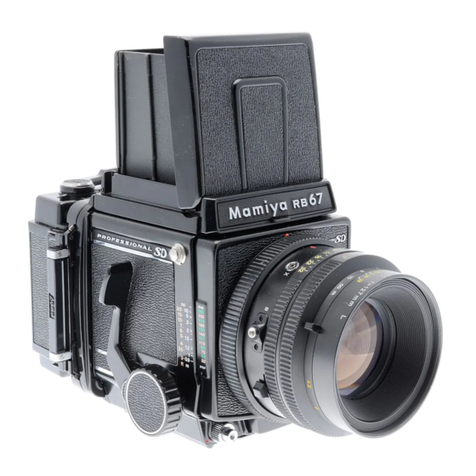
Mamiya RB67 Professional User manual

Mamiya
Mamiya HA401 User manual
Mamiya
Mamiya Angle Finder Model 2 User manual

Mamiya
Mamiya 645 User manual

Mamiya
Mamiya Leaf Aptus II 8 User manual

Mamiya
Mamiya 645 Bellows Lens Hood User manual
Mamiya
Mamiya RB67 Pro-S User manual
Mamiya
Mamiya RZ67 User manual

Mamiya
Mamiya BA701 User manual
Popular Camera Accessories manuals by other brands

Trojan
Trojan GC2 48V quick start guide

Calumet
Calumet 7100 Series CK7114 operating instructions

Ropox
Ropox 4Single Series User manual and installation instructions

Cambo
Cambo Wide DS Digital Series Main operating instructions

Samsung
Samsung SHG-120 Specification sheet

Ryobi
Ryobi BPL-1820 Owner's operating manual


