Manhattan DJ-1997 User manual

User Manual
Of Digital Set Top Box
Manhattan DJ-1997
Please read thisUser Manual carefullyto ensure proper use of this product
and keep thismanual for future reference.

Tableof Contents
Important Safety Instructions……..........................................................................1
Front and RearPanel Illustration........................................................................2
Remote Controller.............................................................................................3
Connections.....................................................................................................5
QuickInstallation.................................................................................................6
DTVOperation....................................................................................................9
Multimedia......................................................................................................19
DVR................................................................................................................21
Troubleshooting ...........................................................................................24
Specifications..................................................................................................25

Important Safety Instructions
*Warning: Toreduce the riskof electric shock,do not removethe cover orback.
There are nouser-serviceable parts inside.Refer servicing toqualified personnel.
*Warning: Toprevent fire orelectric shock hazard,do not exposethe unit torain or
moisture.
*Do not exposethe Adaptorand Set topbox to water(dripping or splashing)and no
objects filled withliquids, such asvases, should beplaced on theunit.
*Keep the Settop box awayfrom direct sunlightand heat sourcesuch as radiators
or stoves.
*Do not blockthe ventilation openings.Slots and openingson the unitare provided for
ventilation. Theopenings should neverbe blocked byplacing your Settop box on a
cushion, sofaor other similarsurface.
*Do not placethe Set topbox on unstablecart, stand, tripod,bracket or table.
The unit mayfall, resulting inpossible damage orinjury.
*Only use theAC adapterincluded with Settop box. Usingany other adapterwill void
your warranty.
*Unplug the powerfrom the outletwhen the unitis not inuse.
*Attention should bedrawn to theenvironmental aspects ofbattery disposal.
*WARNING: Thebattery (battery orbatteries or batterypack) shall notbe exposed to
excessive heatsuch as sunshine,fire or thelike.
*WARNING: Excessivesound pressure fromearphones or headphonescan cause
hearing loss.
*WARNING: Onlyuse attachments/accessories specifiedprovided by the
manufacturer, theSet top boxis supplied byAC adapter, theAC adapter isused as
disconnect device, thedisconnect device shallremain readily operable.
Caution: Danger ofexplosion if batteryis incorrectly replaced,replaced only with
the same orequivalent type (Lithiumbattery)
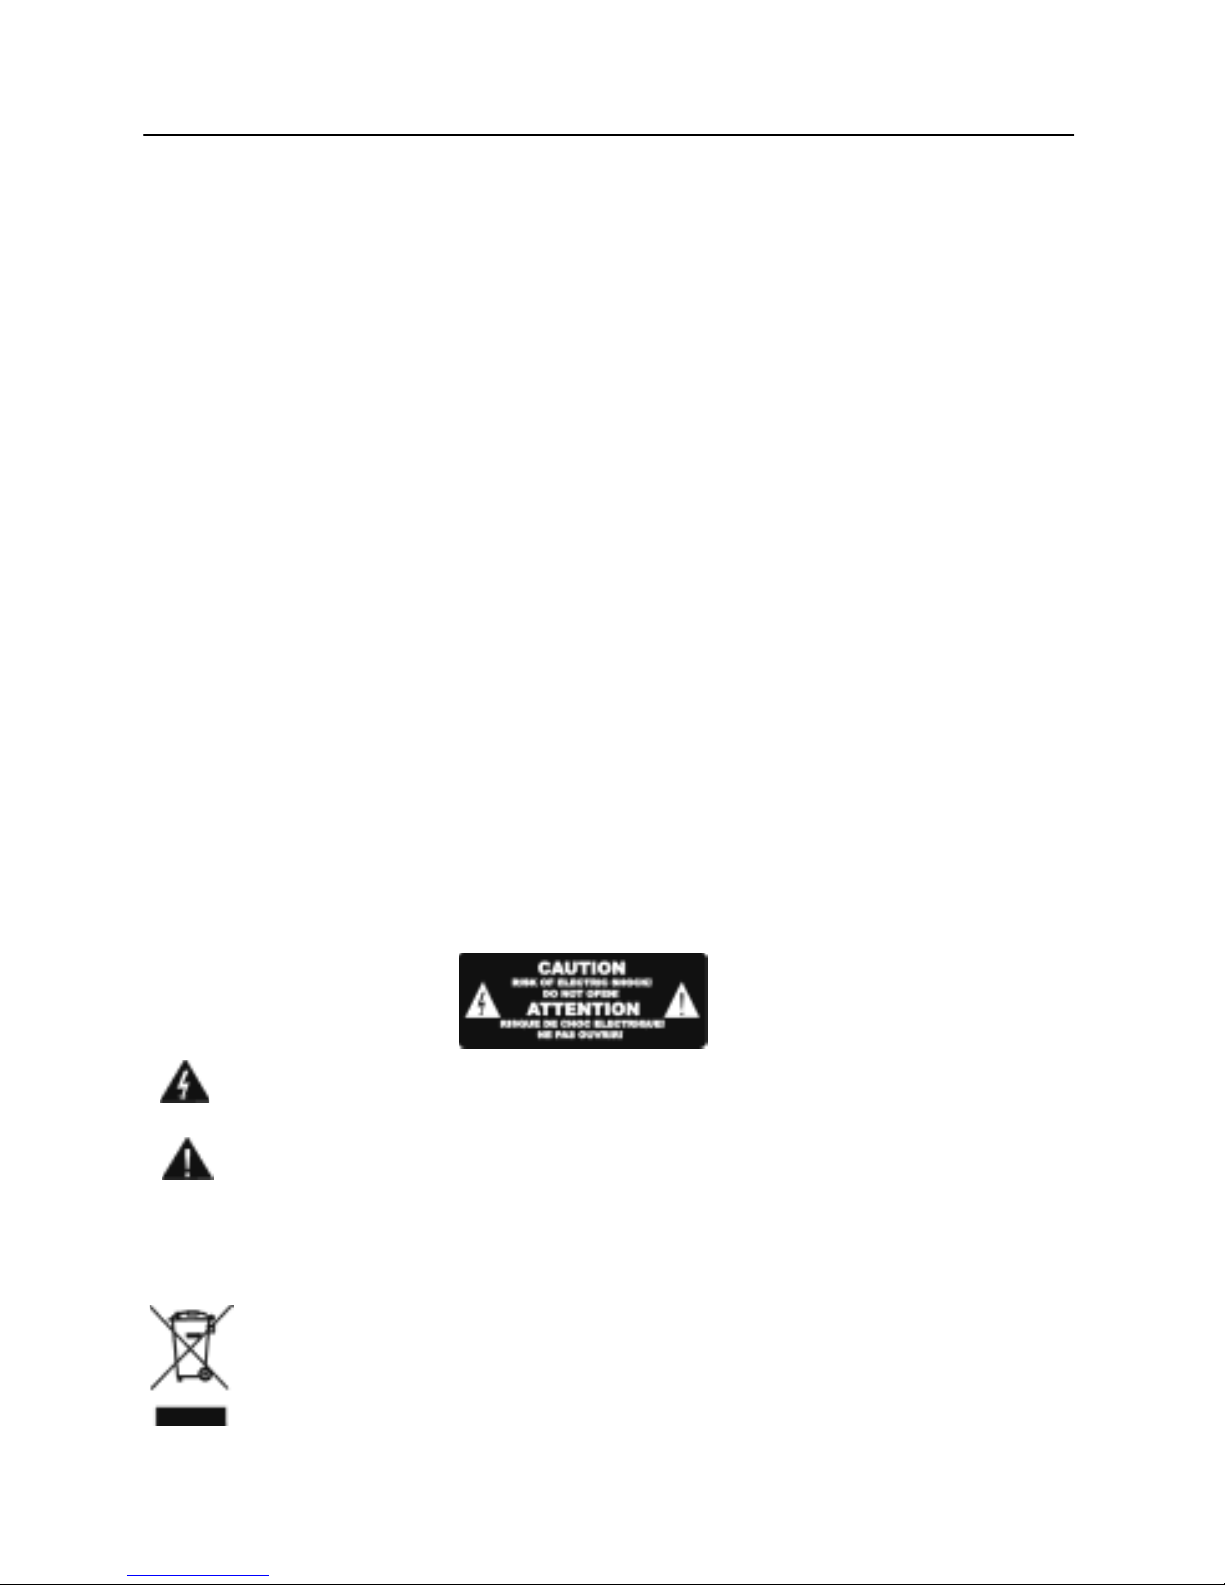
The symbol indicatesthat dangerous voltagesconstituting a riskof electric
shock are presentwithin this unit.
The symbol indicatesthat there areimportant operating andmaintenance
instructions in theliterature accompanying thisunit.
The USB memorystick should beplugged in theunit directly.USB
extension cable should notbe used toavoid failing ofdata transferring
and interference caused.
This marking indicatesthat this productshould not bedisposed with other
household wastes throughoutthe EU. To prevent possibleharm to the
environment or humanhealth from uncontrolledwaste disposal, recycleit
responsibly to promotethe sustainable reuseof material resources.
Toreturn your useddevice, please usethe return andcollection systems
or contact theretailer where theproduct was purchased.
They can takethis product forenvironmental safe recycling.
1

Front and Rear Panel Illustration
1. Front Panel
1. USB JACK: Usedto connect toan external USB2.0 device.
2. LED DISPLAY: Used todisplay the timeor channel information.
3. STANDBY: Used toswitch the settop box toon or standby.
4. STANDBYINDICATOR: Used to visuallyshow power stateof the STB.
5. MENU: Turnson main menu.
6. REMOTE CONTROLSENSOR: Used toreceive the signalfrom the remotecontrol.
7. VOL +/-:Used to increase/decreasethe volume withoutusing the remote
control.
8. CH +/-:Selects the next/previousChannel without usingthe remote control.
9. OK: Confirms an entryor selection.
2. Rear Panel
1. LNB IN:This socket connectsthe LNB toreceive thesignal.
2. LOOP OUT: This socketwill bypass theRF signal toeither your TVor another
video system.
3. SPDIF: Thissocket connects toan optical socket on your surroundsound system.
4. USB JACK:Used to connectto an externalWi-Fi Antenna for Internet use.
5. HDMI OUT: This socketconnects to HDMIin device.
6. CVBS: Thissocket outputs compositevideo signal.
7. Y/Pb/Pr: These socketsconnect to yourTV component input terminals.
8. AUDIO L/R: Thissocket outputs analogaudio L/R adapter.
9. DC IN12V:Thisis used toconnect the 12VDC adapter.
10. RS232: Connectto serial portof PC forsoftware update.
11. LAN: Connect to RJ45 cable for internet connection
2

Remote Controller
. 1. LED display lights to verify remote operation
2. Enter the Manual Timer Setting menu
3. Display Media Player for Videos / Photos / Music
4. Page Down in a List and DVR Scan Rewind
5. Skip Rewind
6. Play DVR / Media
7. Freeze Video or Pause DVR / Media
8. Display DVR Recordings List
9. Display Satellite List
10. Display the Main Menu Screens
11. Change Channel or Menu Navigation Up / Down
12. Display Channel Banner, 2x for Program EPG,
3x for Service Information
13. Display Electronic Program Guide (if provided)
14. Increase / Decrease Volume
15. Numeric / Alpha Keys for direct Channel Chang
-e and Menu Setting
16. Mute or Enable Muted Audio
17. Select Standby or Operation Mode
18. Select to open IPTV press OK for menu
19. Display a Full Screen Signal Meter
20. Page Up in a List and DVR Scan Forward
21. Skip Forward
22. Stop DVR Play or Record / Stop Media Playback
23. Start DVR Manual Record
24. Select the Favorite List Mode
25. Magnify a Portion of the Screen
26. Exit Screens or Functions
27. Display the Channel List or Accept a Menu Item
28. Increase / Decrease Volume or Menu Navigation
Left / Right
29. Return to Previous Channel
30. Change Channel Up / Down
31. Select Alternative Language / Audio Mode / Sound Track
32. Select to View TV or Listen to Radio Channels
3

Remote Controller
Installing the Batteries
Remove the batterycover from theremote control andput 2xAAAsize batteries
inside the compartment.
The diagram insidethe battery compartmentshows the correctway to installthe
batteries.
1. Open the cover
2. Install batteries
3. Close the cover
Using the RemoteControl
Touse the remotecontrol, point ittowards the frontof the digitalset top box.The
remote control hasa range ofup to 7meters from theset top boxat an angleof up
to 60 degrees.The remote controlwill not operateif its pathis blocked.
Note:
Sunlight or verybright light willdecrease the sensitivityof the remotecontrol.
4

Connections
Caution:
Make sure tocheck the voltagespecification of thewall outlet isthe same ratingwith
the receiver.Toprevent the riskof electric shock,do not openthe cover orthe back
of the receiver.
Note:
When connecting thereceiver to otherequipment, e.g., TV, VCR andamplifier,
make sure torefer to relevantuser manual forinstruction. Also,make sure you
disconnect all theequipments from themains supply beforethe connection.
5

Quick Installation
(1) Unplug theset-top box andtelevision.
(2) Connect theantenna to theRF input ofthe box withcoaxial cable.
(3) Connect theaudio out portand video outport on thebox to theaudio in portand
video in porton the televisionrespectively using audio/videocables.
(4) Plug andpower on theset-top box andtelevision.
Program Scanning
Satellite Setting
In Installation page,select Satellite Settingand press <OK>.
In the page displayed, you can use the <Left/Right> buttons to change the mode,
and setthe proper satelliteparameters.
(1) Press <Up/Down>to select amongsatellites.
(2) Press <OK>to confirm the selection of the currently focused satellite.
(3) Press <Right>to go to the satellite parameter setting page.
(4) Press <Red>to go into the SAT/TP Manager page.
(5) Press <Green>to go into the Automatic SAT Scan page.
(6) Press <Yellow>Goto position when motor is Diseqc1.2/USALS.
Note: Only the satellite checked in the setup manual can be scanned. You cannot
scan an unchecked sat.
Notice: Motor setting:Switch focus tomotor items,switch to Disqc1.2/USALS, press
<OK> enterMotor setting Page,after set Disqc1.2/USALS,you must Press Store
save it.Unicable setting : As Motorsetting.
Satellite Find
This feature provides you a way to make sure whether your satellite dish is properly positioned
and directed to your desired satellite base on the signal level of the preset TP. Before
proceeding, you need to make sure all the parameters for satellite connection are set correctly.
For the parameter setting for a dedicated connection mode.
(1)After finishing the satellite parameter setting, select the Satellite Find and press
< OK> in the Installation page. This will open the Satellite Find page.
(2)Press < OK> , and select your desired satellite from the satellite list.
(3)Using < Left/ Right> buttons to set the TP value.
(4)Set the Beep Tone to either ON or OFF using < Left/ Right> buttons.
6

(5)Adjust and fix the position and direction of your satellite dish so you can get the optimized
signal Strength and Quality values.
Notice: If your satellite dish is a motorized one, you can adjust the dish position through the
DiSEqC 1.2 setup page.
Channel Scanning
1. AutomaticSat Scan
With theAuto SATScan function, youcan perform TV-channel scanning onone or
more satellites. Beforeproceeding, you needto make sureall the parametersfor
satellite connections areset correctly.For the satelliteparameter setting fora
dedicated connection mode.
(1)After the satelliteparameter setting, press<Green>. TheAuto Sat Scanpage
will appear.
(2)Press <Up/Down> buttons to select theProgram to setthe type ofthe program
you want toscan. The programtype has twooptions, Free onlyand All.
(3)Press <Up/Down> to select the NIT mode. Search and add the TPs by referencing
to thesatellite NITTable,and scan for the program channelsfrom all the TPs.
(4)If your intentionis to scanone specific satellite,you need tospecify it first.
(5)Press <Up/Down> buttonsto select yourScan Mode. The options here include:
Default TP Mode: Scan only thechannels from presetTps, and willnot try toadd a
new TP.
One TP Mode: Search and addone TPby referencing tothe satellite NITTable,
and scan forthe program channelsfrom the TP.
Blind Mode:Automatically searchTps in theIF range, andscan the TV-channels
available form theTps found.
(6)Press <Up/Down> toconfirm your ScanSelect. In here,you can
choose to applythe scan onone or moresatellites to scan.
(7)Press <Green> button. Start scan
7

2. Manual Scan
This feature providesyou a wayto scan channelsfrom the TPsspecified by your
own customized settingssuch as Frequency, Symbol Rate,Polarity, NIT, and
Program. Before proceeding,you need tomake sure allthe parameters for
satellite connections are set correctly.For the parameter setting for adedicated
connection mode.
(1)After the parametersetting, press <OK>.The Manual Scanpage will beopen.
(2)Press <OK>, andselect your desired satellite from the satellite list.
(3)Using the <0~9>keys to setyour desired Frequency and symbol rate,range
from 0 to65535.
(4)Using the <Left/Right> buttons toset Polarity, NIT,Program type.
(5)After finishing above-mentionedsettings, Press <Green>.Then, the ManualScan
will start.
3. Satellite/TP Management
This manager providesfeatures including add,delete, and editfor you tomanage
your satellites andTPs thereof.
(1)Move the focusto your desiredsatellite name andthen press thecolor key toopen
the satellite managerpage.
(2)Press < Red>to start editing the selected satelliteby using the< Left/ Right>
buttons to setthe options.
(3)Press < Yellow> to addnew satellite, anduse the <Left/ Right> buttonsto set the
options.
(4)Press < Blue> to delete theselected satellite.
(5)Move the focusto your desiredTP, and pressthe color keyto go intothe TP
Manager page.
(6)Press < Red>to start editingthe selected TPby using the< Left/ Right>
buttons to set the options
(7)Press < Yellow> to addnew TP, and usethe < Left/Right> buttons toset the
options.
(8)Press < Blue>to delete theselected TP.
(9)Press < Green>to bring outthe AutomaticSAT Scan page.
8


DTV Operation
Main menu
When your set-topbox is poweron, a presson the Menubutton will bringout the Main
Menu. In thismenu, press <Exit>button to switch into the TV'sNormal Play mode.
Here, you canfurther select theoperation mode foryour set-top boxusing the
<TV/Radio> button. For example, if you select TV orRadio, the box will go into
Normal Play mode and start playingyour desired program.And this is only oneof the
many features available here.
(1)Press < Menu> button to enter into the Main Menu page.
(2)Press < Info> button. A message box with the version information of your
set- top box will appear. But you must scroll down to information title and by
pressing the “OK” button.
Channel
In the Channel menu, you can edit the channels that you want to play in the
Normal Play mode. The functions available here include TV channel editor,
Radio channel editor, and EPG.
TV/Radio Channel Editor
(1)Press <Menu> toopen the Mainmenu.
(2)Select the itemChannel using <Left/Right>buttons.
(3)Select TV/Radio channeleditor, the TV/ Radio List will appear andallows you to
manage yourdesired programs.
Press <Favorite> buttons to set/cancel TV/Radio channel favorite type Press
<Red/Green/Yellow/Blue>buttons to select the TV List option Edit/Lock/Del/Top.
1. Favorite: you can manageand add yourfavorite channel intoeight preset
groups, are simply numbered 1-8.
(1)Press < Favorite>to bring out the favorites list.
(2)Press < Up/Down> to selectyour desired channel.
(3)Press < Left/Right> buttons to select your desired favorite list.
(4)Press < OK> to add the channel to the selected list.
(5)Press < Exit> to save the list.
(6)Press < OK> to confirm the save, or <Exit> to cancel it.
If you wantto add morechannel to favoritelists, please repeat steps (4)~(6).
2. Edit
(1)Press < Red> to Edit TV/Radiochannel name.
(2)Press < Green>to move TV/Radiochannel position inthe list
(3)Press < Yellow> to sort TV/Radio channel inthe list
(4)Press < Green> to set /cancel TV/Radio list skip status, then you cannot find in
the list except skip list.
9

3.Lock: Press <Green>to set/cancel tv/radiolist lock status.
4.Del:Press <Yellow> to set/cancel tv/radio list delstatus ,when youexit TV/Radio
list edit ,the result willsaved.
5.Top: Press<Blue> to set/cancel tv/radio list lockstatus.
Guide
The Guide page,also known asEPG (Electronic ProgramGuide), provides you
not only the program guide and program information but also the feature for you
to make an appointment to watch and schedule the program recording.
(1)In the Channelpage, select EPGusing the <Left/ Right> buttons.
(2)Press < OK>, and theTV Guide pagewill appear.
In Normal Playmode, you canpress <EPG> to enter into theguide page directly.
1.Service List: you can selectchannels to viewthe EPG information.
Notice:
(1) If thechannel you selectprovides no EPGinformation, then amessage
No EPGEvent will appear.
(2) With <Red/Blue> buttons youcan scroll the pages up and down.
(3) With <Yellow>button you candirectly enter intothe AdvanceTimer setuppage.
For details aboutthe timer setting.
2. Event List:
It will showthe events scheduledfor the channellisted in theGuide.
(1) Press <Left/Right>to move thefocus from ServiceList to Eventlist.
(2) Press <Left/Right>buttons to selectthe event dateyou want tocheck .
(3) Press <Up/Down/Pageup/Page Down> toscroll through theEvent List tocheck
your desired event.
3. Event Book:
You can scheduleyour desired Eventthere for watchingor recording it.
(1) Select yourdesired Event.
(2) Press< Yellow> button toenter intoAdvanced timer page to schedulethe Event.
4. Event Detail:
You can select an event there,to check itsintroduction.
(1)Select the event that you want to view.
(2)Press <OK> toshow the detailsabout the event.
(3)Press<Page up/Page Down>to scroll thedetails.
(4)Press<Yellow>button to enterinto AdvanceTimer page to schedule theEvent.
For details about advanced timer, view details on page 13.
Multimedia
In Multimedia menu,you can playyour multimedia files, for more details, please
refer to thesections regarding MMand DVR.
Network Setting
The unit cansupport Wired Networkand Wireless Network,and the Wireless
Network is insertedinside.
10

(1)Wired Network
If you wantto use WiredNetwork, you firstenter main menuto set Networkinterface
in Wired Network,and there aretwo modes.
[AUTO], it will automaticallyget IP addressto connect.
[Manual], you need manually input IP address,Net Mask address, Gateway
address and DNS address.
(2)Wireless Network
If you wantto use WirelessNetwork, you firstenter main menuto set Network
interface in WirelessNetwork, and select Wireless Network itemand press OK
button to gethot point. Ifyou can get any hot point, press RED buttonto refresh it.
You select onehot point andpress BLUE buttonto connect it.
System Setting
In System Settingmenu, you canchange the system parameters and configureyour
set-top box.
(1) Press <Menu> button to open the main menu.
(2) Select SystemSetting using <Left/Right> buttons.
(3) Press <Up/Down>to select your desired submenu, where the options are
Language, OSD Style,Time, TVSetup, AdvTimer, Parental control, Update&
Backup, and Factorysetting.
(4) Press <OK> to enterinto the selected submenu.
Notice:
(1) In theSystem Setting menu,you can use<Up/Down> buttons to switch between
the System Settingsubmenus.
(2)The system settingsubmenus available hereincludes: Language/OSD Style/Time/
TV Setup/ADV Timer/Parental control, Update & Backup and Factory setting.
Language
In Language menu,you can switchOSD language/audio language(TV program must
supports multi audiolanguage)/subtitle language (TVprogram support multisubtitle
language).
OSD Style
You can setthe OSD displayoptions, including thetransparency and bannerdisplay
time.
Time
1. GMT Setting:TurningON/OFF the GMTfunction determines whetheror not your
set-top box refreshesits system time according to thePTS (Program
Transport Stream) time field of the current program.
(1) If youset the optionto ON, thesystem time willsynchronize to thePTS time
field the currentprogram; otherwise, the system time will refresh itself with
the PTS timeonly once afterpower on.
(2) GMT settingis ON bydefault.
2. Time Zone: you can setyour time zonehere to displaythe local time.
(1) This featureis available onlywhen the GMTsetting is setto ON; if the GMT is
off, the system will skip this option whenyou try toselect it using< Up/ Down>
buttons.
(2) The changeof Time Zone willimmediately reflect thesystem time.
11

3. Set Date: you can setthe system date here. When theGMT is off
(1) The settingrange is from1970/01/01 to 2038/03/31.Any datebefore 1970/01/01
will be setto 1970/01/01, andany date after2038/03/31 will beset to 2038/03/31.
(2) Anychange made herewill be immediatelyreflected to thesystem.
4. Set Time: Youcan set thesystem time here when the GMTis off
(1)The setting rangeis from 00:00to 23:59.Any time valueafter 23:59 willbe set to
23:59.
(2)Any change madehere will beimmediately reflected tothe system setting.
5. Sleep Time: Youcan set themaximum amount oftime your set-topbox spends in
sleep mode. Inthe sleep mode,your box willsuspend all outputsincluding audio and
video.
(1) Aftersetting the SleepTime,it will displaythe remaining timebefore entering the
sleep mode.
(2) The defaultsetting of SleepTimeis OFF.
TV Setup
In TV Setup submenu, you canselect the TVoutput mode.
1.TV Format: you can select the TV formatfor your TVshows. This featuresupports
4 :3LB, 4:3PS, 1 6:9LB,and 16:9FIT.
2. TV Mode: you can selectthe TV modefor your TVshows from theoptions,
including PAL and NTSC. However, you haveto make sureyour TV supportsthe
mode you select.
(1) Anychange made herewill be immediatelyreflected to theoutput mode.
(2) Afterany change madehere, the TVResolution will automaticallychange to the
respective default value,576i for PA Land 480i forNTSC.
(3)The default settingof TV Modeis PAL.
(4) Currently thisoption is fixedto PALand cannotbe changed.
3. This feature supportsformats such asSCART (CVBS),SCART (RGB),and H DMI.
(2) Before youconnect the videooutputs of yourset-top box tothe video inputsof
your TV, please makesure the inputsand outputs areconsistent with yoursetting
made here.
(3) The defaultsetting of VideoOutput is Scart( CVBS) ifthere is noHDMI connection
between your box and TV; otherwise, the default settingi s HDMI.
(4) If therei s no HDMI connectionbetween y ourb ox and TV, you willnot be
allowed to setthe output formatto HDMI.
(5) When they co-exists aHDMI and aSCART connection,if your boxdetected
that theTV isset to HDMImode, it willswitch to HDMIoutput mode automatically.
(6) If this feature isset to SCART(CVBS), or SCART(RGB), the TV Resolution
will automatically changeto the respectivedefault value, 576if or PAL and480i f or
NTSC.
(7) Anychange made herewill take atleast one secondto be applied.
4. TV Resolution: you can setthe resolution foryour video output.
(1) If thisfeature is setto SCART (CVBS), or SCART(RGB), the TVResolution
cannot be changed.
12

(2) When thisfeature is setto HDMI, theavailable resolution optionsfor
PAL modeare 720p_50Hz, 1080i_50Hz,1080p_50Hz,and AUTO,and for
NTSC mode are720p_60Hz, 1080i_60Hz, 1080p_60Hz,and AUTO,while
you are notallowed to switchto the resolutionsnot supported byyour T V.
(3) If thereis HDMI connectionbetween your boxand TV, the defaultsetting
of TV Resolutionis AUTO;otherwise, the defaultsetting is 576i.
(4) Anychange made herewill take atleast one secondto be effective.
5. DigitalAudio Output: you can setthe format foryour digital audiooutput.
(1) The optionsavailable here areLPCM and RAW.
(2) The defaultDigital AudioOutput is LPCM.
6. Power On at:By setting thisoption to TVor Menu, youcan set yourbox
to show TVor Main menuthe next timeit turns on.
7. AutoSwitch off: you can setthe time forhow long your set-top box willwait for
the signal fromthe remote controllerbefore it entersinto sleep modeautomatically.
The timer willstart counting atonce when thereis no remotecontroller operation.
When the timerexpires, the set-topbox will goin to sleep mode.
8. TV Brightness: you can setthe brightness ofthe display,where the greaterthe
value the higherthe brightness.
9. TV Contrast: you can setthe contrast ofthe display,where the greater the value
the higher thecontrast.
10.TV Saturation: you can setthe saturation ofthe display,where the greaterthe
value the higherthe saturation .
Advance Timer
With this featureyou can scheduleup to 10events. The eventtimers can turnon or
record a specificchannel for theamount of timeyou set.
1. Add Event: youcan schedule anevent here.
2. Edit Event: youcan edit theexisting events here.
3. Delete Event: youcan delete anexisting event.
(1)Press < Red> button to deletethe event.
(2)Press<OK> buttonto confirm yourdelete operation.
After an eventis deleted successfully, the otherevents in thelist will besorted
automatically by their start time.
Notice:
(1)When your newevent conflicts withan existing eventin some way, for example,
a time-range overlap,a message boxwill appear tonotify such conflictionand the
attempt fails.
(2)After your newevent is addedsuccessfully, theevents in thelist will besorted
automatically by theirstart time, earliestfirst.
(3)When manually enteringa channel number, if thenumber exceeds maximum
channel number availablehere, the systemwill automatically adjustthe number toa
proper one.
13

(4)There are twoadvance timer modes,Schedule and Recorder. Schedule: assoon
as the scheduledstart time isreached, your set-topbox will switchto Normal Play
mode, and startplaying the scheduledprogram. If Recorder: if the scheduled
program and theprogram currently playingare received fromthe same TP, then the
recording will startin background.
4. Activate Event
When it istime for anevent to start,a schedule timerwill expire, andit will activate
the relative event.
(1) Switch between thechannels in thesame TP. If thechannels you switchto the
one not in thesame TP, it willtrigger a messageprompting if youwant to stopthe
event.
(2)When the eventreaches its endtime, it willnotify you bytriggering an eventend
message.
Notice:
(1)If your set-topbox activates anevent while itis in thesleep mode, itwill go backto
the sleep modeafter the eventends.
(2)For an eventthat is setto “once” mode,it will bedeleted from theevent list after
it ends. Foran event thatis set toother modes (Daily/Weekly/Weekend-day/
Weekday), its starttime will beset to thenext date automaticallyafter the completion
of current execution.Tostop the event,you are requiredto delete itfrom the list
manually.
(3)When an event of Recording reachesits start time,a no-device message will be
triggered with the event being suspendedif the system detects no storage device.
Youcan restore therecording event by plugging a storagedevice in thebox before
the end time.
Parental control
In Parental Controlsubmenu, you canset the channeland censorship locks,and
change your password(initial value:0000) here.
1. Menu Lock: you can setthe menu lockon/off.
When this featureis set toON, you willbe required toenter password whenyou are
trying to enterinto the submenusin Setup page,such as Installation,Channel,
Multimedia, System Setting, and Others.
2. Channel Lock
Channel Lock: youcan set thechannel lock ON/OFF.
(1)When it isset to ON,you are requiredto enter yourpassword when youare trying
to open theTV list andRadio List.
(2)When it isset to ON,you are requiredto enter yourpassword when youare
trying to enterinto the setupsubmenus such asInstallation, Channel, Multimedia,
System Setting, andOthers.
3. Censorship Lock:
You can setthe rating forthe censorship lockfeature.
(1) The programcomes with itsrating info. Ifthe rating ishigher than the one you
made here, your TV screen will only show aCensorship Lock message,instead of
playing theprogram.
(2) If thisfeature is setto Total Block, allthe programs willbe blocked. Inthis case,
your TV screenwill only showa message notifyingthe censorship lockhas blocked
the program.
14

4. Change Password
You can changeyour password here.
After restoring tofactory default, this feature will beset to NO,and the password
will be 0000again.
Update& Backup
In the Update&Backup submenu, you canchoose to updateyour set-top box
software applications. Orread softwareand database fromset top box
.
1. USB Upgrade
You can upgradeyour set-top boxsoftware applications usingUSB devices.
(1) Enter intothe upgrade page.
(2) Select the directory.
(3) Move thefocus to thefile list.
(4) Select yourupgrade file (*.ssu).
(5) Press <OK> button tostart the upgrade.
2. Image Backup:you can backupyour set-top boxsoftware applications toyour
USB device.
(1)Enter into thebackup page.
(2)Select the contentyou want tobackup.
(3)Select the backuppath
(4)Press < OK>button to confirm your selection
(5)Press <Left/Right> buttons to movethe focus tothe file list.
(6)Press <OK> button to start your backup.
Factory Setting
You can restorethe settings todefault factory valuefor your set-topbox.
All the changeshave been madewill be replacedby their defaultvalues, and the
channel data willbe clear. You can revert back to original SW without new
channels added. Or reset SW with added channels.
Notice:
(1) Afterrestoring to defaultfactory value, thereservation information storedin the
Advance Timerfeature will allbe deleted.
(2) Allchannel information storedin the systemwill be deleted.
(3) Allthe changes youhave made tothe setting willrestore back todefault.
(4) The programtype and program number, whichconstruct the programinformation,
will show TV and 0 respectively.
Others
You can accesshere to someauxiliary functions, includingYouTube.
YouTube:you can watchYouTubevideo when youconnect internet.
15

Playback
Youcan select towatch TV orlisten to theradio in NormalPlay mode. Sincewatching
TV and listeningto the radioin Normal Playmode are identicalin their waysof
operating, in thissection we willfocus on howto watch TV.
In Normal Playmode, Press <TV/Radio>to switch betweenTV and Radioprograms.
Program Info
The Banner providesthe program infoincluding the channelnumber, programname,
favorite list, dateand time, previous/nextevent, lock status,scramble status, subtitle,
and teletext.
(1)Press < Info>to bring outthe banner.
(2)Press < Info>again to showthe Event Detail.
(3)Press < Info>again to showthe signal information.
Switch Channel
Youcan press <Up/Down/Ch+/Ch->orenter a channelnumber to switchchannel.
Notice:
(1)If the channelnumber you enterdoes not exist,your set-top boxwill ignore it.
(2)When a recordingevent is proceeding,you can switchchannel only with
< Ch.+/Ch.-/Up/Down >but not < 0~9/OK>. However, if youswitch to achannel in
a differentTP,the recording eventwill abruptly abort.
Recall
Youcan press Recall button to switchdirectly back tothe channel youpreviously
watched.
Notice:
(1) The channelyou switch backto with <Recall>button is theone you previously
watched.
(2) This Recallfunction will notapply between aTV channel and radio channel.
(3) If youstay on achannel without anyswitching operation previously, there willbe
no response whenyou press thereturn button.
Ok list
In the NormalPlay mode. Press<OK>button, you canenter ok list.
Through this list,you can check,switch and searchamong programs.
(1) Press <Green>and a software keyboard will appear.
(2) Press <Up/Down/Left/Right/OK>to enter thechannel name.
(3) Press <Exit>to complete thename entering, andthe screen willgo back tothe
List page.
16

(4) Press <Left/Right>to select thesearch mode, SearchForward or Search
Backwards.
(5) Press<OK>to startyour search.
Notice:
(1)If your search completes successfully, the channel you search forwill be
highlighted and start playing in the screen window.If your search fails,the highlight
will stayon the current channel playing inthe screen window.
(2)The search scope isrestricted to the currentservice group, not theentire channel
list. If the channelyou are searching fordoes not exist inthe current channel list,the
search would fail.
(3)When there is arecording in progress, OKlist will only list the channels in the
current TP, and you canswitch among channels inthe TP.
Volume Adjust
You cannot only adjust the volume but also muteit. In the mutemode, any attempt to
adjust the volume willcancel the mute.
1.Press < Vol-/ Vol+ /Left/Right> to adjust the volume.
2.Press < Mute> to mute your system.
Pause
You canpause the playback, Press<Yellow/Pause> topause the playback.
Notice:
In pause status, youcan press any buttonto resume the playback.
Audio Language
In Normal Play mode, you can press <Audio>button to switch the audio language and
sound mode (LR/LL/RR). If you set your language in Main Menu->Language
-> Audio Language,the language will becomethe default language foryour channel.
1.Press <Audio> to bring out the Audio setup page.
2.Press <Up/ Down>button to set your language or sound mode.
3.Press <Exit> to close the setup page.
17
Other manuals for DJ-1997
1
Table of contents
Other Manhattan Set-top Box manuals

Manhattan
Manhattan Manhattan T3 Operating manual

Manhattan
Manhattan T1 Freeview Installation guide

Manhattan
Manhattan RS-1933 User manual

Manhattan
Manhattan RC-1978 User manual

Manhattan
Manhattan T1 Freeview Specification sheet

Manhattan
Manhattan Plaza HDT-700 User manual

Manhattan
Manhattan Plaza HDT-700 User manual

Manhattan
Manhattan SX User manual